- Styrofoam cone form
- wood dowel or stick
- paint
- scrapbook paper in 4-5 different patterns {My paper is from My Mind’s Eye}
- 2 inch circle punch
- glue {I used Quick Grip}
- black ink
- berry twigs
- tin or ceramic pot
- Spanish moss
- Styrofoam ball or florist foam to secure the tree in the tin
- Before you get going, poke the wooden dowel into the bottom of the cone and then remove it. {It is easier to get the hole set before you add the paper.}
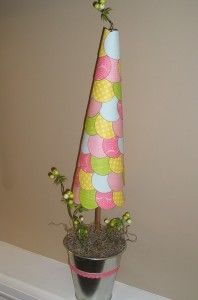
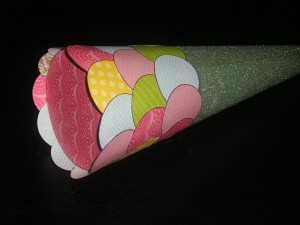
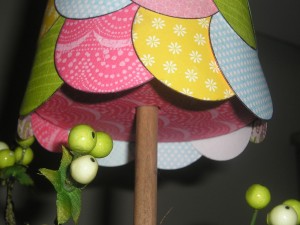
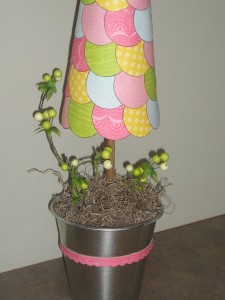
- Trace the bottom and top of your cone onto the scrapbook paper. Cut out the circles and glue to the bottom and top of your cone. {This is the large pink circle on the bottom of the cone}
- Punch out circles from the patterned scrapbook paper. Ink the edges with black ink.
- Starting at the bottom of the cone, start gluing on the circles overlapping them as you go. I just ended up placing glue on the top half of the circles. You do not need to cover the whole thing.
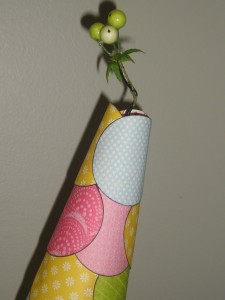
- Work your way up to the top of your tree. At the very top I wanted my circles to extend over the top of the tree form. You could also add an additional row of circle if you wanted it to come more to a point.
- Paint the wooden dowel dark brown. Poke a hole through the paper in the bottom of the cone form to line up with the dowel hole that you made at the beginning of the project. Insert the dowel.
- To get the tree to stay upright in the tin, I placed an old Styrofoam ball that I had lying around in the middle of the tin and then shoved cardboard pieces around it until it was a snug fit and the ball was stable. {You could also use florist foam.} Stick the dowel into the ball and add some Spanish moss on top.
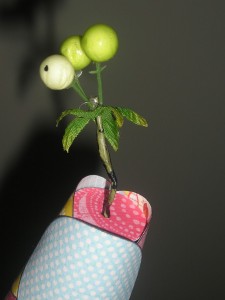
- I added a few berry twigs to my pot and the top of my tree. Add ribbon or other embellishments around the pot.
My tree is looking a little crooked from this angle but I promise that it is actually straight! Hope you all have a great week!


This is SO cute!!!
This is really cute! Love it!
This is fabulous! Can I ask a question? How in the world do you dream up all the things you do? I am SO envious of you and your crafty mind!!
So cute, <3 it!
Aww, it’s so adorable!
I love the colors and patterns.
How sweet!.. This is just darling!.. Love it!..
That is just so “Spring” cute! Great job. Have a wonderful day, Vicky
Very cute! I love the springy colors! I would be thrilled if you stopped by my Commercial Break Thursday at http://www.suzyssitcom.com and linked this project!
suzy
This is so cute! I am going to have to keep that in mind as a craft. Stopping by from itsybitsypaper.blogspot.com
Super cute. Love it.
I love the things you create with scrapbook paper and this is no exception! The tree is adorable and perfect for spring time.
cute, and sweet. Perfect for spring. winks-jen
Hi I’m new to your blog and I am enjoying it. You have lots of great ideas. I was wondering where did you get your owl graphic from? It is very cute.
this is so fun!!
how fun! i love scrap paper. it makes the world happy with all the different patterns.
thanks for sharing!
kellie
This is a FANTASTIC project. Great idea! I would be delighted if you would link this to my VIP party today! http://designergarden.blogspot.com/2011/03/vip-party-6.html
Cheers!
Sommer
Soo cute!!! love it.
ladeedacreations.com
Thanks for sharing.