
Now this is my second time working with these stencils {you can view my first attempt here as well as my finished craft room here}. Overall, this stencil pattern was much easier to work with compared to the first one that I chose due to the simplicity of the shape. I also used acrylic paint this time and stippled the paint on rather than rolling. Yes, it did take me longer but I found that it gave me more of the look that I wanted.
So here are a few more stenciling tips now that I am a two-time stenciling pro!
- Practice with your stencil on some cardboard boxes before painting on the wall. Different application methods {i.e. rolling vs. stippling or using different types of paint can vary the look somewhat}
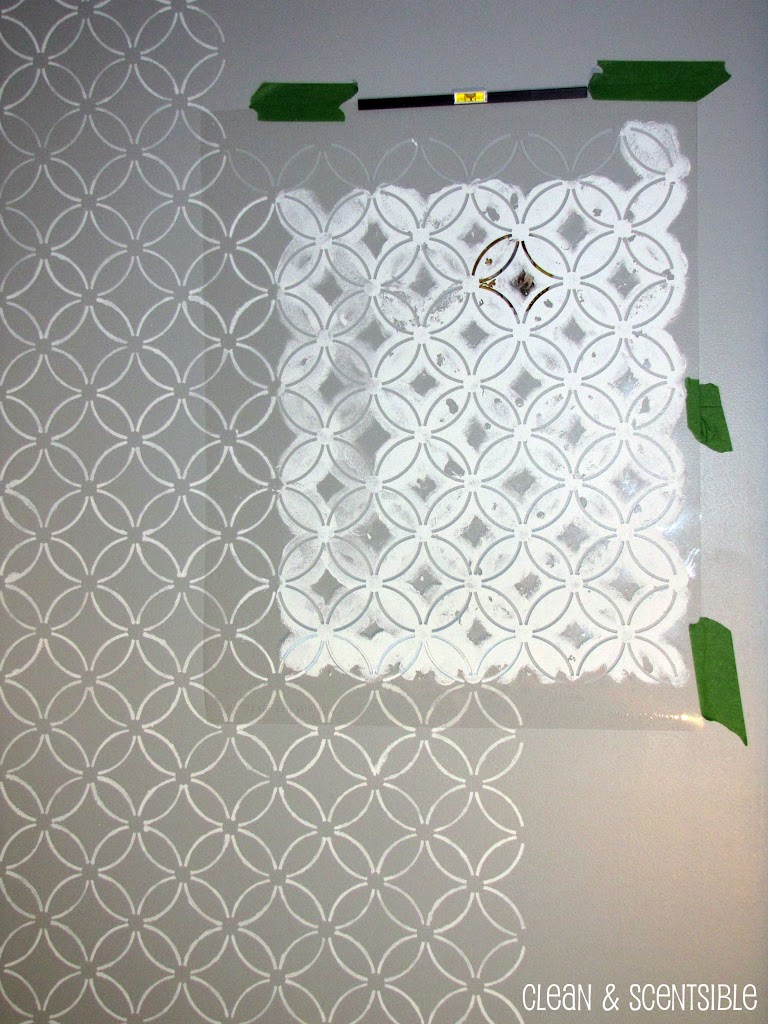
- Take some time to clean your stencil. Last time, I did not really bother cleaning the stencil until I was completely finished my project. I do remember getting a little more bleeding towards the end but I figured it was because I was just getting sloppy. This time, I found that I had better results {in regards to the crispness of the edges} if I cleaned it more often. I’m not sure if it just required more cleaning due to the fact that the opening of the stencil was much narrower on this one or if it was because I stippled the paint on. All I know is when it was clean there was very little, if any, bleeding.
- Cutting Edge Stencils now includes a free top part stencil {as well as a single shape} to allow you to get right to the top of the ceiling. I did not have this last time and it made a huge difference! One of the other benefits with the circle pattern is that it can also be turned sideways to do the corners of the wall. I totally lucked out and it lined up perfectly for both corners.
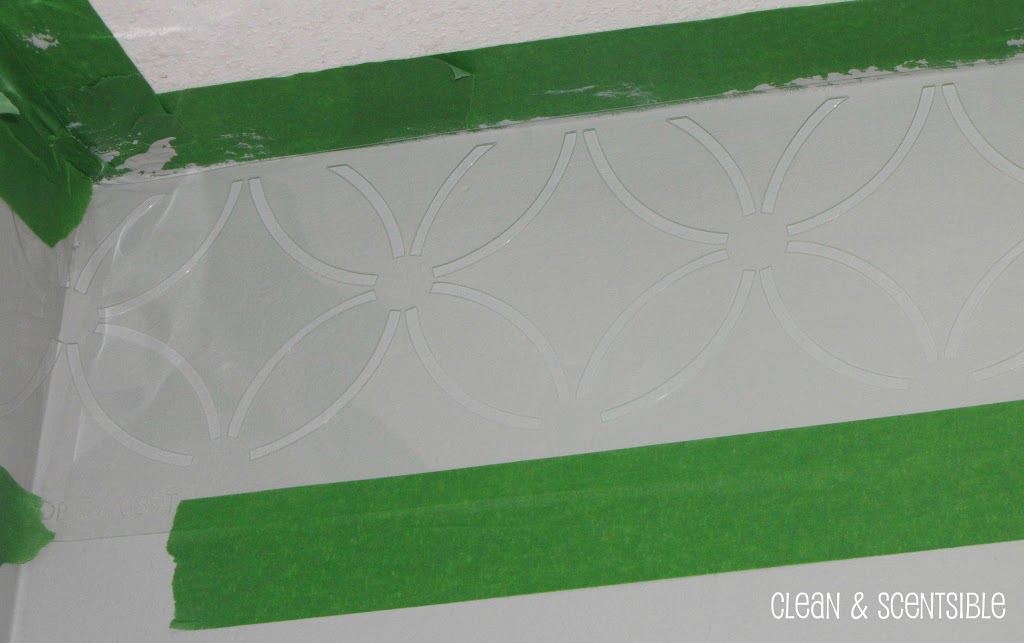
- I mentioned this last time I stenciled and I will mention it again: Do not use too much paint! A couple of light coats is much better than one heavy one! Trust me, you will save tons of time on touch ups if you remember this.
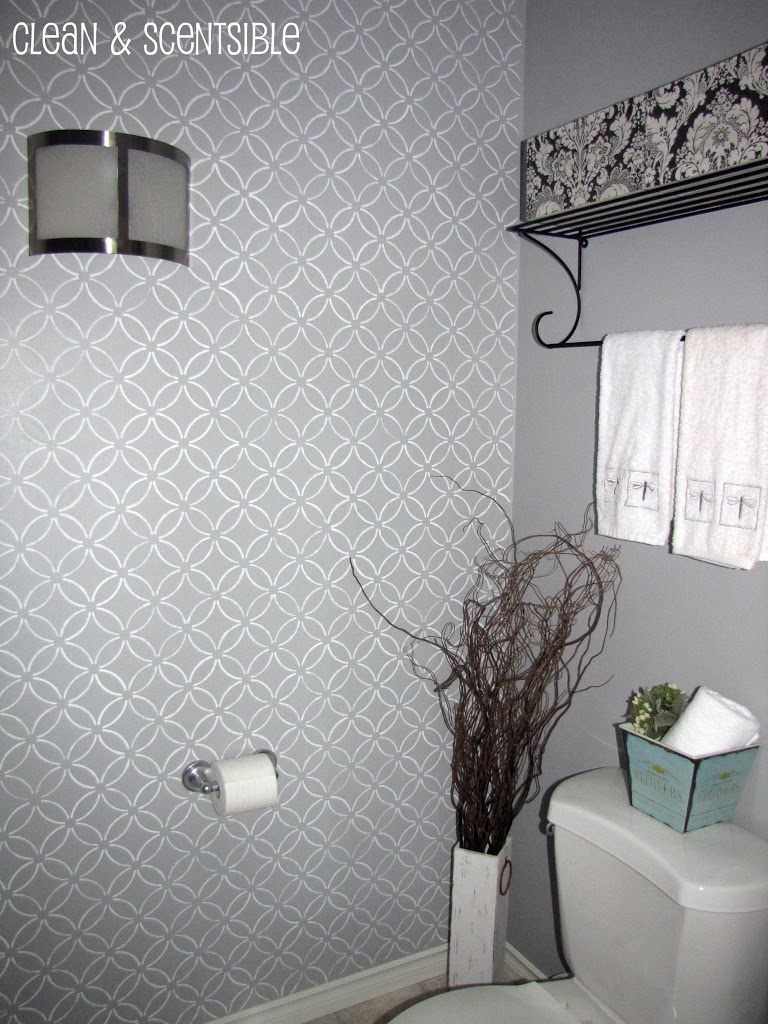
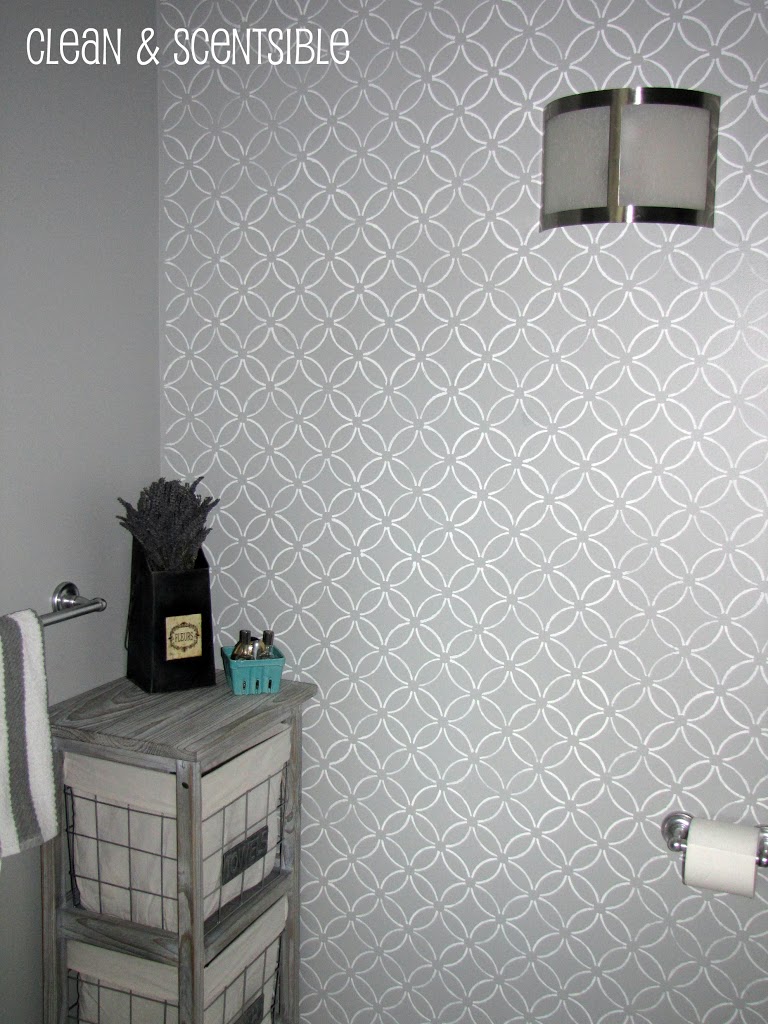
- Stenciling is an extremely easy process – it just takes time! I have read many posts about people doing a much larger wall than mine in 4 or 5 hours. I don’t know why, but everything always seems to take me twice as long as everybody else. There is, unfortunately, no exception for stenciling and this wall probably took me close to 7 hours {over a period of a few days since I definitely do not have 7 hours of spare time EVER!} Obviously since this was my second stenciling project, I think that the results are definitely worth it!
I linked up with Sew Chatty, Skip to My Lou, Sumo’s Sweet Stuff, The DIY Showoff, House of Hepworths, Not Just a Housewife, Tip Junkie, Today’s Creative Blog, Young and Crafty, Lolly Jane, Too Much Time, The 36th Avenue, Crafty Scrappy Happy, Lil Luna, Craft-O-Maniac, Ask Anna, Under the Table and Dreaming, I Heart Naptime, Funky Junk Interiors, Be Different Act Normal, Whipperberry, Design Dazzle, Delightful Order, Somewhat Simple, The Shabby Creek Cottage, Blue Cricket Design, Oopsey Daisy, Uncommon, Home Stories A to Z, A Bowl Full of Lemons, My Uncommon Slice of Suburbia and Thrifty Decor Chick.


It turned out so great! It was worth all seven hours! Have a good week!
Trish @ Uncommon
Jenn it turned out great!! I think I am going to have to get a stencil for my bedroom redo!
SO EXCITED! Thanks Jenn! I will email you in a few hours, as soon as I make up my mind.
Your bathroom looks incredible!
Your bathroom rocks, it looks amazing!
Your Bathroom looks stunning! Congrats to the lucky winner!!!
LOVE! I really like this stencil!! Lookin good Jenn!
Oh, that is wonderful. Don’t know if I would have the patience 🙂 but it sure looks great.
Wow looks great! I love the soft grey- your bathroom looks wonderful!
looks fantastic!
Love the way this turned out! I just came across your blog; so cute! Thanks for sharing.
Stunning! Such a good job! You make me want to stencil…
that looks great! i’m not sure i’d be willing to put all that time in. great tip on trying out on cardboard before you put it on the wall!
Nice! I might have to do something like this in our new house.
This is stunning. I feel like I would not have the patience to do this, but I love how it looks! Just found your blog and I love all of your ideas! I would love if you would consider linking this post (and as many other old posts as you want) to my “Drab to Fab” party tomorrow (Friday) on my blog Sugar and Spice. We celebrate making the ordinary extraordinary and all your stuff really embodies that theme, so I’d absolutely love to see you tomorrow! Here’s a link for more info:
http://www.amynjesse.com/p/drab-to-fab.html
Amy
Wow, the stencilling turned out soooo well! Gorgeous! But my goodness I was so drawn to your table with baskets… LOVE it!!
Shared on FJI Facebook and pinned for SNS 120. 🙂
https://www.facebook.com/photo.php?fbid=10150637454456141&set=a.192514281140.164586.175378011140&type=1&theater
Donna
Love the look of the stencil! Your bathroom is beautiful.
This is such a pretty stencil! And it looks fabulous on your bathroom wall! 🙂 love it~!
-urbanejane.com
Where did you get the storage bin stand in the bathroom? I need one just like it!
Your bathroom turned out great. I love the wall color you chose and the stencil design. I’m your newest follower using Linky follower. I’d love to have you check out my blog.
it looks fab, im waiting for my stencil from cutting edge stencils to arrive seeing this makes me excited lol. i would love it if you could link this up to my linky party happening now at http://twiggstudios.blogspot.com/2012/02/sunday-show-off-linky-party.html
Looks great! I love the grey and white combo.
Jen, this is SO SO beautiful!! YOu have great taste! i would probably have to spend a bit more time than usual in the bathroom! 🙂 Thanks for sharing at oopsey daisy!
Wow, this looks so amazing! I keep pinning stencil projects intending to do it but chicken out because I am afraid I don’t have enough patience for it!
What an awesome idea! Thank you for sharing!
Looks gorgeous! I am featuring you for the Crafty, Scrappy, Happy Link party!!
What a great job, Jenn!
Congratulations 🙂
Looks great!! I love the pattern and the colors. Thanks for all the tips. I have a stencil I would like to try in my living room.
Ruth
Your wall looks great! I love the gray and white with the little pops of aqua and turquoise! So cute!
It looks so fantastic – love love love it!
Ohhhhh friend your bathroom is BEAUTIFUL! You did an amazing job with your stenciling! :o) Thank you so much for linking up to my party I am honored!!!
Jaime from crafty scrappy happy
L-O-V-E it!!
I absolutely love the stenciled wall and that storage unit! Very chic looking!
Found your link on Skip To My Lou…
Well done… I am drawn to your stand with the baskets… Did you make that?!