First up is my favorite blogger from Down Under – Kerryanne. She is one of the sweetest bloggers out there and shares all of her beautiful art at Shabby Art Boutique. Here she is…
*****************
Hi. . . I’m Kerryanne from the blog Shabby Art Boutique.
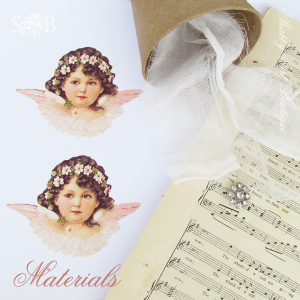
- 8” paper mache cone
- Vintage sheet music
- Vintage Angel print out sheet from here
- 12” of cream cotton cord (for hanging)
- Muslin 20” x 2”
- Cream tulle 20” x 2 1/2” (plus extra piece for bow)
- 12” piece of cotton decorative lace
- Decorative pearl and rhinestone button
- 2 glass faceted beads and a pearl bead
- Mod Podge and All Purpose Clear Glue
- Opal dust glitter or any fine glitter
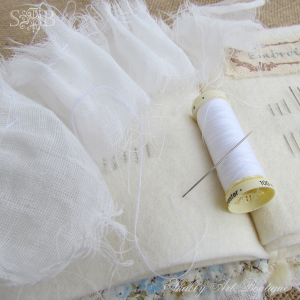
- Sewing needle and cotton.
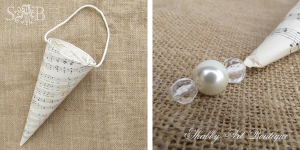
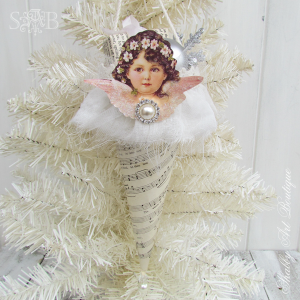
- Start by covering your cone with a thin layer of Mod Podge before wrapping it with the sheet of music paper. Tuck any excess paper into the cone.
- On the top of the cone, drill 2 small holes on opposite sides for the cord hanger. Thread the cotton cord through the holes from the outside, securing inside the cone by knotting the ends. Cut off any excess cord.
- Pierce a hole in the pointy end of the cone. . . I used a nail. Secure a small bead to a length of cotton and thread through the hole from the inside. The bead will stop at the point of the cone, so pull the remaining cotton through so it is hanging out the pointy end of the cone. Thread a couple of decorative beads onto the cotton and secure with a knot. I used 2 faceted glass beads on either side of a large pearl bead.
- To give my cone a shabby vintage look, I ripped my strip of muslin so it would have a frayed edge (this is optional). Lay your muslin strip on top of the tulle strip of fabric. Using a sewing needle and white cotton, gather one long edge of the two strips of fabric and gather up to fit the circumference of the top of the cone. . . mine measured 12 inches.
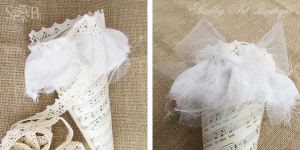
- Glue the gathered muslin and tulle strip to the top of the cone (muslin on top) using All Purpose Glue.
- When dry, glue a strip of cotton lace edging over the top of the upper edge of the gathered muslin, with the decorative edge of the lace extending above the top of the cone.
- Make a pretty bow from the extra piece of tulle (mine measured 3” across) and adhere it to the top of the cone, in the middle between the cord hangers.
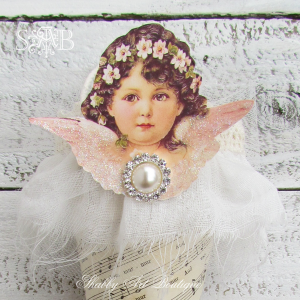
- Print the Angel Printable on a piece of A4 matte photo paper and cut out one angel. Apply mod podge to her wings and dust with fine glitter dust.
- Use the stronger All Purpose glue to adhere the angel on top of the tulle bow.
- Remove the button backing with pliers so the base is flat and glue to the front of the angel.
*****************
This angel is just so sweet and reminds me so much of Kerryanne! When she says that she loves Christmas, she is really not kidding. Her Simply Christmas series started on November 1st and she has already shared so many amazing Christmas ideas. From Christmas planners, to parties, to wrapping and decorating – she has it all! Head on over to Shabby Art Boutique and check things out!
Throughout the party I will be posting at least twice per day so don’t forget to come back often so you don’t miss out! I have something fun for you later today!



Leave a Reply