This post is sponsored by BEHR. As always, all opinions are 100% my own.
This month has been a lot busier than expected and I am pretty much in denial that Christmas is just over a week away. I still have one more project to show you though before I sign off for a little Christmas break with the family…
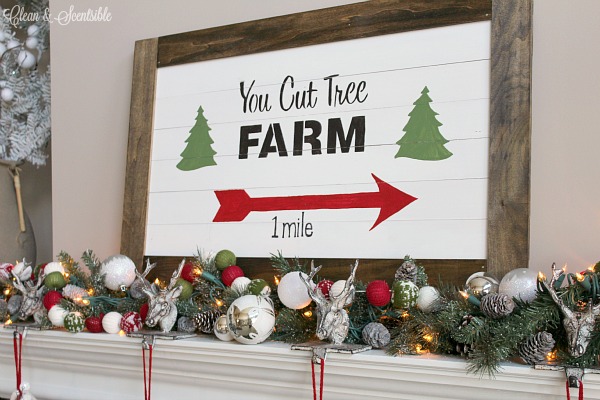
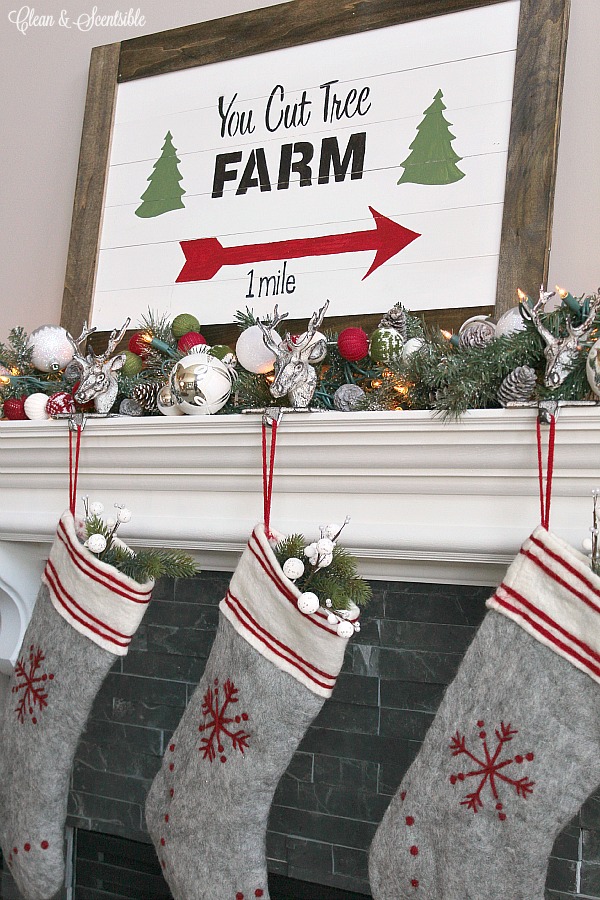 If you remember our Christmas porch, I had made a Christmas tree farm sign for above our door using a stencil from Funky Junk Interiors. The stencil was just so cute that I came up with this wood slat Christmas sign so I could use it again. I still feel like I have to add something more to the sign {maybe a few more trees in the background or more distressing?}, but I can’t quite figure out what it is. I’m just going to put it up for a while and see what comes to me!
MATERIALS
- white paint – BEHR Premium Plus Ultra Whisper White {HDC-MD-08}
- green paint – BEHR Marquee Terrain {MQ6-47}
- red paint – BEHR Premium Plus Ultra No More Drama {P140-7}
- black paint – BEHR Marquee Off Broadway {MQ1-35}
- dark walnut wood stain
- liquid nails
- stencil for wording {optional} – mine is from Funky Junk
- wood boards for the base of the sign and frame {I used 1/4 inch x 2.5 inch pine boards}. I used 8 pieces for the base of the sign measuring 32 3/4 inches each. The frame was made from 2 pieces measuring 20 1/4 inches for the sides and 2 pieces measuring 27 3/4 inches for the top and bottom.
INSTRUCTIONS
- Determine the size that you would like your sign to be and cut down the slats to the appropriate length {you can see my measurements above}. We will be placing the outside frame ON TOP of the slats {not to the outside of them} so remember to take this into consideration when you are figuring out the sizing. If you are worried about cutting down the boards, you can always ask to have it cut at the home supply store where you purchase them. They may charge a slight fee but will usually do it for free.
- Paint the front surface of the wood slats white. Don’t paint the ends or sides as we will be staining these later. You can always sand off the paint if you do end up getting a few drips. {NOTE: I had originally painted the edges of my slats white but it didn’t look good once the frame was on. I ended up sanding down as much of the white as I could after the sign had been put together and then stained over it – it’s still not perfect though. Learn from my mistakes and don’t paint the edges white!}
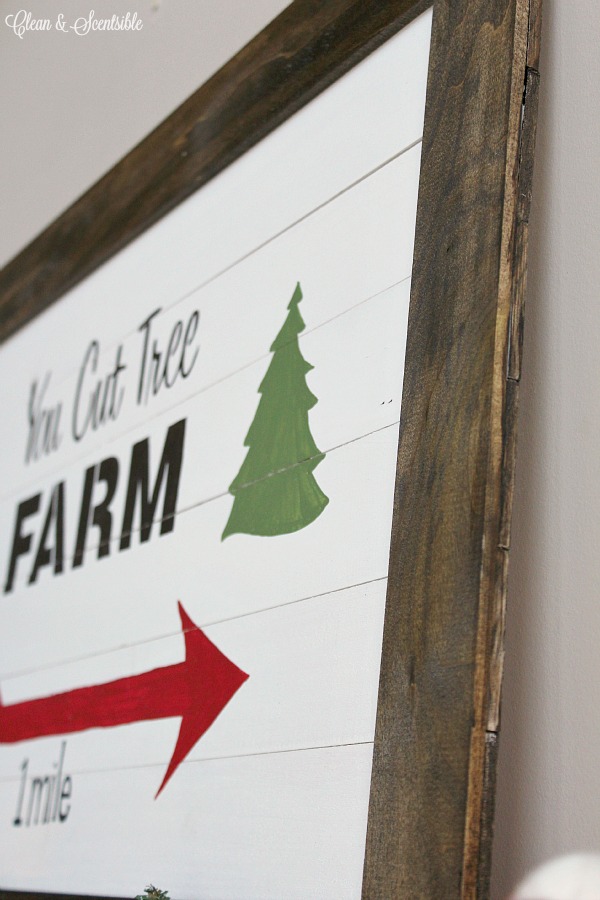
- Cut down 4 slats to form a frame around the outer border. This will be placed OVER the slats to add some depth. Stain and allow to dry.
- Using liquid nails, glue the border slats around your sign starting with a side piece {that will be glued to each of the pieces}. Continue to use the liquid nails to adhere the remaining three border pieces. You can clamp down the corners if they needs some extra reinforcement with drying but I just turned mine over {so the front of the frame was on the floor} and placed some heavy books over each of the corners until the liquid nails had set. {If you have any spots that the frame does not sit flat you can always put in a finishing nail to secure it – it just adds to the rustic charm!}
- Once the sign is all put together. Stain around the edges of the sign so you get a more uniform look between the border pieces and the base pieces so it just looks more like a solid frame.
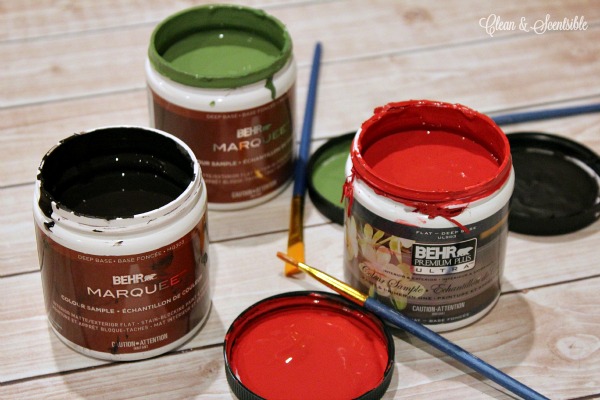
- Now it’s time to paint your sign! I used the stencil for the You Cut Tree Farm and the trees, and then just roughly drew in the arrow and 1 mile in pencil before painting. For the stencil, I just used a pencil to trace an outline and then painted it so I didn’t have to worry about any paint bleeding between the slats. If you do want to paint directly from the stencil, I would recommend using a temporary adhesive to get a more solid seal.
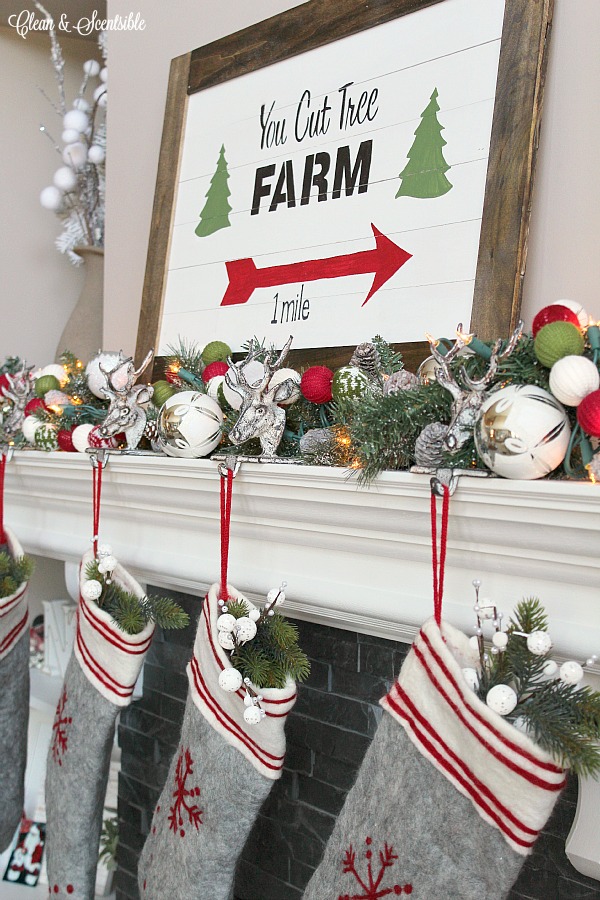
I think it fits in well with our traditional Christmas colors in our family room. I still have to hang it, but for now it is resting comfortable on the mantel. Maybe it will be up by Christmas. 😉
This is a really lovely idea, it’s just a shame I’m one of the worst painters around!
I love this. I have never used these paints before. I may have to get some and use them. The colors look really nice and I am in love with your entire decor! Thanks for sharing.
I love the sign!!! But I especially love the stockings!!!
Where did you get them????
TIA!!!
Happy 2016!
Cathy Clark
Thanks Cathy! I purchased the felt stockings a couple of years ago from a local store {Spruce in Abbotsford if you happen to be around the lower mainland!}. Happy 2016 to you too!
This is so fun and festive. I love it!
Thanks for sharing with us on the Family Joy Blog Link Party!
>> Christene
Keys to Inspiration
Thanks so much Christene!
Such a cute sign but I just love your stocking and mantle decor too!
This is the cutest thing i’ve seen this season! I’m inspired to create my own now 🙂
This looks so cute. I love the rustic look and the colors. Thanks for sharing