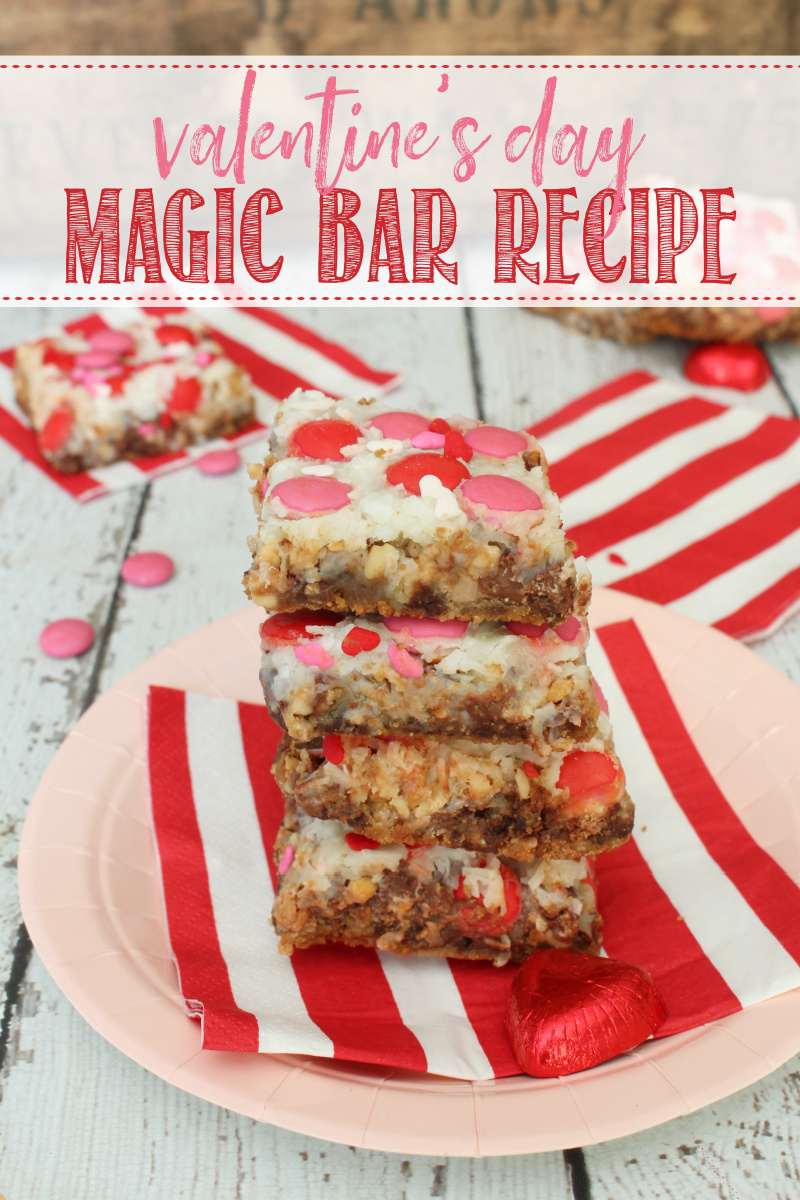
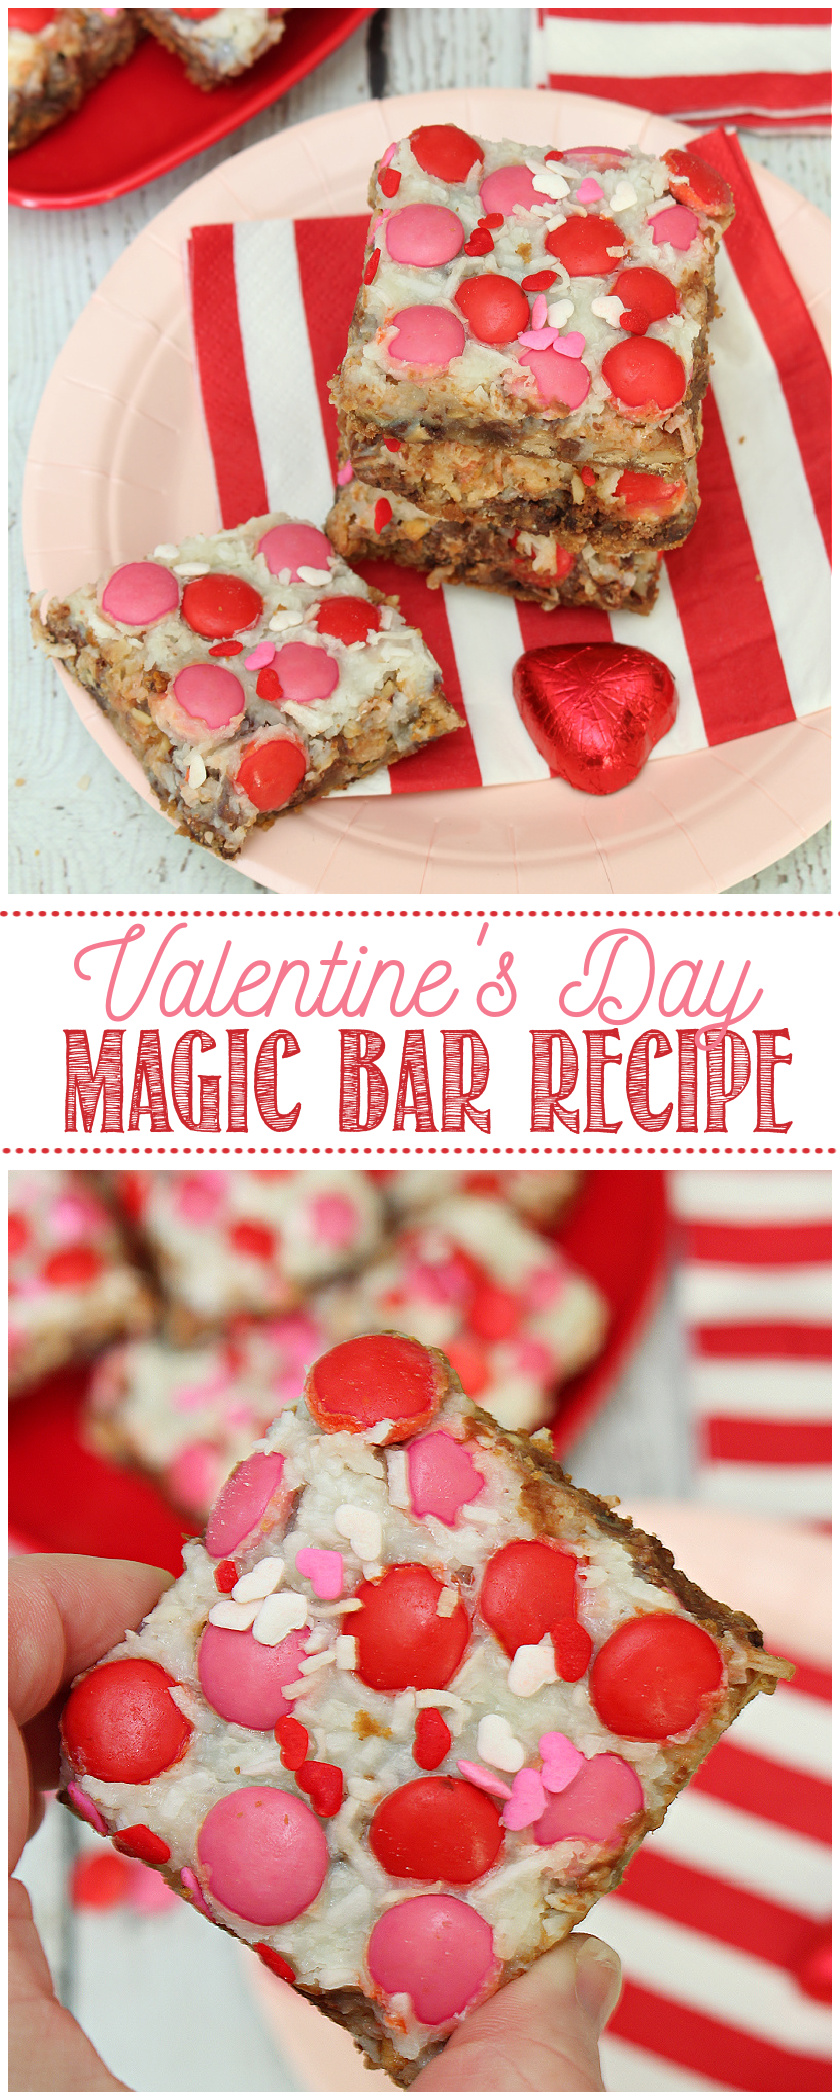
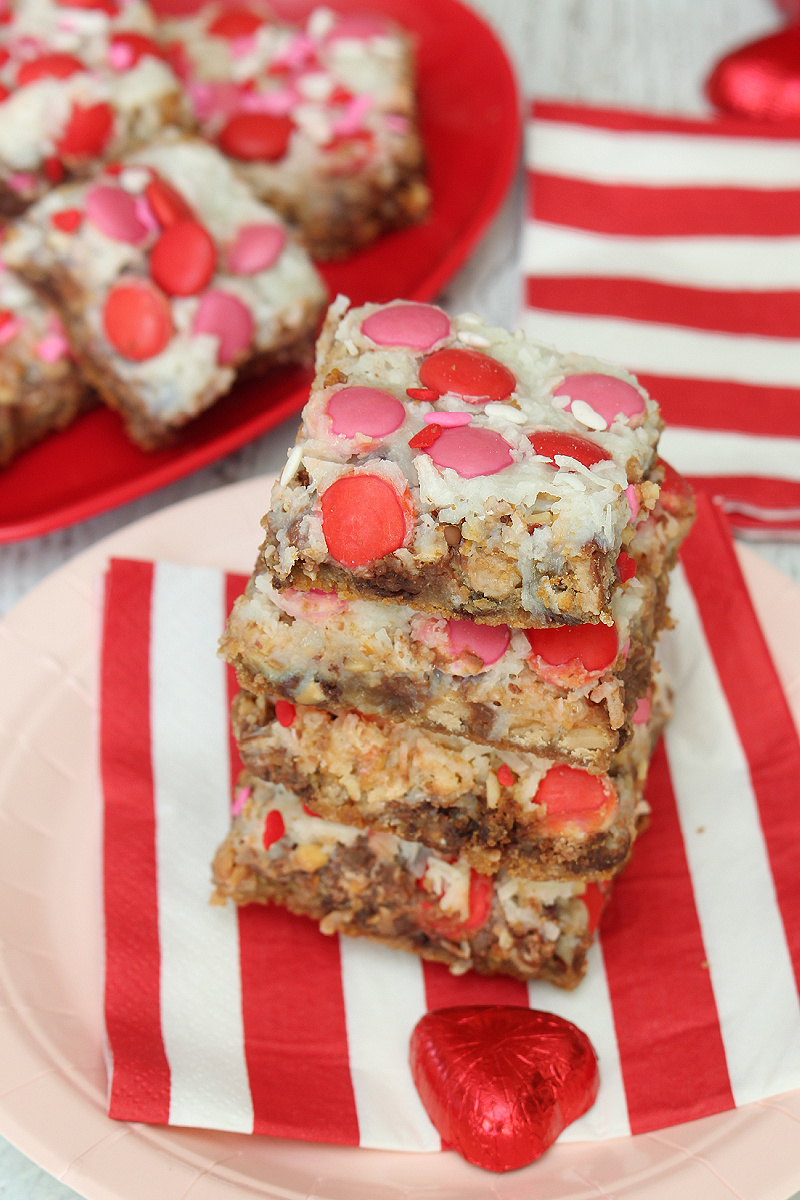
These delicious magic bars are all dressed up for Valentine’s Day and one of the easiest desserts you can make! Chocolate, salted caramel, nuts and coconut are all set in a caramelized layer on top of a chocolate chip cookie crust.
Valentine’s Day Magic Bars
Magic bars {also known as 7 layer bars} are always a big hit around here. This dressed up Valentine’s Day version is just as delicious, and oozing with all of that ooey-gooey goodness that magic bars are known for. Chocolate, salted caramel, nuts and coconut are all set in a caramelized layer on top of a chocolate chip cookie crust. They’re SO good!!
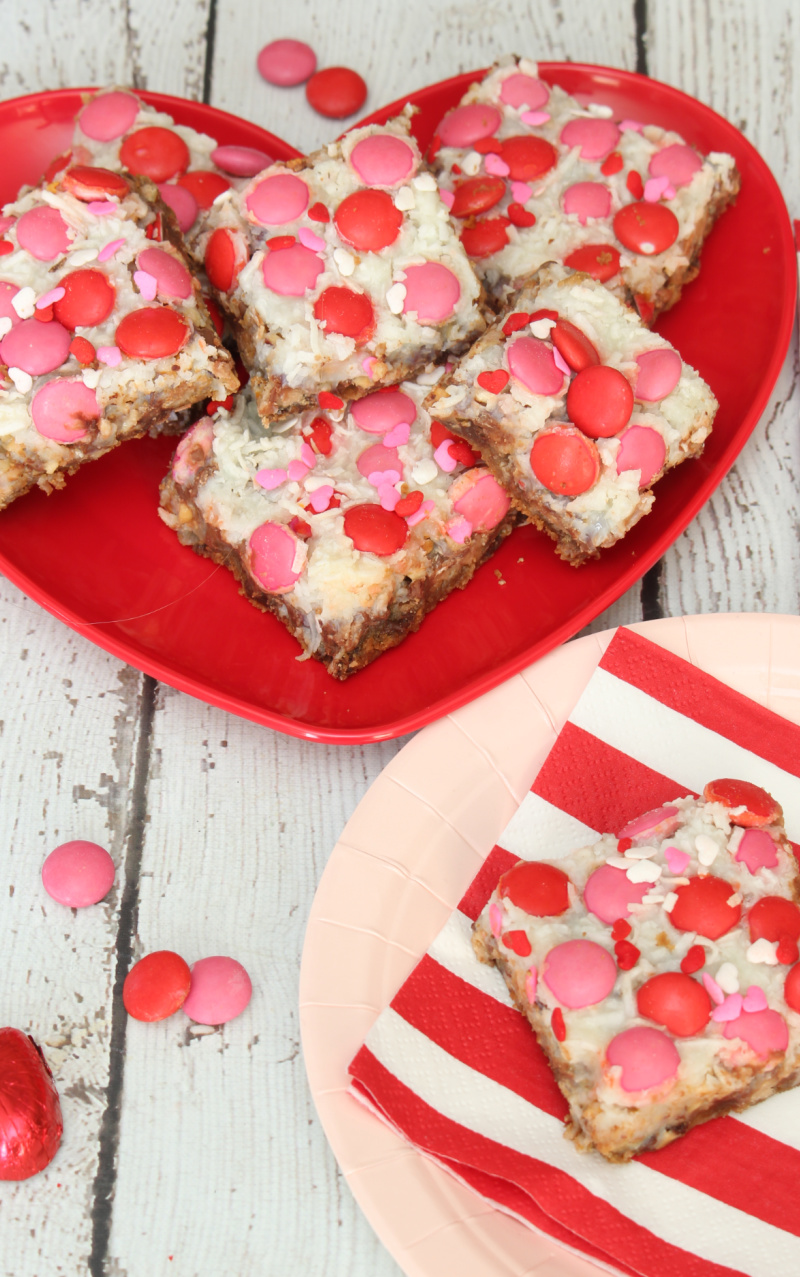
I also love how quick and easy this recipe is. There’s no mixing required and clean-up is minimal. Does it get any better than that?
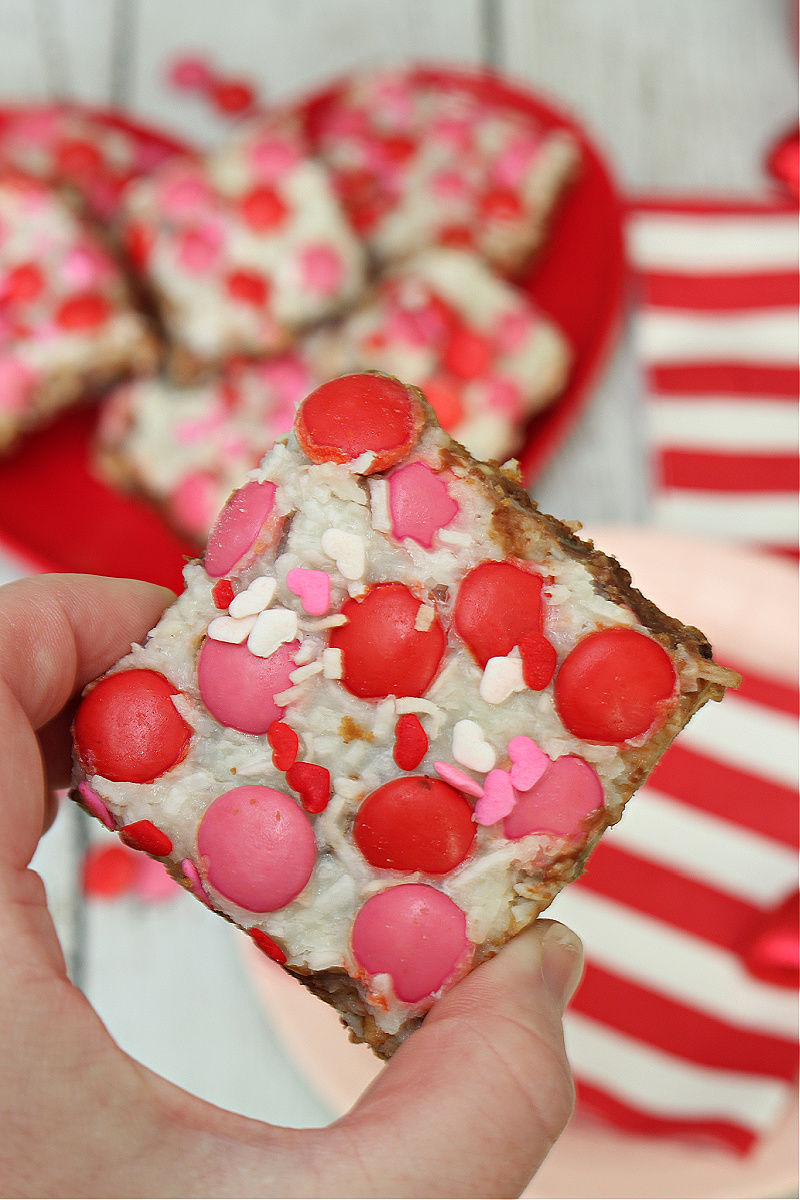
Magic Bar Recipe
Valentine's Day Magic Bars
These delicious dessert bars are so quick and easy to make and always a big hit. Chocolate, salted caramel, nuts and coconut are all set in a caramelized layer on top of a chocolate chip cookie crust.
Ingredients
- 1 16.5 oz refrigerated chocolate chip cookie dough roll
- 1 cup salted caramel chocolate chips
- 1 cup milk chocolate chocolate chips
- 1 cup lightly salted nuts of your choice, coarsely chopped
- 1 can sweetened condensed milk
- 1 1/4 cups Valentine's Day colored chocolate candies {Canadian Smarties or M&Ms, etc.}
- 1 cup coconut
Instructions
-
Preheat the oven to 350F. Line a 13x9 inch baking pan with parchment paper or aluminum foil, extending over the edges of the pan. If using foil, grease the foil especially on the sides.
-
Slice the cookie dough into 1/2 inch rounds and press lightly into the bottom of the pan. Be sure to cover the bottom completely. Bake for 5 minutes.
-
Top the cookie crust with the dry ingredients in the following order: salted caramel chocolate chips, milk chocolate chips, nuts, sweetened condensed milk, half the coconut, Christmas candy pieces, the remaining coconut. Press down firmly with the back of a spoon.
-
Bake for 25 minutes or until the edges are slightly brown. Cool completely in the pan before cutting {or place in the fridge to cool faster}. Use the parchment or paper to lift out the bars and cut into squares. Store at room temperature for up to 5 days or refrigerate for up to 7-10 days.
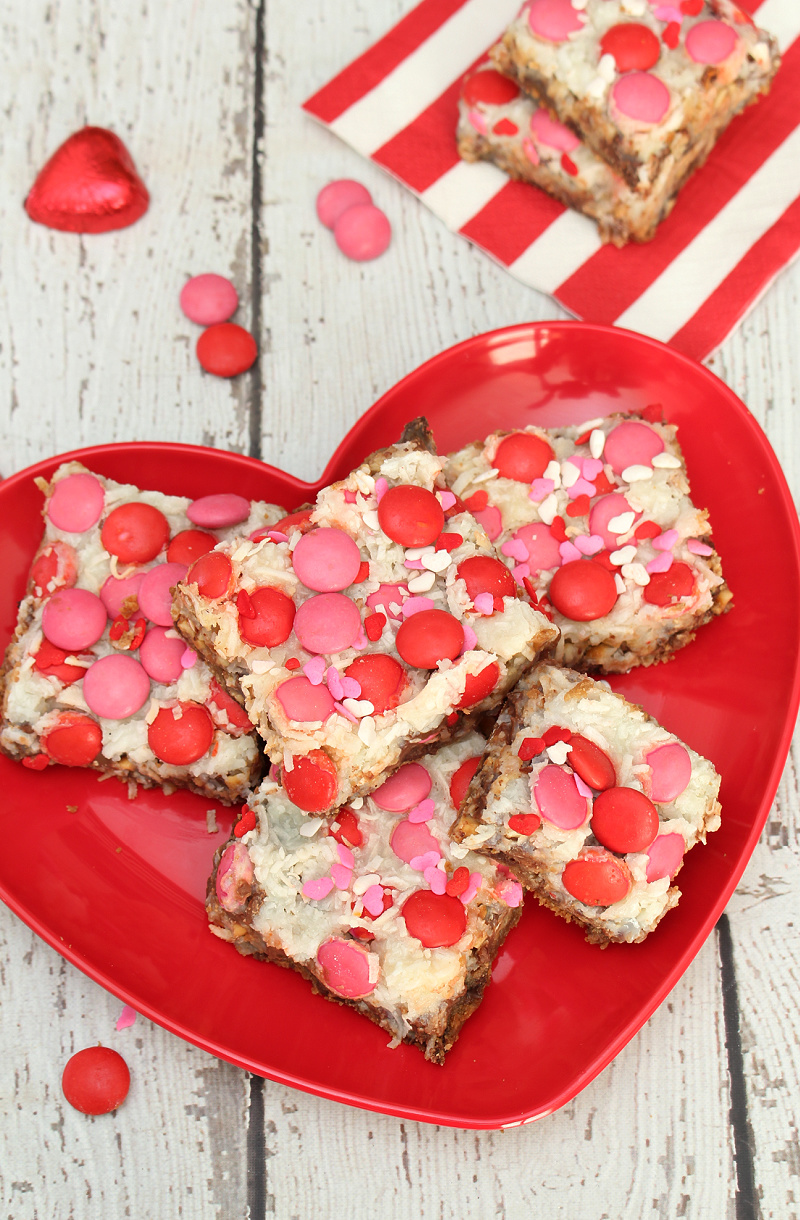
What other ingredients could I swap out for our magic bars?
One of the fun things when you’re making magic bars is customizing your own toppings. If there’s something you don’t like or don’t have on hand, switch it out for something else! You also really don’t have to be exact with the topping amounts so add a little more of your favorites! Here are some ideas for you…
- try different flavors of chocolate chips (butterscotch, white chocolate, mint, etc.}
- add mini marshmallows
- swap out the cookie base {a graham cracker cookie crust is the traditional base}
- add toffee bits
- change up the nuts
- add Canadian Smarties (very different from American Smarties!}, M&M’s or other chocolate candies for some color
- drizzle caramel over the top
- colored sprinkles
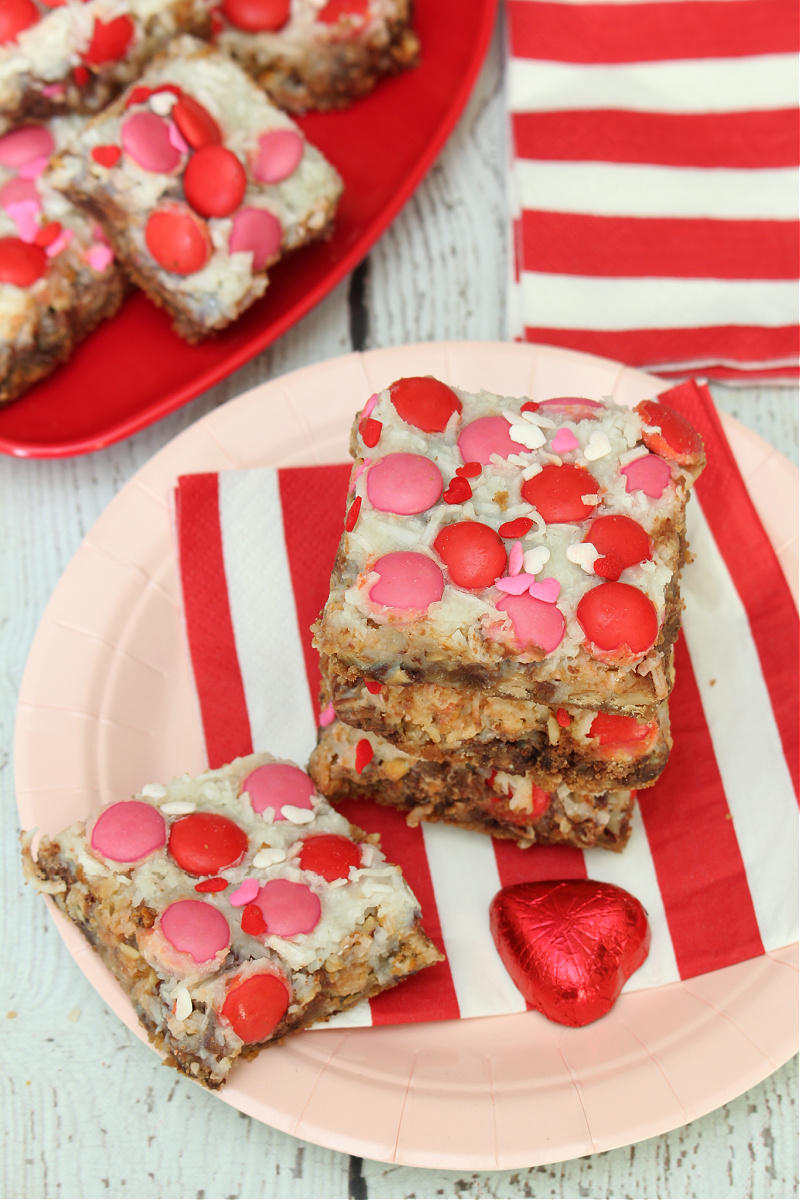
Tips for the best magic bars.
- These magic bars are deliciously soft and gooey when they come out of the oven. I love them while they’re still warm, but they’ll be much easier to slice if you put them in the fridge for an hour or two to firm up prior to cutting.
- Line the pan with tin foil or parchment paper. This allows you to lift the bars away from the pan for easier cutting.
- Store your sliced magic bars in an airtight container between layers of parchment paper. Keep in the fridge for up to a week or out on the counter for about 5 days (in cooler temperatures). They can also be frozen for up to 3 months. NOTE: While I prefer to store ours in the fridge, the Smarties do tend to lose a little of their color in the fridge, so you may want to avoid the fridge/freezer for storage if you’re using Smarties for a topping.
More Valentines’ Day Treats
For more Valentine’s Day food ideas, check out these recipes…

Leave a Reply