Hello everyone! I’m Erin from The Organized Life: a blog about cleaning, organizing, and my attempts at DIY. I am thrilled to be over here today sharing a Thanksgiving project with you. As you may have seen, Jenn put together a creative team, and I am so excited to be a part of it. I can’t wait to get to know you as time goes by.
As you are probably aware, Thanksgiving is fast approaching. I happen to love Thanksgiving: I love the simple traditions and family gatherings. I love the turkey and pumpkin pie; and I love taking time to reflect on our many blessings.
I admit, some days are harder than others to express thanks; like the days my kids continuously yell, “Monaya’s chewing with her mouth open!”, “Caleb’s breathing too loud!”, “Isaac’s sniffling and it’s SO annoying!” Are we serious? (Please note, these are actual quotes used with frequency in my house…)
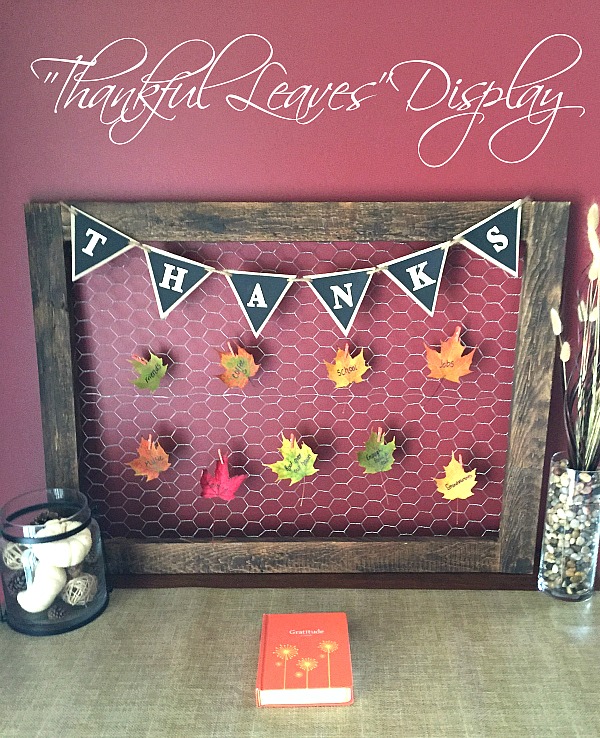
Three years ago, I came up with “thankful leaves” as a way for our family to practice the art of gratitude. Every day, from November 1st through Thanksgiving day, each person writes down one thing we are grateful for (even on days when someone’s been breathing too loud). In the past, I have used foam leaves from the craft store and taped them to the kitchen wall. This year, however, I thought I would try making something we could use for years to come.
I do not claim to be a crafty DIYer (if I did, I’d be lying), so this project is simple, and doesn’t require a lot of time.
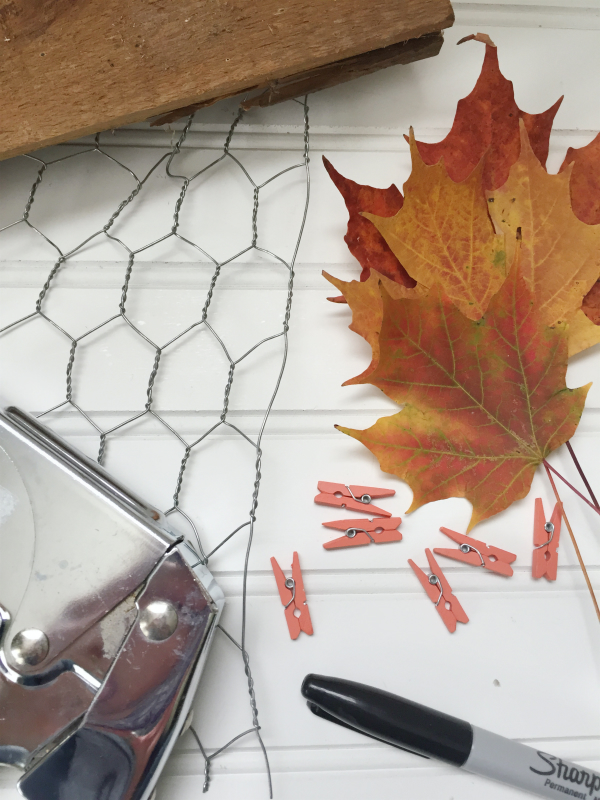
MATERIALS
- Frame (Make one or buy one; it’s totally up to you)- Mine was 28″ x 24″
- Chicken Wire
- Staple Gun with Staples
- Leaves (Real or fake are fine)
- Small Clothpins
- Marker
- Banner (Optional)
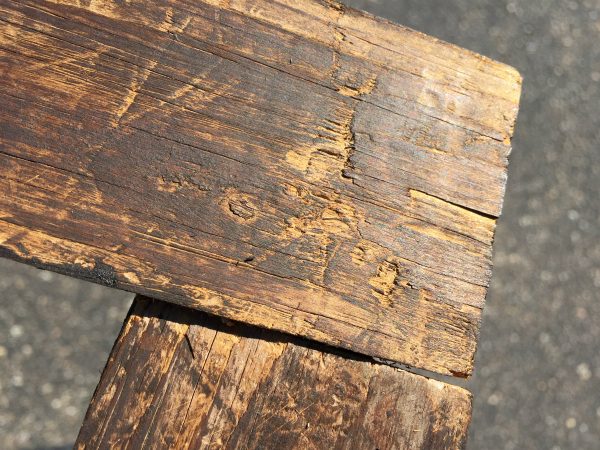
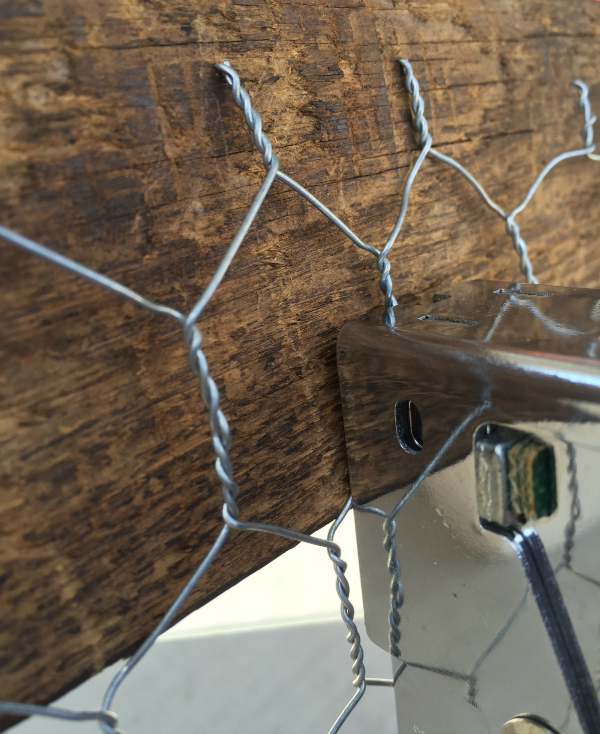
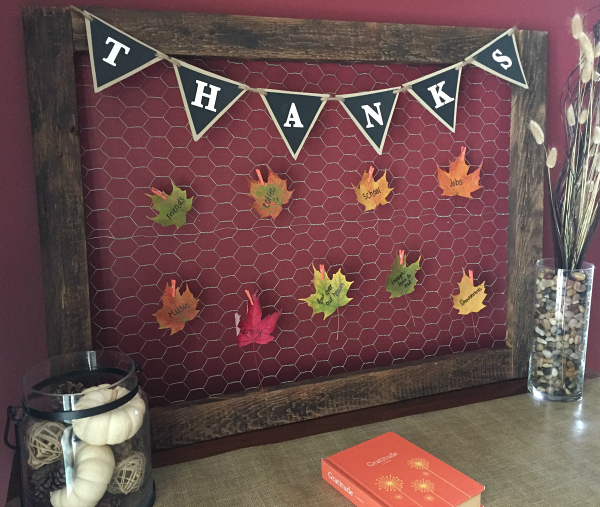
I wanted to start with a frame, and luckily, we have a lot of old barn wood. I asked my hubby if he would be so kind as to make a frame for me, and he enthusiastically agreed when I told him that I didn’t want the gaps filled, nor did I want any sanding; I wanted it raw and imperfect.
Onto the back, I stapled some chicken wire.
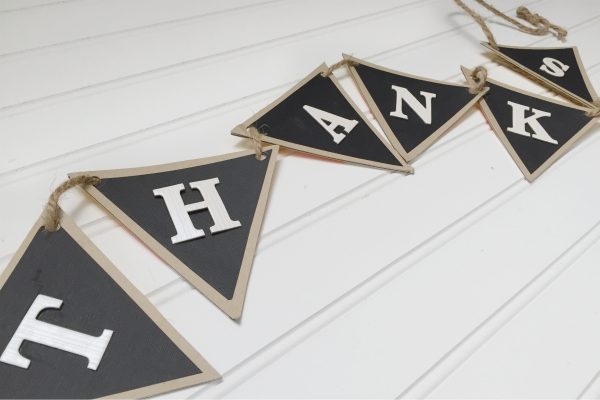
I created a banner made of paper, twine, and stickers, but this is completely optional.
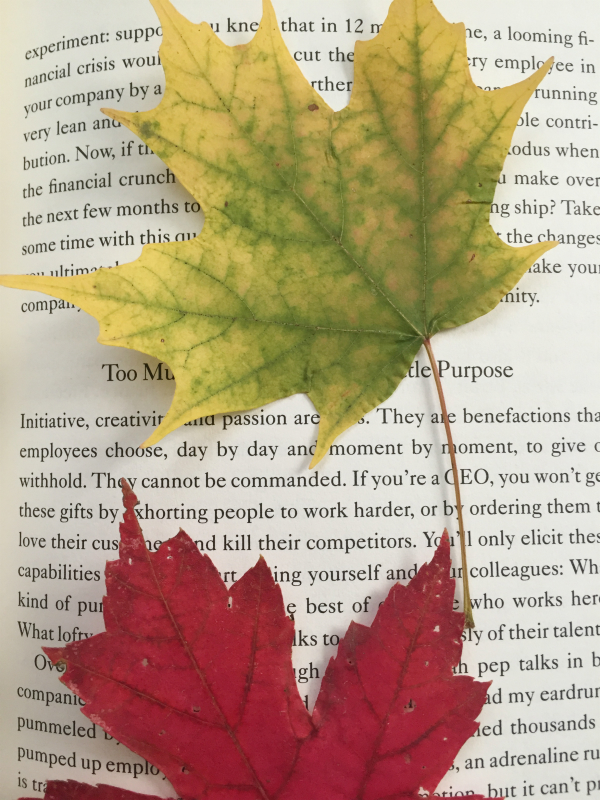
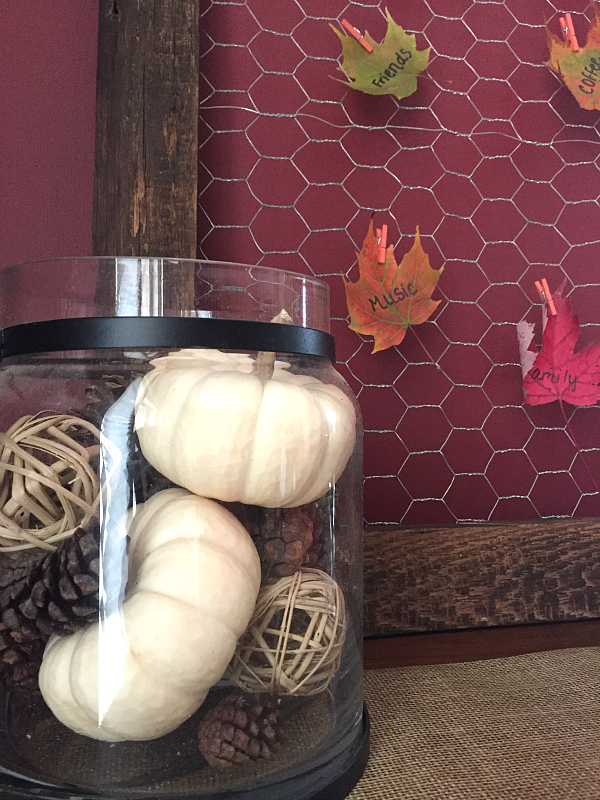
The last step was taking a nature walk to find some fall leaves for pressing. I am lucky enough to live where the leaves are vibrant and plentiful, but if that’s not you, many craft stores carry paper leaf cut-outs that will work just fine.
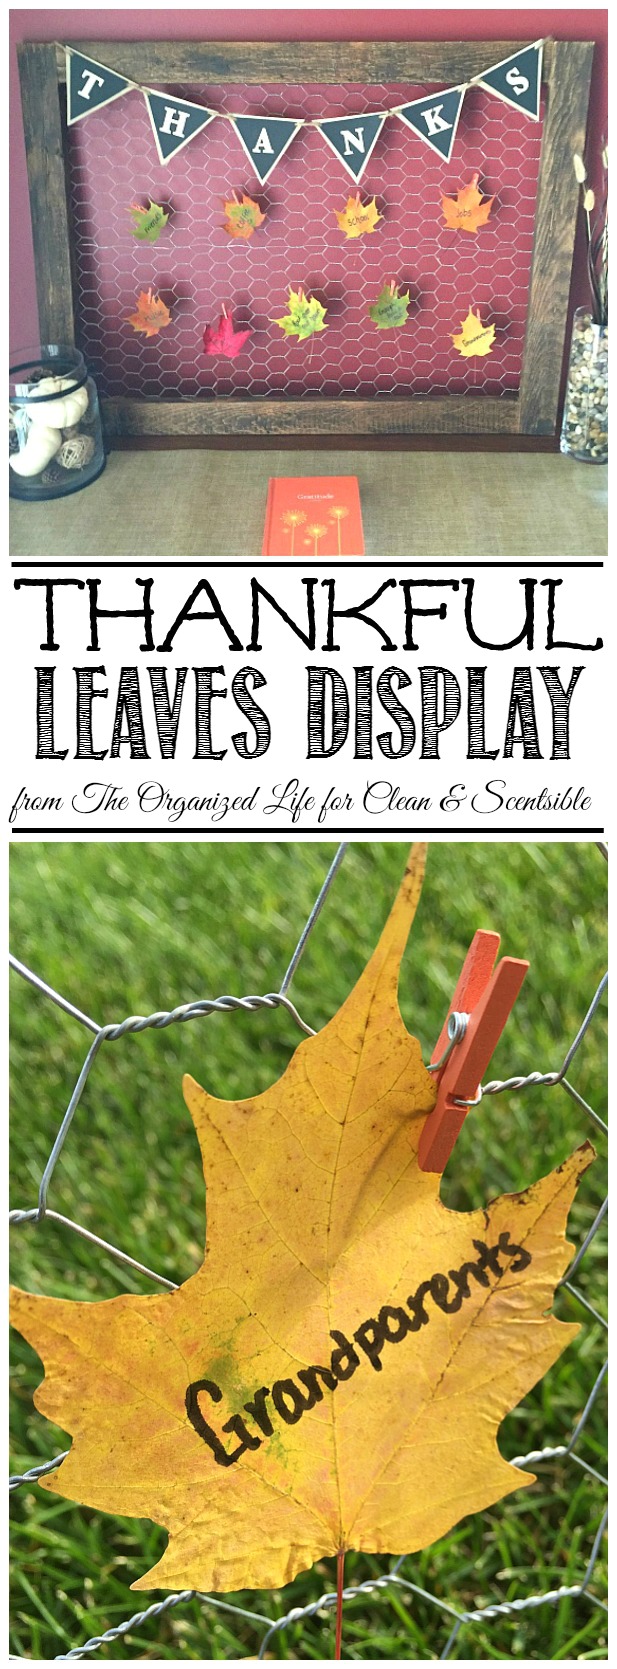
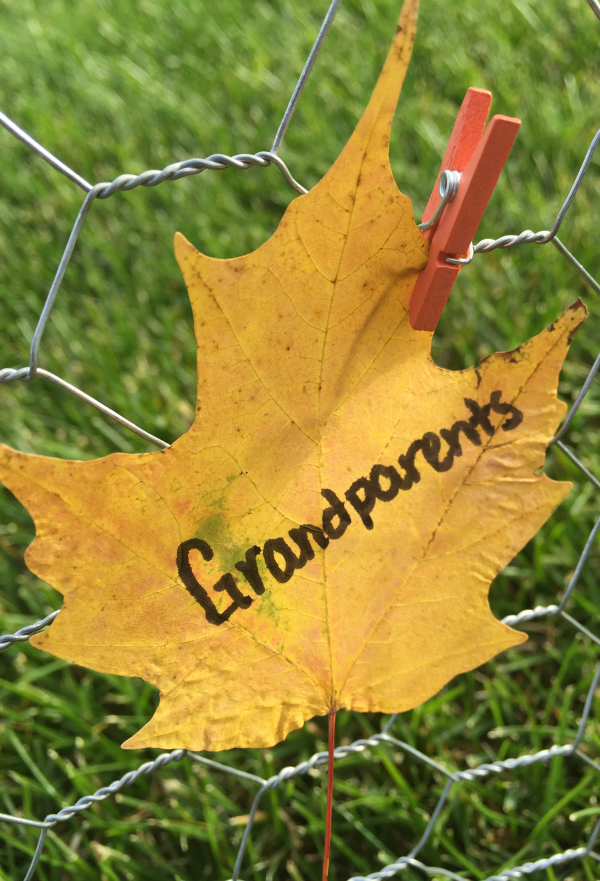
Once November 1st arrives (or whatever day you choose to start), simply write one thing you are thankful for onto the leaves. Using a small clothespin, secure it to the chicken wire.
I absolutely love the way this turned out. The wood has sentimental value as it belonged to a barn owned by my husband’s grandparents, and we can use it time and again as a way to express our gratitude.
At the end of the holiday, I take down all the leaves and write down what each person was thankful for in a gratitude journal. It is so fun to see what my children have been thankful for throughout the years. A couple of my favorites: pickles, refrigerators, and being potty trained (Amen!)
Thanks for letting me spend some time with you today, and thank you Jenn, for the opportunity to stop by.
I would absolutely love to keep in touch with you!
Blog // Facebook // Pinterest // Instagram // Instagram // Google +

What a great idea with writing what you are thankful for on the leaves! I’ll be adding it to my fall pin boards for sure!
Thanks Rose! This has been such a great tradition for our family.
This is a really cute idea! I love that you used barn wood for the frame.
Thanks Amy! I love all that barn wood out in the garage. I’ve got so many ideas on how to use it.
What a sweet idea! I love Thanksgiving ideas that truly promote what the holiday is supposed to be about. Happy (Canadian) Thanksgiving!
A Happy Canadian Thanksgiving to you as well. I am also in favor of supporting what the holiday is truly about. Sometimes I think Thanksgiving get a little overlooked, but what an amazing day dedicated to offering gratitude for all we have.
What an easy idea! I already have a picture frame with chicken wire – so I’ll definitely have to do this!
Yay! I have seen so many frames with chicken wire in stores, so this project becomes even easier if you already have one, or want to buy from the store.
What a wonderful project! I especially love how the banner looks against that cute wire frame!
Thanks Tee! I like the addition of the banner as well. It just adds a little more to the project.
such a great DIY, especially with kids! Great post!
Thanks Lindsay!
What a great idea!! Love it!! Great visual for kids to see all the things they can be thankful for…adults too!! 🙂
I agree that it’s so good to see a visual of all the things we’re thankful for, and while I started doing this because I have kids, I think it is beneficial at any age!
I love this idea, Erin! You could make a larger one for Christmas cards, too. What a nice way to celebrate Thanksgiving!
Funny that you mention the Christmas cards… I was going to reuse it for an advent calendar… another post for another day 🙂
Such a beautifully simple expression of gratitude. I love it!
Thanks Rachel!
How very resourceful!
What a great idea. I love that it is reusable. Pinned to my thanksgiving board.
Thanks! I’m hoping I can reuse the framed chicken wire for other holiday events as well… like an advent calendar this Christmas…