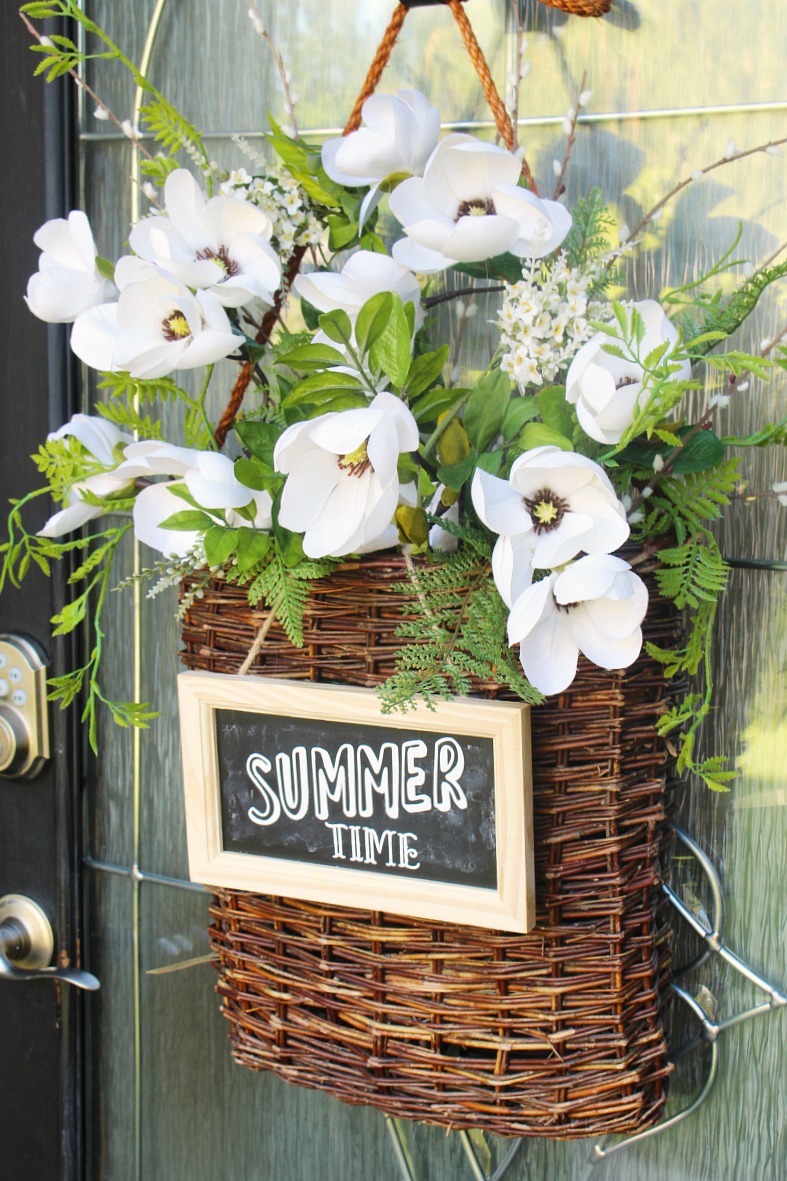
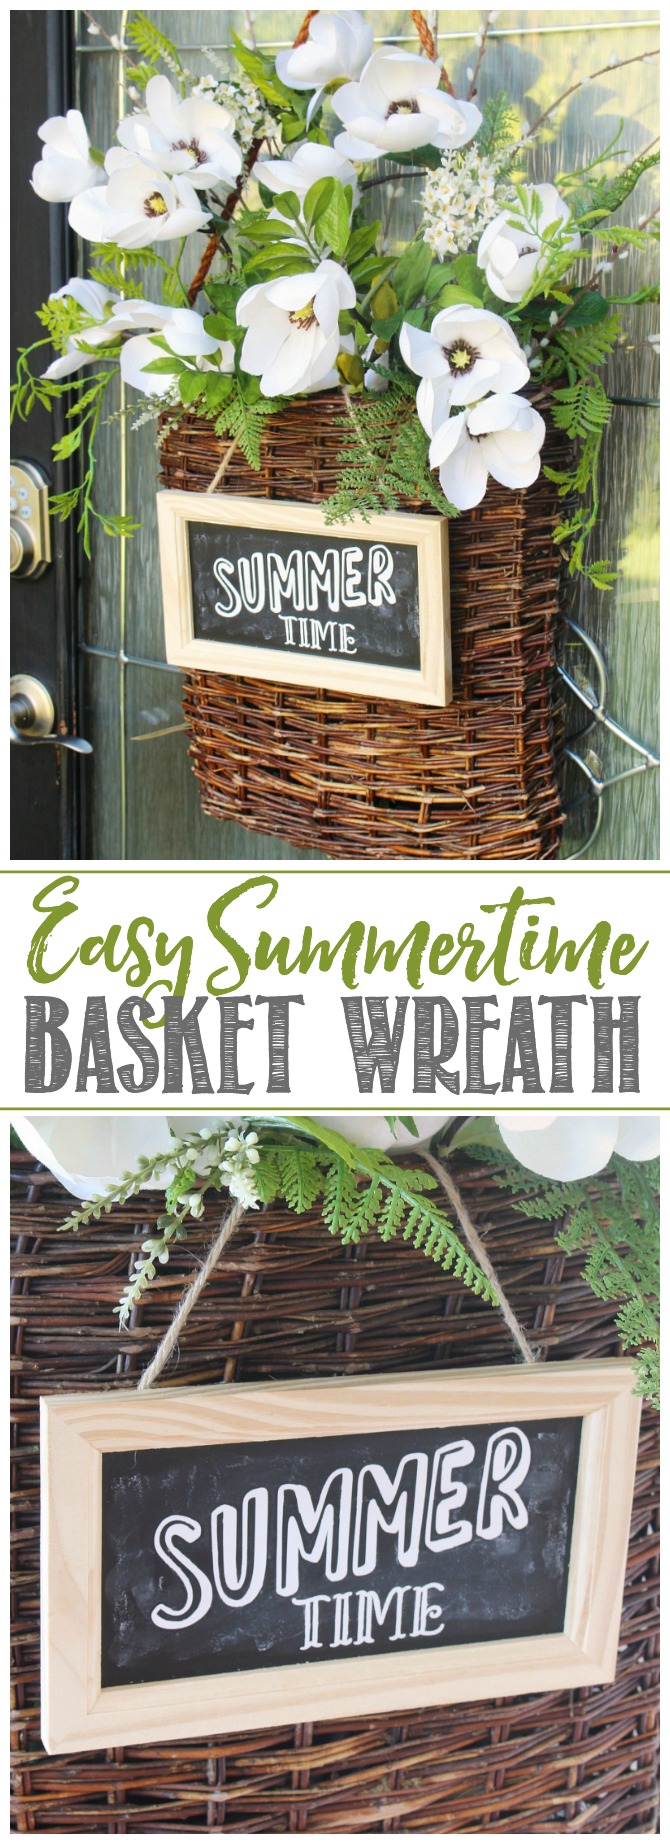
Add a welcoming touch to your home with this pretty summer basket wreath. It’s easy to customize with your favorite flowers or greenery.
Seasonal Simplicity Summer Series
Welcome back to week two of the seasonal simplicity summer series! Each week we’re sharing a new summer idea with you – from summer decor ideas, to delicious drinks to keep you cool, to free fun summer printables. Everything you need for the perfect summer at home! Last week we showed you some awesome summer crafts and DIY projects and this week is all about summer wreaths!

This post contains affiliate links. This means that I may be paid a small commission on items purchased directly through the links provided. Thank-you so much for your support!
Summer Basket Wreath
If you like switching things up for the different holidays and seasons, a basket wreath is the perfect option. It’s easy to change up, cuts down on storage space in the off seasons, and is lots of fun to put together. Hang it on your front door, display it inside, or use it on your summer patio.
Materials
- hanging basket. Ideally you want one with a fairly flat back so it will hang well against the door.
- faux greenery. I like to use at least two types – one with more structure and height to it and one that is a little more floppy so it will drape down more. For this one, I also cut up some fern stems to use to fill in any little gaps.
- faux flower stems. I used two stems for this basket but you may want to use more depending on the how many flowers are on each stem.
- chalkboard sign. I couldn’t find a link but I picked mine up at Michaels. You could also use other embellishments such as ribbon, pre-made signs, or any other summer decor items.
- white vinyl. I used my Cricut Joy to cut out the wording for the sign but you could just use chalk too if you don’t have a digital cutter.
Instructions
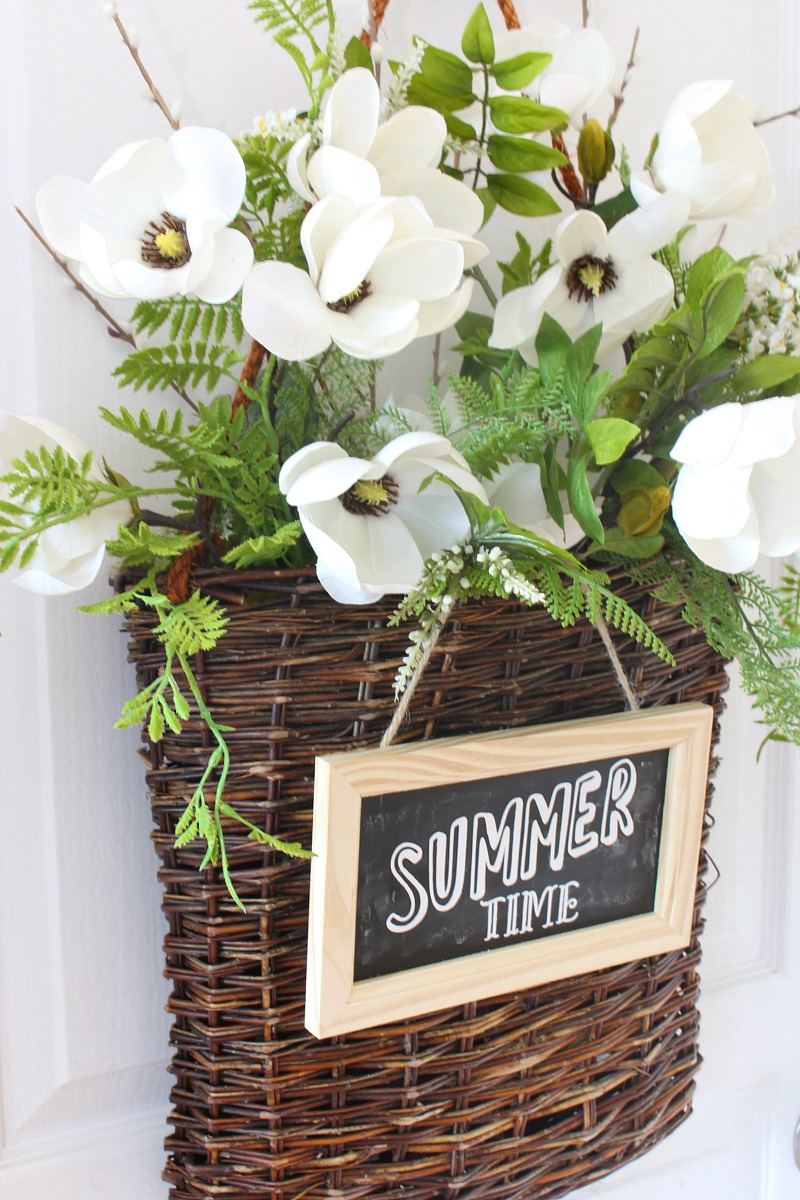
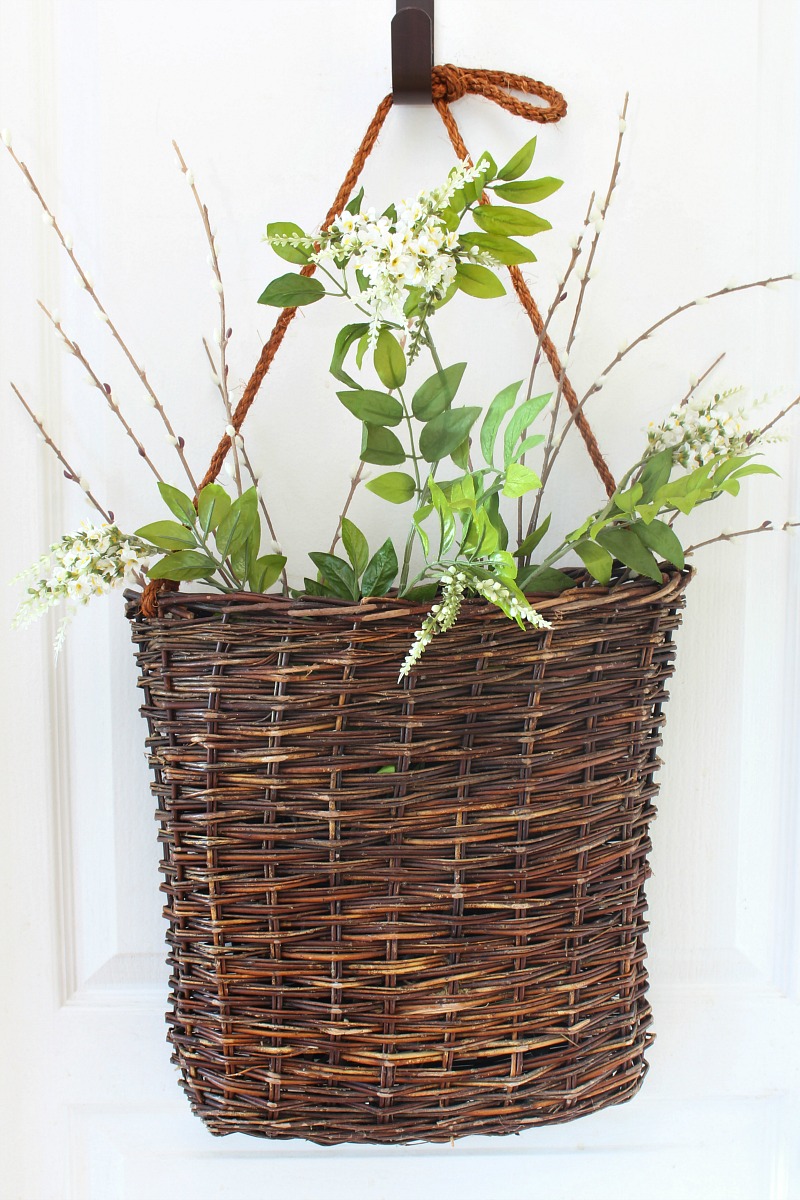
- Start with the most structured, tallest greenery you have and place it in the center of the basket. I used two faux pussy willow stems and one stem of leaves. Spread out to fill out the basket. Generally, you want to place the tallest branches towards the center of the basket and then stagger the height down as you move to each side of the basket. Play around with bending your branches for added depth.
- Add in the flowers. If the flower stems are too long, I like to just bend the bottom of the stems to shorten them rather than cut them. This way you still have the longer option if you use them for future projects. Bend the flowers until you get the look you like.
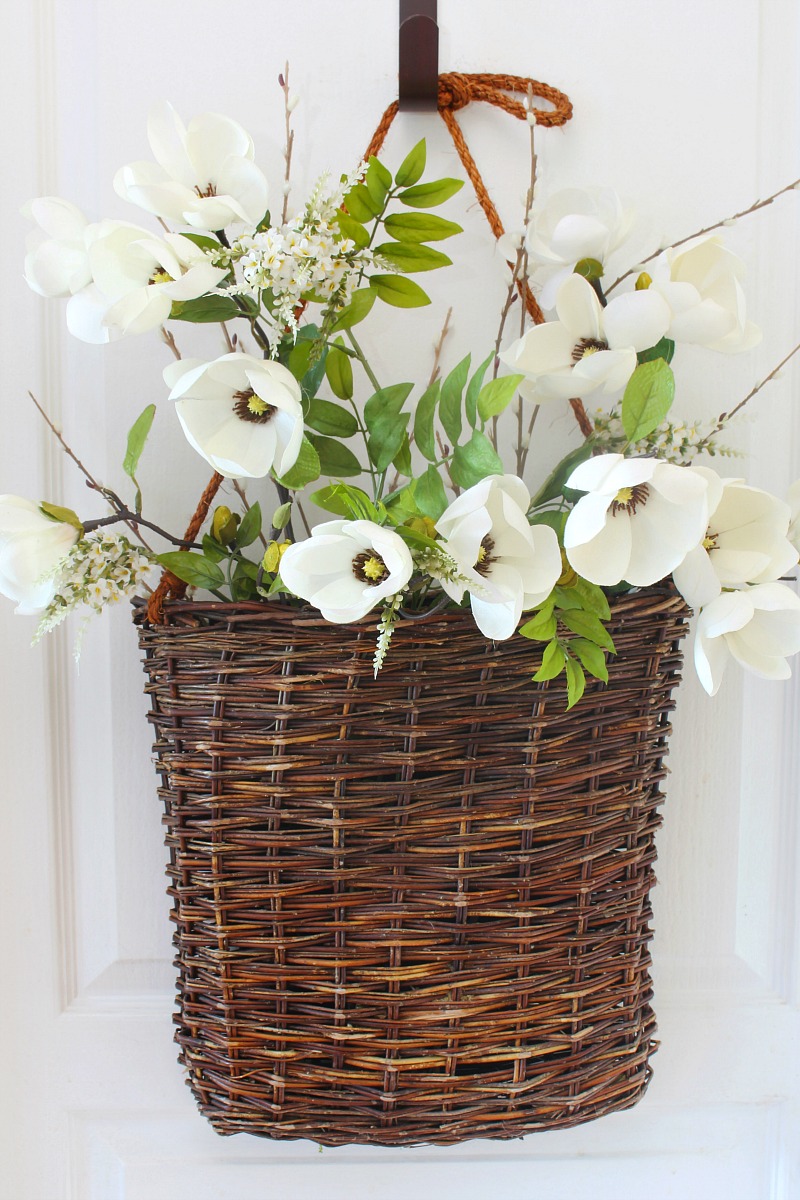
- Add in extra greenery for filler if desired. Since my flower stems tended to go more straight up, I felt I needed more greenery on the sides. I added one leaf branch on either side and intertwined it with the flowers.
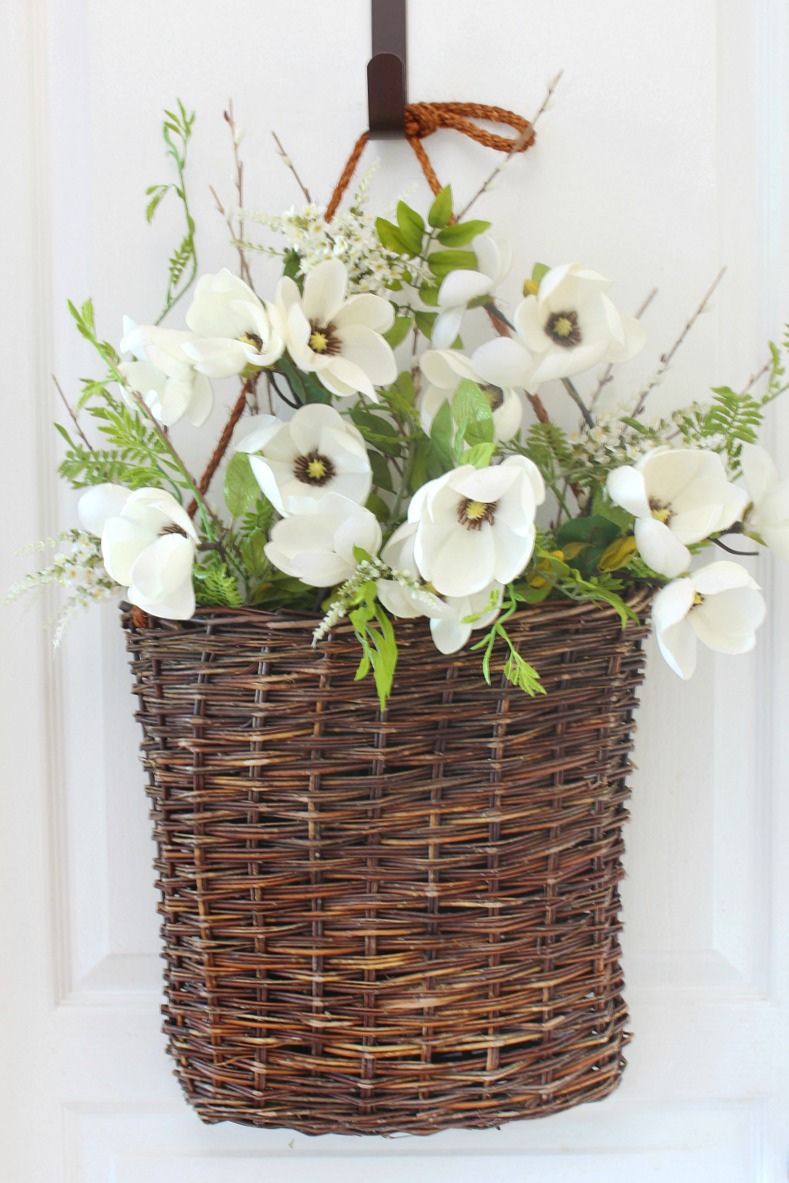
- I always like to have a little bit of greenery trailing down the front of the basket but didn’t want too much since I was going to be hanging the sign. Instead of using a full bunch of greenery, I just cut a couple of fern leaves to use. I placed a couple in the front trailing down as well as a couple of more to fill in a couple of bare spots.
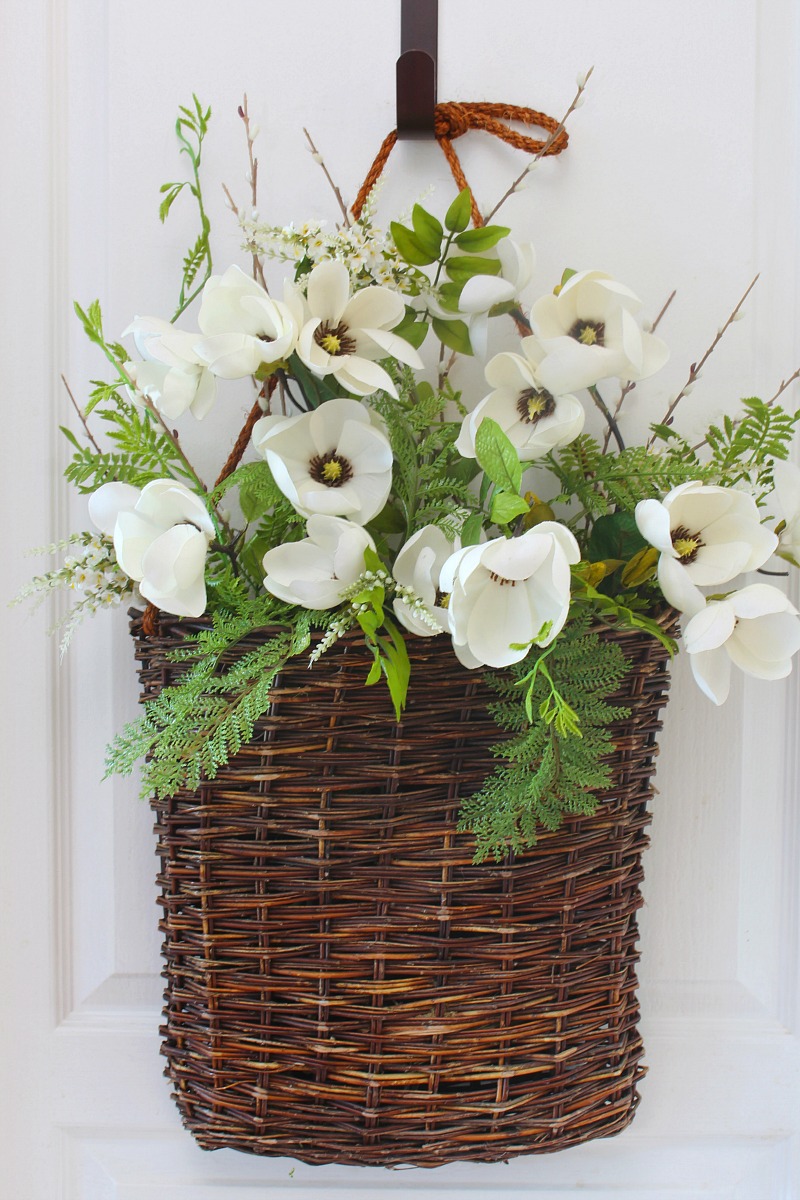
Chalkboard Sign
- I purchased the chalkboard sign from Michaels and decided to use white vinyl on it rather than chalk for the writing. It makes it a little more visible and I don’t have to worry about it rubbing off. I used my Cricut Joy to cut out the design that I downloaded from the Cricut design space – just 10 minutes from start to finish! {For more info on Cricut Joy you can check out my post HERE.}
- To give the chalkboard sign a little more of an authentic look I spread a little chalkboard dust around it. I was thinking about staining the wood frame, but laziness got the best of me. 😉
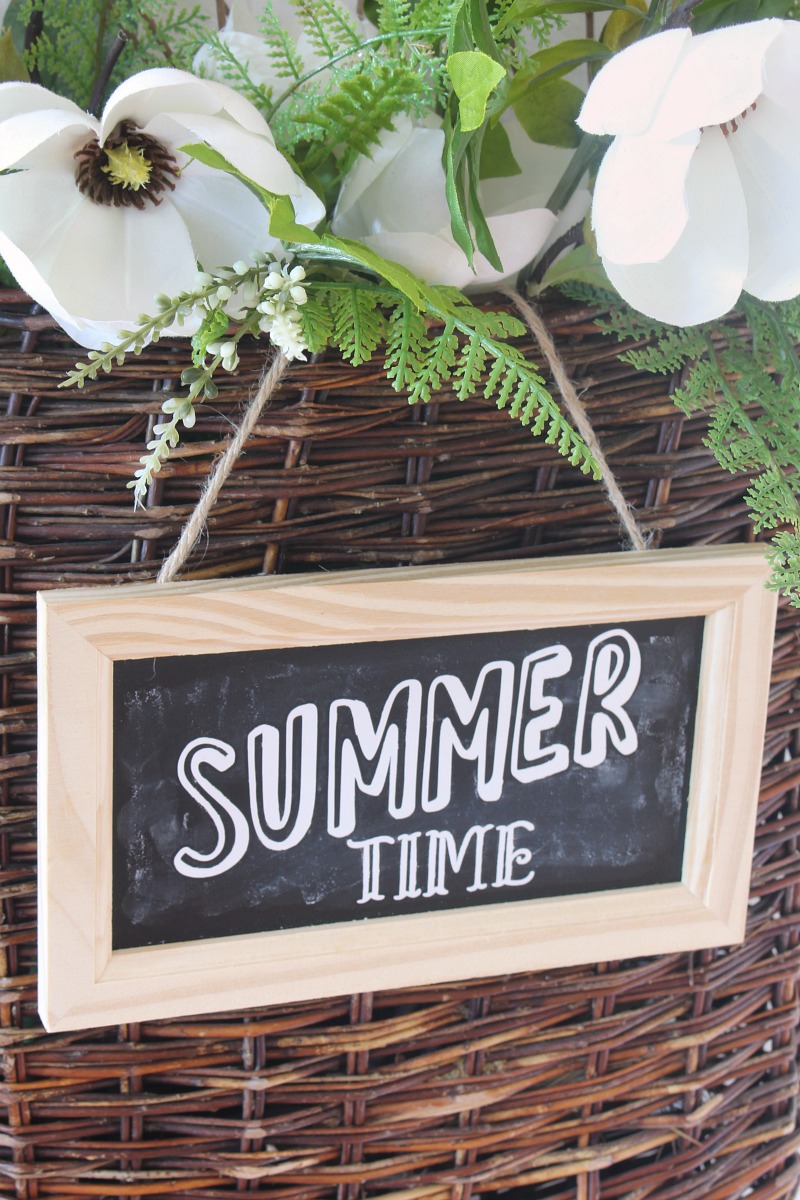
- The frame hung perfectly from a piece that was sticking out from the basket on the inside. You could also use a pretty ribbon to hang.
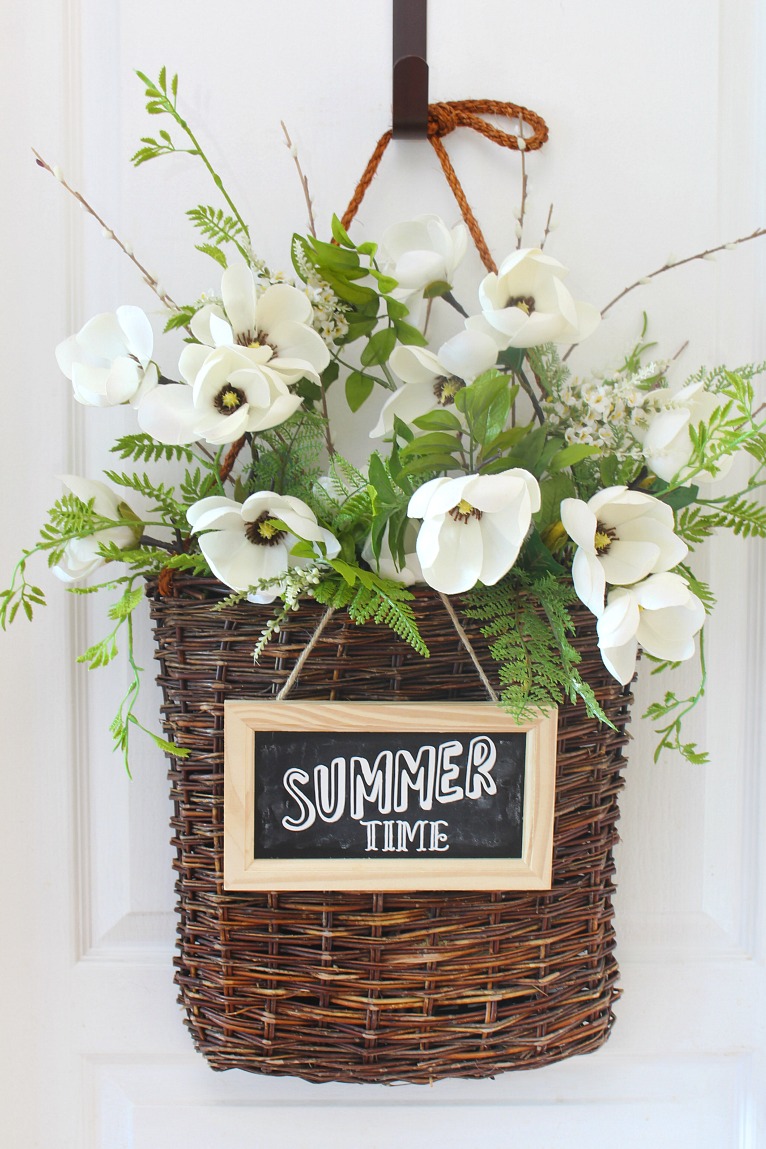
Fro more basket wreath inspiration you can check out my other basket wreaths here:
How to choose the best faux branches.
There can be a huge difference in the quality and appearance of faux flowers and stems these days. Spending a little time to look for more realistic looking options can make a big difference in your project or home decor. Here are a few things that I always look for…
- look for stems with slightly natural variations in color. Overly bright or monotone colors look less realistic.
- choose stems that can be easily shaped and will keep their form. This allows you to bend and move the flowers for added depth and dimension.
- if your stem has multiple flowers look for variations in size and openness. Real flowers don’t all look the same so you want some variations in your faux flowers too.
- check the feel and texture of your leaves and flowers and go for a more natural touch.
- pay attention to the details. Sometimes the leaves and flowers look great but where they attach to the stems looks really cheap. It’s those little details that can make a difference!

I hope this helps inspire you to give a basket wreath a try. Or use the same idea and create a faux flower arrangement in a vase, basket or container of your choice. With the exception of the chalkboard sign, this project was made with materials that I already had on hand. So look around your home and see what you can come up with!
More Summer Wreath Ideas
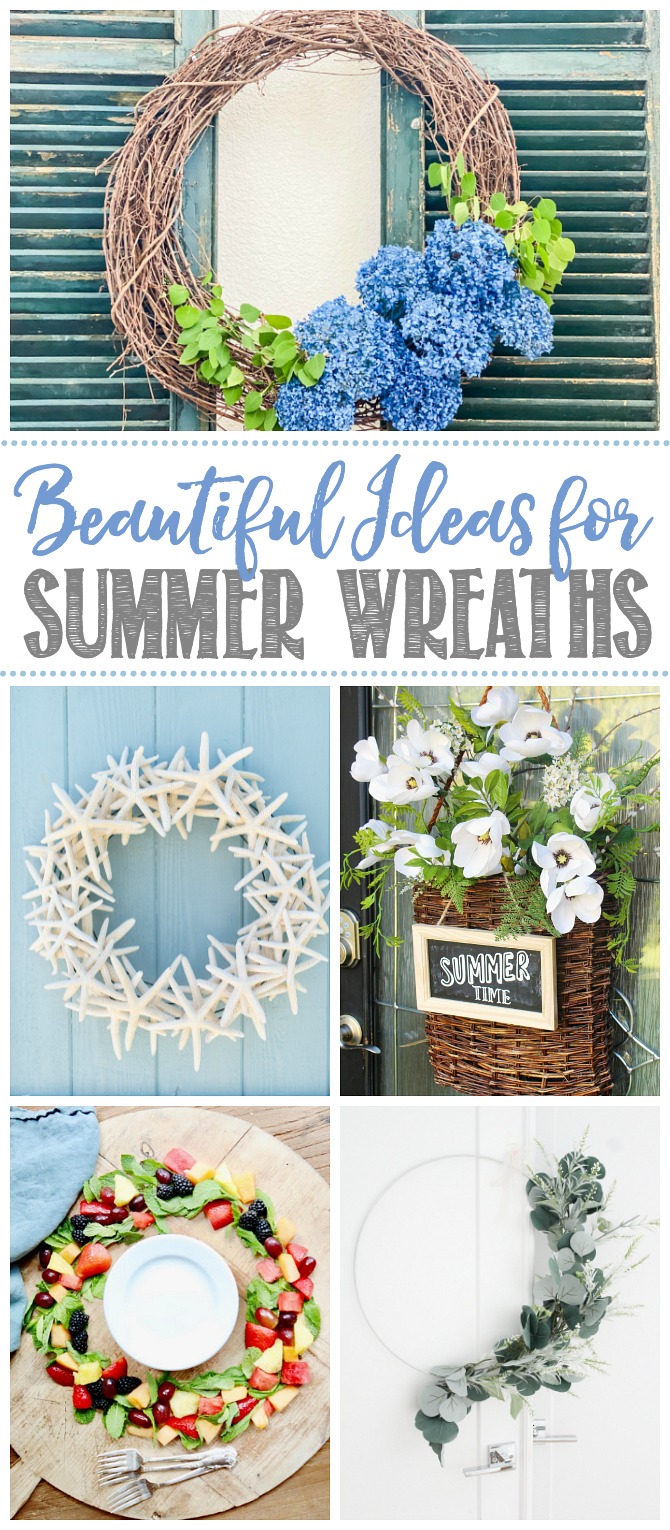
Today I’m joined by some of my blogging friends who are also sharing their summer wreath ideas! Just click the links below the images to be taken to their post. Enjoy!

DIY Dollar Store Lemon Wreath with Ferns at The Happy Housie
Blue Hydrangea Wreath at The Tattered Pew
DIY White Rose & Eucalyptus Wreath for Summer at Modern Glam
Summer Basket Wreath at Clean & Scentsible

Swiss Cross Door Basket at Cassie Bustamante
Foraged Wreath at Life is a Party
Minimalist Modern Summer Hoop Wreath at This is Simplicite
DIY Hydrangea Wreath at Dans le Lakehouse

Nautical Summer Cottage Wreath at Tatertots and Jello
DIY Floating Starfish Wreath at Finding Silver Pennies
DIY Easy Crafts Wreath Pillow at My 100 Year Old Home
Edible Fruit Salad Summer Wreath at My Sweet Savannah

Summer Vibes Wreath at Amidst the Chaos
Cheery Summer Yarn Wreath at a Pretty Life
Summer DIY Wreath at Joanna Anastasia
DIY Summer Wreath Idea at She Gave it a Go
More Summer Decor Ideas
For more summer decor ideas, check out these posts…
what an adorable basket- love the little added chalkboard!
Thanks Cassie! I always find the little details are the most fun to make!
Love this Jen! Anemones are one of my favourite summer flowers!
Thanks for the name! I couldn’t remember what those were called! lol!
This is so pretty! Love the basket and the flowers pop against it.
Jenn your summer basket is just beautiful! I love the sign you added! Pinned!
Thanks so much Kelly!
Super cute, Jenn! I love the little chalkboard sign!
Jenn, I love this basket! It adds such a pop of freshness to your door and is perfect for summer!
Thank-you!
Oh my goodness I LOVE this! I’m absolutely going to make one myself- thank you for the inspiration 🙂
Hope you have fun with it!