Use this free printable spring cleaning checklist and simple spring cleaning tips to help keep on track with your spring cleaning!
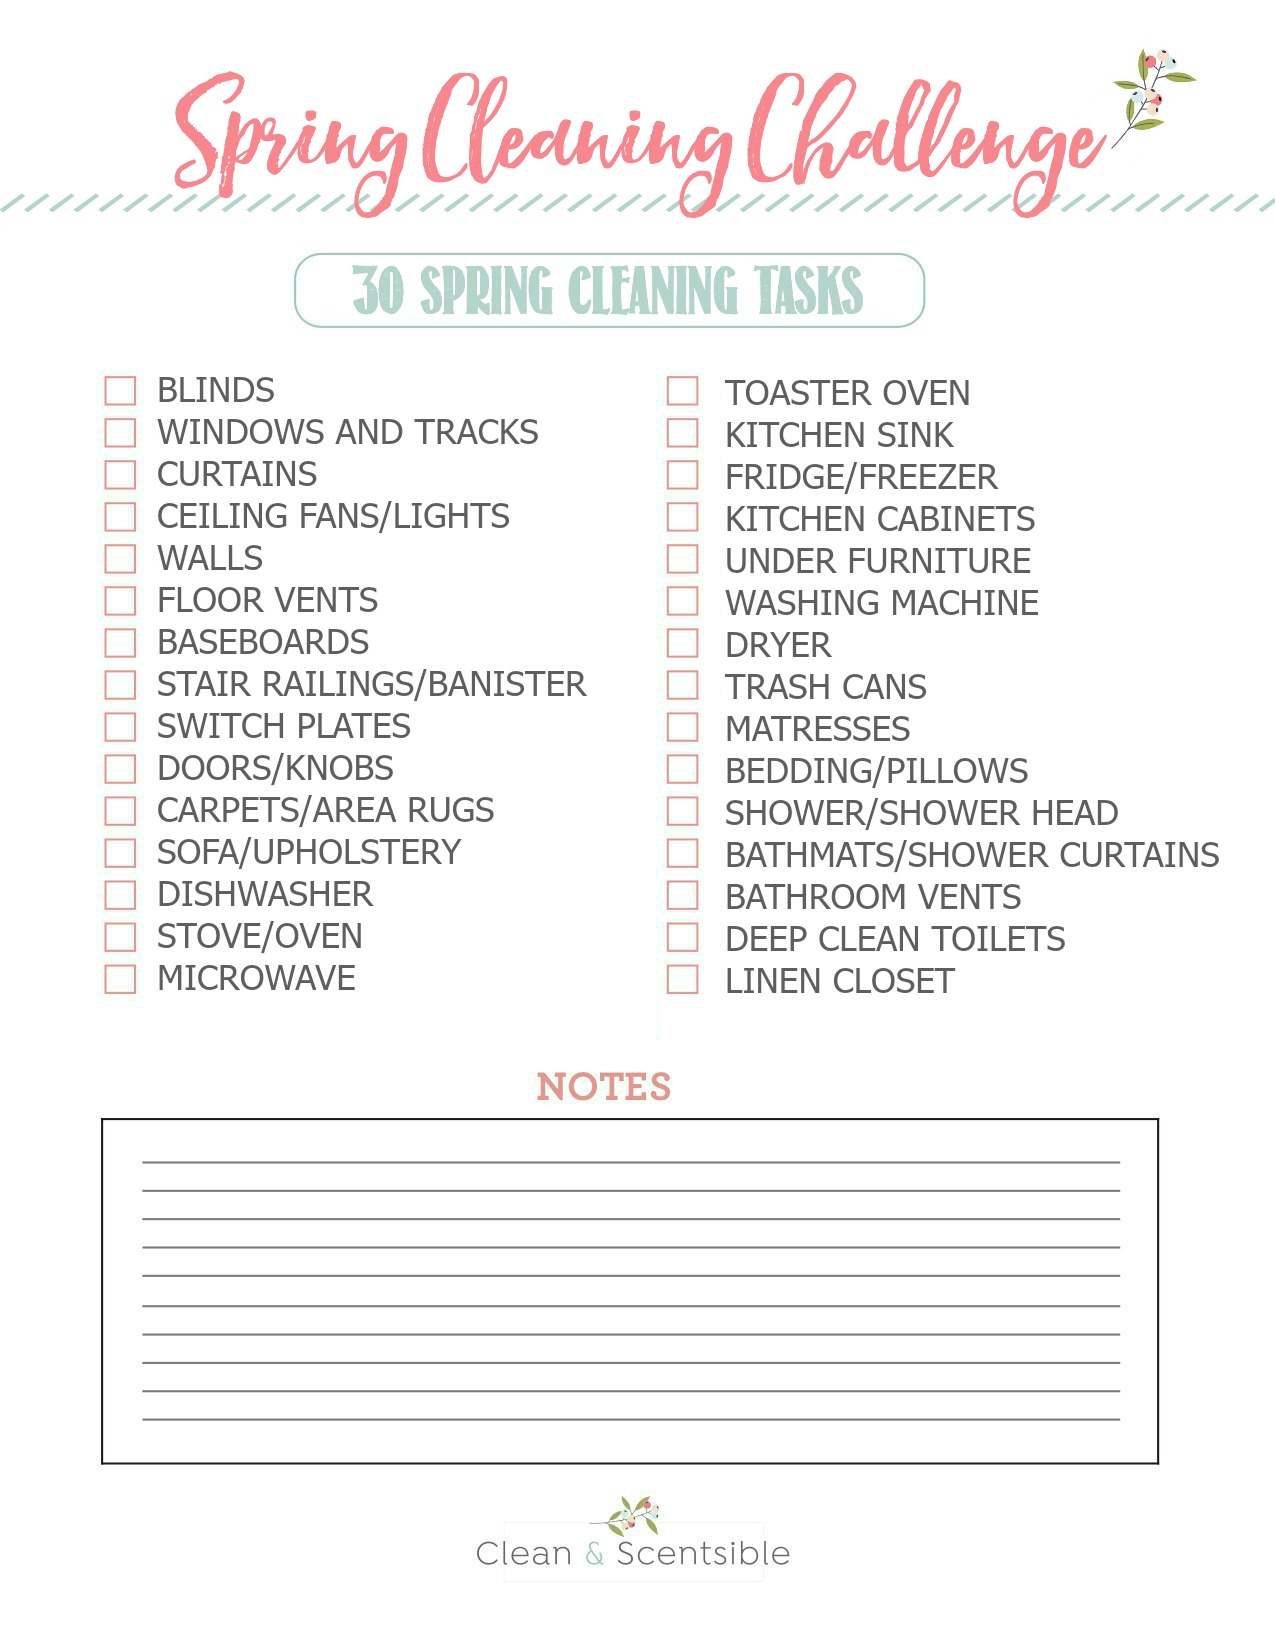 Spring Cleaning Challenge
Who wants to join me in a little spring cleaning challenge? It might be a little later than typical, but time seems to be all over the place these days. 🙂 I’ve put together 30 common spring cleaning tasks to help give you a basic guideline for your spring cleaning tasks. You can complete the tasks in anyway that works for you – one per day, a few each weekend, whatever works! For tasks that involve working in multiple rooms {such as doing the blinds or cleaning the light fixtures}, you may want to split this over multiple days.
This post contains affiliate links. This simply means that I may receive a small commission {at no cost to you} for any items purchased directly through the links provided. Thank-you so much for your support!
How to Spring Clean
There are many different methods and time frames that you can use for spring cleaning. It really just comes down to your personal preference and what works better for your schedule and home size. Spring cleaning can seem very overwhelming when you first start – especially if you have a larger home or haven’t cleaned for a while. The key is to just get started on something. Focusing on one task at a time or one smaller space at a time, makes it much more manageable. Here are a few things to think about before getting started…
Room by room or whole house tasks.
There are basically two main ways that you can go about spring cleaning: working room by room or going through set tasks throughout the whole house. If you like to work room by room, you would complete all tasks pertaining to that one room before moving on to the next room. Alternatively, you can do set tasks throughout all rooms of the house. For example, you would clean all of the light fixtures throughout the house or launder all of the curtains.
In reality, I feel like I do a little bit of both. I do generally prefer to work room by room, but some tasks like cleaning the floor vents and wiping down the light switches seem to be quicker to do if I do the whole house at one time. Whatever works for you!
Work in a methodical manor.
While you don’t necessarily need to do all of your spring cleaning tasks in a specific order, there should be some method to your cleaning pattern. Ideally you want to clean all of the higher items first {cobwebs in ceiling corners, walls, etc.} before moving to lower items such as carpets or floor vents. This ensures that you’re not spreading more dirt and dust on areas that you’ve already cleaned. Similarly, if you’re breaking down tasks within a specific room, try to work from one end of the room to the other rather than randomly moving about the space.
Pick your time frame.
While I would love to be able to check off all of my spring cleaning tasks over a long weekend, in reality, it usually takes me a couple of months to get through everything. I just don’t have a long attention span for cleaning tasks and can fit it into my schedule better if I just do a little bit at a time. If you like to work faster, however, that’s great too! Whatever time frame you choose, schedule it on your planner.
Gather all cleaning supplies.
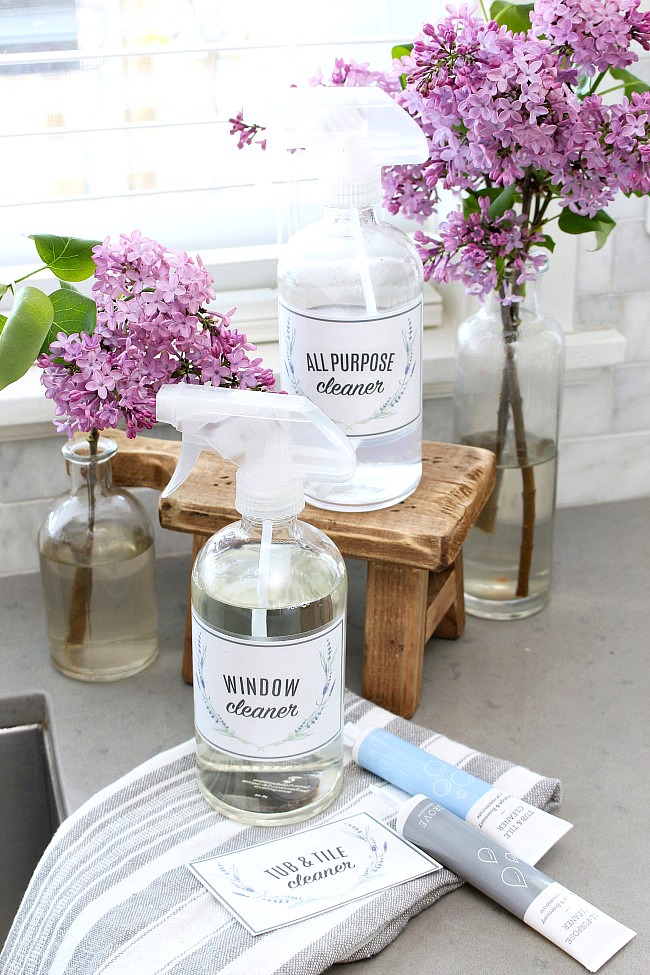
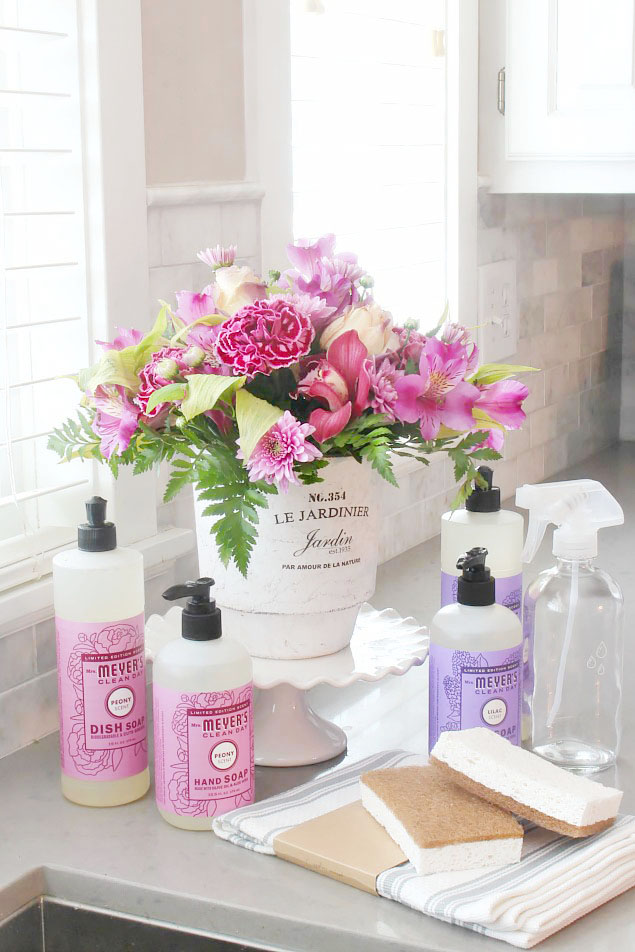
To save time and keep yourself focused, gather all of your spring cleaning supplies before getting started. My basic kit consists of:
- microfiber cloths {I use Norwex or Grove Collaborative brands}
- Norwex polishing cloths {for windows, walls, and shiny surfaces}
- multi-purpose spray
- dish soap
- cleaning bucket
- toothbrush
- scrub brush or sponge
- spray bottle of water
- steam cleaner
- vacuum and various attachments
- microfiber duster
Spring Cleaning Checklist
I always find that having tasks written down helps me to stay on track, so I put this spring cleaning checklist together for you. All you need to do is download it and print it out. I’ve even created a blank task list in case you’d prefer to design your own spring cleaning tasks. I’ve tried to group the tasks together by room {or tasks that involve multiple rooms}, but feel free to do them in any order you would like.
 Spring Cleaning Tasks
Are you ready to get started on your spring cleaning? I’ve put together 30 common spring cleaning tasks along with some helpful cleaning tips for each task. Some tasks can be done quite quickly while others will take a little more time. You can even divide some of the larger tasks {like cleaning the blinds or windows} up into multiple days. If you’re busier during the week, you might want to just clean on the weekends and do a few tasks at at a time. It’s also very helpful if you can delegate some of the tasks to other members of your family {or at least have them help you out!}.
For some of the tasks, I’ve added links to more detailed tutorials and tips. Just click on the link to go directly to the post. I’m working on updating some of the older posts, so bear with me! If you have any questions about anything else, just let me know!
Blinds.
Dust blinds and then wipe down with a microfiber cloth and warm water with a little bit of dish soap. For really dirty blinds that can be soaked, I find it easier to just take them down and soak them in the bathtub. Blinds with soft materials can be vacuumed with the upholstery attachment.
Windows and Window Tracks.
This is one of my least favorite tasks and I usually just do this on a room by room basis. Always start at I like to use my hand held steamer to quickly clean the window tracks.
Curtains.
Take down curtains and wipe down the curtain rods with a damp microfiber cloth. Launder the curtains according to the fabric’s care instructions. Generally, you want to wash your curtains on a cold setting using the delicate cycle to avoid shrinkage. Depending on the material, either hang to dry or put in the dryer on a cooler setting. If you need to iron, iron on the back side of the fabric while it is still slightly damp. If you’re unable to launder your curtains, but still want to clean them, you can shake them out outside or use an upholstery attachment on your vacuum to remove any dust or loose debris. Be sure you’ve washed the windows and tracks before hanging curtians back up.
Light Fixtures and Ceiling Fans.
Grab your ladder! Dust light fixtures and ceiling fans to remove any loose debris, then wipe down with some multi-purpose spray and a microfiber cloth. If your lights have removeable glass covers, you may want to completely take them down and clean them in a sink of warm water and dish soap. Finish by wiping any shiny surfaces with a polishing cloth. While you’re up there, be sure to change any light bulbs that have burnt out.
Walls.
Wipe down any grimy spots or handprints on walls with warm, soapy water and a microfiber cloth. To remove any streaks, buff with a polishing cloth when you’re finished. If you’re just spot cleaning, this also helps blend in areas that you have washed with areas that you haven’t.
Floor Vents.
Before cleaning your floor vents, turn off your heating/cooling system so it doesn’t blow any loose dirt and dust around your home. Remove the vent covers and vacuum up loose dust and dirt from the vent. If your vent covers are really dirty, wash them in the sink with some warm water and dish soap. You can even place metal vent covers into the dishwasher to make it even easier.
Baseboards.
Stair Railings/Banisters.
If you haven’t cleaned your railings for a while, you’ll be amazed at how much grime can accumulate! If you have a wood finish, use a wood cleaner {I use this Method wood cleaner and love the smell!} and a microfiber cloth to completely wipe down the railings and banisters. For non-wood finishings, you can use a multi-purpsoe spray or a 50:50 water-vinegar mix.
Light Switch Plates.
Doors and Door Knobs.
Carpets/Area Rugs.
Spot clean any stains on carpets and shampoo {you can rent a carpet shampooer or get them professionally cleaned if needed}. This post on how to remove pet stains should work for most carpet stains. Area rugs can be taken outside to be shaken and then left out in the sun for deodorizing. Many smaller area rugs can be washed in the washing machine – just check the care instructions. For further deodorizing or carpets and rugs, use this easy DIY carpet and upholstery freshener.
Sofa/Upholstery.
Learn how to easily clean your sofa and other upholstery with this tutorial.
Dishwasher.
Read this post to learn how to clean a dishwasher.
Stove/Oven.
If possible, move your oven away from the wall so you can clean underneath it and down the sides. I find that the easiest way to clean the oven is with my steam cleaner, but you can run the self cleaning cycle or use this method with baking soda. You can also find my tips for cleaning a glass top stove and stainless steel.

Microwave
Using a food cover can help to keep your microwave cleaner on a daily basis. For more of a deep cleaning, check out this post.
Toaster Oven.
Kitchen Sink.
Next time you go to clean your kitchen sink, take a little longer to make sure you clean all of the sides and into the corners. Use a toothbrush and a paste of water and baking soda to clean in and around the drain and garbage disposal {if you have one}. If you need a little more organization around your kitchen sink area, check out this post to organize under your kitchen sink. For more information on how to clean a garbage disposal, check out this post.
Fridge/Freezer.
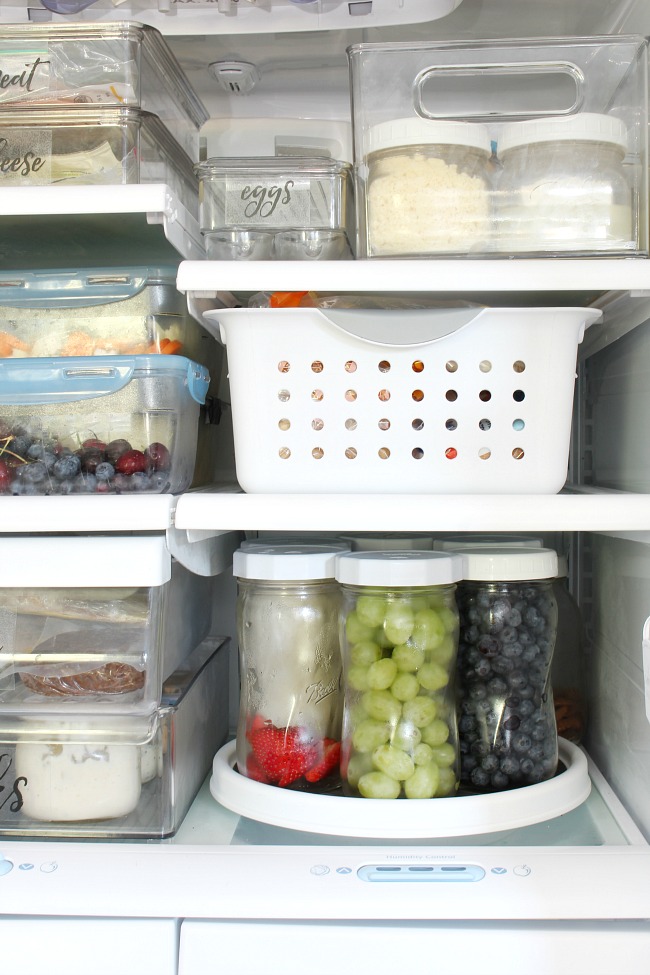
Get your fridge and freezer ready for BBQ season with a good deep cleaning! You can find all of my tips for how to clean the fridge/freezer here as well as some fridge organization tricks here.
Kitchen Cabinets.
Wipe down all kitchen cabinet doors. For dirtier cabinets, empty out contents to wipe down the walls and floors.
Under Furniture.
It’s time to clean under all of those large furniture pieces that you don’t usually touch. If you can, move the furniture so you can completely vacuum and/or wash underneath. If you’re unable to move it, just do the best you can with a broom or vacuum attachment underneath. A Swiffer or Swiffer duster with extender works great for reaching those hard to reach places if you have a hard surface.
Washing Machine.
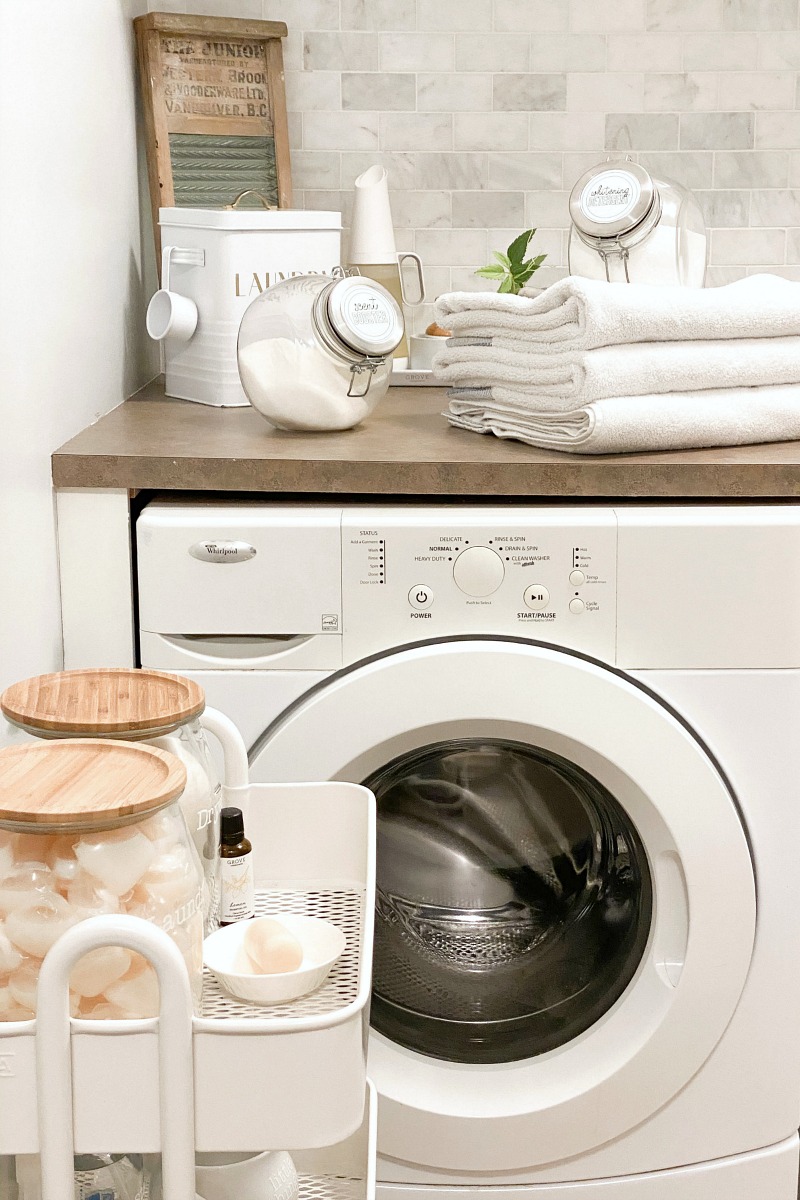
Detergent residue and other debris can clog up your washing machine leading to decreased washing power and nasty odors. Keep your washing machine running efficiently {and remove any mold that you may have!} with this tutorial on how to clean your washing machine.
Dryer.
The dryer should be cleaned at least once per year to improve efficiency and reduce the risk of dryer fires. Even if you’re diligent about emptying the lint trap with every load, you’ll be amazed at how much lint accumulates! Get the full tutorial on how to clean the dryer here.
Trash Cans.
I always find this task easiest to do outside. Spray trash cans down {inside and out} with a multi-purpose spray. If your cans are stinky, you can then sprinkle some baking soda on. Let it sit for 10 minutes and then rinse with a garden hose. If you have set on grime or stains that don’t come out with this, use a microfiber cloth and some warm soapy water to spot scrub. Rinse and allow to completely dry out in the sunshine. The sunshine will further deodorize it.
Mattresses.
Strip your bedding and give your mattress a little love. Check out this post to learn how to clean a mattress and remove any stains.
Bedding/Pillows.
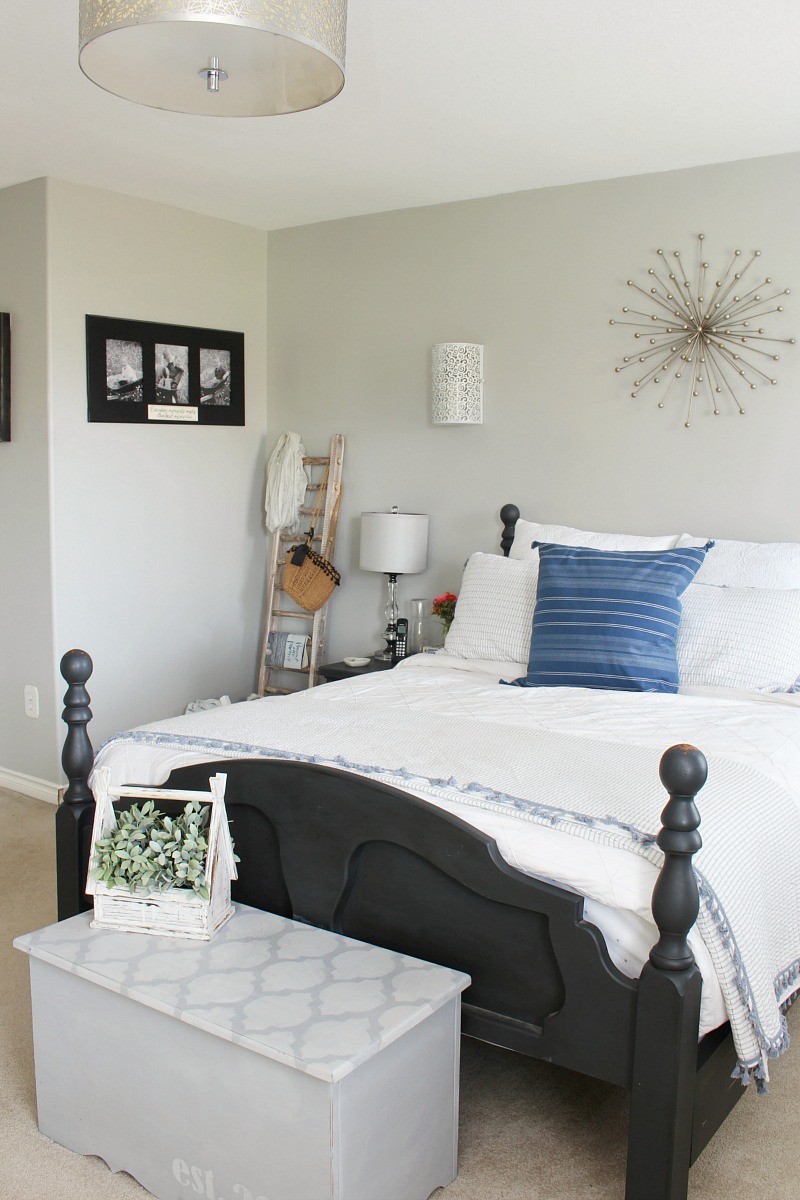
Wash all bedding and mattress covers in hot water (above 130F) to kill dust mites. Add 1/2 cup white vinegar to remove any odors and soften the sheets. Before washing pillows, check the care instructions to make sure they can be laundered. Place in the washing machine {two pillows at a time to balance out the drum} with some oxygen whitener and laundry detergent. The pillows will likely seem really lumpy when they’re removed from the wash but they will fluff up as they dry. Depending on the filling, they may need a couple of cycles in the dryer or do one dryer cycle and place out in the sunshine to complete the drying. If your pillows are really stained, pre-soak in the hottest water possible with some oxygen bleach.
Shower and Shower Head.
Bathmats and Shower Curtains.
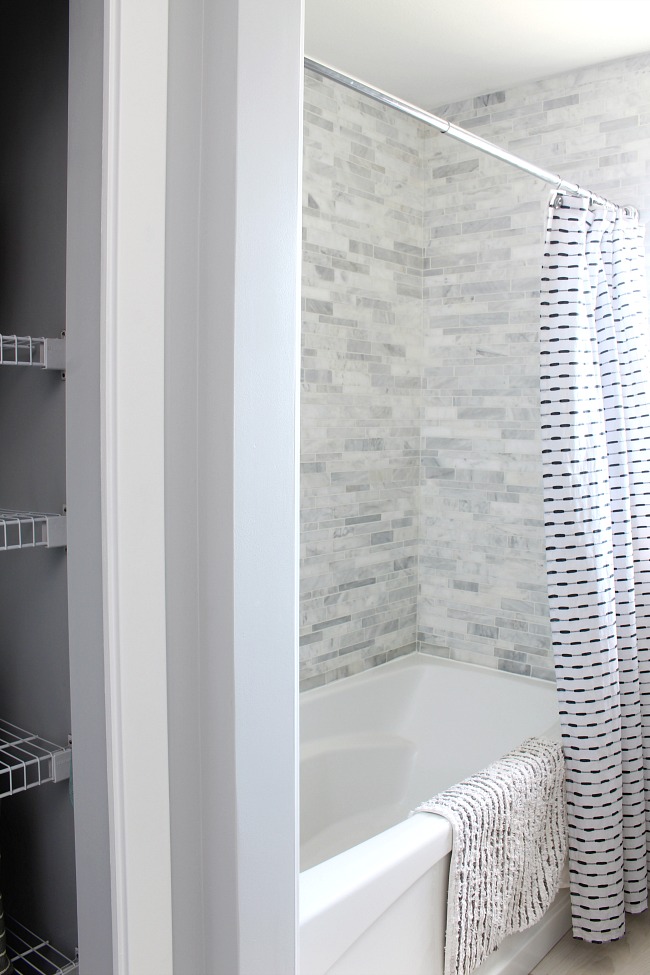
Take down the shower curtains and wipe down the curtain rod. Launder the curtains according to the wash instructions. I like to add some oxygen whitener {check to make sure it’s color safe if washing colored fabrics} to the wash and 1/2 cup of vinegar to the rinse cycle. If you’re washing a plastic shower curtain, wash at a cooler temperature and remove it immediately to hang to dry. It’s also a good idea to throw a towel or two into the laundry with the shower curtain if you do not have anything else in there.
Bathroom Vents.
This is definitely one of those tasks that I neglect throughout the year, so I make sure I at least do it with our spring cleaning. To be safe, turn off the power through the circuit breaker before touching the exhaust fan. You can find a good tutorial on how to clean the exhaust fan here and a tip on waxing your vent covers to prevent dust build up.
Toilets.
Obviously we need to clean the toilets on a regular basis, but giving them an extra deep cleaning can make those weekly cleanings much quicker and easier. Check out this tutorial on how to deep clean your toilets.
Linen Closet.
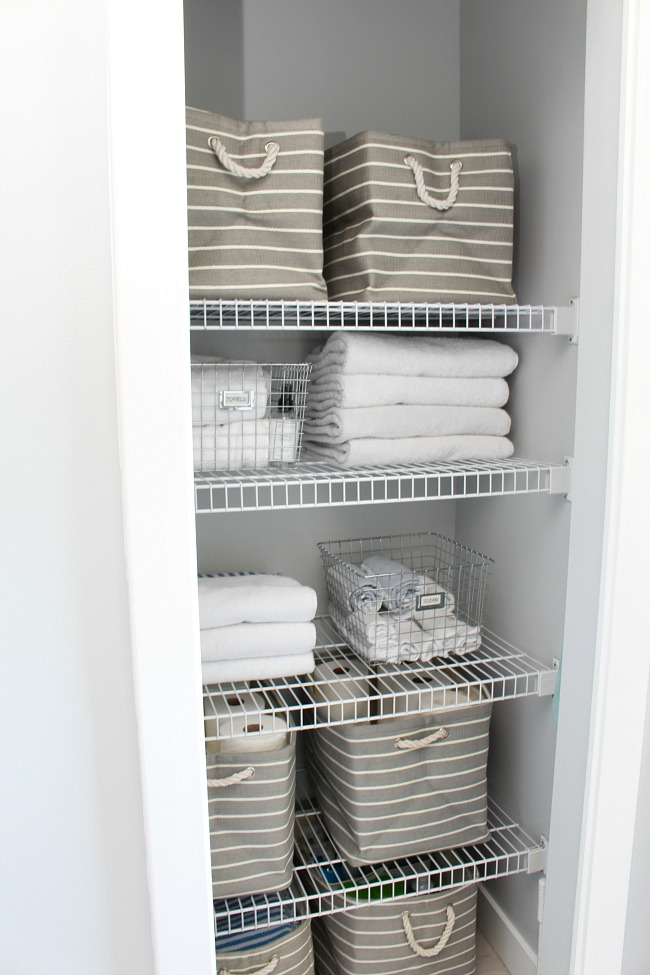
Wipe down shelving and floors and get rid of any old linens. You can keep old towels for cleaning rags if needed. Animal shelters and vet clinics are also often happy to take old linens off of your hands.
Spring Cleaning Checklist
I always find that having tasks written down helps me to stay on track, so I put this spring cleaning checklist together for you. All you need to do is download it and print it out. I’ve even created a blank task list in case you’d prefer to design your own spring cleaning tasks. I’ve tried to group the tasks together by room {or tasks that involve multiple rooms}, but feel free to do them in any order you would like.
DOWNLOAD THE SPRING CLEANING CHECKLIST HERE
DOWNLOAD A BLANK SPRING CLEANING CHECKLIST HERE
I hope this helps you to tackle your spring cleaning tasks this year! Don’t worry if it takes you a long time to complete it. It’s all about progress over perfection! If you have pets, you might want to add in these spring cleaning tips for pet owners. For room by room spring cleaning checklists, check out these posts…
Happy Spring Cleaning!
Great list! Thank you!