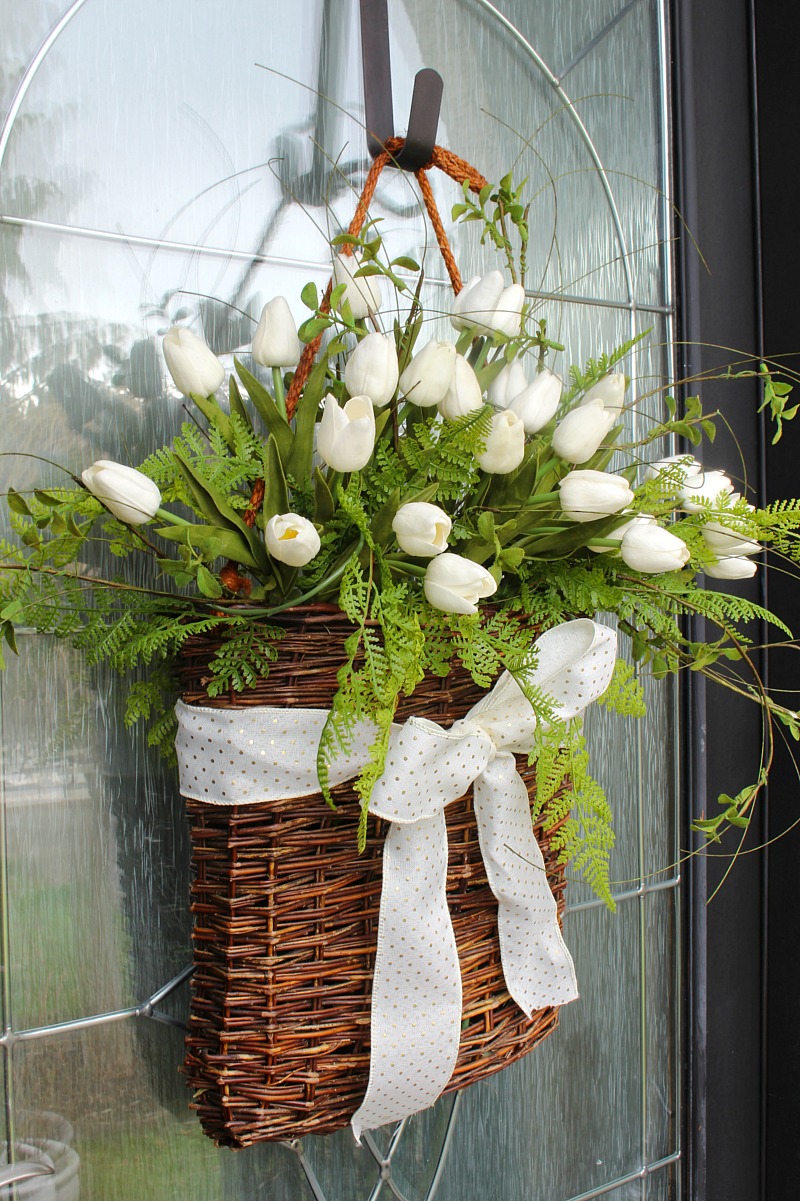
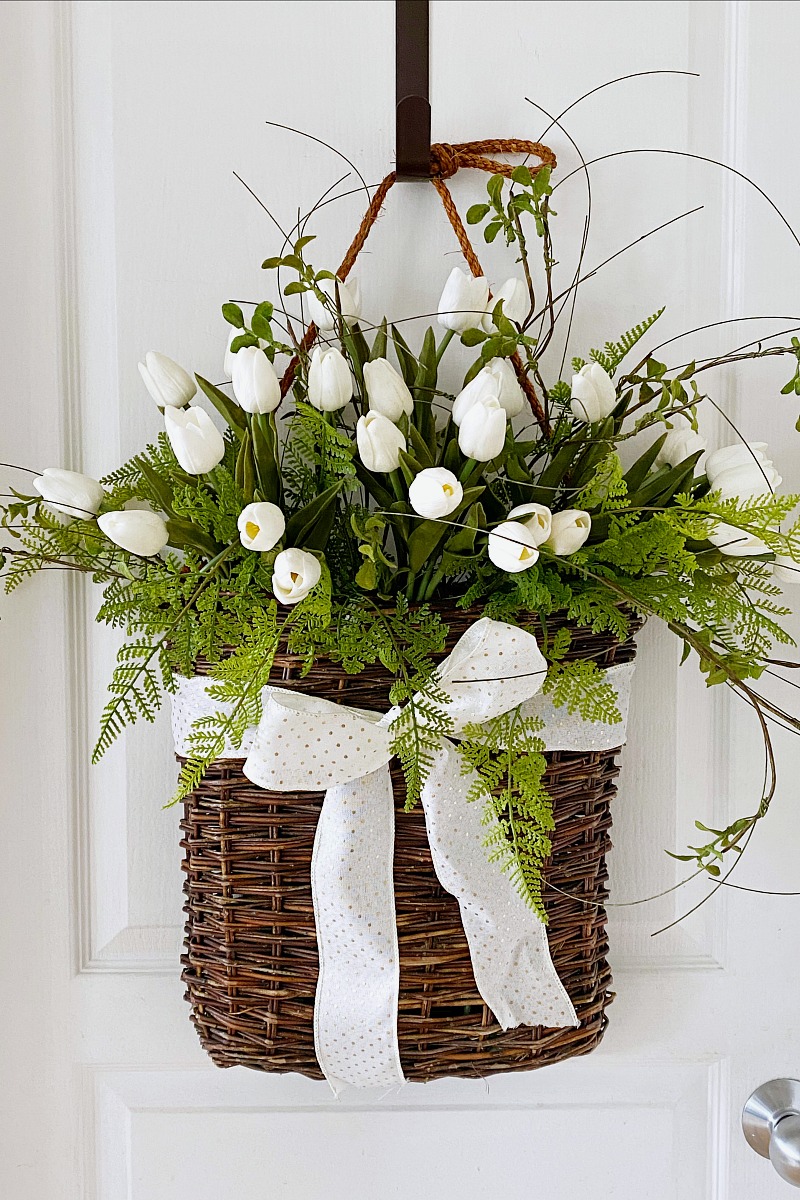
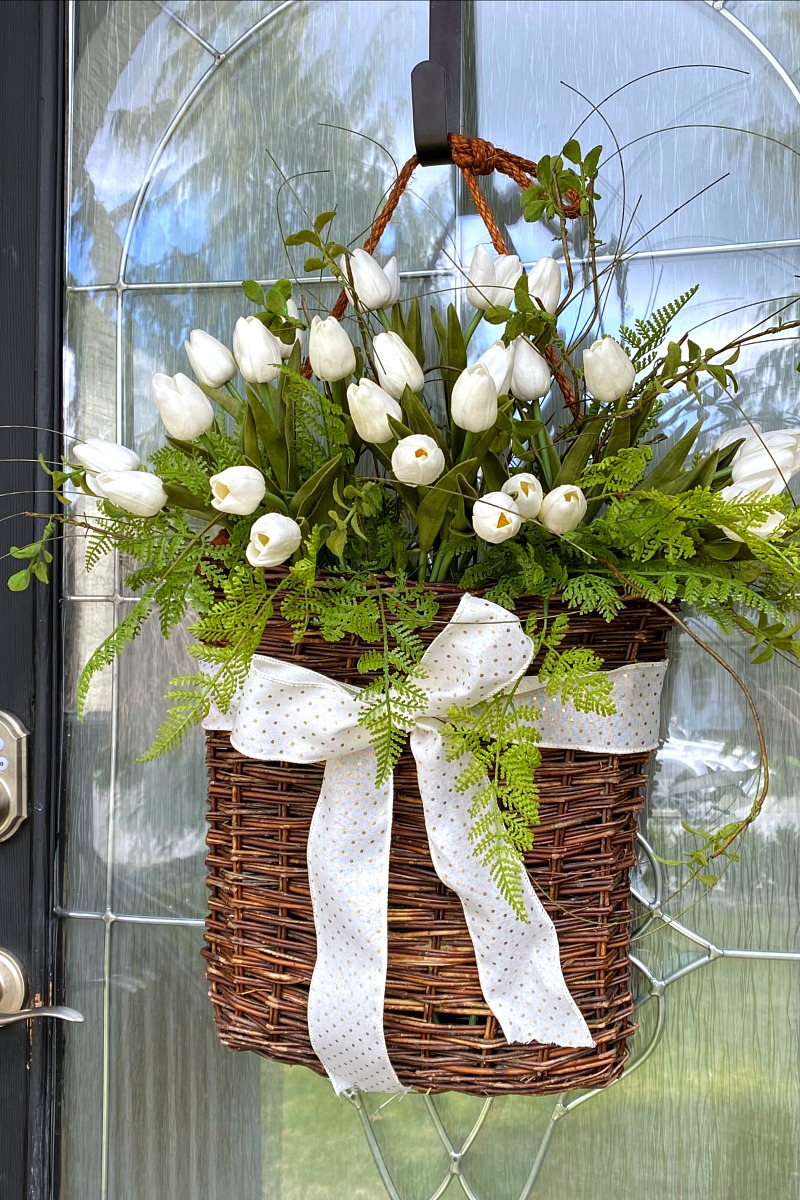
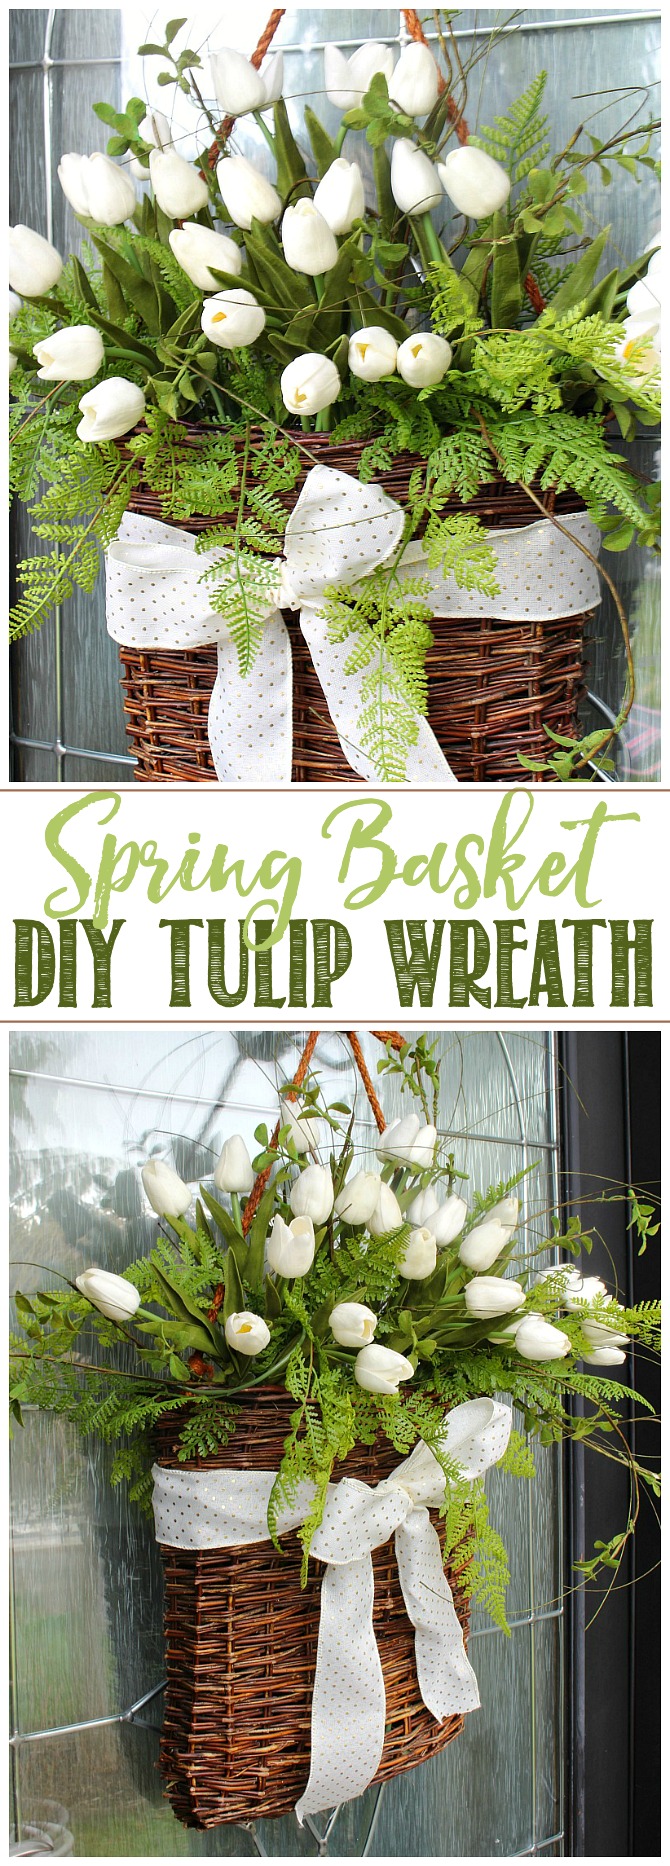
This basket tulip wreath is quick and easy to make and adds such a pretty touch to your spring or summer decor. Hang it on your front door or use it inside for a simple spring display.
Spring Inspiration
Spring is here so it’s time to bring out the flowers! I thought that it would be nice to add a little spring touch to our front porch with this spring basket tulips wreath. We may be the only ones that see if right now, but it adds a little happiness every time we come in the door. We all need a little normalcy in these crazy times so go ahead and add some spring inspiration to your home.
This post contains affiliate links. This means that I may make a small commission {at no cost to you} for any items purchased directly through the links. Thank-you so much for your support!
Basket Wreath
If you like switching things up for the different holidays and seasons, a basket wreath is the perfect option. It’s easy to change up, cuts down on storage space in the off seasons, and is lots of fun to put together. This basket wreath can also be used on an inside door or hung on the wall, so place it wherever you would like!
Tulip Wreath Tutorial
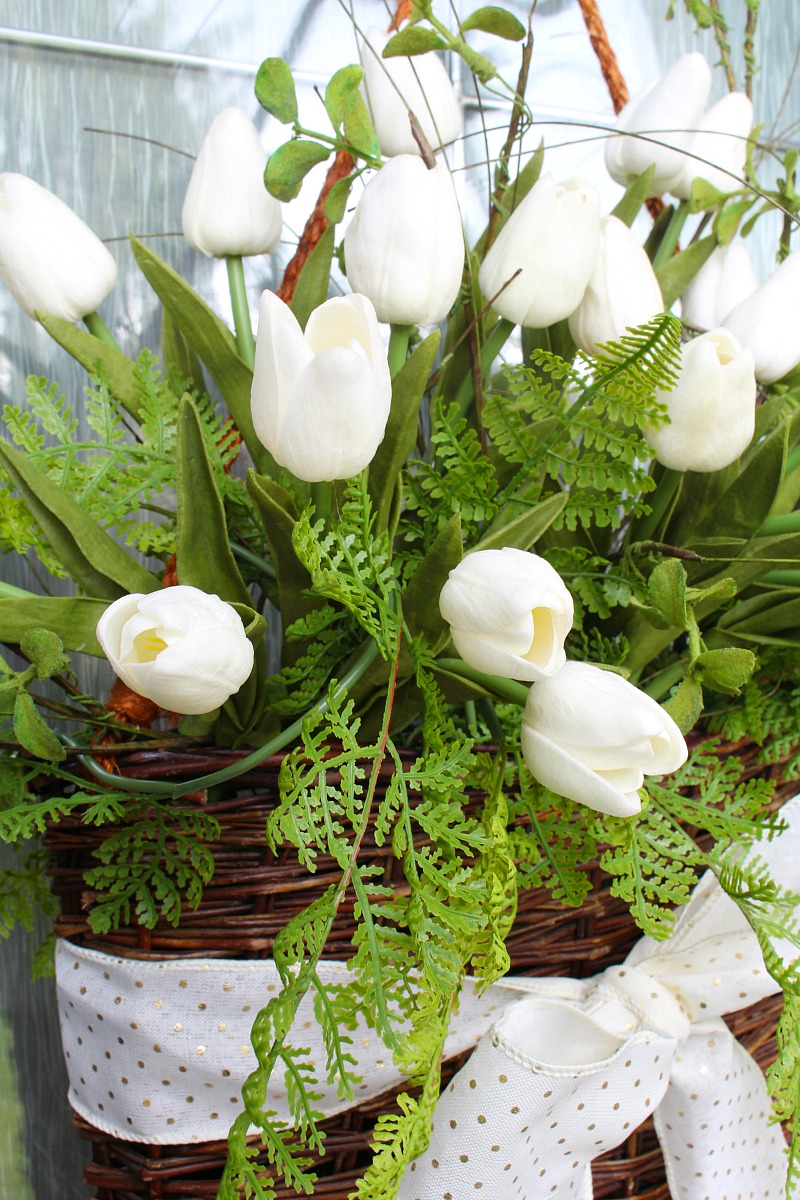
This tulip basket wreath is easy to create with just a few basic materials. I found the faux tulips on Amazon and was really happy with the quality based on the price. Plus they can be used for lots of different decor pieces in the future.
Materials
- some kind of hanging basket. Ideally you want one with a fairly flat back so it will hang well against the door.
- faux greenery. I like to use at least two types – one with more structure and height to it and one that is a little more floppy so it will drape down over the front. For this one I used some faux twig branches for the height and faux ferns to cascade down over the front.
- wired ribbon or other embellishments. The gold polka dot ribbon that I used was from Michaels.
- faux tulips. I used 30 tulips for this basket.
- clear elastic bands or twine to tie up the tulips in bunches.
Instructions
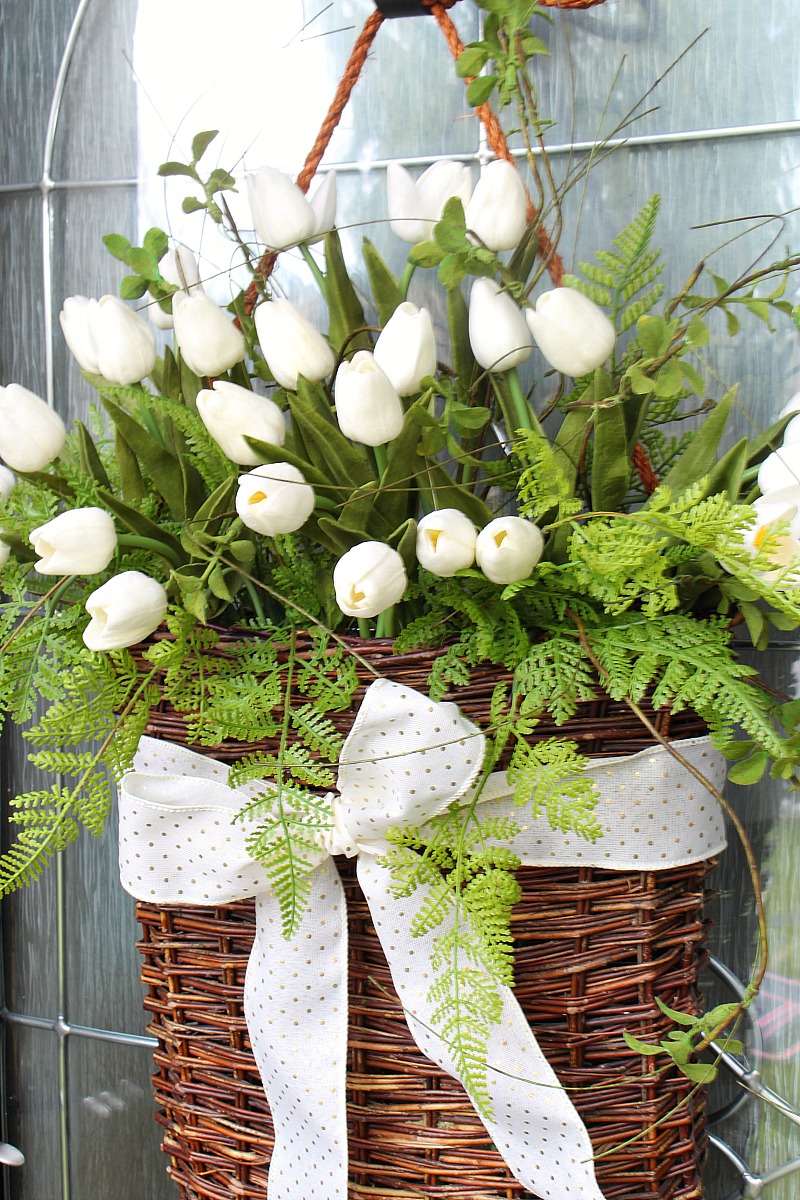
- Start with the most structured greenery you have and place it in the center of the basket. The twig branches that I used was quite large so I only needed one stem and just spread out the various branches to fill up the basket. Place the tallest branches towards the center and then stagger the height down as you move to each side of the basket. Play around with bending your branches for added depth.
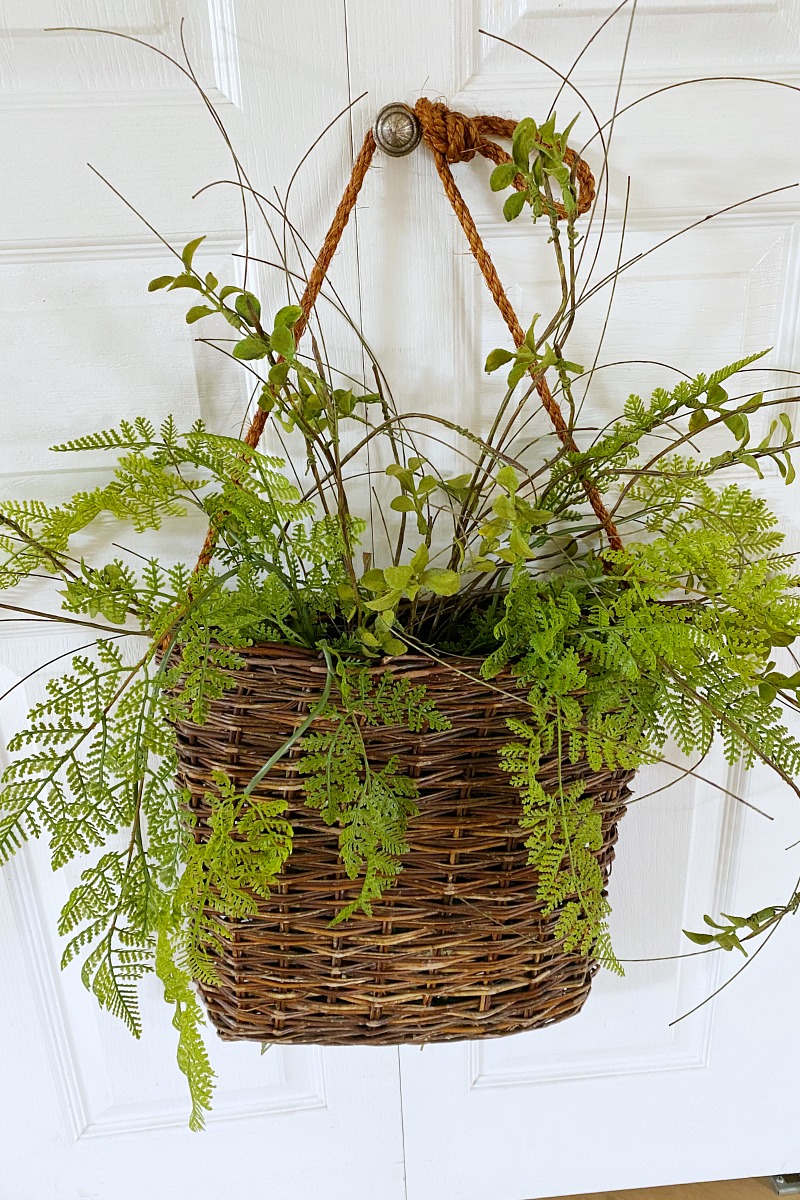
- Add in the remaining greenery. I used two fern stems for this, placing one a little towards the right and one towards the left.
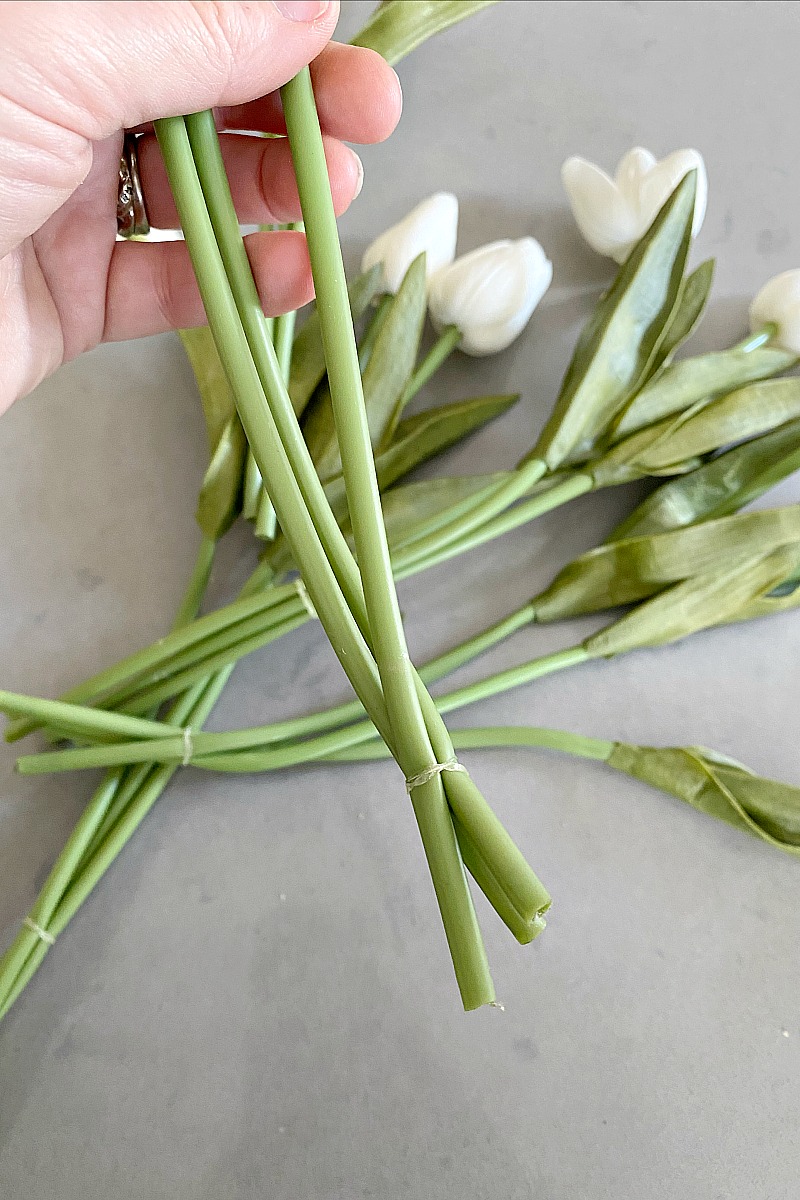
- Group the tulips into sets of three and use a clear elastic or twine to tie them together at the ends.
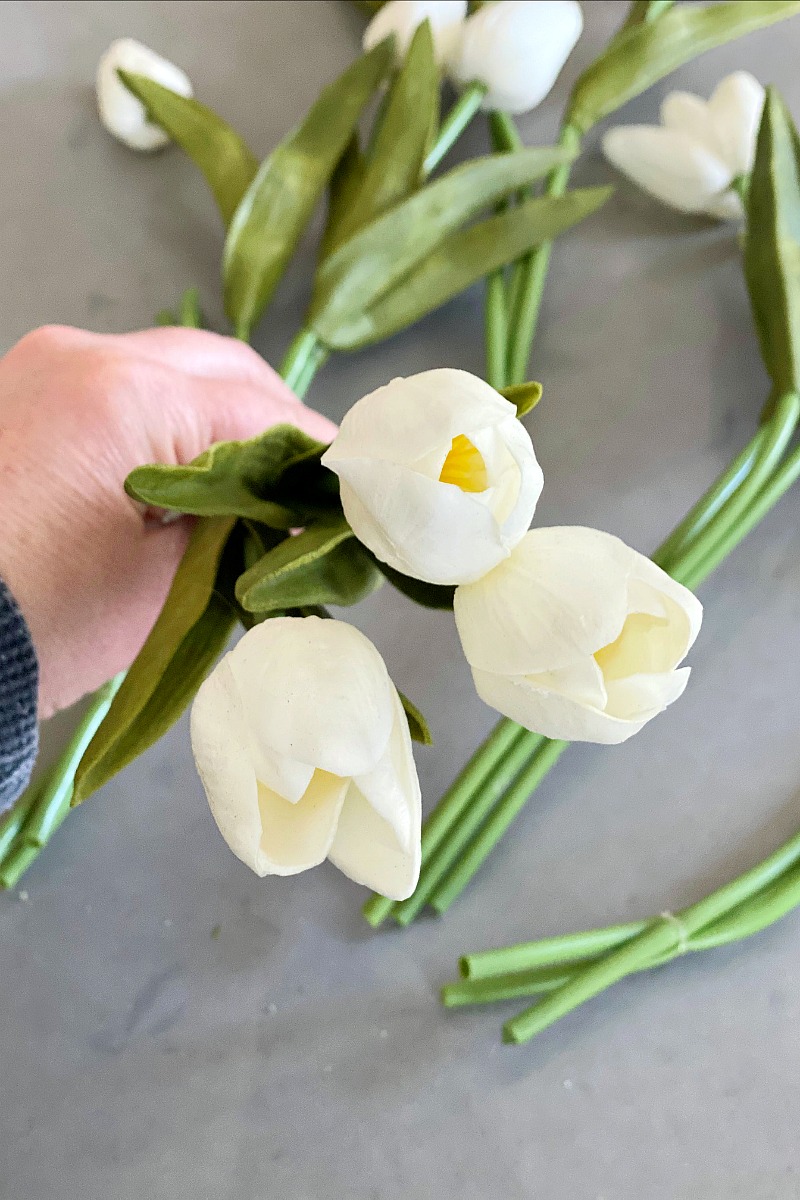
- To make the tulips look more realistic, open up some of the buds so they don’t all look exactly the same. Simply place your fingers inside the tulip and gently separate the petals.
- Place the tulips in the wreath at various heights and depths. Place the tulips higher in the middle and taper the height off towards the sides.
How to Customize your Own Basket
There are so many ways to customize your own basket and switch it up from season to season. Here are a few ideas for you…
- add a seasonal or welcome sign to the front
- change up the greenery
- use faux flowers for spring and summer, leaves for the fall, branches or berry stems for winter
- use fresh greenery or stems with wet floral foam
- add twinkle lights
- add some pretty ribbon
- use seasonal picks
- add other seasonal embellishments
You can see some of my other basket wreaths here…
More Spring Decor Ideas
If you’re looking for some other ideas to add some spring inspiration to your home, check out these posts…
Wow tulips are my favorite! Thanks for sharing this nice idea 🙂
Thank-you! It’s nice to have something happy to look at! 🙂