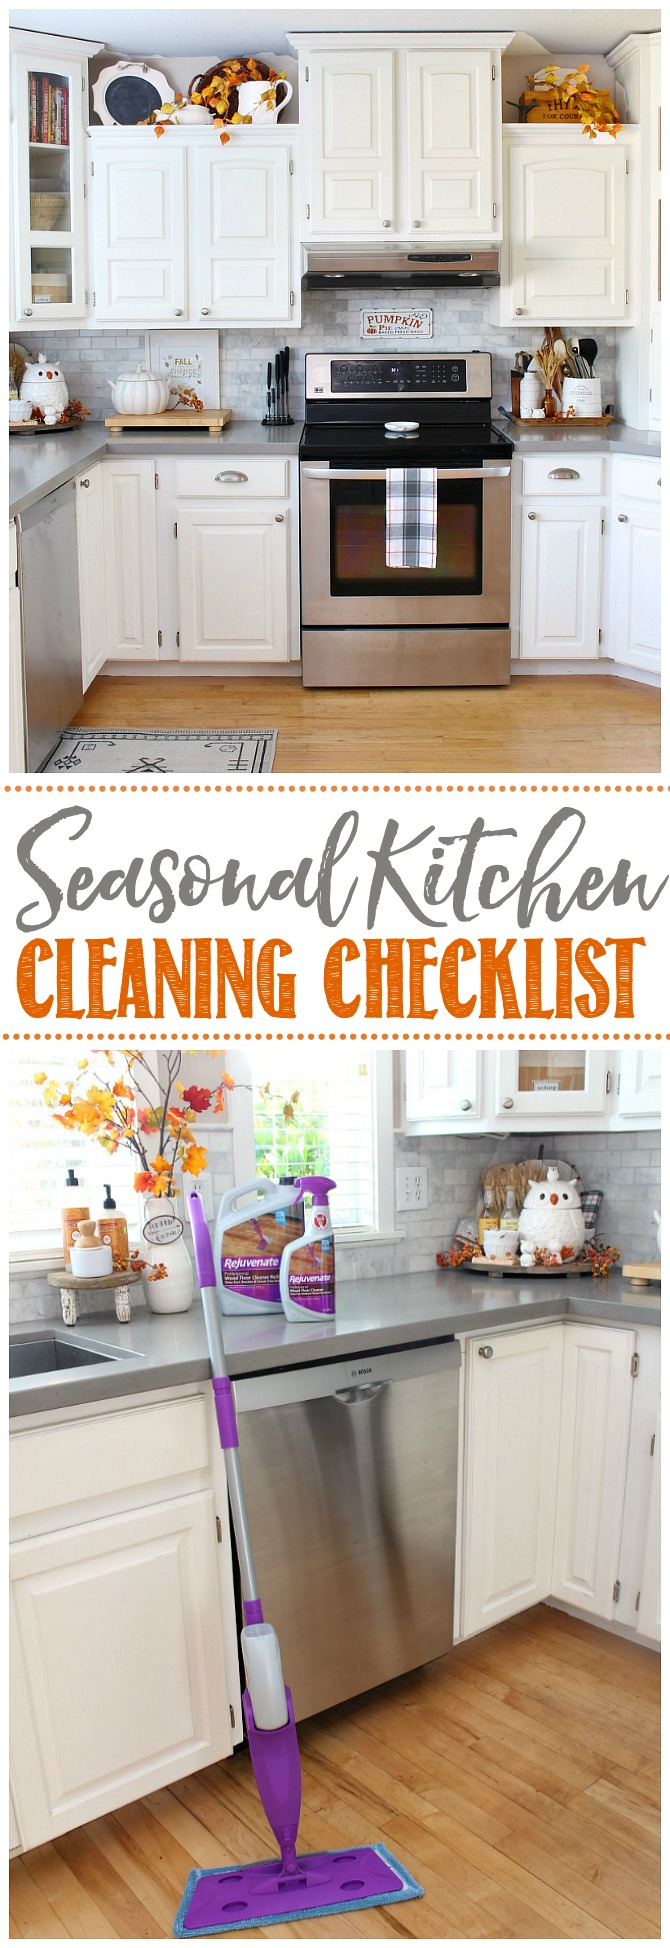
Get your kitchen deep cleaned and ready for a new season with these simple kitchen cleaning tips and free printable kitchen cleaning checklist.
This post is sponsored by Rejuvenate and does contain affiliate links. This means that I may make a small commission off products purchased directly though the links provided at no cost to you. As always, all opinions are 100% my own.
Kitchen Deep Cleaning
One of the things I try to do when I switch out my seasonal decor, is complete a good deep cleaning of the space I’m working on. I’m generally pretty good at keeping things tidy on a daily basis and doing a light cleaning, but all of those other more involved cleaning tasks tend to fall through the cracks. You can’t do everything, right? 😉
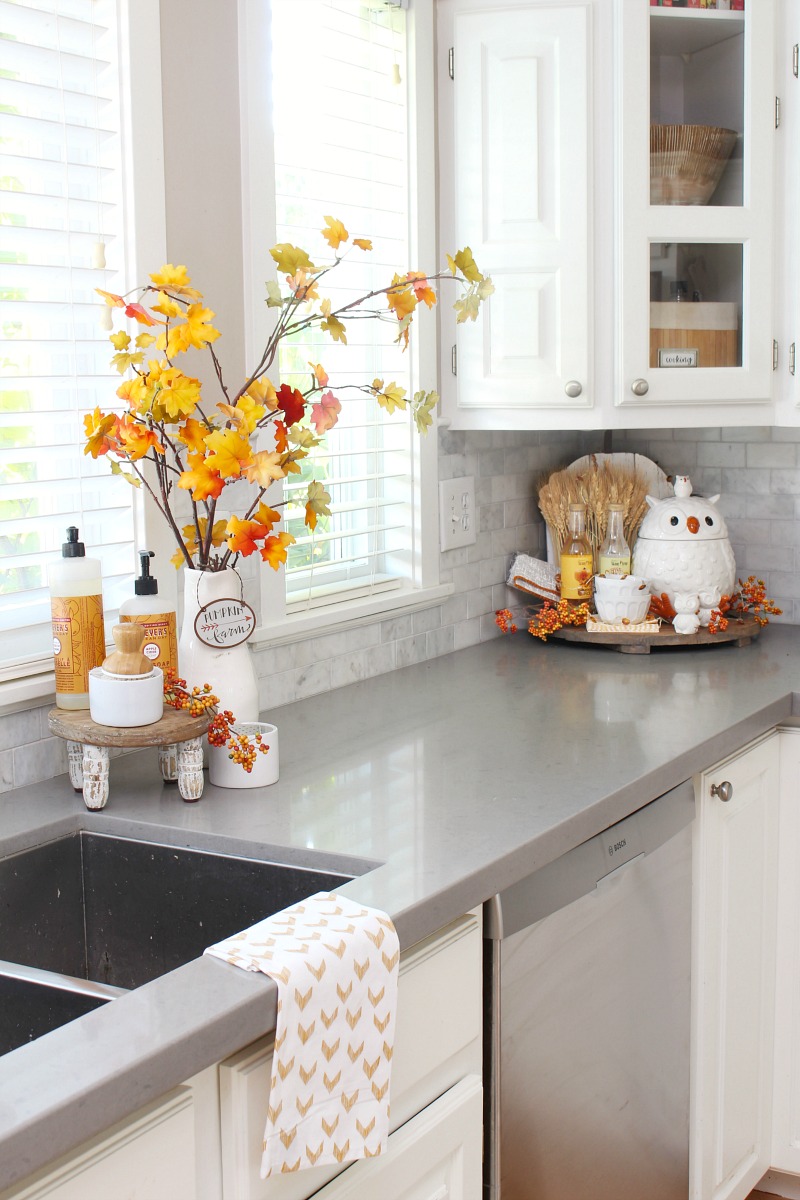
Today I’m going to take you behind the scenes of our fall kitchen tour, and give you the run-down on my seasonal kitchen cleaning checklist. I must admit, I don’t always do everything with each seasonal change. Depending on how much time I have {and how badly the task needs to be done!}, I’ll prioritize what tasks to do first and what tasks can wait.
Kitchen Cleaning Tips
Before we get going, here are a few general cleaning tips to consider when doing a thorough deep cleaning of any space. Taking a little bit of time to prep and think about your cleaning plan, will end up saving you a ton of time in the end and provide a much better clean. I promise!
Remove all decor items.
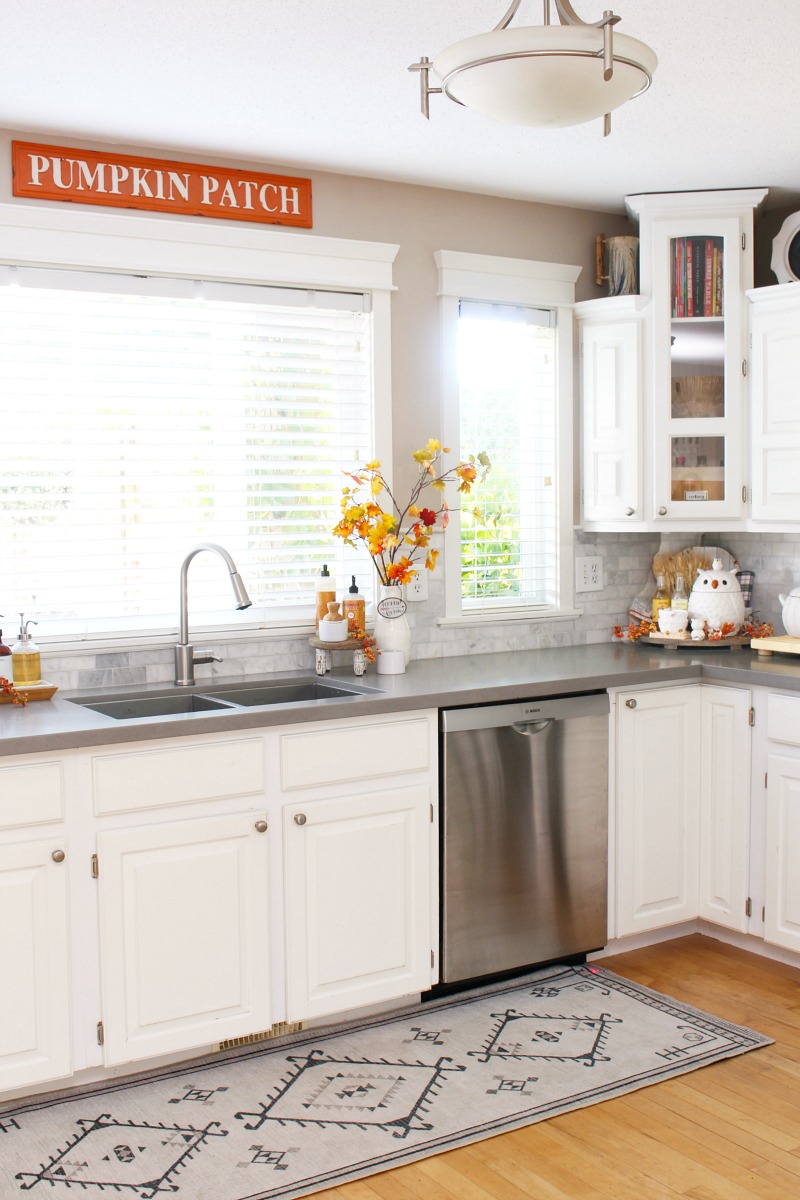
To give a space a really good deep cleaning, you need to remove all of the decor items and other kitchen gadgets that are out on your counters, above your cabinets, or on the floor. This is a really good time to re-evaluate everything you have and declutter any items that you no longer love or use. Store away any seasonal items, and wipe down any items that you’re keeping as you return them to the space.
Start high and work low.
Whenever you’re cleaning a room, you always want to start at the ceilings and work your way down to the floor. This ensures that you don’t drop dust or other debris on spaces that you’ve already cleaned. You also want to work in a systematic pattern around the room {going clockwise or counter-clockwise} for the same reason.
Gather your cleaning supplies.
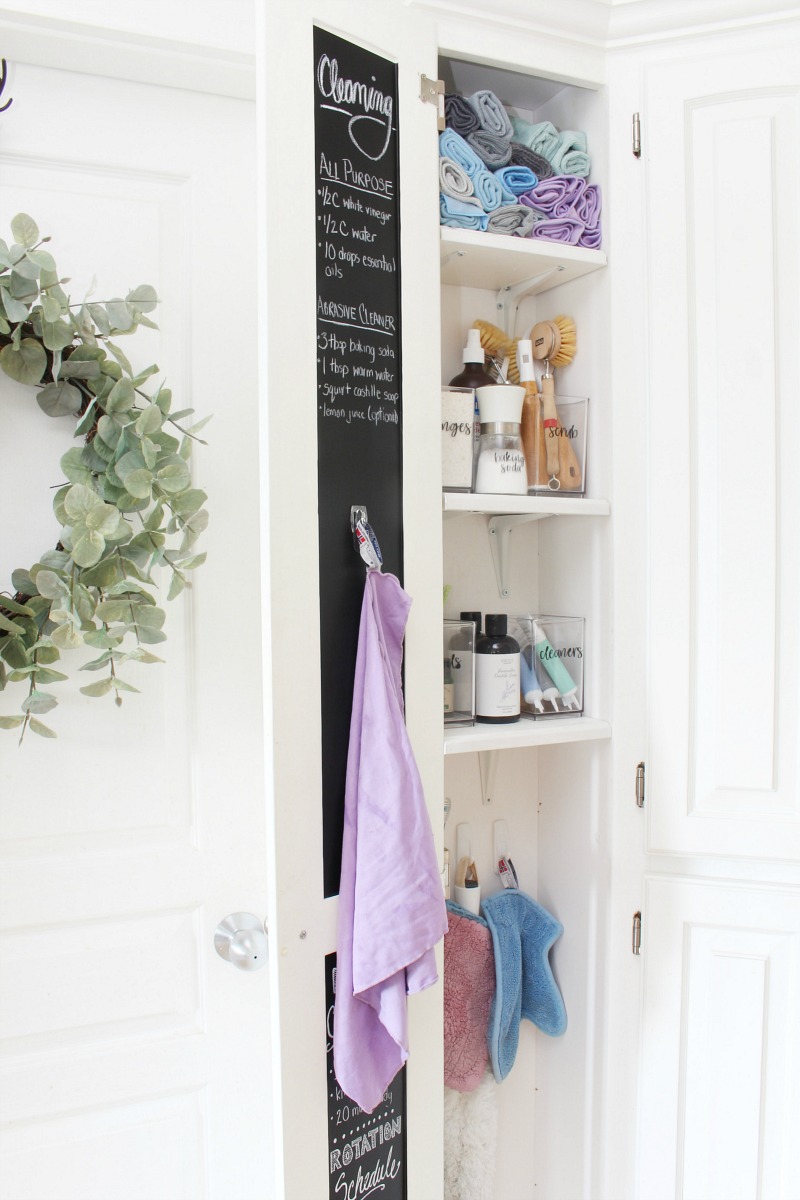
It’s always helpful to get your cleaning supplies ready before you start so you can stay focused on the job and not have to go hunt down cleaning supplies. As soon as I leave a room, I always seem to get distracted with other things and end up wasting time. {When you give a mouse a cookie, right?} Here’s my basic cleaning supply list that I use in the kitchen…
- microfiber cloths
- Norwex polishing cloth
- spray bottle of water
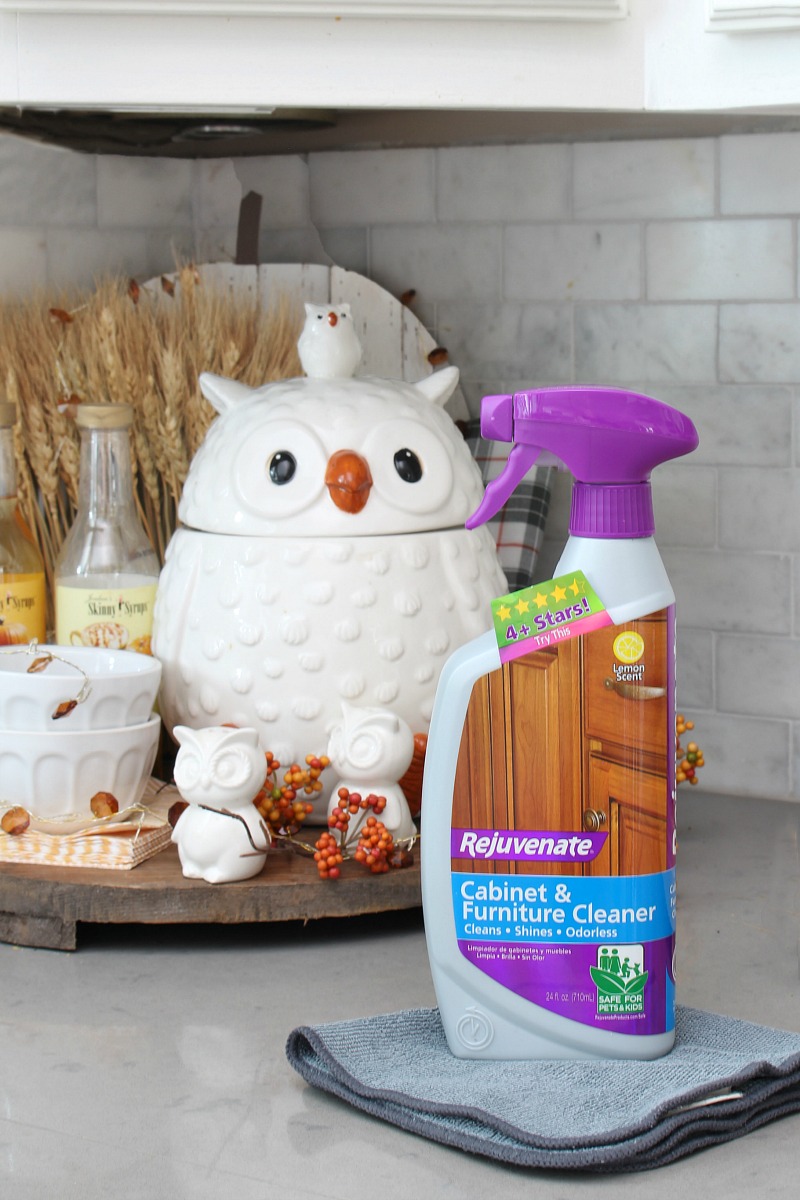
- Rejuvenate Cabinet and Furniture Cleaner
- all purpose spray
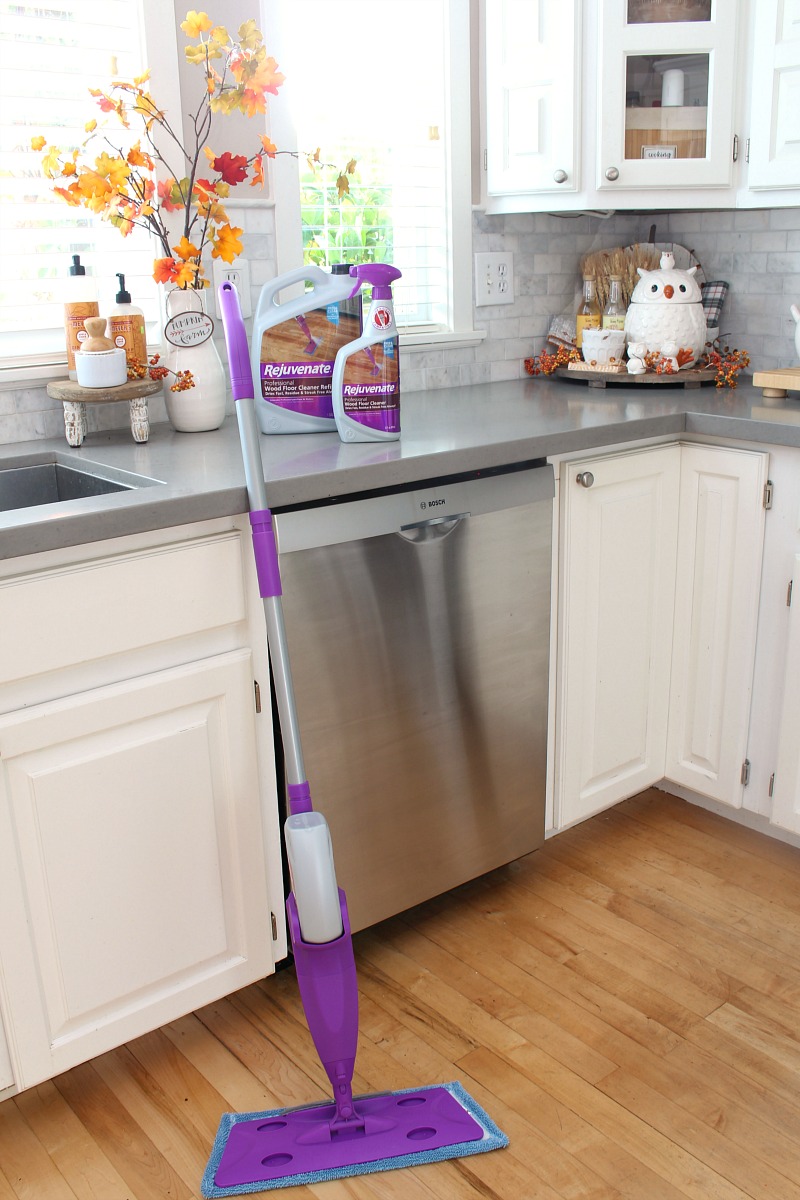
- Rejuvenate Click N Clean Spray Mop
- Rejuvenate Wood Floor Cleaner {for other flooring types click here for other options}
- soft cleaning toothbrush
- vacuum {with a hand held attachment}
- hand held steam cleaner {optional}
Rejuvenate Click n Clean Floor Cleaning System
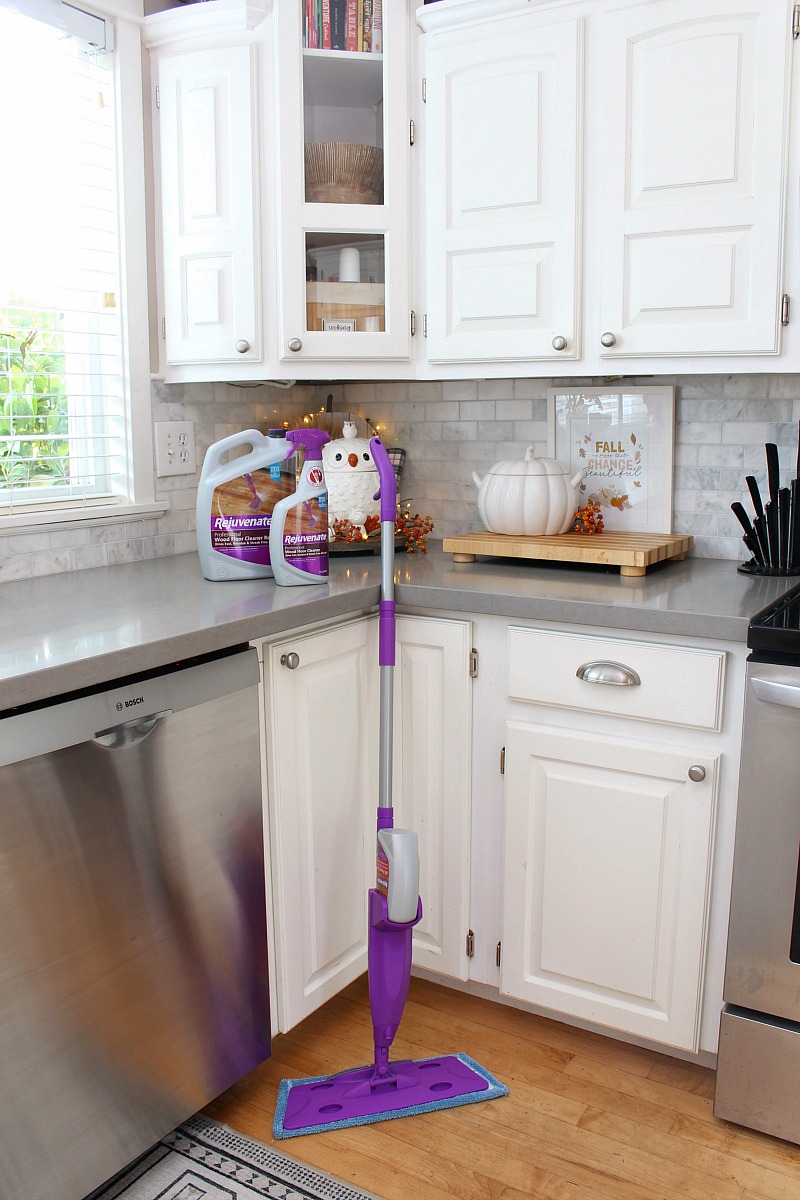
The Rejuvenate Click n Clean Mop is my new cleaning best friend and a quick and easy way to keep your floors looking clean and shiny. The microfiber cleaning and dusting pads are reusable and machine washable up to 400 times. {That’s a lot of cleaning!} I love that there are a variety of compatible cleaning products that can be used with it so you can clean all of your floor surfaces {wood, vinyl, tile, stone} with just the one mop. It also comes with a handy built in scrubber for any of tough, ground-in messes that need a little extra elbow grease!
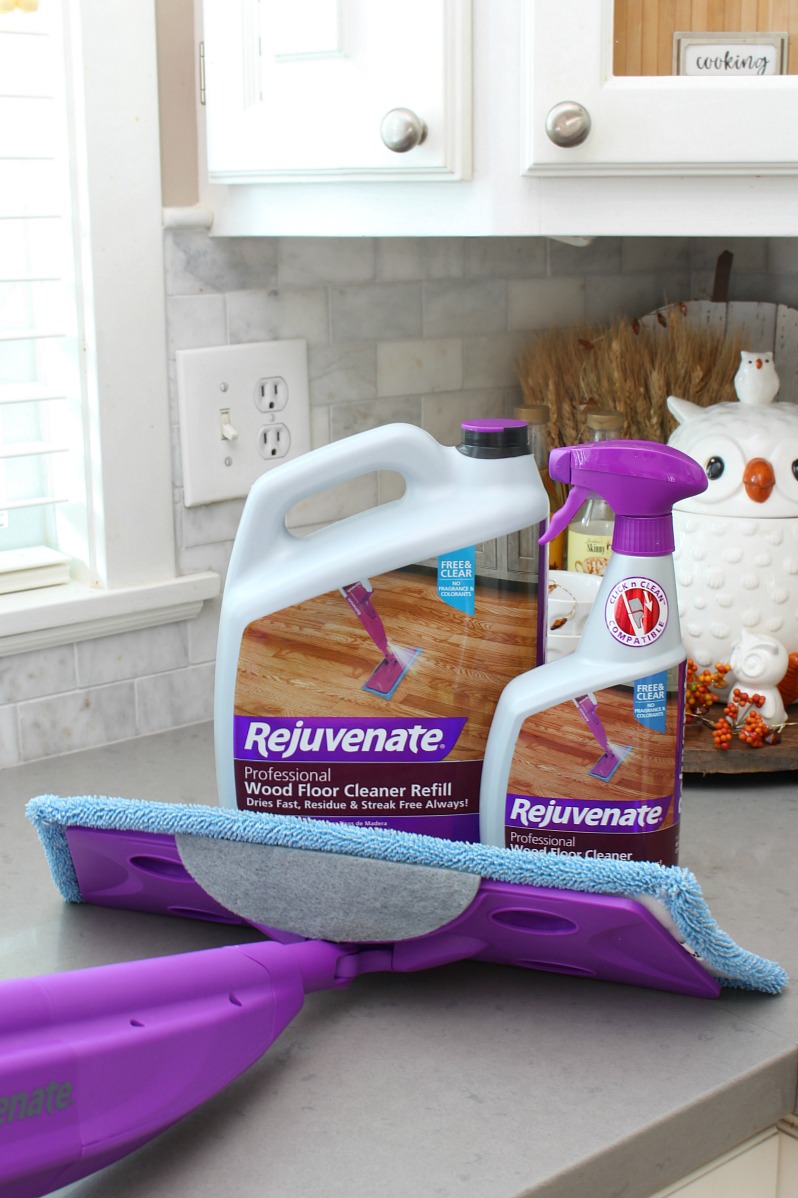
The mop is really easy to use with a flexible swivel head to maneuver into all of those little spaces. There’s a directional mist nozzle that evenly spreads cleaner over the floor surface. A little cleaner can go a long way, so you don’t have to completely saturate your floors {especially if cleaning wood floors}. If you have tile and grout in your home, the mop system also comes with a grout brush attachment that attaches with just a simple click. This mop pretty much does everything!
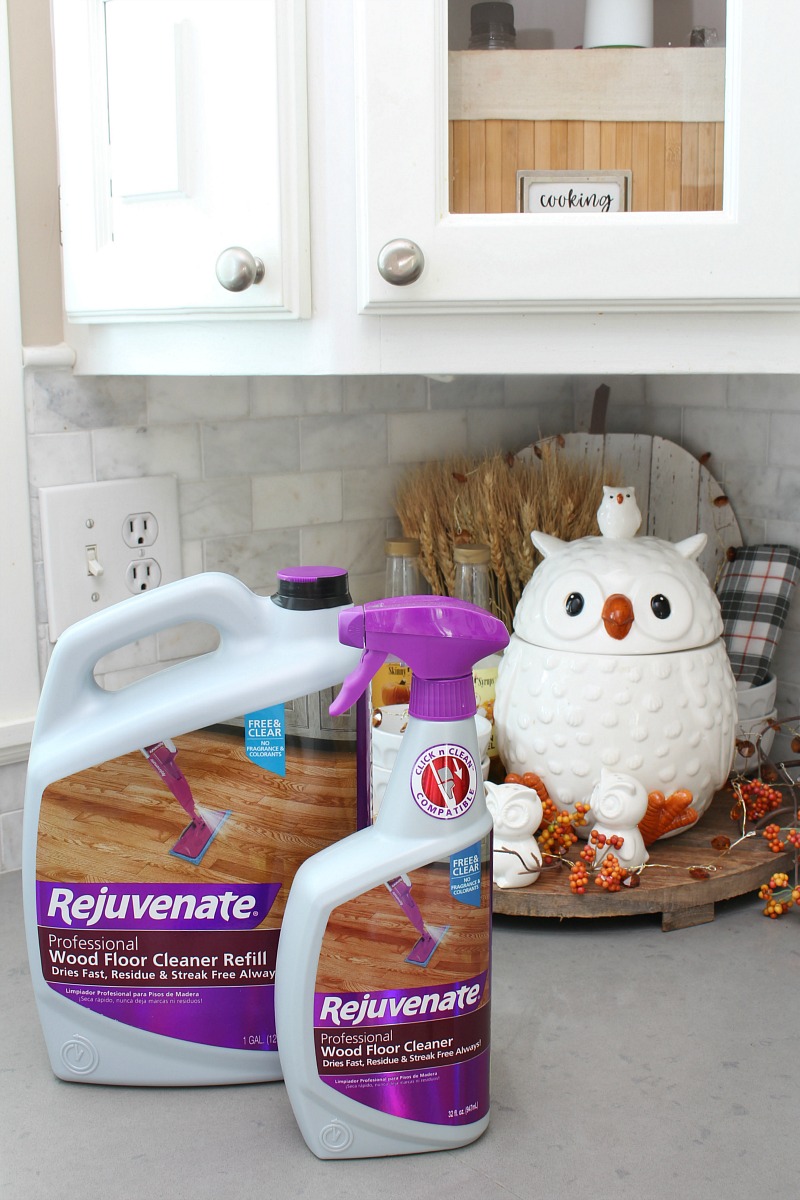
The Rejuvenate bottles are refillable so you can buy in bulk to save money and reduce waste. The other feature that I love with the bottles is that they can be used on their own with a spray nozzle {for more quick spot cleaning} or with an adapter for use in the mop. The more ways you can use one product, the more it cuts down on the number of products you have to buy!
Seasonal Kitchen Cleaning Checklist
Are you ready to refresh your kitchen for fall? Here’s the kitchen cleaning checklist that I go through each season. Some things on the list should probably be done every season, while others might only need to be done a couple of times per year. Prioritize what’s needed the most and fill in the other tasks as time allows. You can also find a printable version of this kitchen cleaning checklist at the end of the post.
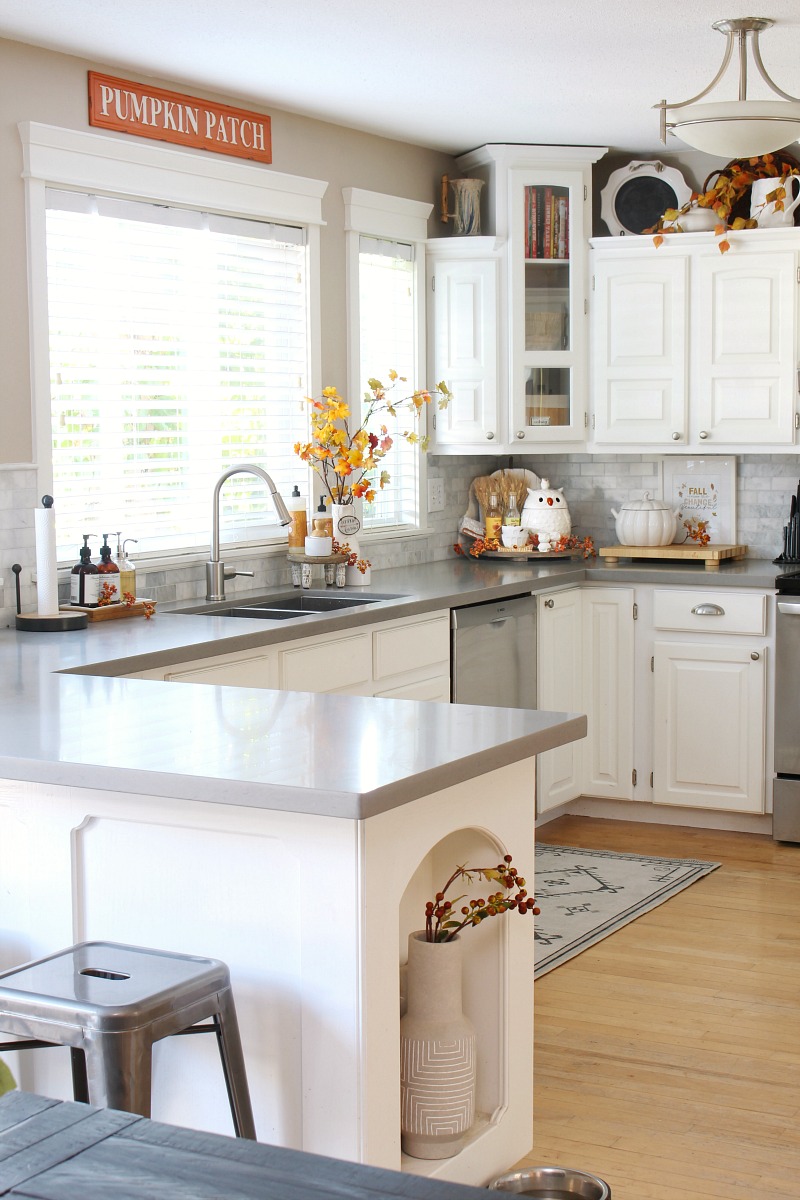
Light fixtures.
- Wipe down all light fixtures with water and all-purpose spray.
- Replace any bulbs that need changing.
- If your light covers are extra greasy, you can remove and wash in sink with warm water and dish soap.
Tops of cabinets.
- If your cabinets do not go all the way up to the ceiling, the tops can get really dusty and greasy, so they’ll definitely need a good cleaning. Using a hand held vacuum or duster, dry-dust the tops of the cabinets to remove all dust and other loose particles. Wipe down with Rejuvenate cabinet cleaner and a microfiber cloth to clean.
- To help make cleaning quicker and easier, I leave a layer of wax paper over the top of the cabinets. You can’t see it from below and it catches almost all of the dust and debris and prevents any grease build-up on the cabinet tops. When I switch out my seasonal decor, I crumple up the old wax paper, do a really quick wipe down with a microfiber cloth and the Rejuvenate cabinet cleaner, and then put down a fresh layer of wax paper. Easy-peasy!
- Dust/wipe down all objects as you put them back up.
- While you’re up there, check into corners and along ceiling edges for any cobwebs.
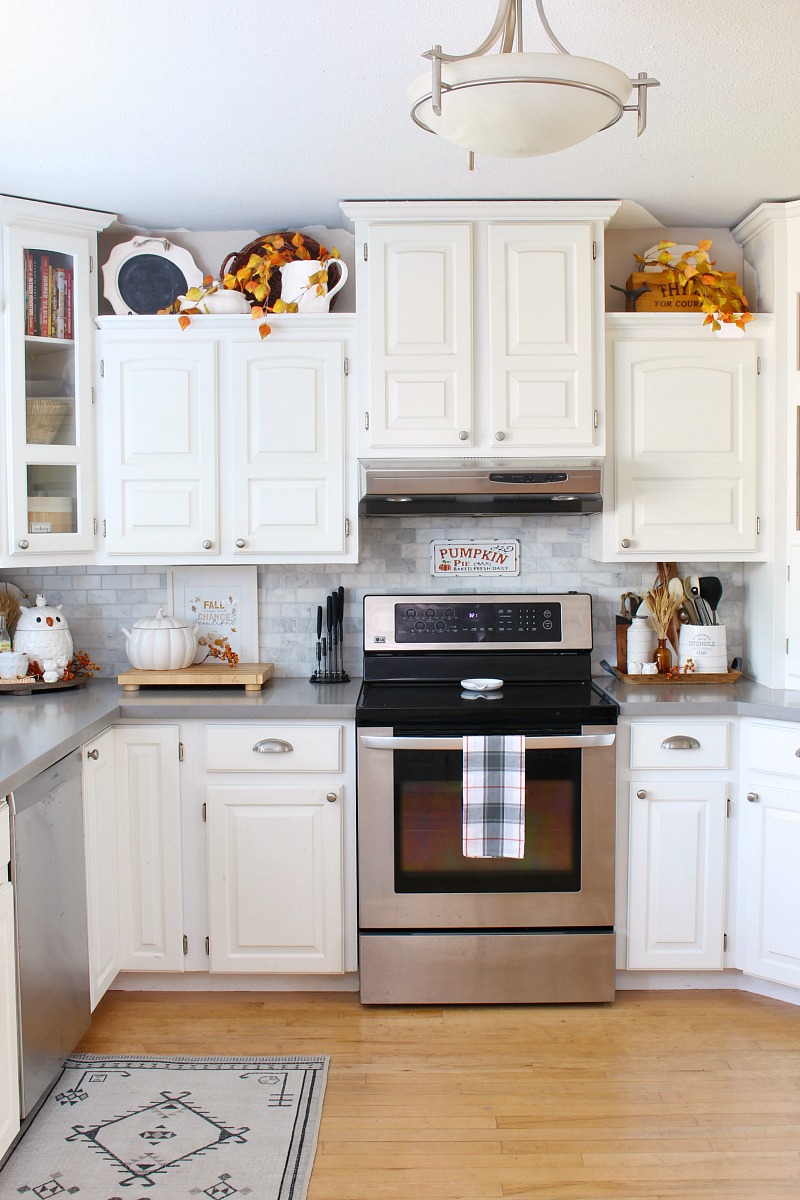
Windows.
- Take down and launder any window treatments.
- Dust the blinds and wipe down any splatters that may be on them.
- For very dirty or greasy blinds, I find it much easier to take them completely down and give them a good wash in the bathtub with some warm water and dish soap.
- Clean your windows {this is even better if done on a sunny day so you can see all of the streaks and grime}.
- Don’t forget about opening the window as well and cleaning the window tracks.
Cabinets.
While I will often do a quick wipe down of our kitchen cabinets when I see marks or grime, a good cleaning from top to bottom is definitely needed seasonally. Sometimes I don’t even really realize that there’s build-up on them until after I clean!
- Use a microfiber cloth and Rejuvenate cabinet cleaner to completely wipe down cabinets from top to bottom. I prefer to spray the cleaner onto the cloth to wipe rather than directly on the cabinets.
- The Rejuvenate cabinet cleaner can be used on wood, painted, Formica and laminate cabinets. It works to safely remove any oil, grease or dirt build-up, and is residue and streak-free!
- If you have detail work on your cabinet doors, be sure to get into all of the little grooves with your cloth. You can always use a soft toothbrush in there if you’re still having trouble.
- Don’t forget to check and clean the inside of the cabinet doors too! It’s amazing how many grimy little fingerprints can be found!
Walls, backsplash, and other surfaces.
- Working from the top down, wipe down walls, backsplash, light switches, counters, faucets etc. with your all purpose cleaner and a microfiber cloth. Use a microfiber polishing cloth and water to polish all shiny surfaces.
- Once the counters are cleaned, wipe down and place items back onto the counter.
Sink.
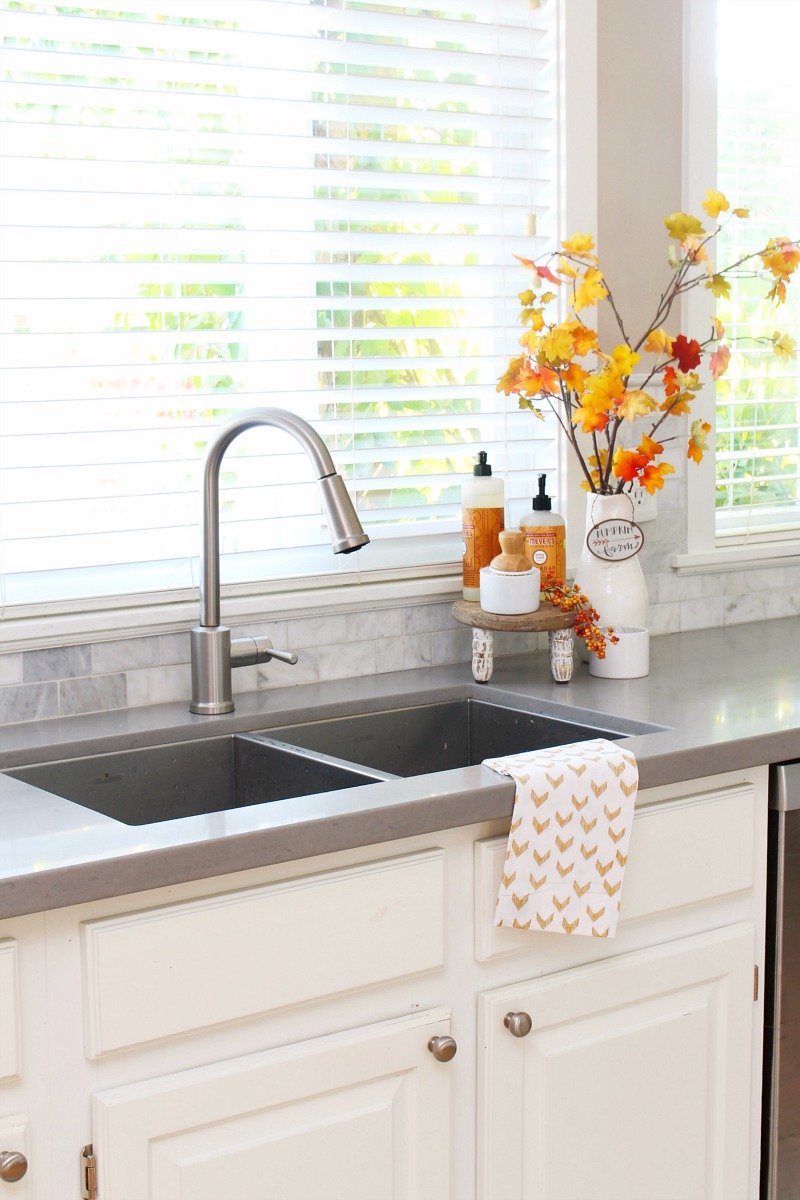
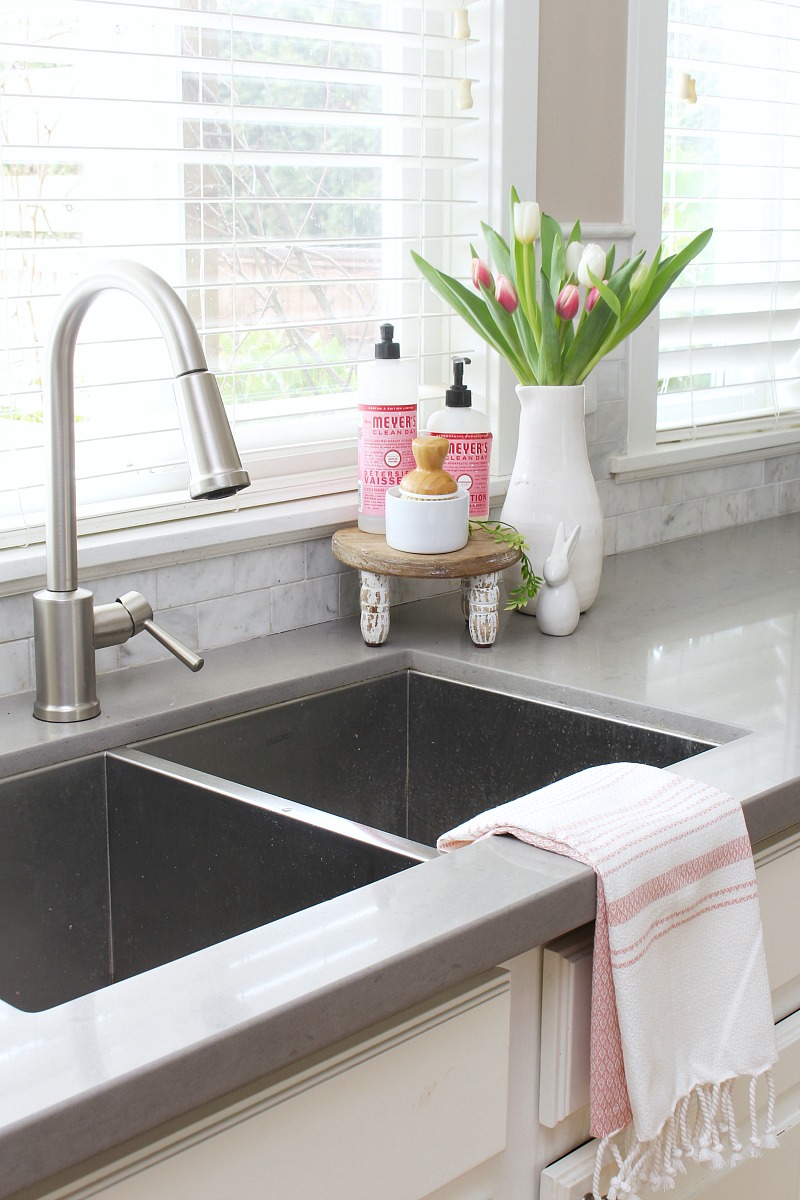
- Rinse out the sink to get rid of any loose debris. Sprinkle with baking soda and add a little warm water with a drop of dish soap to a microfiber cloth or sponge to scrub. Start at the top of the sink and work your way down the sides to the basin, pushing any grime down into the drain as you go. Add more water and dish soap as needed.
- Use a toothbrush to clean drain and the rim around the garbage disposal. If you have a square sink, use the toothbrush to get into all of the little corners.
- Polish with your polishing cloth. There’s nothing like a shiny sink! 🙂
Appliances.
- If able, move out appliances and vacuum or sweep in behind them. It’s amazing what collects back there!
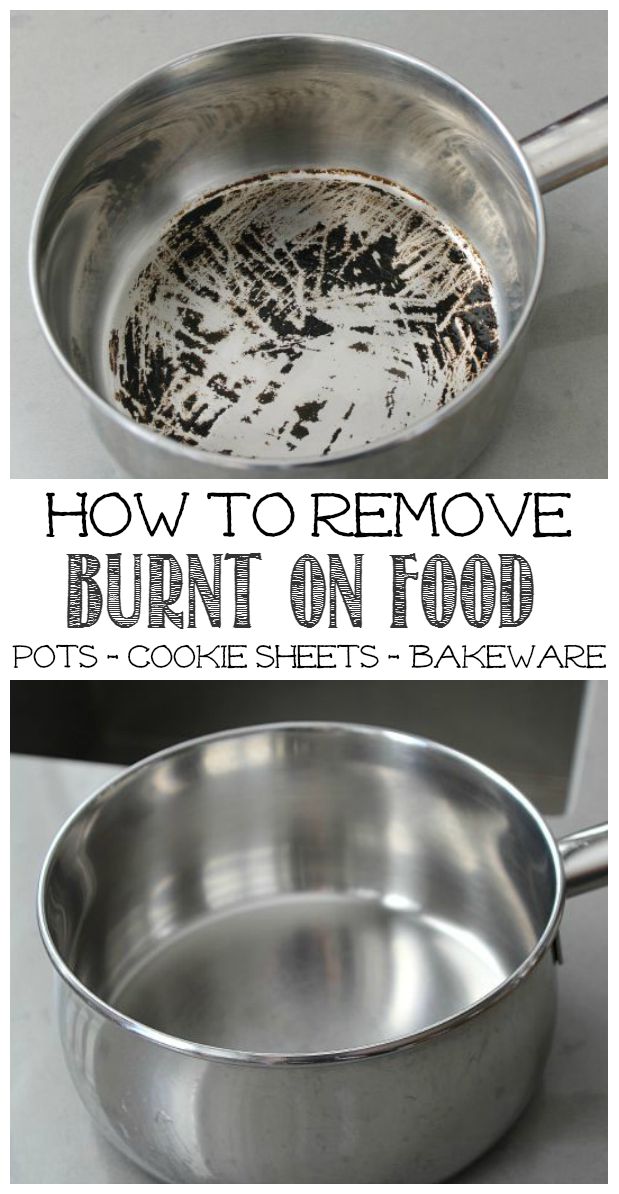
- Clean the dishwasher, microwave, garbage disposal, fridge, and oven as needed. Just click on the links for more detailed cleaning tips. If you have a steam cleaner, you can check out this post to see how to easily use your steam cleaner for cleaning kitchen appliances.
Flooring.
Last, but not least is the flooring!
- Remove any area rugs. Shake them out or wash as needed. Our carpet runner goes easily in the washing machine which is a definite must for me!
- Sweep or vacuum the floor to remove any loose dust and debris.
- Use the Rejuvenate Click n Clean mop to wash the floor with whatever cleaner works best for your flooring type. Since we have hardwood flooring, I used the wood floor cleaner, but I also have the tile cleaner for our bathroom. Mop along the grain of the wood working from one side of the room to the other.

Whew! You’re done! I know it might seem like a lot of work, but you don’t have to do everything and it’s only once per season. I can generally get most of what I want to get completed in a couple of hours. And it sure feels good when it’s done! For more details on our fall kitchen decor click here
Printable Kitchen Cleaning Checklist
Download your own kitchen cleaning checklist to help keep you on track! It’s also a good way to keep track of what you’ve cleaned, so you can make sure you prioritize those tasks that you missed next season. Just download and print!
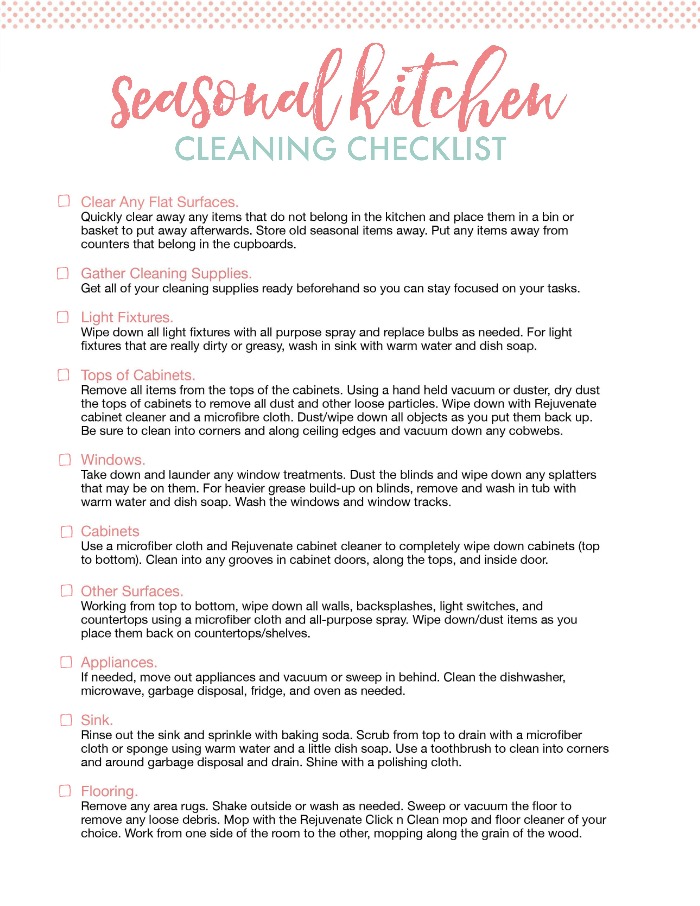
DOWNLOAD THE KITCHEN CLEANING CHECKLIST
For more information on the Rejuvenate products, you can check out their website or find them on Facebook or Instagram. You can also head over to my Instagram feed and enter to win one of three $50 Rejuvenate cleaning packages! Happy cleaning!
More Cleaning Tips
For more cleaning tips and tricks, check out these posts…
How to Clean the Garbage Disposal
Leave a Reply