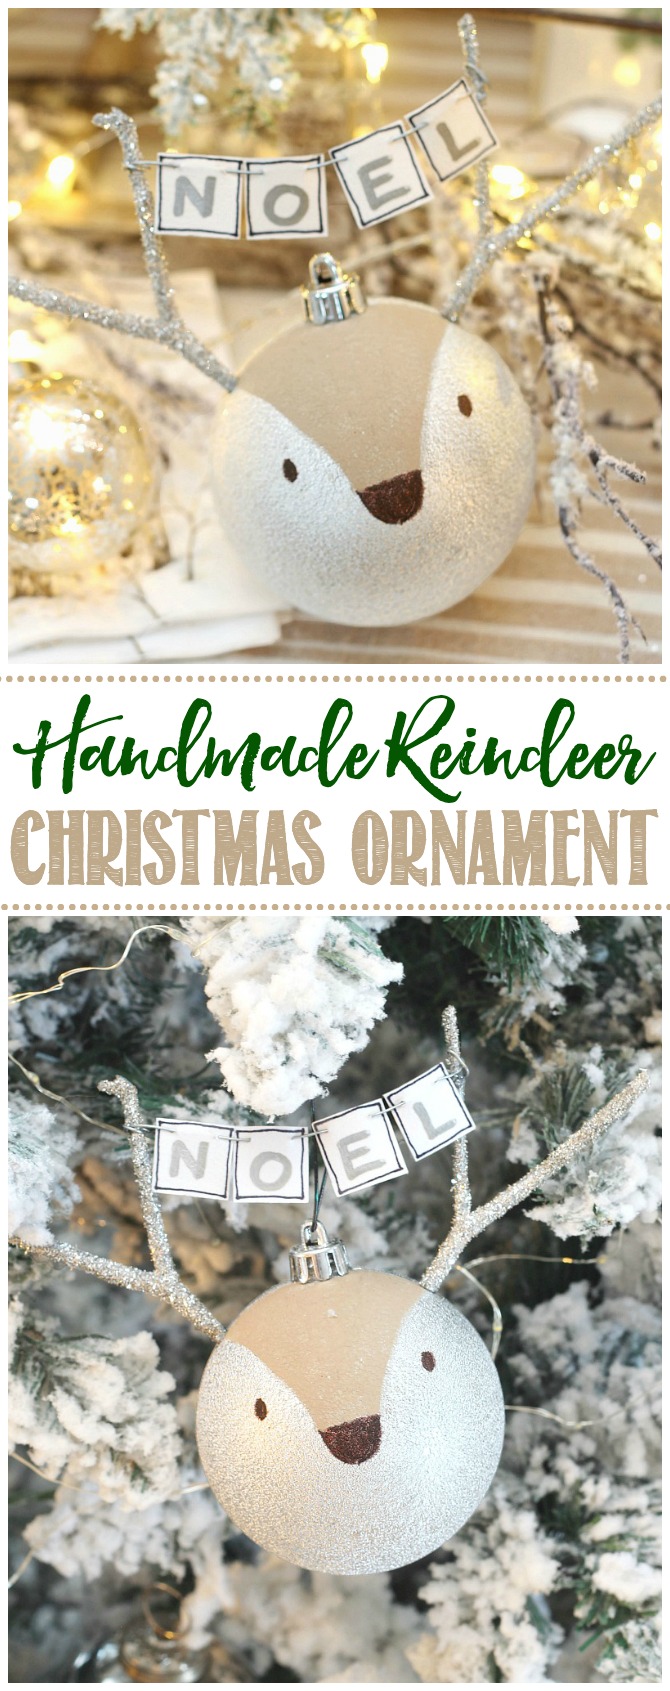
These cute reindeer handmade Christmas ornaments will add the perfect touch to your rustic farmhouse or woodland Christmas decor. Easy to make with just some basic craft supplies.
Christmas Seasonal Simplicity Series
Welcome back to week two of The Happy Housie’s Christmas seasonal simplicity series! Last week we showed you some fun DIY Christmas ideas and this week we’re sharing beautiful handmade Christmas ornaments. You can find all of the ornaments at the end of the post to decorate your tree with some handmade love.

Handmade Christmas Ornaments
I always love adding that handmade touch to our Christmas tree. It’s kind of a Christmas tradition for me to make at least one ornament each year and it’s always fun looking back at older ornaments from past Christmases – especially the ones the kids made with me! It’s like the ornaments almost tell a story.
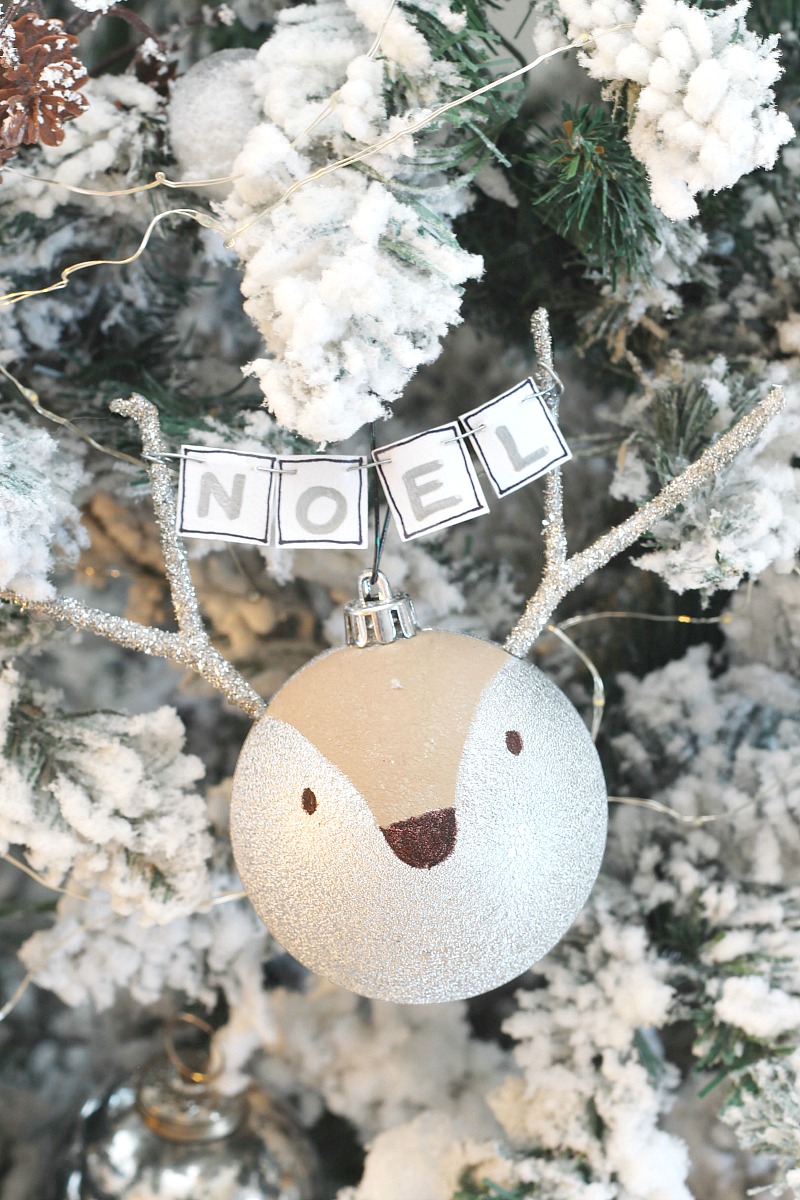
This year, I thought I would make some reindeer ornaments to go along with my Reindeer Ridge Christmas Lodge printable that I shared last week. I saw some similar ones when I was in France last month but couldn’t bring them back with me, so I decided to DIY my own. I think these ones turned out pretty cute!
Reindeer Handmade Christmas Ornaments
Materials
- white or silver ornament {wood or plastic that can be drilled}
- twigs
- silver or chrome spray paint
- spray adhesive
- silver glass glitter
- light and dark brown paint {or Sharpie markers} I used DecoArt paint in “fawn”.
- thin metal wire
- white cardstock

Directions
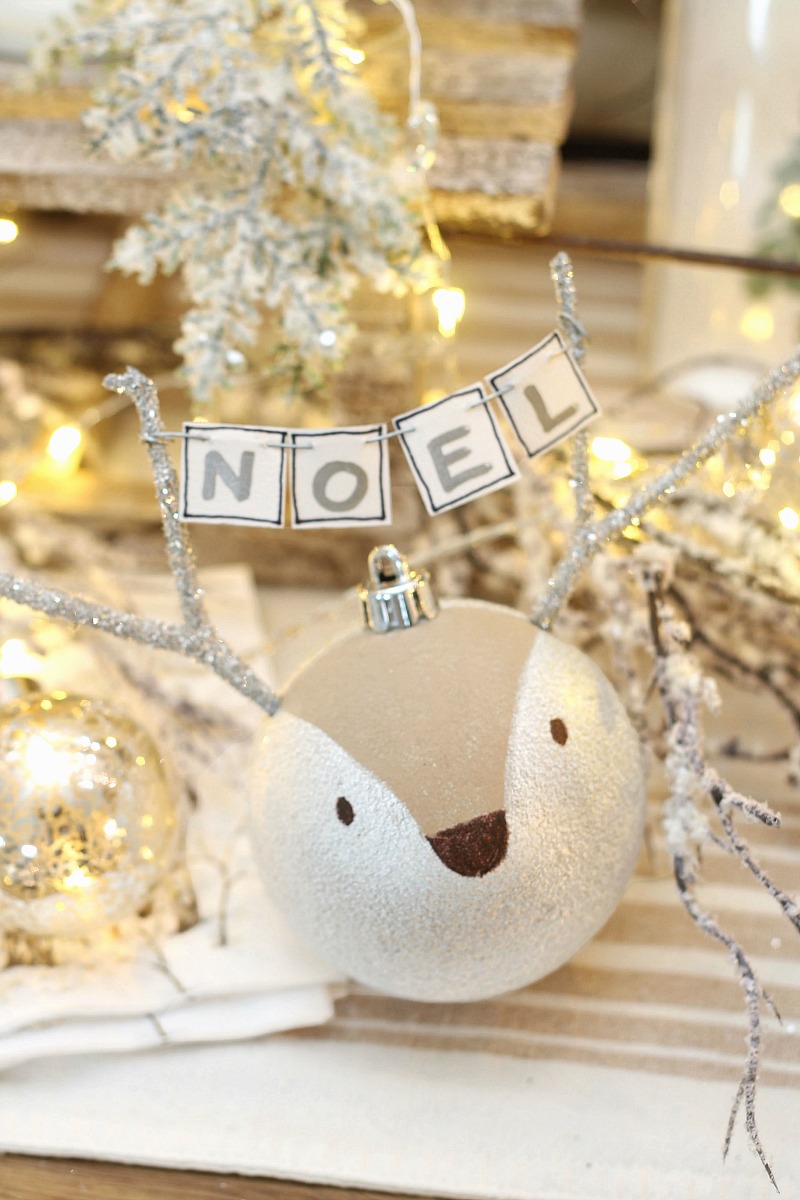
- Paint the face on the ornament {or use Sharpie markers}. To ensure that the face is painted symmetrically, place a dot where you want the end point to be on either side of the top of the head and a dot on each side where you want the nose to start. Fill in this section with paint. It kind of forms a triangle without the pointed top where the nose will be. I did two coats of paint on mine since the ornament I used was a little bit texturized.
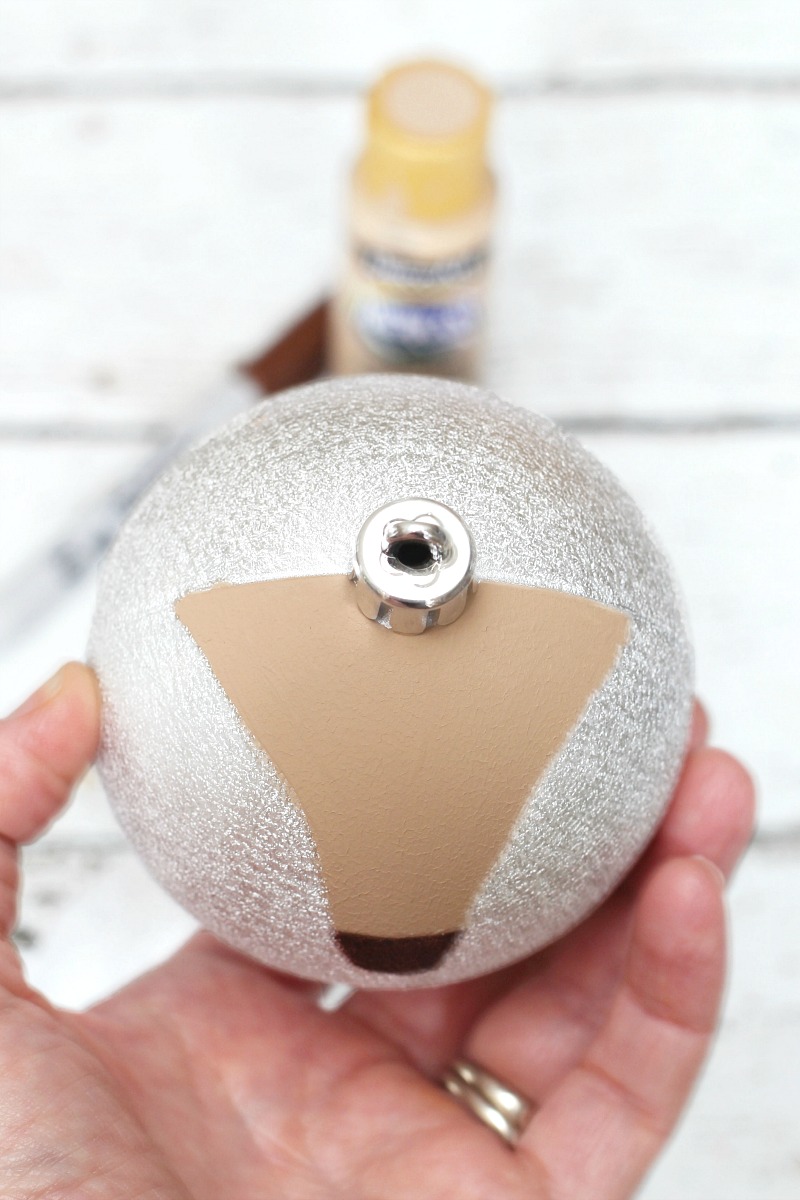
- Draw or paint on the nose and eyes. I’m not great at painting so I used a Sharpie for mine.
- Drill a small hole on either side of the head where the paint starts. This is where you will insert the twigs. NOTE: It’s better to have the holes slightly too small rather than too big as you can always whittle down the twig ends to fit.
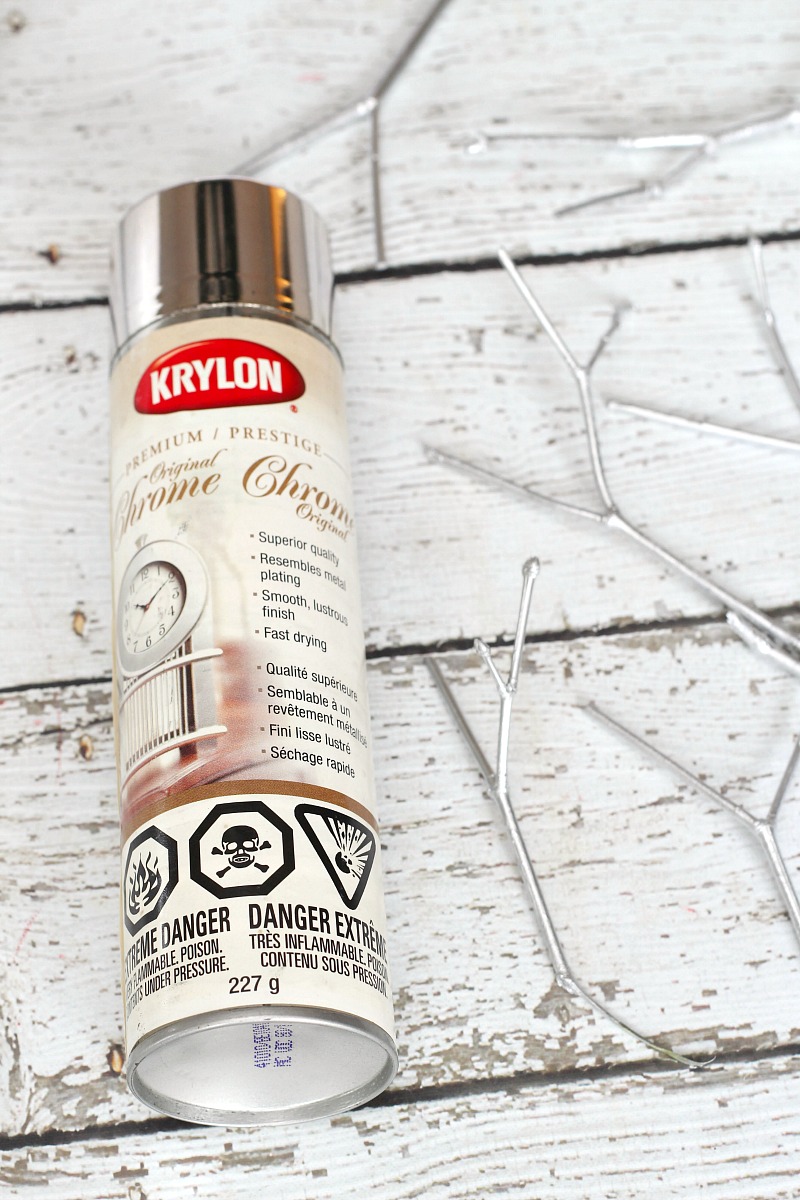
- Spray the twigs with the silver or chrome spray paint. Allow to dry. The chrome paint really gives it a bright, metallic finish and would still look cute without the glitter. Test to ensure that that the twigs fit in the drilled holes. If they’re a little big you can whittle down the ends so it fits securely.
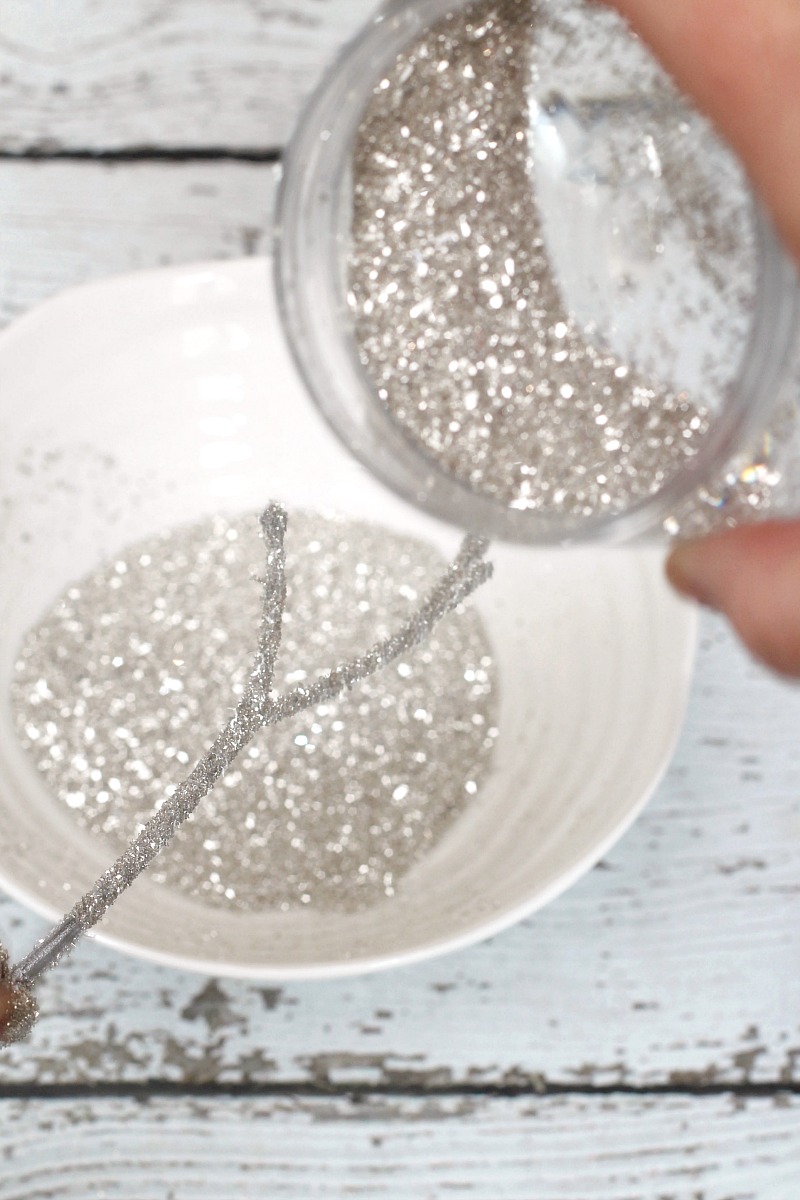
- Spray the twigs with spray adhesive and sprinkle on the glitter. {TIP: use a bowl below the glitter to catch all of the access and then just dump it back in the glitter jar.}
- If you’d like to add a banner, use a paper cutter to cut small squares from the white cardstock. Write a letter on each square and use a pin to make two small holes on either side of the square for the wire to run through.
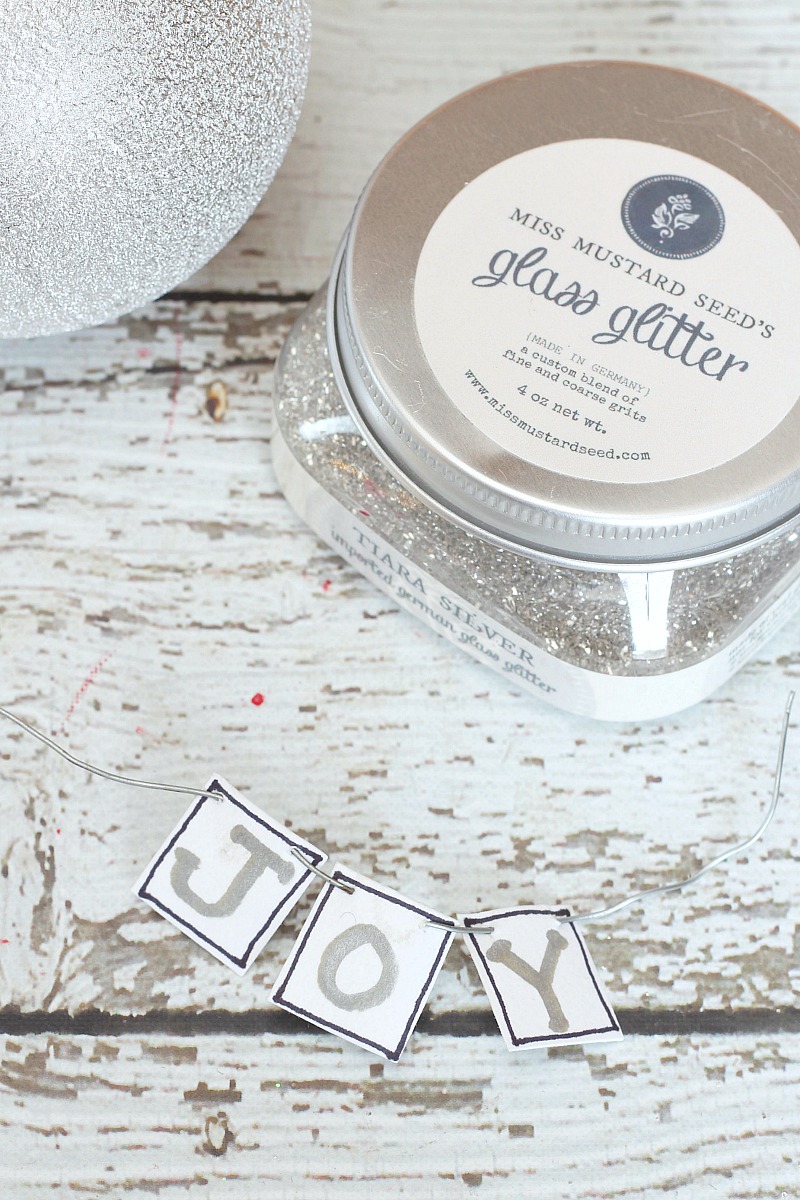
- Twist the wire ends around the antlers and cut off any excess with wire cutters.
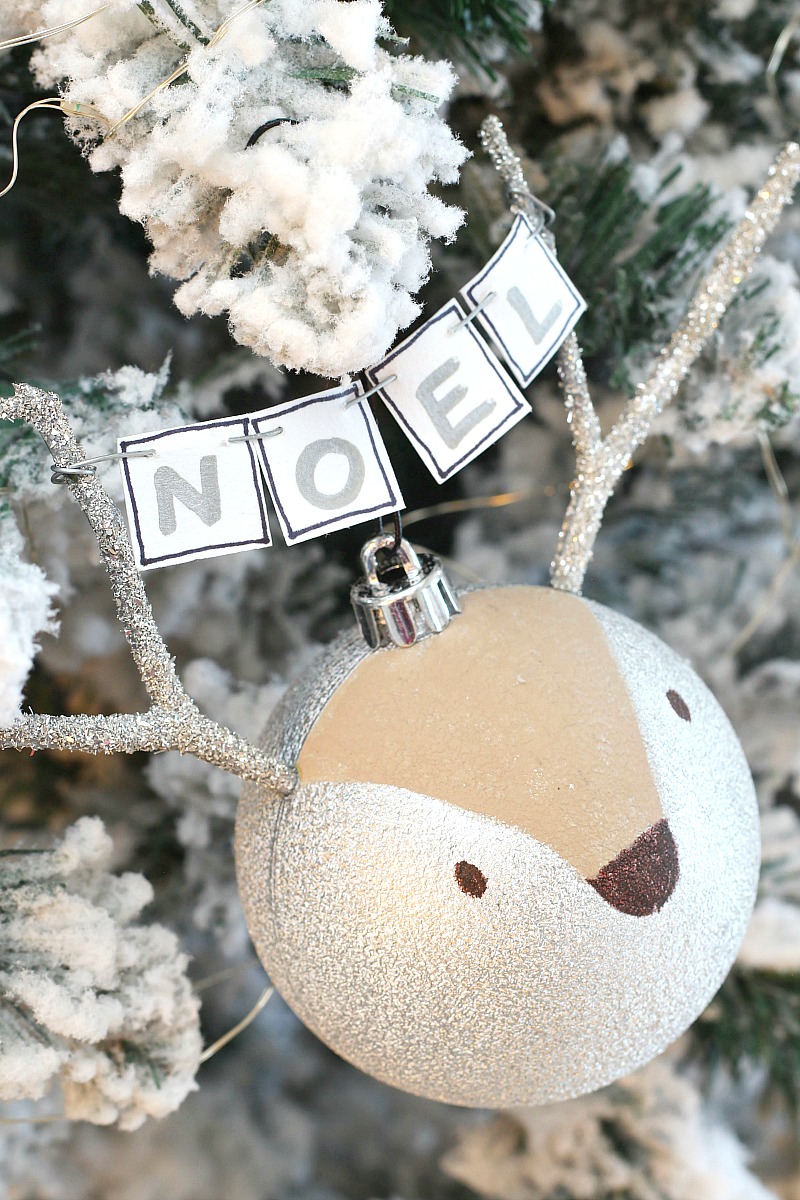
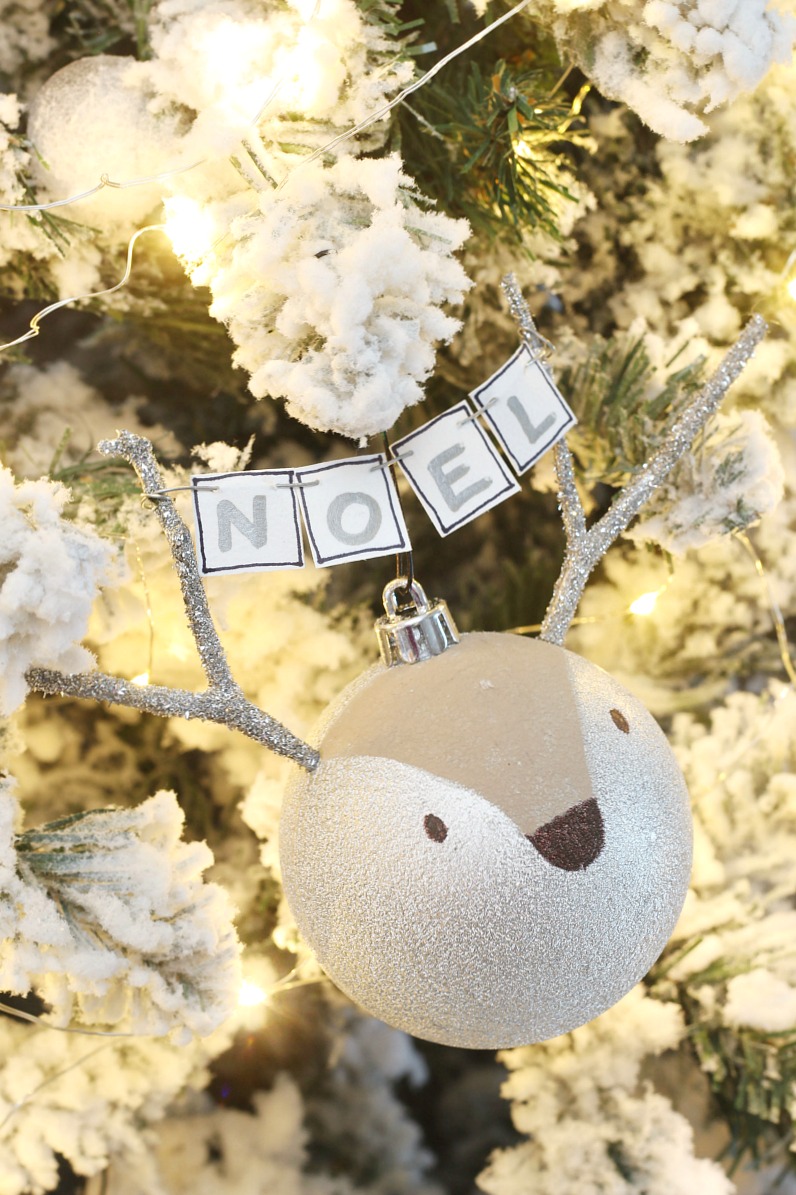
I hope you enjoy these cute little guys! You could even make a Rudolph by adding a small, red pom pom for the nose. 🙂
More Christmas Handmade Ornament Ideas
Before you go, be sure to check out the other beautiful DIY Christmas ornaments from my blogging friends. There are so many amazing ideas and lots of different styles to choose from. You may just need to get another Christmas tree to decorate! 🙂

DIY Christmas Light Tree Ornaments at The Happy Housie
Handmade Ornaments from Free Printables at The Handmade Home
DIY Dollar Store Christmas Tree Ornament at Craftberry Bush
DIY Twig Christmas Tree Ornament at The Turquoise Home

Farmhouse Christmas Sign Ornaments at Tatertots and Jello
DIY Stocking Ornament at Love Create Celebrate
Kid Friendly Christmas Ornaments at Jenna Kate at Home
DIY Wood Bead Christmas Garland at So Much Better With Age
Reindeer Handmade Christmas Ornament Clean & Scentsible

DIY Christmas Ornament at My 100 Year Old Home
Easy Christmas Ornament DIY at Happy Happy Nester
Frosted Pear Tree Ornaments at Sincerely, Marie Designs
Elegant Embroidery Hoop Ornaments at All Things With Purpose
Homemade Christmas Ornament at Seeking Lavender Lane

Easy Wood Bead Christmas Ornaments at Cherished Bliss
DIY Hand Painted Floral Christmas Ornaments at The DIY Mommy
Black and White Ornaments at Taryn Whiteaker
DIY Reindeer Vintage Car Christmas Ornament at Cassie Bustamante
Photo Block Christmas Ornament at Amber Tysl

Melted Crayon Ornaments at Modern Glam
Wine Cork Mushroom Christmas Ornaments at Life is a Party
Cinnamon Stick and Orange Slice Ornaments at A Pretty Life
Easy DIY Reversible Christmas Ornaments at She Gave it a Go
DIY Mason Jar Snow Globe Ornament at Lolly Jane

Chalkboard Christmas Tree Ornaments
i LOVE deer and these are just the cutest little guys!
Thanks so much Cassie! I love deer too!
These are SO cute Jenn! I feel like I need 20 of these on my tree this year!
Thanks! They’re pretty quick to make so craft away! lol!
Those are the cutest ornaments! I would have to have a Rudolph. 🙂 Thanks for sharing on the blog hop.
I know! I really wanted to make a Rudolph too but could only find huge packs of mini red pom poms and I only need one! lol! I’ll have to check out the dollar store when I’m there next.
This is seriously the cutest thing ever!! Pinning 🙂
Thanks so much Sarah!
Adorable! I can see the kiddos wanting to help make some of these for sure!
Yes, they’d be fun to do with the older kiddos!
They are so cute. How did you attach the antlers?
Thanks! I just drilled a small hole on either side of the head where the paint ends. If you look at the photo where you’re looking down on the top of the ornament, the holes are drilled on each of the points of the painted triangle.
This is seriously adorable! I am going to try to make some this year. Pinning!
Thanks Mary Beth!