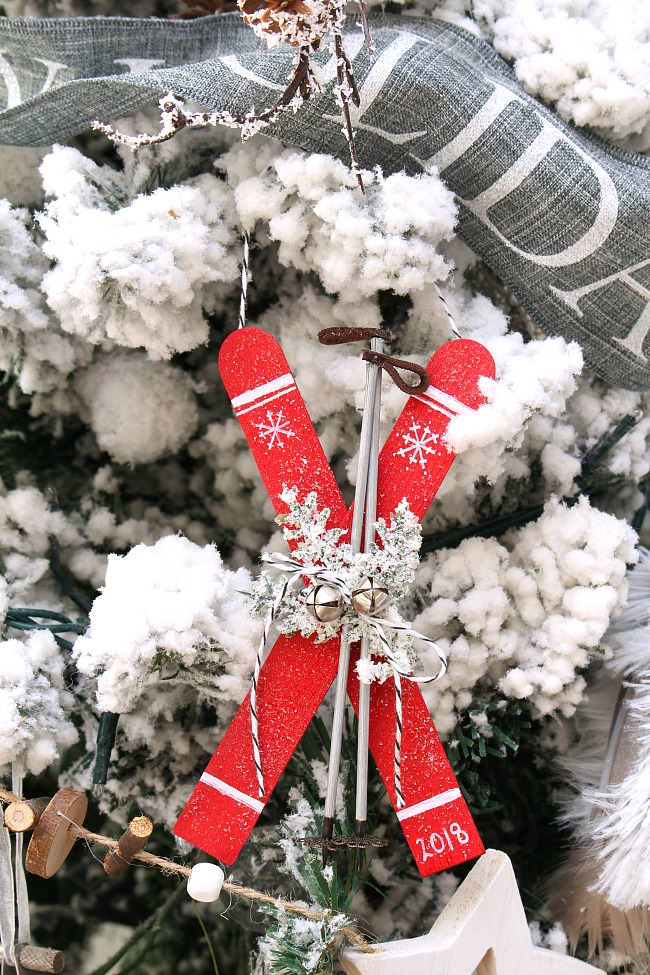
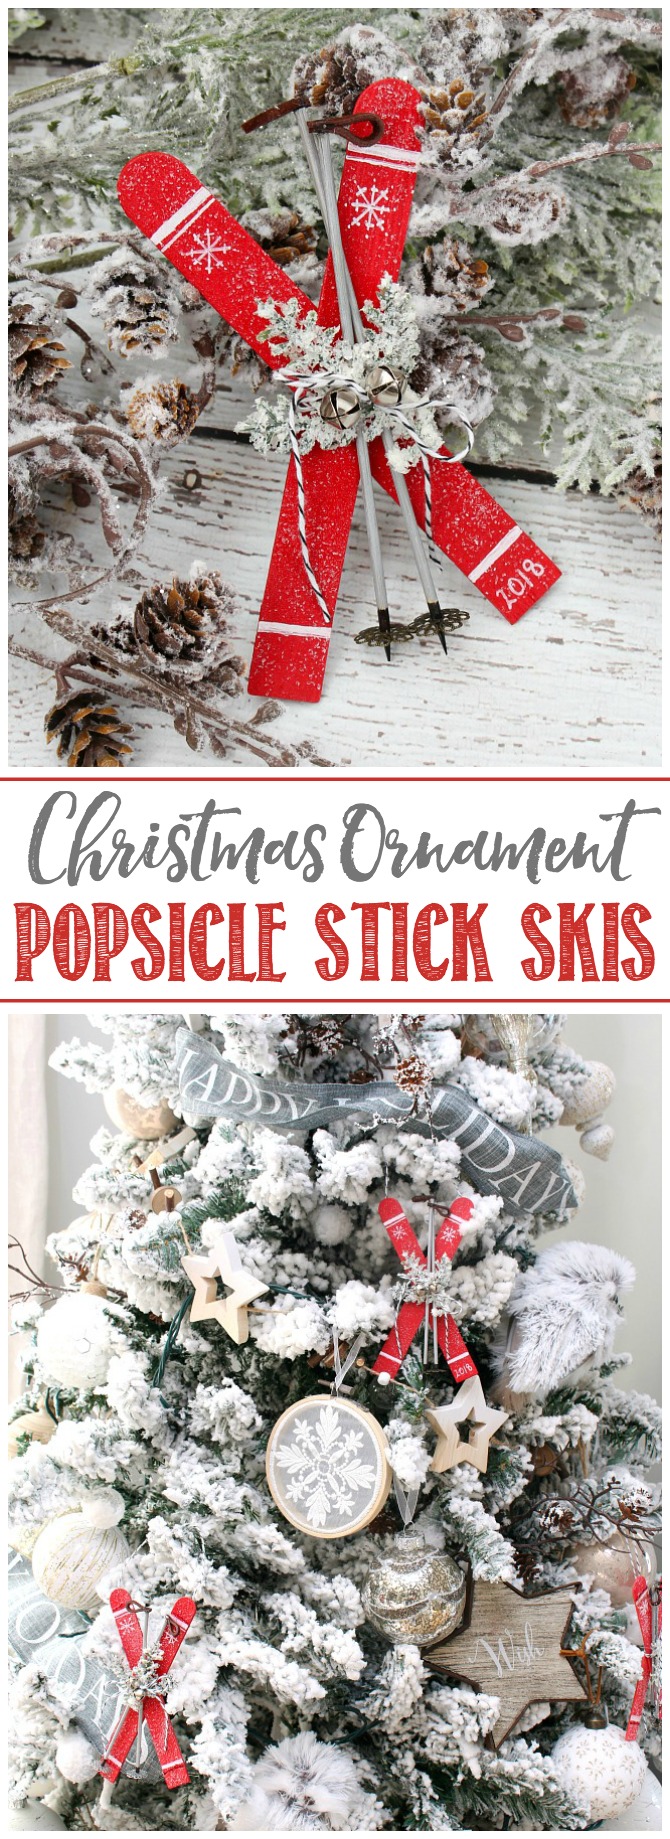
These popsicle stick skis Christmas ornaments are easy to make and lots of fun to do with the kiddos! Get creative and add your own embellishments and designs.
Seasonal Simplicity Christmas Series
It’s time for week 2 of the seasonal simplicity Christmas series! Last week we shared some simple Christmas crafts and DIY projects and this week is all about getting ready to decorate the Christmas tree! We’re sharing 20 cute handmade Christmas ornaments, so pick your favorites and get crafting!

Popsicle Stick Skis Christmas Ornament
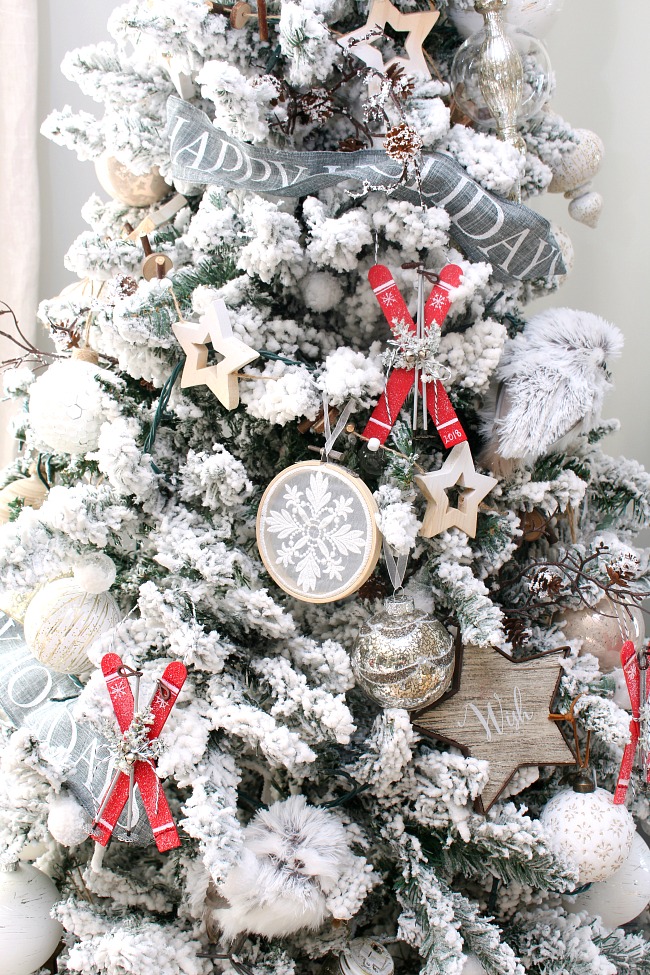
I love making Christmas ornaments for our tree and always make at least one new ornament each year. A couple of years ago, I made some cute popsicle stick sleds, so this year I thought I’d make some popsicle stick skis to go with them. These are a lot of fun to make and you can totally put your own stamp on them with different ways to design and embellish them. They also look cute without the extra bling so make them however you would like!
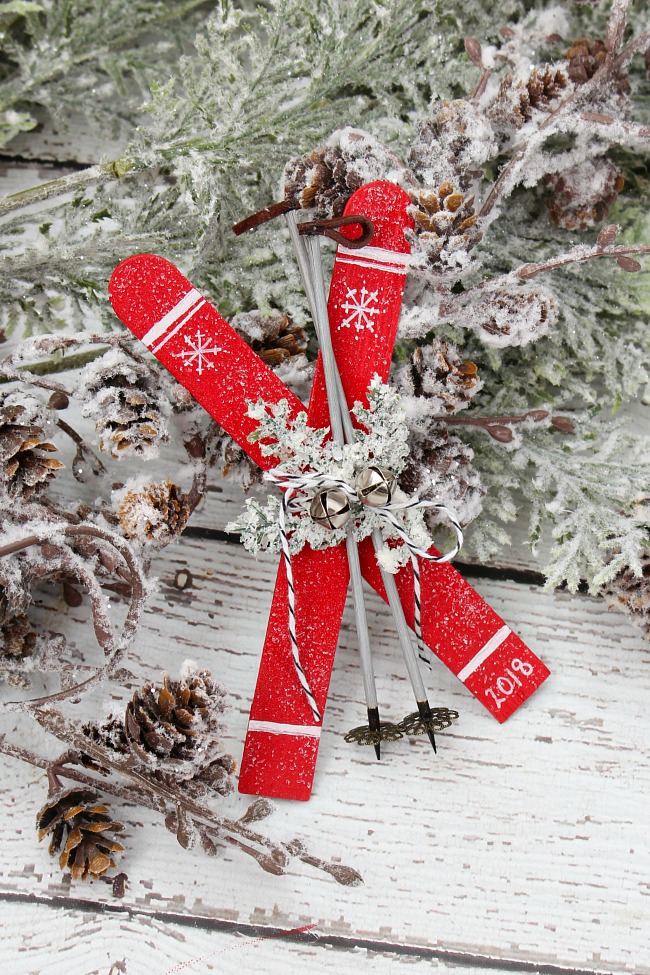
Popsicle Stick Skis Tutorial
These can be as simple or as detailed as you would like them so they’re great for any crafting ability – including kids! Skip the painting and just use colored Sharpies or makers if you want to keep things simpler. If you’re making a bunch of them, it actually goes quite quickly if you make them assembly-line style {instead of one at a time}.
Materials
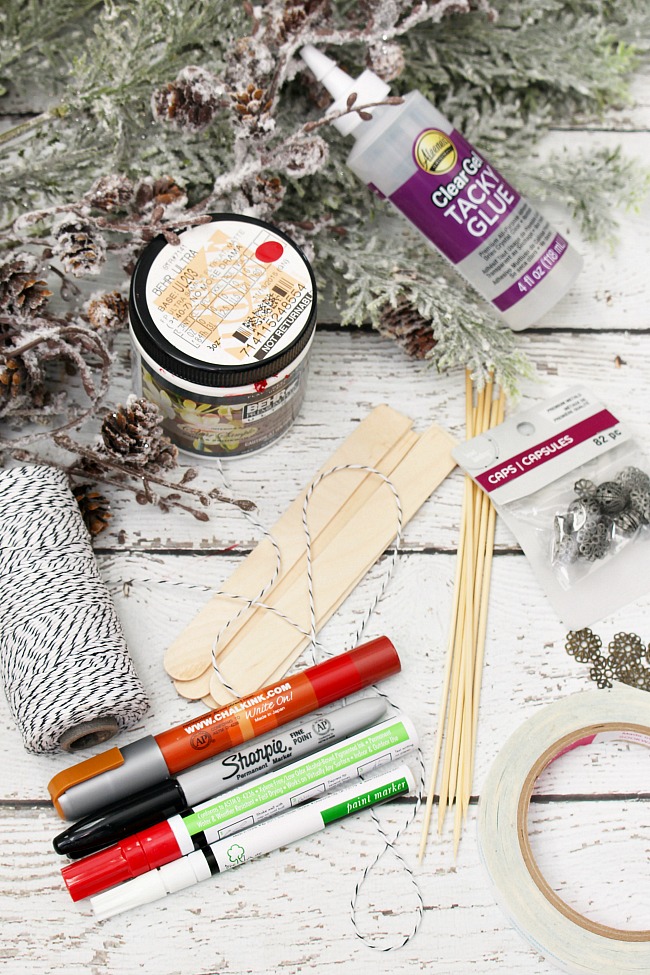
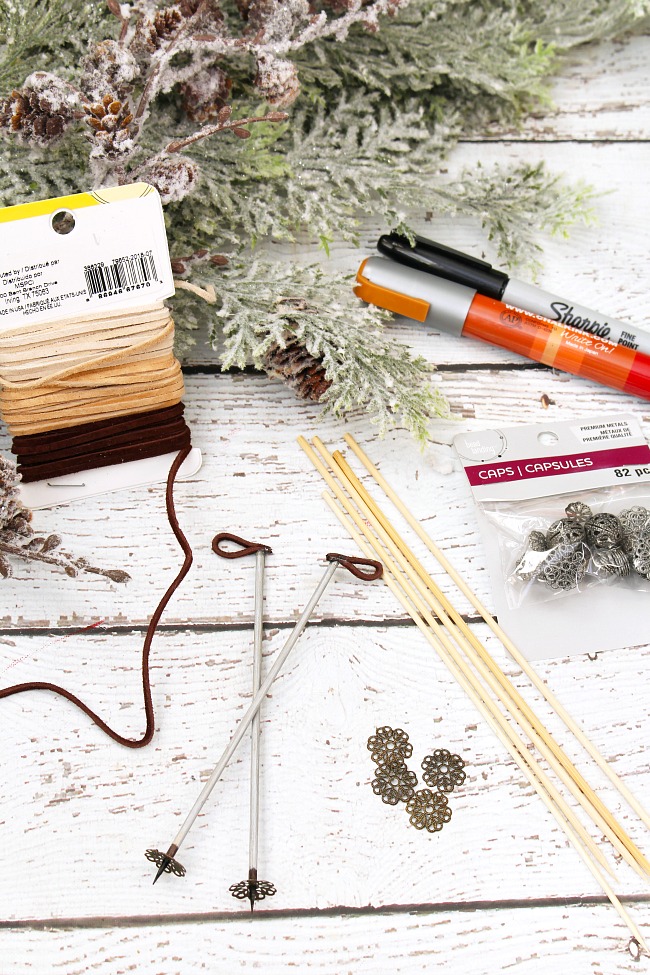
- popsicle sticks. I used the larger size {and found ones that had a curve on one end and a straight edge on the other}, but you could make them with the regular sized popsicle sticks as well.
- wood skewers {or toothpicks if using the smaller popsicle sticks}
- clear glue {TIP: Since you’ll be gluing smaller items, I find it easiest to place a little glue on a paper plate or napkin and then use a toothpick to put the glue exactly where I want it.}
- double sided tape {optional}. You can use clear glue if you don’t have this.
- paint, paint pens, chalk ink markers, or colored Sharpies {I found the markers much easier for the poles}
- baker’s twine
- baker’s twine, twine, or ribbon to hang
- leather cord {available in the jewelery making section of craft stores} or cut out some felt into strips for the pole wrist straps
- small discs for the bottom of the ski poles. I found some in the jewellery section of Michaels that worked perfectly for this. If you can’t find something similar, you could always just cut small circles from black felt or even thick black cardstock.
- any extra embellishments you would like. I added some jingle bells, a sprig of flocked greenery, and some glitter to mine.
Instructions
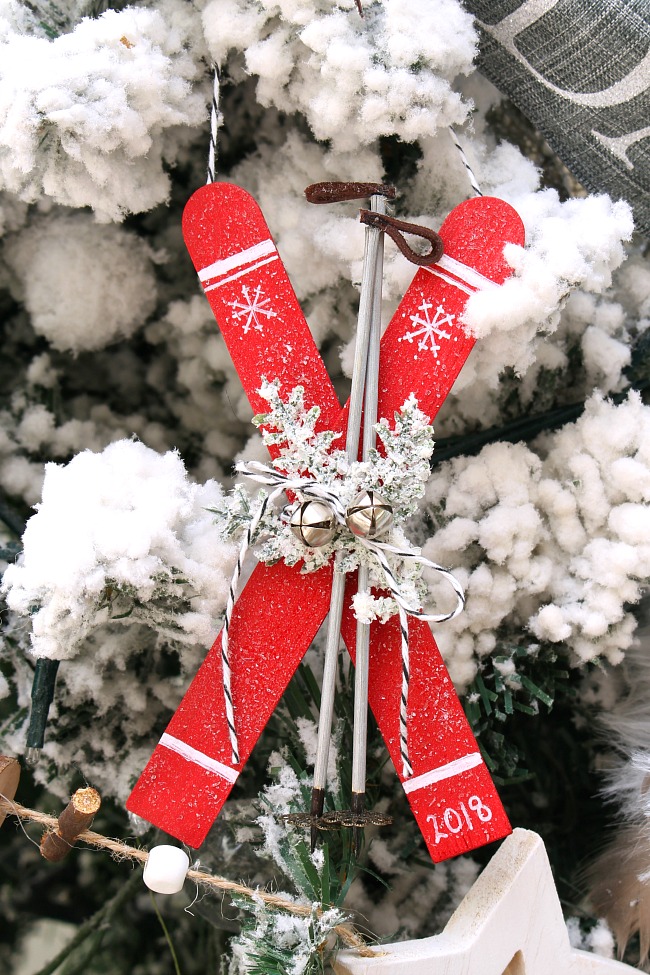
- Paint two popsicle sticks the color that you want your skis. If you’re short on time or want to keep things a little less messy, paint pens, colored chalk ink markers, or colored Sharpies work great to add the color as well. You can use regular markers too – I just find that the color is not as rich.
- Add any designs that you would like to the skis. If you’re using paint, be sure to allow the first color to completely dry before adding a second color. I stuck with a couple of stripes and a snowflake for my basic design and added the date on a couple of them.
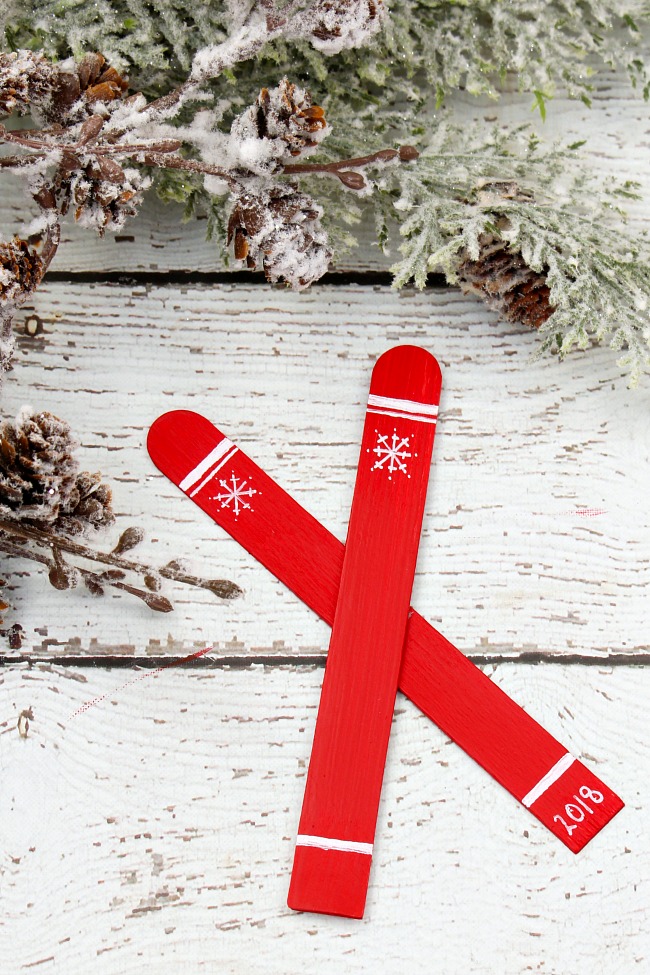
- Use double sided tape or clear glue to stick the two popsicle sticks together making an ‘X’.
- Trim the skewers down to your desired size for the poles. Color the wood skewers with a little bit of black Sharpie at the sharp end, and color the rest with silver Sharpie {or whatever color your choose}.
- Cut a small strip of the leather cording and glue the ends together for the wrist ties on the poles. Glue them to the top of the skewers.
- Slide the disc on the bottom of the skewer and secure in place with clear glue.
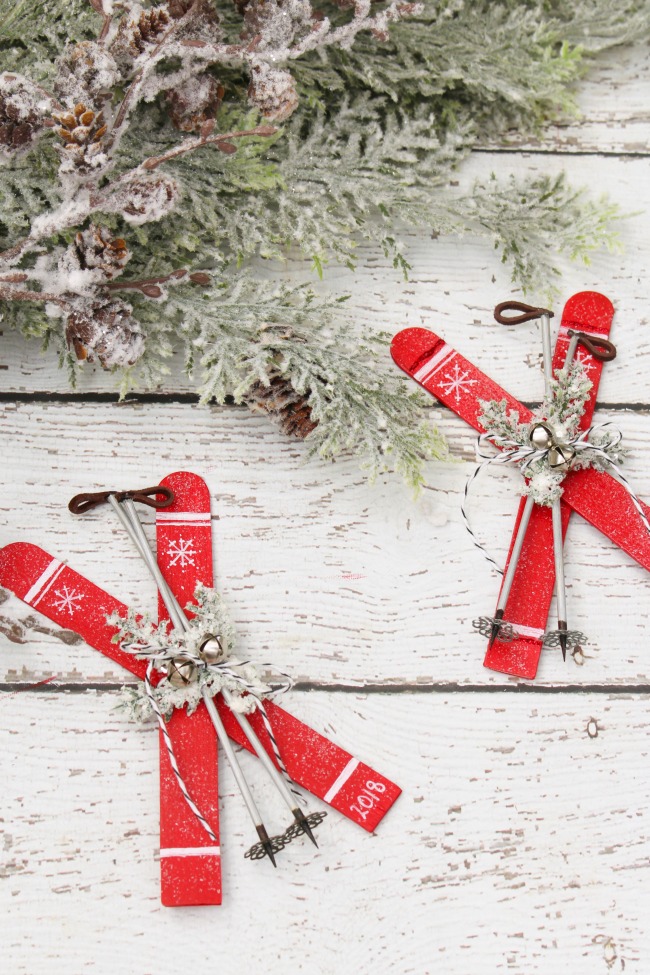
- Tie some baker’s twine around the poles in the middle to secure them together. Then wrap around the middle of the skis to tie the poles to the skis. If you’d like to add any extra embellishments in here you can. I played around with a few ideas such as a couple of small bells, a little tag with the year, and a sprig of greenery.
- Add some baker’s twine or ribbon to the back of the skis to hang. I used clear tape to attached mine, but you could use glue as well.
- If you’d like to add a little extra bling, you can spray your skis with some adhesive spray and then sprinkle on some glass glitter. It makes it look like little flecks of fresh snow, and looks really pretty with the Christmas tree lights reflecting off it.
I hope you have fun with these! I’d love to see if you make your own. 🙂
More Handmade Christmas Ornaments
If you love handmade Christmas ornaments as much as I do, you’ll love all of these cute ideas. Most of them are really simple to make, so put on your favorite Chirstmas tunes and get your craft on! You might just have to make a few!

The Happy Housie // The Turquoise Home // Lolly Jane // tatertots and jello // Clean and Scentsible

Place of My Taste // The DIY Mommy // Tauni Everett // Life is a Party // Taryn Whiteaker

Home Made Lovely // Town and Country Living // Sincerely, Marie Designs // Grace Gathered Home // Deeply Southern Home

Finding Silver Pennies // Heathered Nest // Jenna Kate at Home // All Things With Purpose
Summer Adams
You can find more of my handmade ornaments here…
Chalkboard Christmas Tree Ornaments
Aren’t these the cutest?! I love them. We’ve been on the same wave length. I’ve loved the projects you’ve been sharing in the linky Jen (TT&J) and I host AND I am working on a ski themed holiday porch this year!
Thanks so much Tauni! Can’t wait to see your porch!
I LOVE these!! They are absolutely adorable!
I love these! Simple enough for the kids. Thanks for sharing Jenn and being a part of the blog hop.
Thanks so much for hosting! Can’t believe you’re organizing all of this AND moving!
These are completely adorable! I especially love the ski poles with their leather handles and cute tips.
Thanks! I always like adding the little details the best!
I am absolutely in love with these, Jenn! Such a creative idea and easy to make. I can’t wait to give these a try!
Thanks Amanda! They’re lots of fun to make!
How cute are these, Jenn! I absolutely love them! So happy to be on this blog hop with you!
Thanks so much! Great to hop with you too!
So cute! What color red paint did you use?
I love your ski ornaments and would like to use the snowflake design. Did you use a chalk pen Jenn do make them?
I have chosen your post to be featured on Oh My Heartsie Girls Friday Feature Special Holiday Party. It will also be featured on Pinterest and Instagram, you will be able to find it at either #omhgww or ohmyheartsiegirl
Please stop by and share other posts so everyone can enjoy!!
Hope you enjoy your week!
So cute. Congratulations on the much deserved feature at Over the Moon link party.
These ski ornaments are so adorable. Please stop by Over The Moon Party since you are being featured.
Hugs,
Bev
These are so cute. You were my favorite pick to feature on Waste not Wednesday this week.
Oh! Thanks so much!
These are so cute and they look wonderful on your tree! Thanks for sharing at Merry Monday. I’ll be including your skis ornament in my Party Features next week.
Where did you find the flat-bottomed craft sticks? I don’t see them anywhere. Thanks!!
Just at Michaels! I think they were called sticky sticks? They had some adhesive on the bottom to use for making puppets and other crafts. They’re on Amazon too but the only link I could find right now only comes in packs of 500 which I’m pretty sure you don’t want. 😉 The skis would still work with regular popsicle sticks too though if you couldn’t find them.
Do you think that the popsicle sticks could be cut to make a straight end?
You could try but you’d have to be careful as the wood tends to split. I saw might work and then a little sanding.