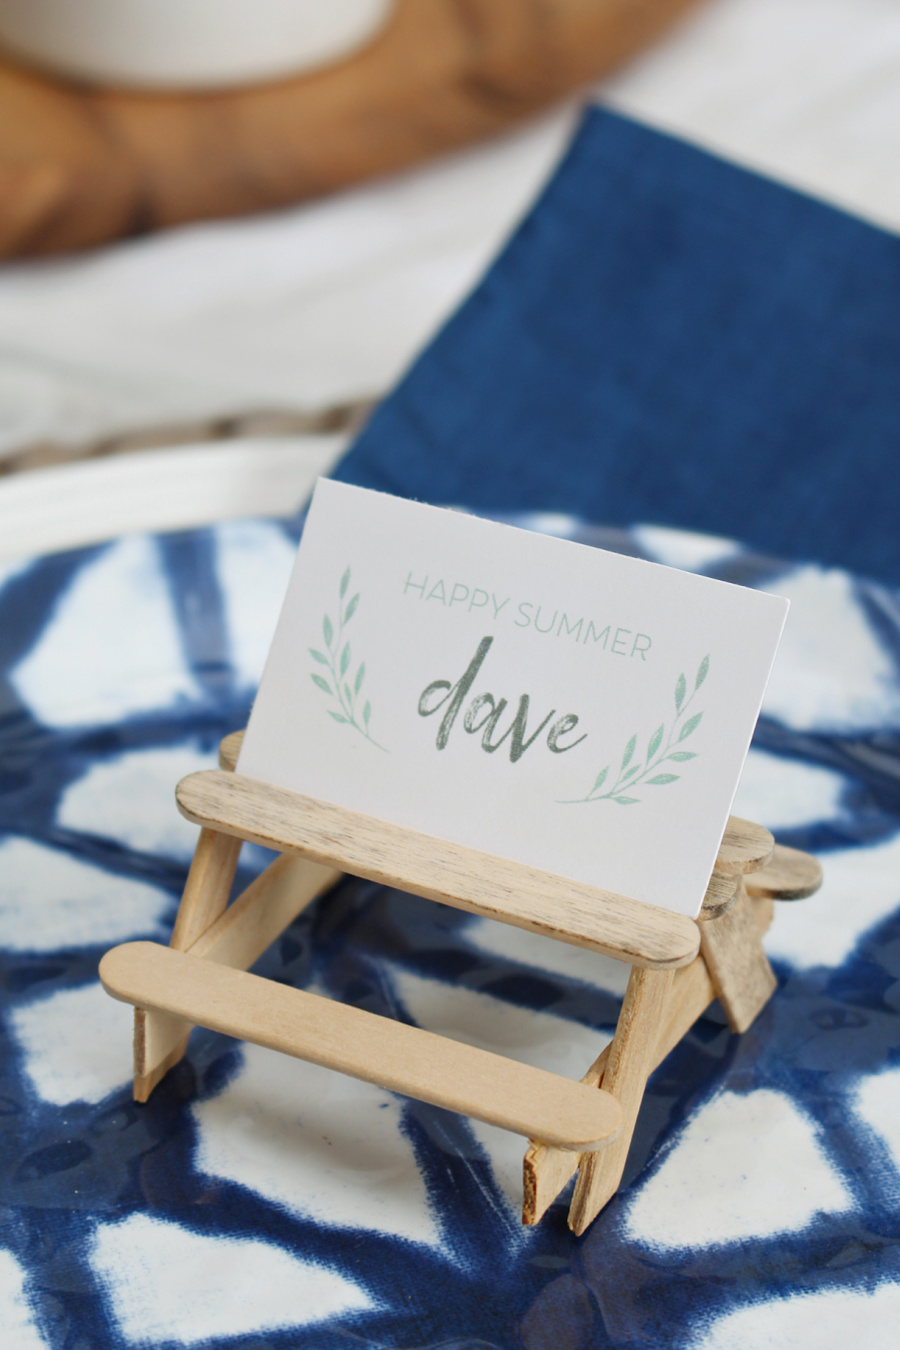
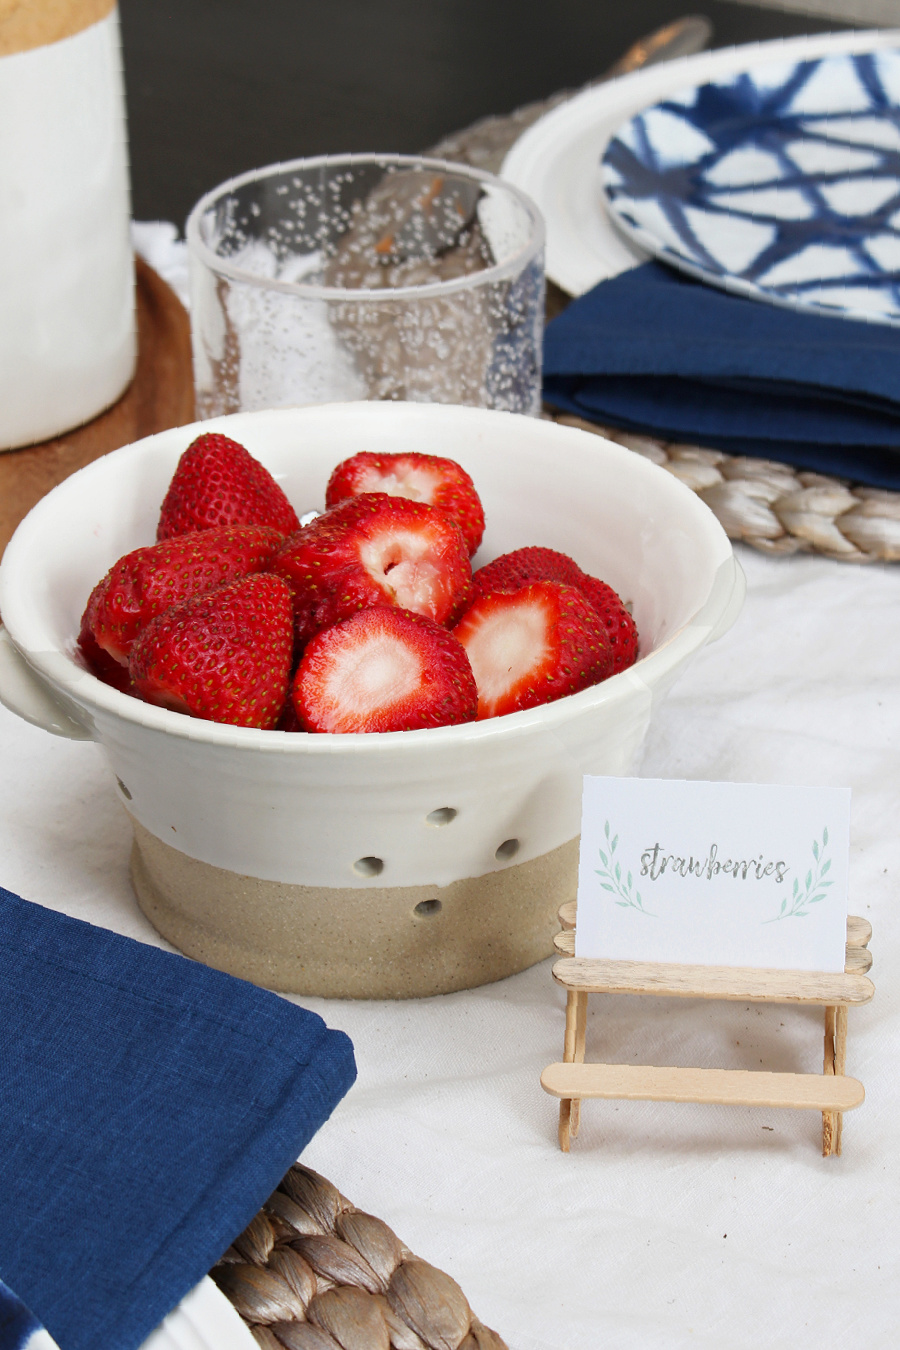
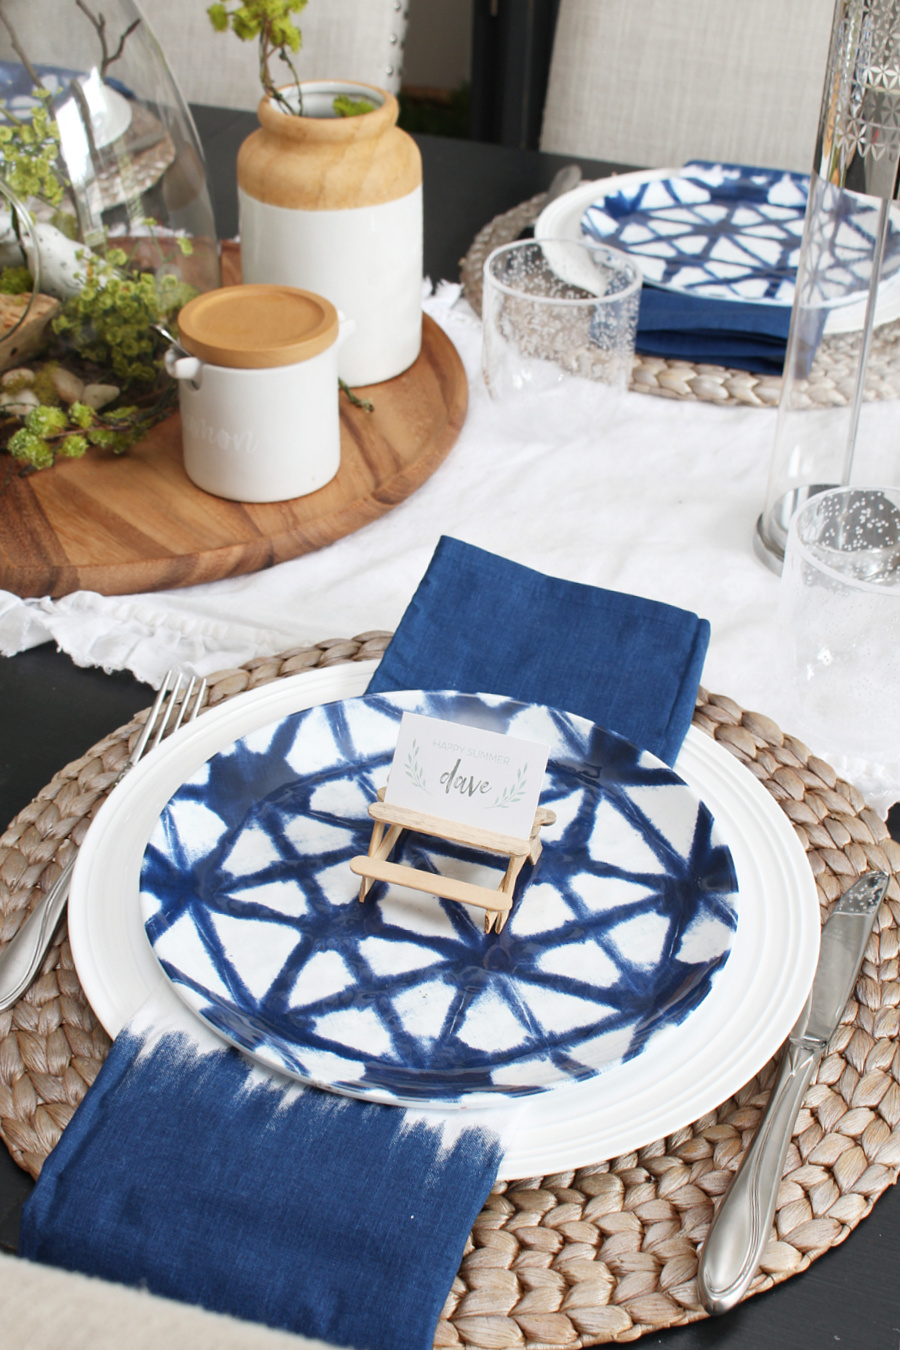
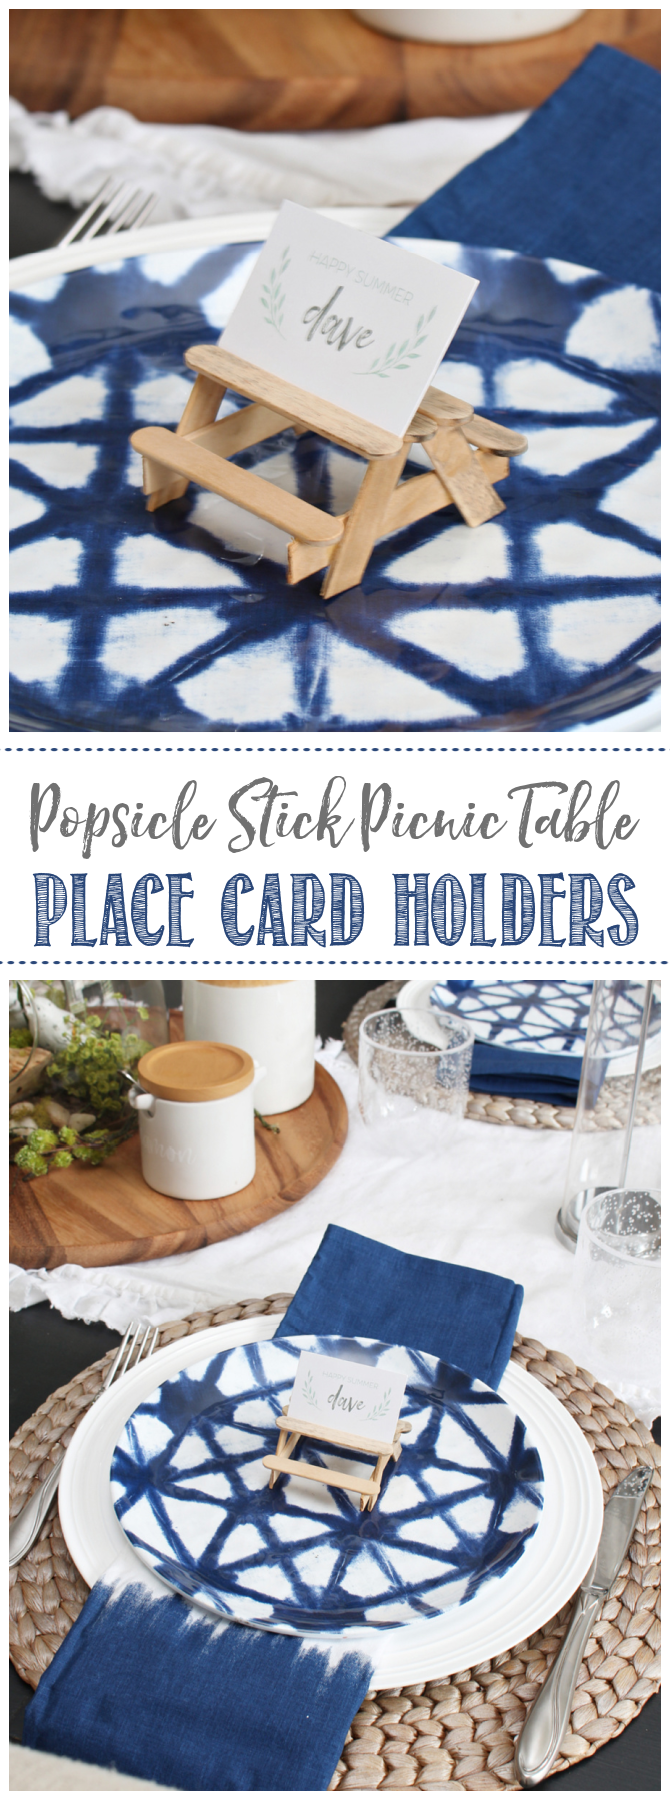
Create these cute DIY popsicle stick picnic table place card holders for your summer tablescape or summer party. Can also be used as food label holders. Free printable summer labels included.
Summer Seasonal Simplicity Series
Welcome back to Week 3 of The Happy Housie’s Summer Seasonal Simplicity Series! Each week, my blogging friends and I have been sharing our favorite summer ideas to help you celebrate summer in style. This week it’s time to get creative, as we’re sharing some fun summer DIY and craft projects with you. You can find all of the links at the end of the post, so be sure to check them out! If you missed any of he previous weeks, you can find them here…
Popsicle Stick Picnic Table Place Card Holders
I’ve made a few different popsicle stick crafts in the past, and still had a bunch of popsicle sticks left over. So… I decided to use them for these cute popsicle stick picnic tables and turn them into place card holders. I think they turned out pretty cute and they’re pretty simple to make.
Popsicle Stick Picnic Table Tutorial
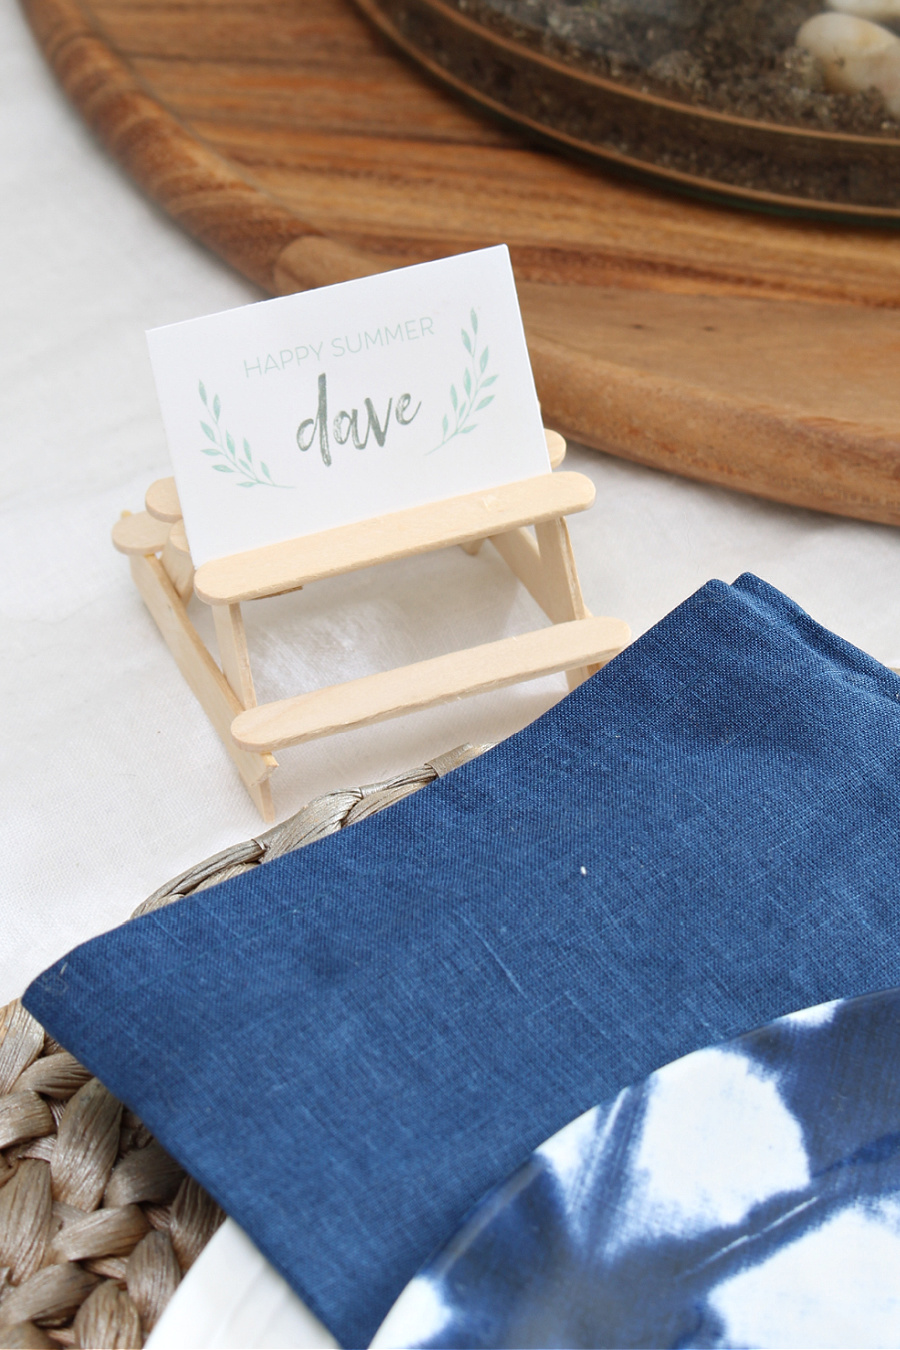
These DIY popsicle stick picnic tables add a cute touch to your summer tablescape or buffet table. They could also be used for a little doll house, fairy garden or for LEGO figures. However you choose to use them, they’re fun and easy to put together and make a great summer craft idea.
Materials
- mini popsicle sticks {6.5cm length}
- regular popsicle sticks {11.5cm length}
- wood glue or hot glue gun
- sharp scissors
- place cards printable found at end of post {optional}
To Do
Step 1 – Create the table top.
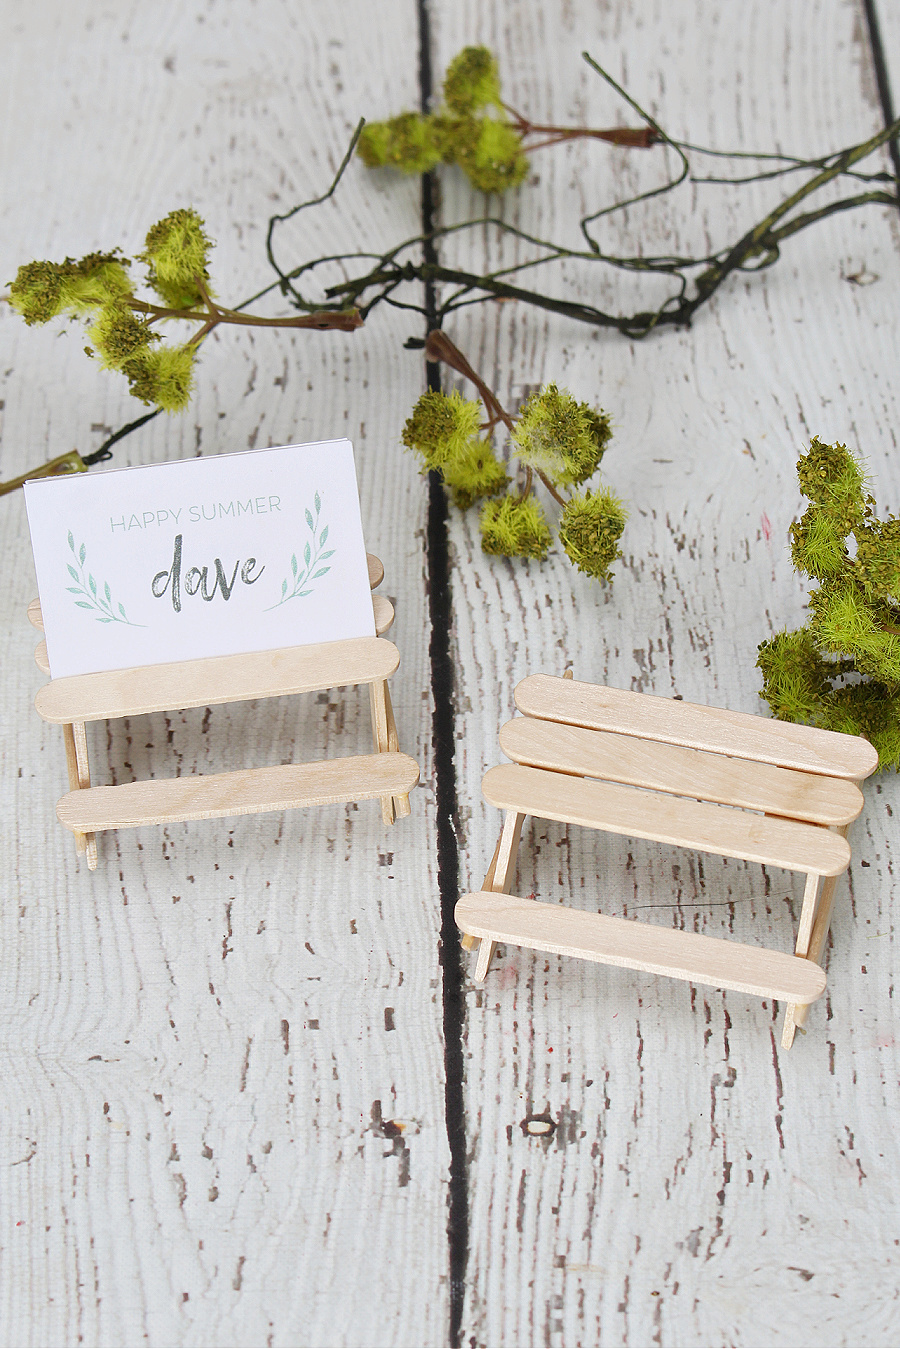
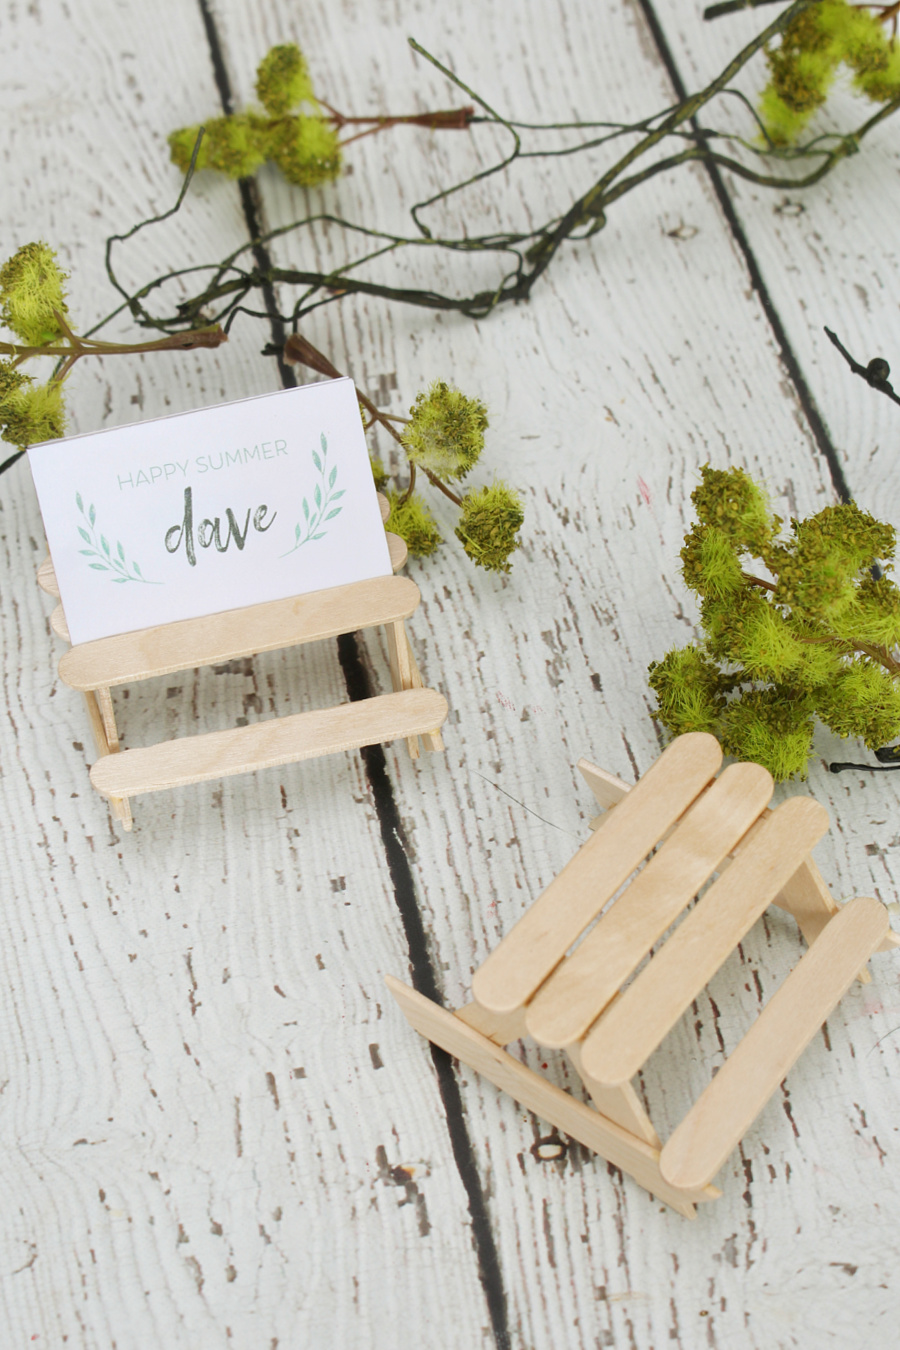
Create the table top using two 3cm pieces of the popsicle stick and three full size mini popsicle sticks. The popsicle sticks can be cut down to size with a sharp pair of scissors {small garden clippers are also work well}. Apply glue to one side of the short pieces and attach the three mini popsicle sticks. {NOTE: If you’re using wood glue, I recommend squirting out a small amount of glue onto a paper plate or cup and using a mini popsicle stick to apply the glue.}
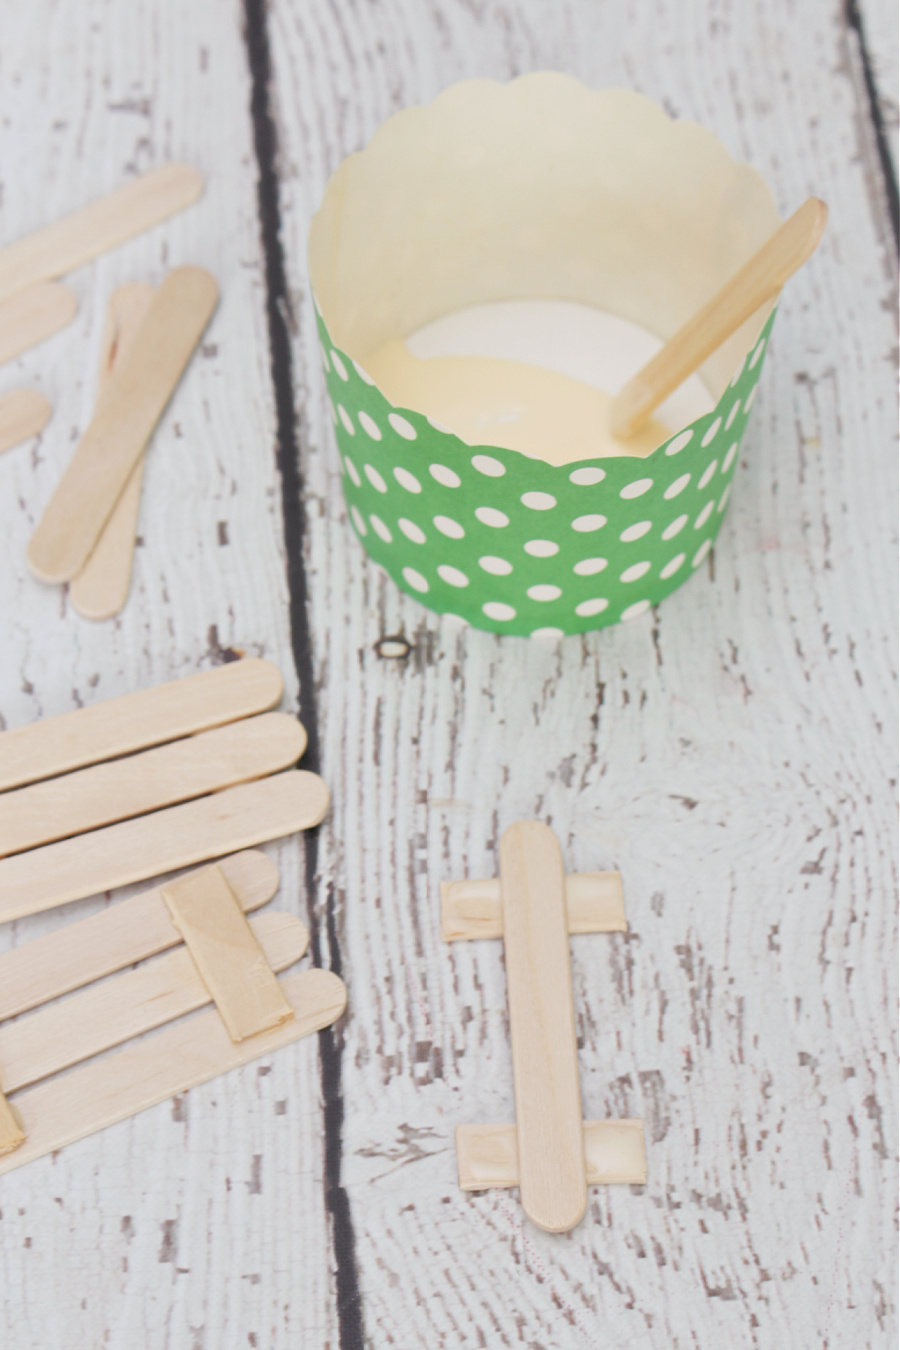
I found it easiest to adhere the middle popsicle stick first to line everything up {see photo above} and then add the outer sticks. You want to leave a very slight gap between the popsicle sticks for the place cards to fit.
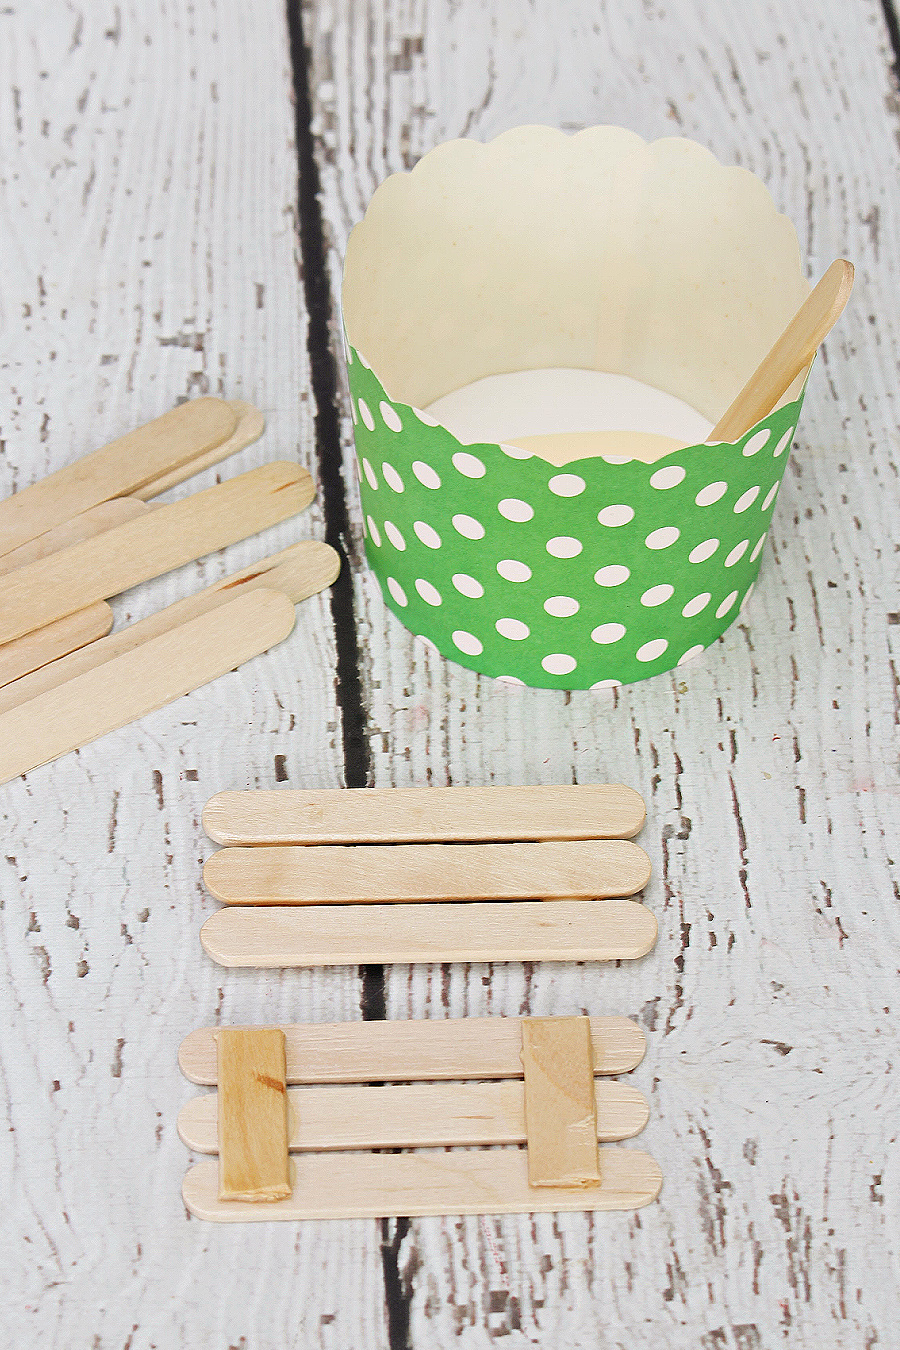
Step 2: Create the table legs.
Cut two of the regular sized popsicle sticks down to around 6 3/4 cm. Trim off the ends at a slight angle {see photo below} to form the horizontal piece. {TIP: When you’re cutting the pieces, cut the first one and then use that as the template to cut the remaining pieces. It’s much faster than measuring mutliple times {especially if you’re making multiple picnic tables} and is more accurate at keeping the angles equal.}
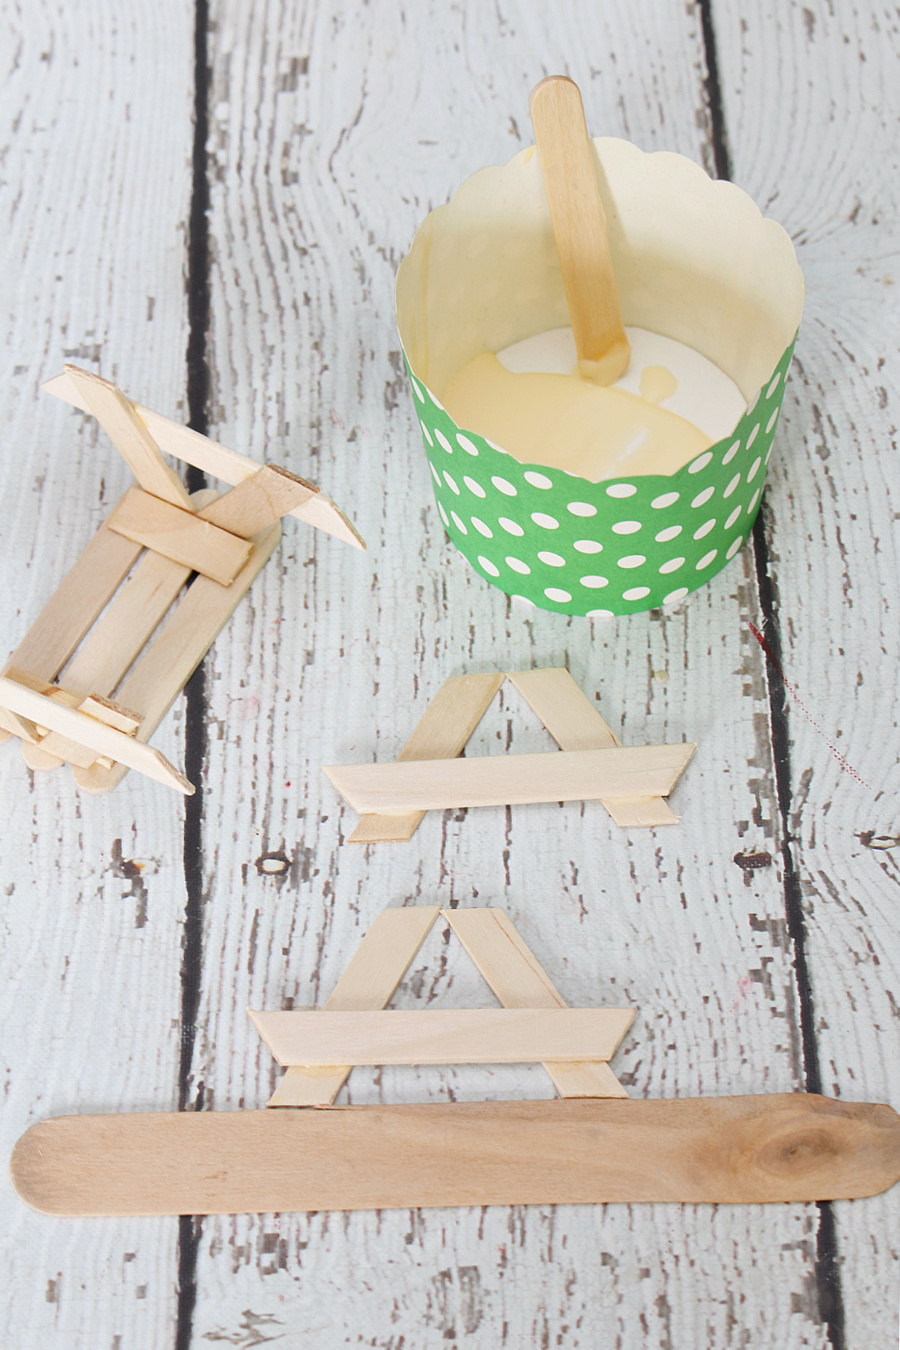
For the vertical pieces, cut four 3 3/4 cm pieces and then angle each of the ends {as shown above}. This is the only fincky part of the project, but once you have the angle figured out, you can use those pieces as a template for any further legs that you’ll need. When gluing the pieces togehter, I found that it was helpful to have a straight edge to place the bottom of the legs against to line them up. You can then easily line up the cross piece for gluing. You can always sand the ends down a little bit if you need some leveling.
Step 3: Add the bench.
Apply some glue to the top of the horizontal leg piece and place one mini popsicle stick on top for the bench. Press to adhere.
Step 4: Add the place cards or food labels.
Download the place card design that you would like and save it to your computer {see below to download}. Print it out and trim the placecards down your desired size. Write in whatever names or food labels you would like. If you’d like to add the labels digitally, you can open the file in any photo editing program {I use PicMonkey} and add your fonts prior to printing. I used the font “spoodbrush” for mine. If the paper is not sturdy in the holder, you can add an extra little pieces of paper at the base to make it more solid in the gap or add just a tiny touch of glue to the bottom of the paper to adhere. You’ll still be able to remove the tag and use the place holder again.
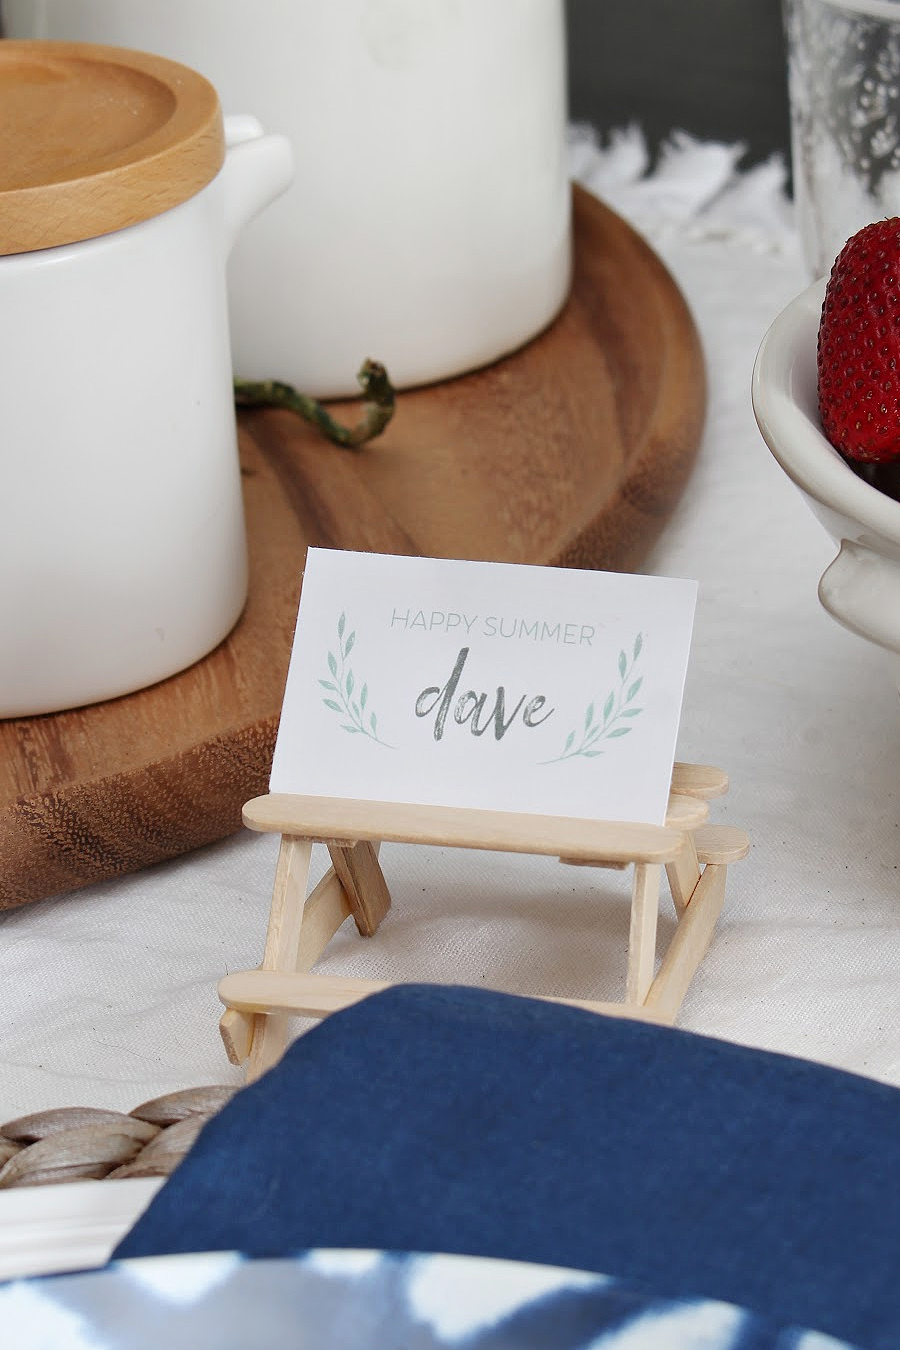
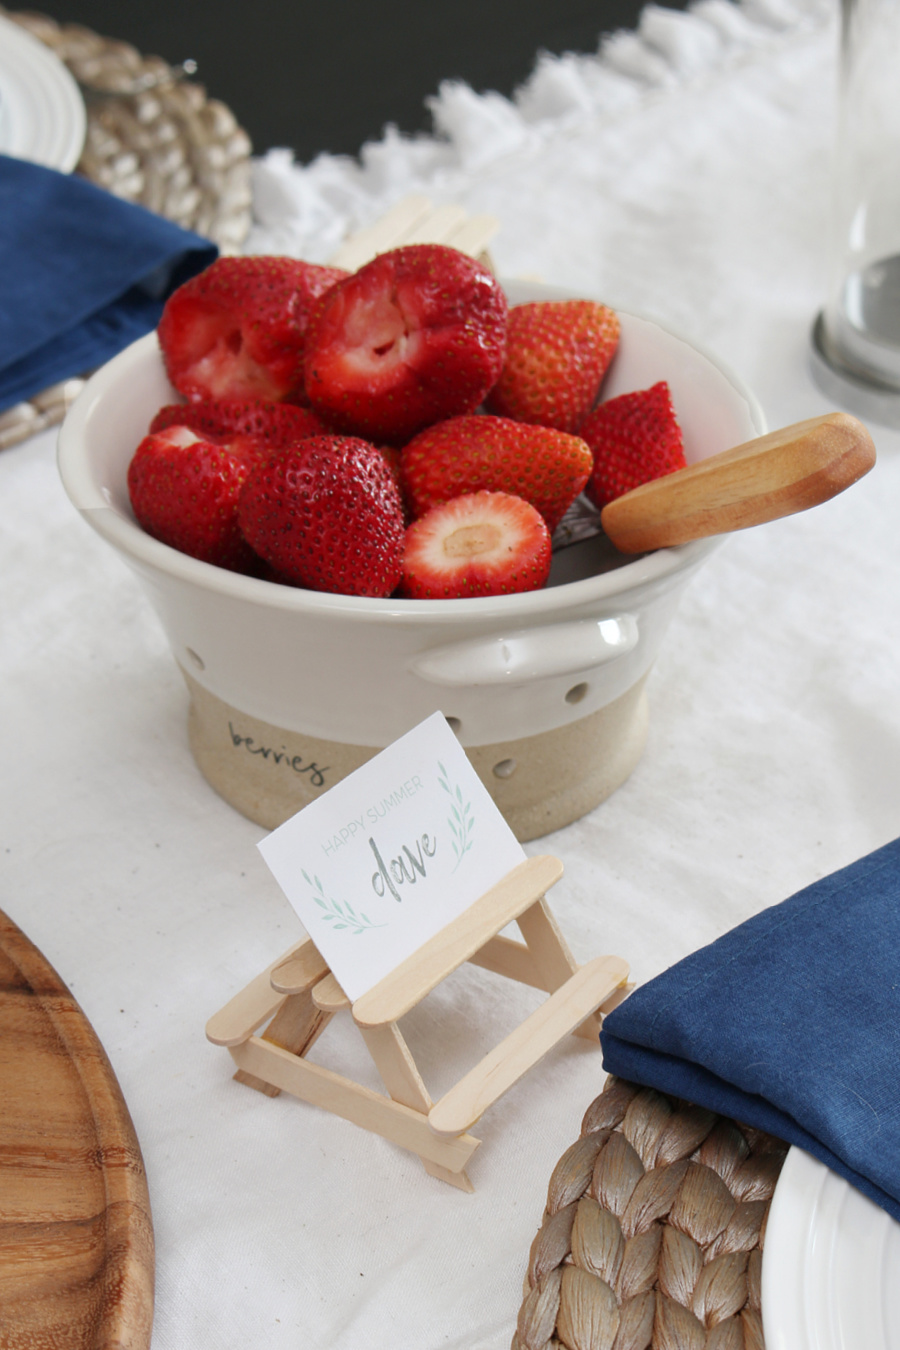
And that’s it! You have some cute little picnic tables to use for your summer tablescape, summer party, or BBQ!
Other Tips for Making Popsicle Stick Picnic Tables
- If you’re going to be making multiple sets of these tables, I recommend just measuring and cutting one template for each size needed and using this as a template to cut the rest. It makes it much quicker and, once you have all of the pieces cut, it’s easy to put them together in an assembly line fashion.
- To get even more creative, stain, paint or add a design to your table. Be sure to do this before you assemble all of the pieces. I tried to make one of mine a little more rustic with a little stain distressing, but I actually preferred the plain look.
- If you would like a little larger picnic table, you can use regular sized popsicle sticks instead of the mini-ones. You’ll just need to ensure that the legs are placed close enough together that the popsicle stick forthe bench will be long enough to fit between the legs.
- Keep some extra popsicle sticks on hand as the sticks will occasionally splinter when you cut them {I only had this happen once, but you never know!}
- For pieces that are slightly too long, you can always lightly sand down the edges. This also works if you need to even out the legs a bit.
- If you don’t like the rounded edges of the popsicle sticks you could always snip these off to a straight edge. I just didn’t want to add the extra step. 😉
Free Printable Summer Place Cards
I’ve created a couple of simple summer place cards that you can use for your picnic tables if you would like. You just need to download them, print, and cut to size. If you’d like to add the labels digitally, you can open the file in any photo editing program {I use PicMonkey} and add your fonts prior to printing.
 Download “Happy Summer” Place Cards HERE
Download Plain Leaf Place Cards HERE
I hope you have fun putting together these little picnic tables. Let me know what you do with yours. I always love to see what you come up with! Happy Summer!

More Summer DIY/Craft Projects
For more awesome summer DIY projects, be sure to check out all of the creative ideas from my blogging friends. Just click under the images below!
DIY Crate Succulent Planter at The Happy Housie
Poppy and Fern Front Door Planters at Inspiration for Moms
DIY Beaded Garland at She Gave it a Go
DIY Tic Tac Toe Board Game at Modern Glam
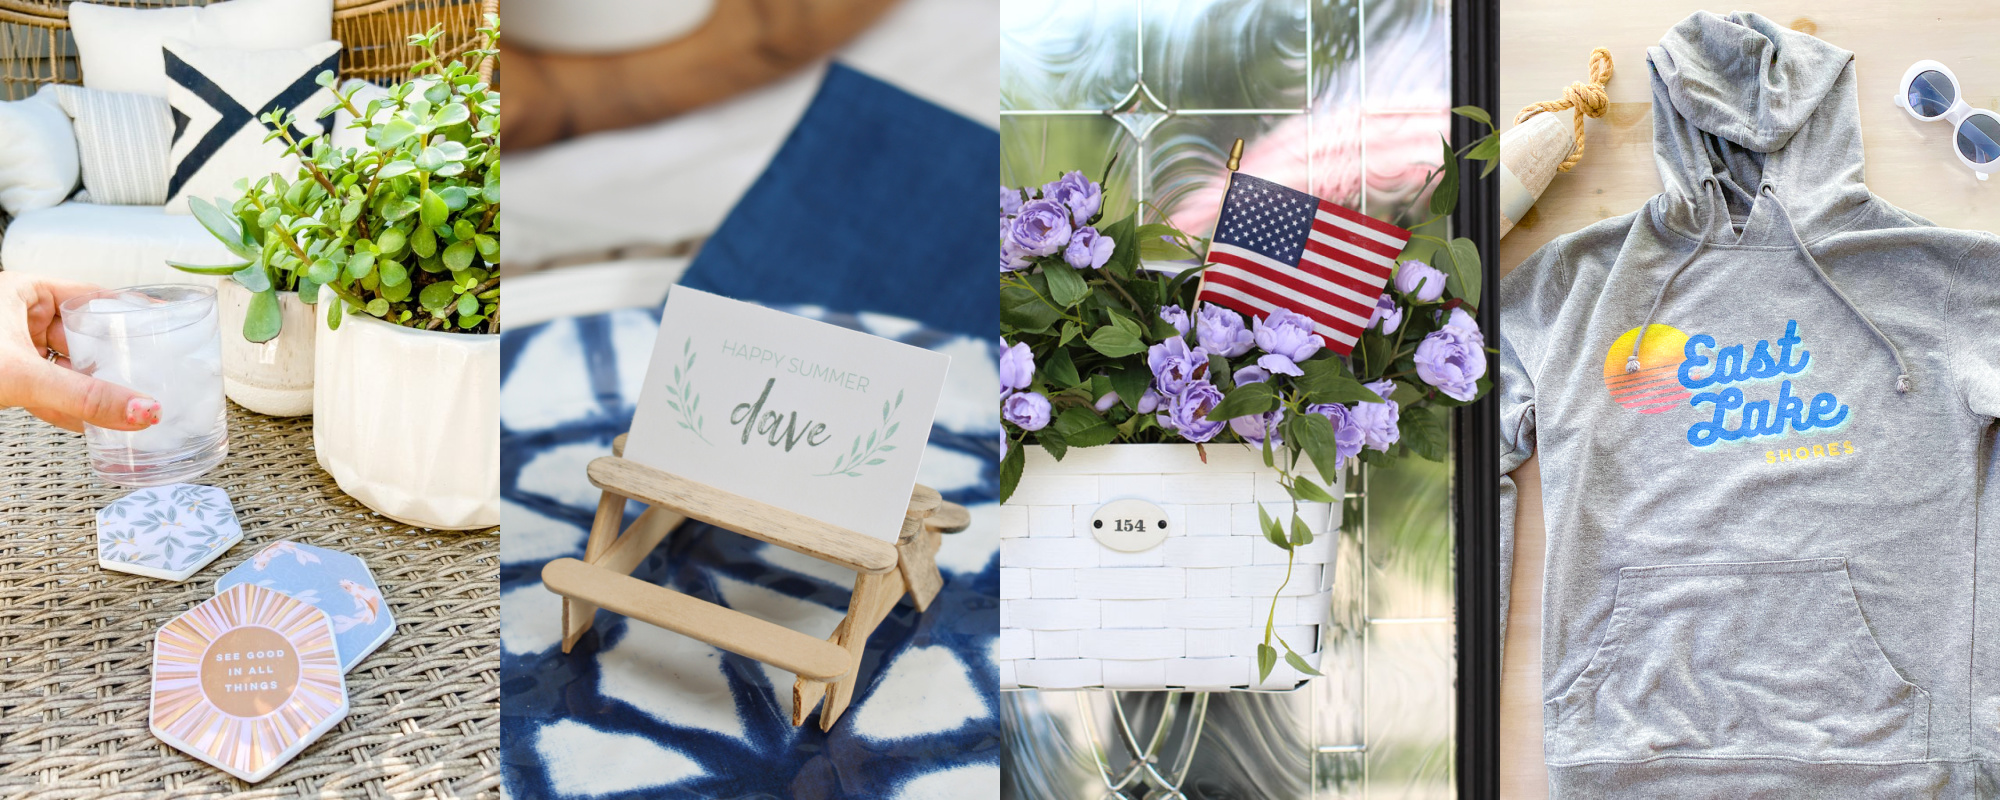
Summer Decoupage Concrete Coasters at Tatertots and Jello
Popsicle Stick Picnic Tables at Clean & Scentsible
Summer Basket Wreath from a $3 Thrift Store Find at Confessions of a Serial DIYer
DIY Custom Hoodies for Summer Fun at Rambling Renovators
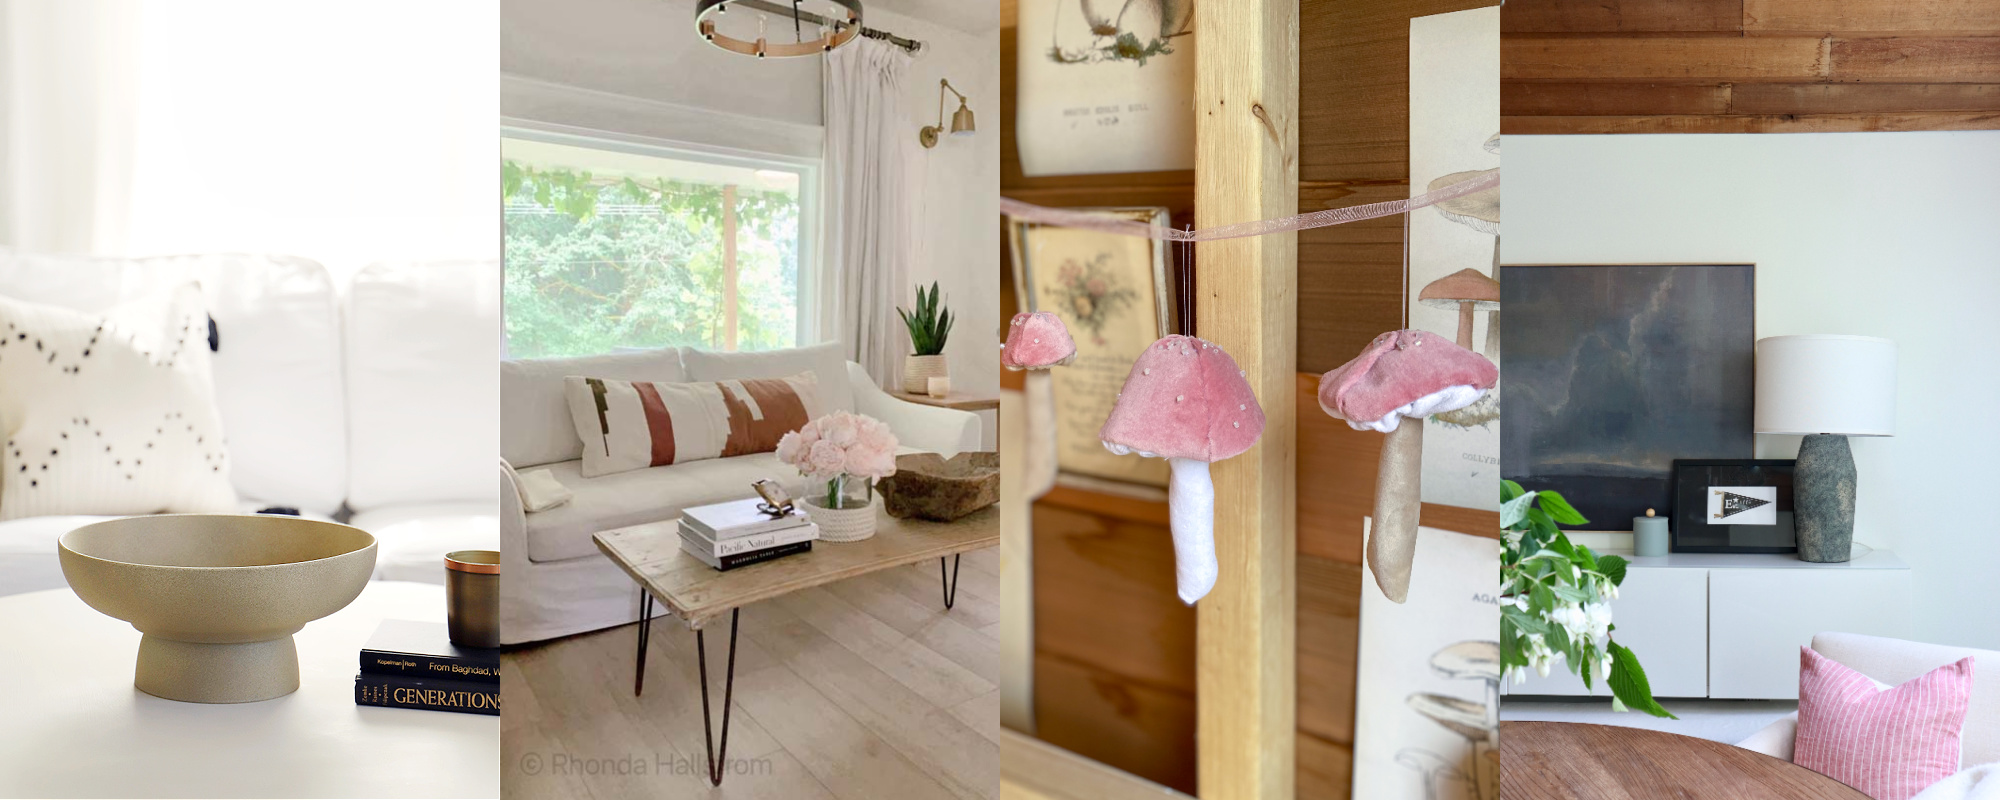
DIY Pedestal Bowl at Paint Me Pink
Dollar Store Hacks at Hallstrom Home
DIY Velvet Mushroom Cap at Life is a Party
Free 4th of July Printable at My Sweet Savannah
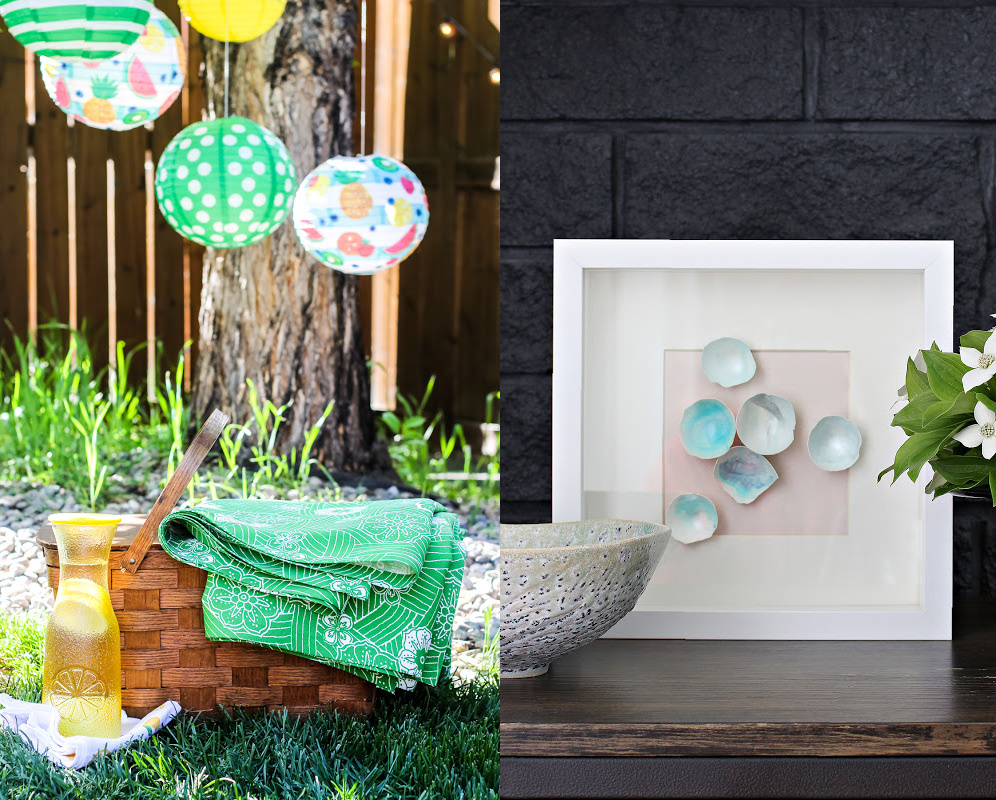
DIY No Sew Outdoor Tablecloth or Picnic Blanket at A Pretty Life
DIY Egg Shell Art at Dans le Lakehouse
Custom Camping Gift Basket Idea
These are SO cute!! I know my guests would get a kick out of them! XOXO
These are ADORABLE Jenn!! The cutest idea for a summer table setting!
Thanks Jo-Anna!
Jenn! These are so adorable – you’re so creative. What a perfect little summer craft project!
Thanks Krista!
How adorable are these, Jenn! They are so perfect for a summer dinner table!
Thanks so much Norma!