Before we get to the tutorial though, I wanted to mention that I am visiting over at Simply Klassic Home today for Kristin’s Attitude of Gratitude Series.
I am sharing my thoughts on taking time to enjoy those little things in life that can so easily be forgotten. Pop on over and let me know what you think!
Now onto the tutorial!!
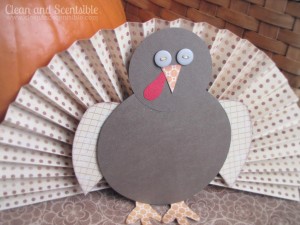
- 3 strips of 6 x12 inch paper for the pleated tail.
- orange patterned paper for the beak and feet
- brown cardstock for the body and head
- patterned scrapbook paper for the wings
- red cardstock for the waddle
- two buttons for the eyes
- paper piecing template {you can download mine here or free hand your own parts}
- glue or double sided tape
- 2 clothes pegs
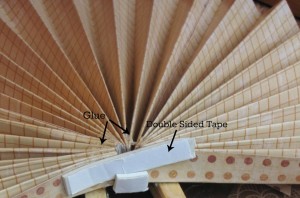
- Accordion fold the paper strips {approximately 1/2 inch folds}. Using double sided tape or glue, attach all three pieces together and fan into a half circle. I used a combination of glue {in the folds} and double sided tape {along the bottom} to hold everything together.
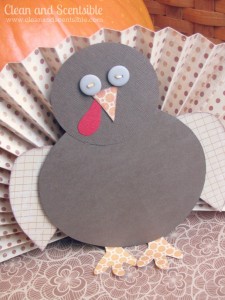
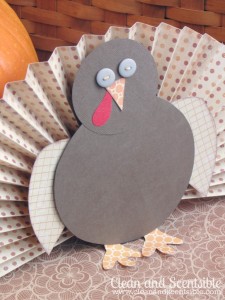
- Cut out the body parts {you can download the paper piecing template here} Glue all the parts together except for the feet. Add the buttons for the eyes.
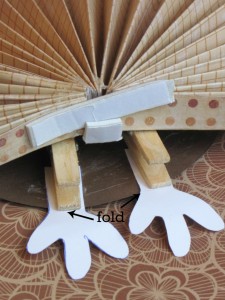
- For the feet, fold the feet over just above the toes so the feet will be flat on the ground for standing. Glue the leg part of the foot to a clothes peg. The bottom of the fold should be flush with the bottom of the clothes peg. I used the clothes pegs to help my turkey stand up better {although he was still quite wobbly}. In hindsight, you could flip the clothes pegs around so that you could clip your turkey onto something.
- Glue the front of the clothes peg onto the turkey body and glue the fan onto the back of the clothes peg. Now you have your own Mr. Tom!
I linked up with Design Dining and Diapers, The Shabby Creek Cottage, Not Just a Housewife, Under the Table and Dreaming, Be Different Act Normal, Thirty Handmade Days, Whipperberry, Tidy Mom, The 36th Avenue, Delightful Order, Stone Gable, Someday Crafts, Savvy Southern Style, Uncommon, Lil Luna, A Bowl Full of Lemons and Today’s Creative Blog.


Hello! I just spent the morning with a cup of coffee and looking all over your blog. Morning well spent! Fun ideas all over the place. Your newest fan and follower!
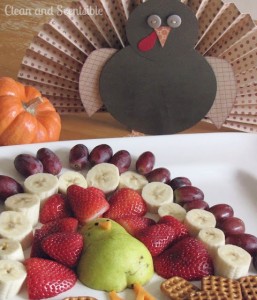
Your turkey is so cute….but that fruit plate is amazing! Thanks so much for the great ideas!
blessings,
karianne
Love the turkey fruit plate! I’m in charge of snack for my daughters thanksgiving party at school – I’m totally making this!
So cute! And easy enough I can make some with my kids which is always a plus!
That is too cute! 🙂
what a cutie!
such a cute idea Jenn! I love it!
Thanks for linking up! I featured your post in my wrap up http://tidymom.net/2012/thanksgiving-table-ideas/
Have a great rest of the weekend
This is so stinkin cute! I think this is the perfect decor to hang around the kids Thanksgiving Day table. Thanks for sharing!
This is so cute! My kids would love making one of these! Thanks for sharing!
These turkeys are so cute!
Such a cute Turkey! Visiting from the Happy Hour party at DDD.
Amy @ The Happy Scraps