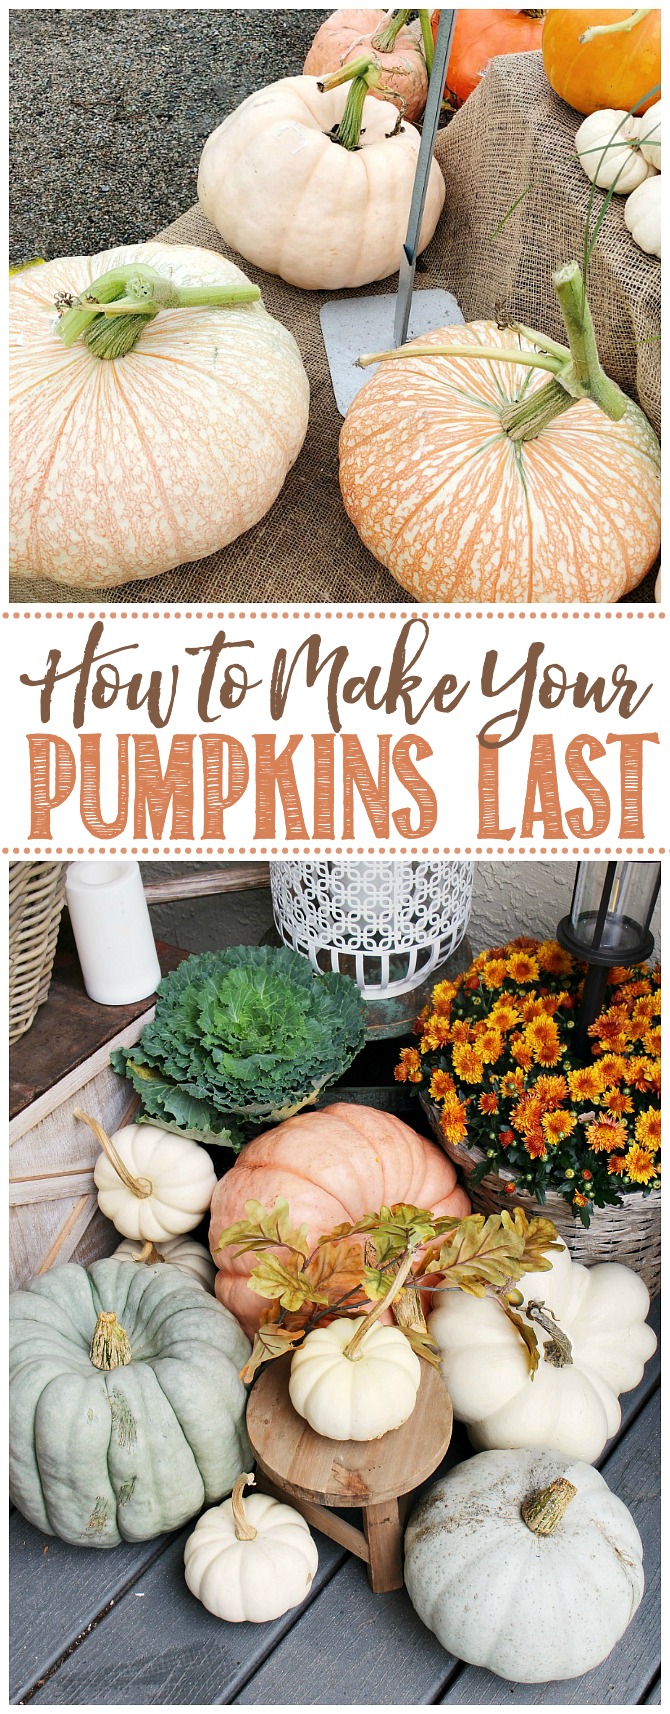
Learn how to make pumpkins last longer with these simple tips and tricks! Easy steps to help preserve your pumpkins throughout the season for pretty fall decor.
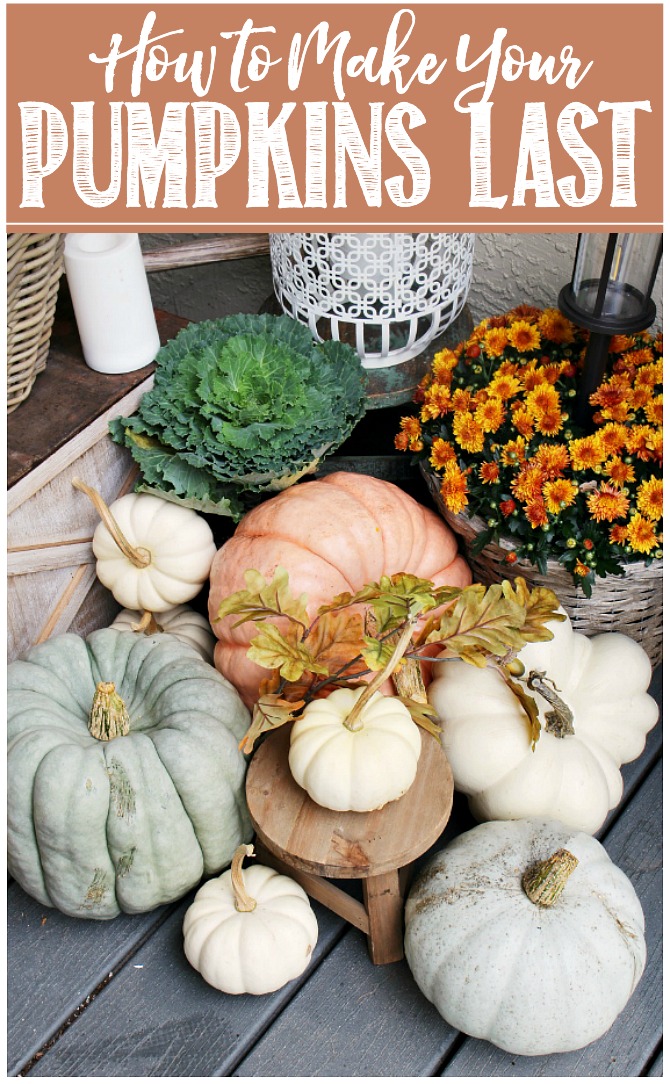
Pumpkins and gourds make a beautiful addition to your fall decor. From early fall, to Halloween, and even onwards to Thanksgiving, pumpkins can be used to add a pretty, festive touch to your indoor or outdoor space. To ensure that your pumpkins will last throughout the entire fall season, there are a few tips and tricks that you can follow. Not only does this help to keep your pumpkins fresh and beautiful, but it also helps to prevent decay and the infestation of any bugs!
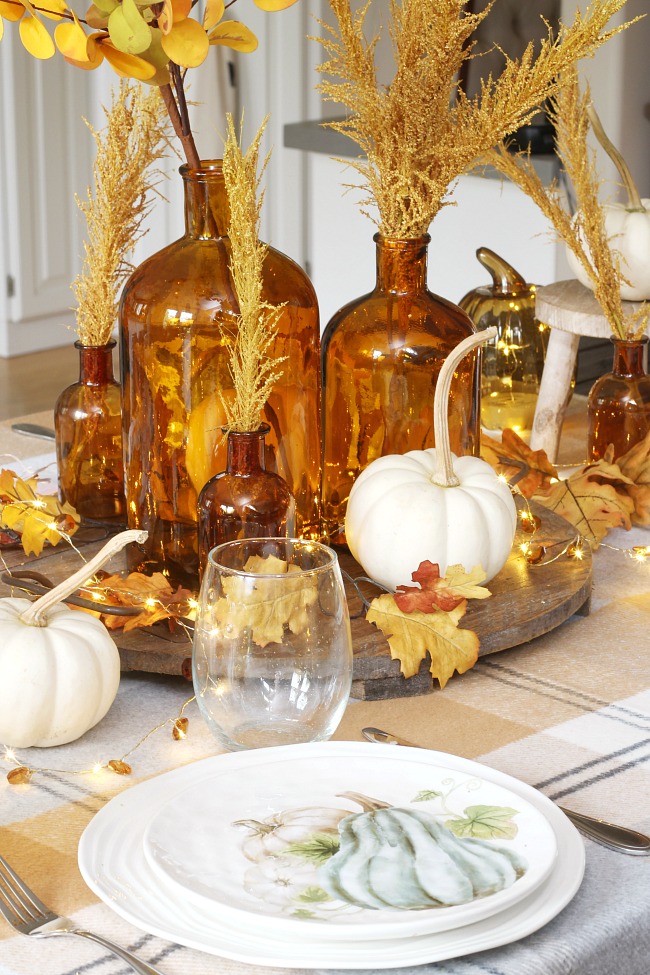
How to Make Pumpkins Last Longer
Try these tips for fresh and pretty pumpkins throughout the whole fall season.
Be Picky When Choosing Your Pumpkin
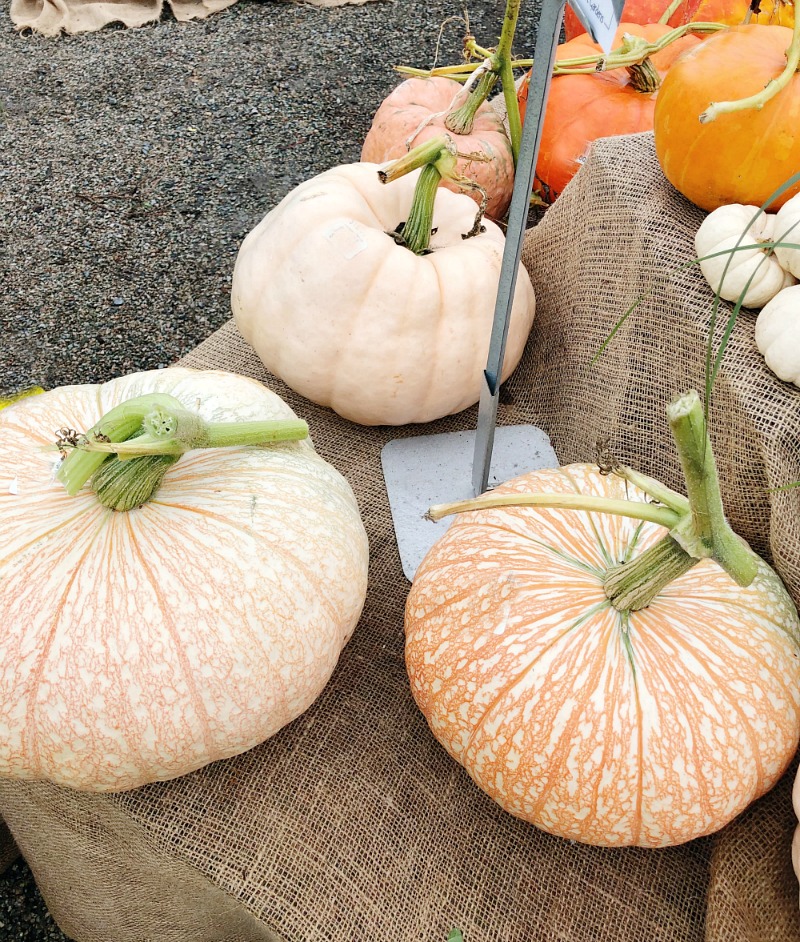
All pumpkins are not created equally! Look for a pumpkin with a firm, dark green stem attached. This will help the pumpkin retain more water and prolong its lifespan. The ideal pumpkin will have good coloring from top to bottom without any cuts, blemishes, or soft spots on the skin. The best pumpkins will have a firm, deep, hollow sound to them when you tap them {the louder the better!} and have firm, leathery skin.
Handle with Care
The best way to show your pumpkin some love, is to keep your hands off it as much as possible. The oils from your fingers can speed up the rotting process and, the more you touch it, the more likely you are to damage the skin. When you are carrying your pumpkin, try to hold it around the pumpkin itself rather than picking it up from the stem to avoid breakage. Avoid dropping it so it doesn’t get any cuts or bruises!
Give them a bath.
When you first get your pumpkins, give them a good bath! First, remove any loose dirt or debris and then submerge them in a bath of one part bleach to ten parts water. Let your pumpkins float around in the solution for a few minutes stirring them gently around so all sides of the pumpkin get washed.
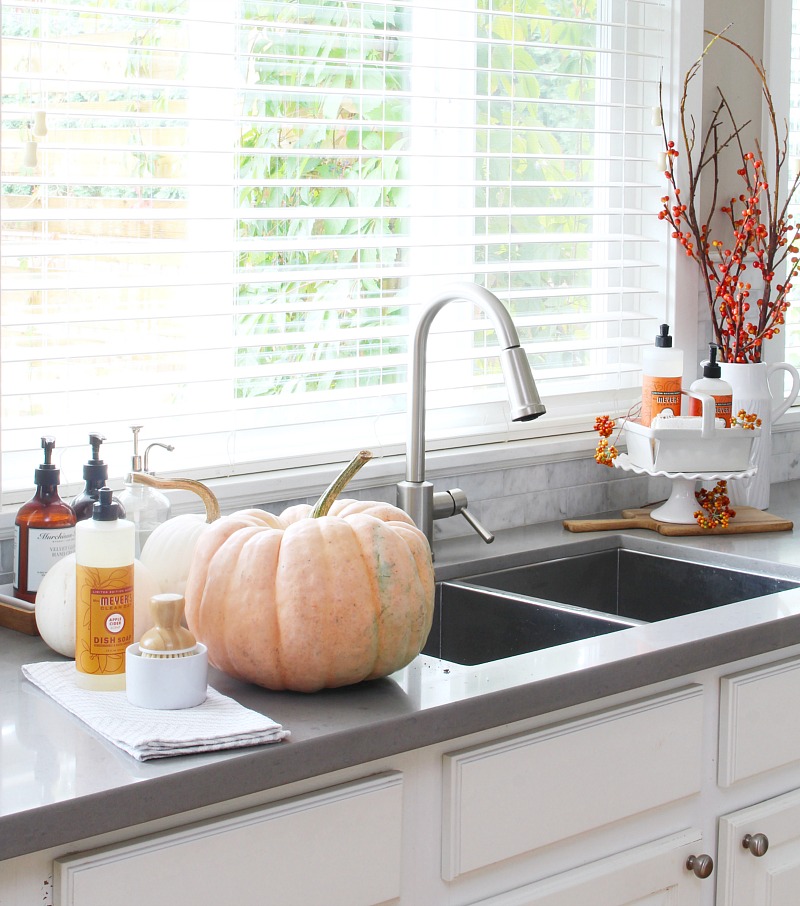
If you don’t like to use bleach, you can use some dish soap and a soft scrub brush. This helps to remove any bacteria from the pumpkin and will make them shiny and pretty!
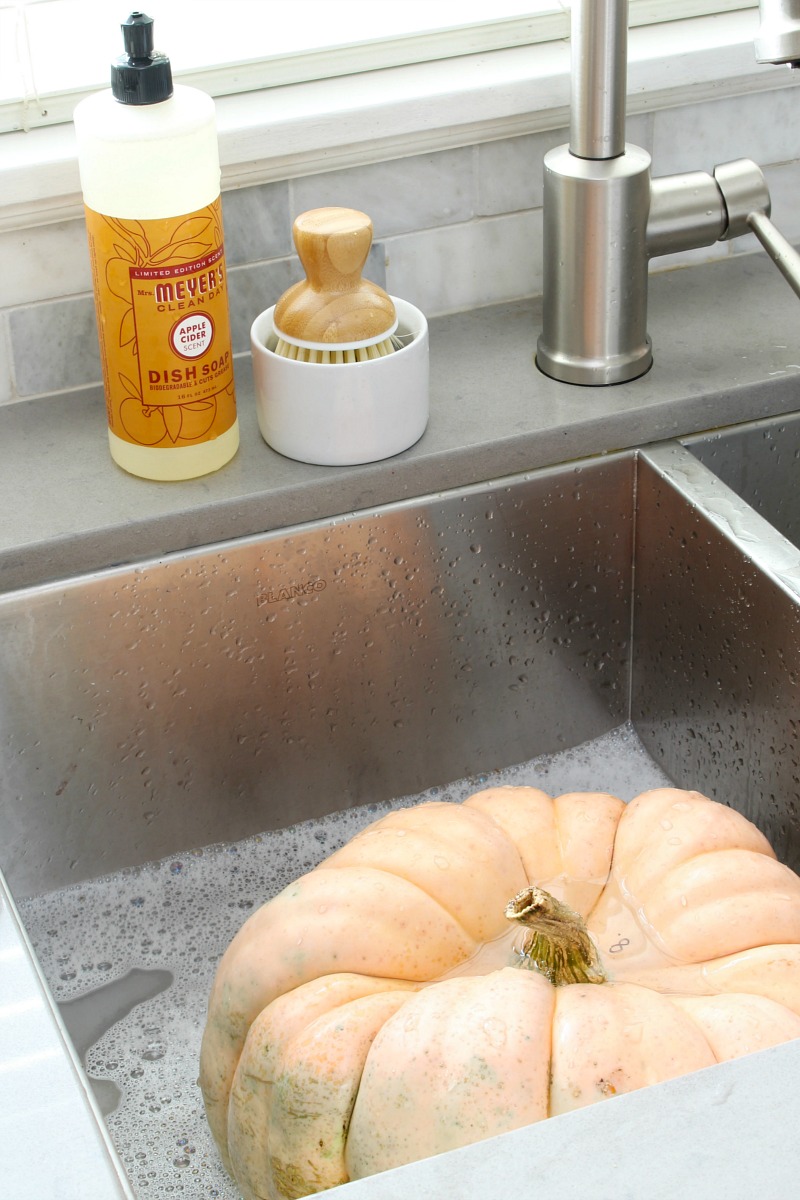
Make sure they’re completely dry.
Once you’ve washed your pumpkins, be sure to dry them off well. Pay extra attention to the base of the stem where liquid likes to pool. If you can, set them out in the sun to dry out for a day or so before placing them in their designated home. The bleach-water solution you use in your pumpkin bath can also be used as a daily spray to keep your pumpkins healthy.
Pick the perfect spot.
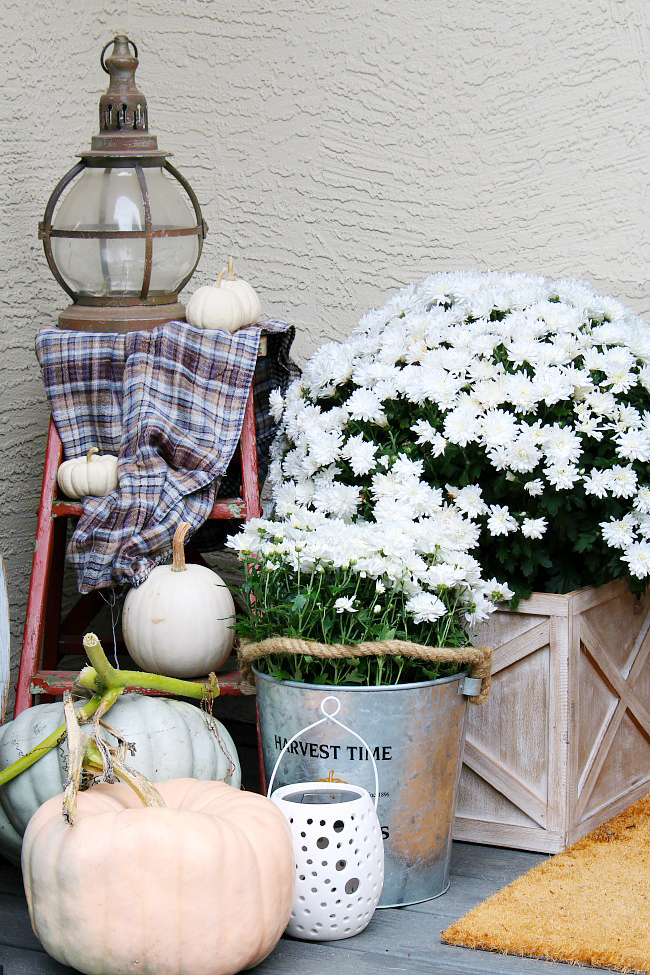
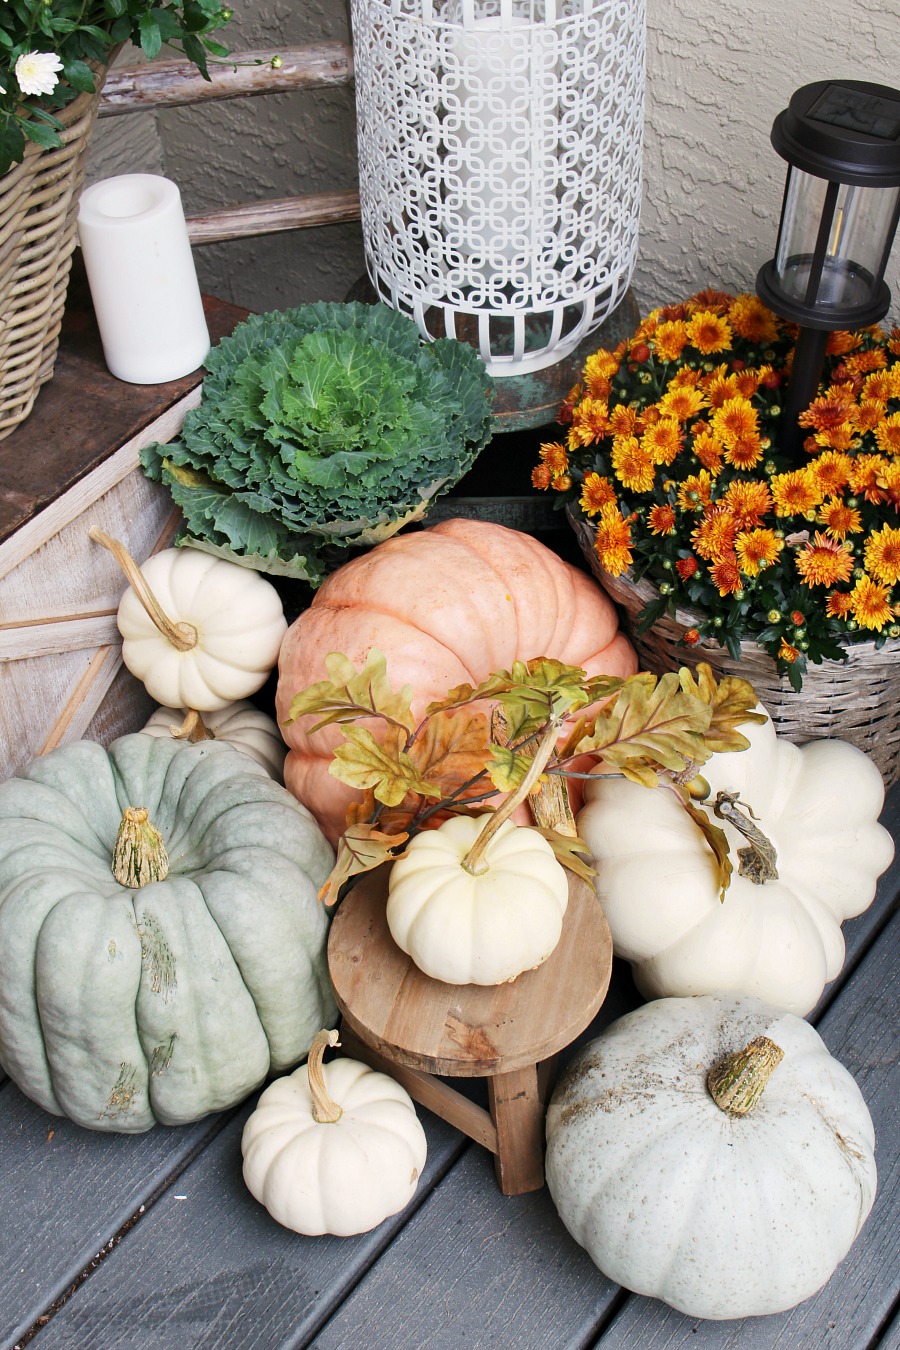
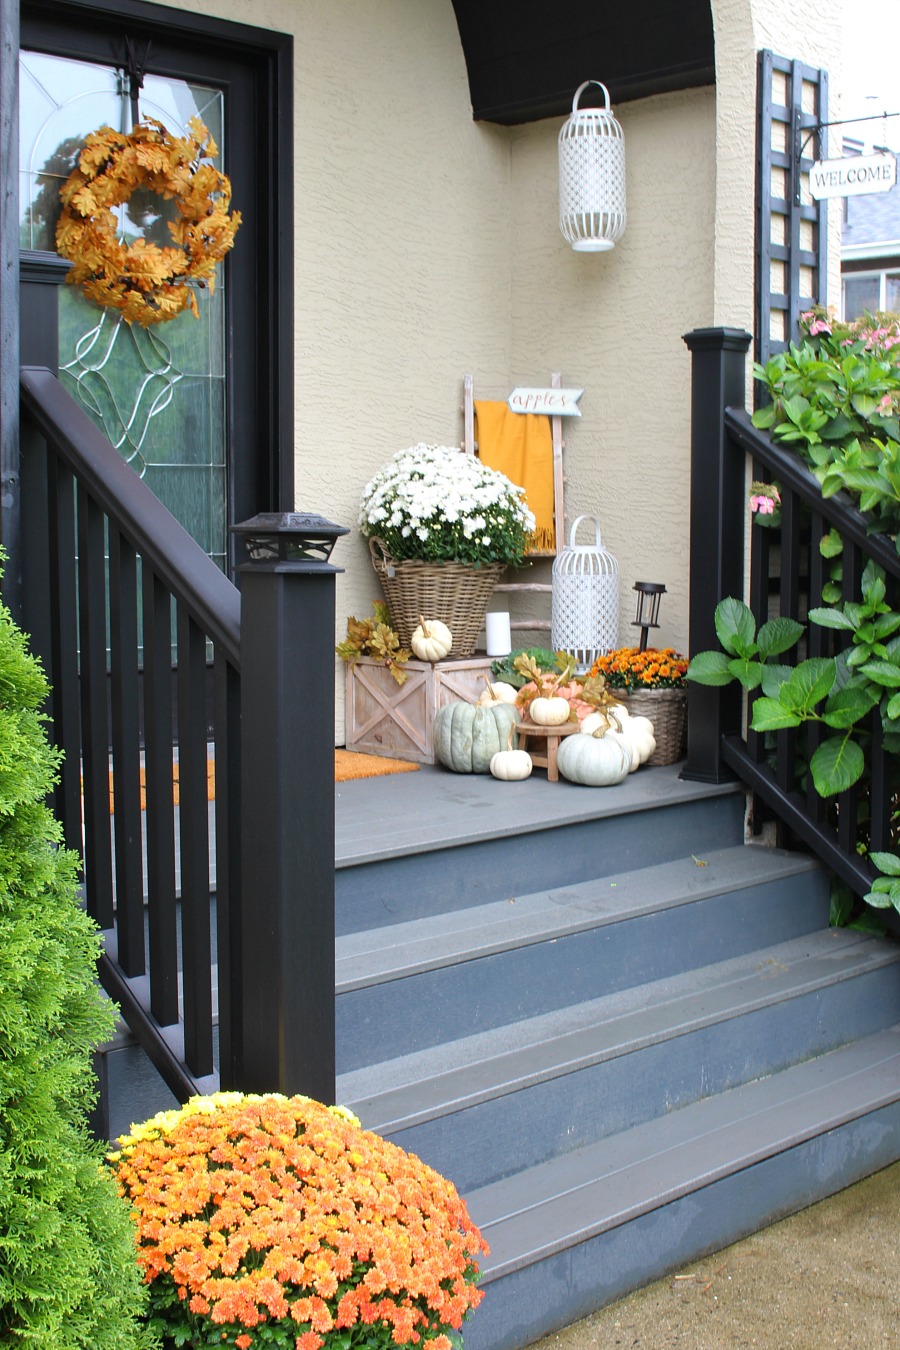
If you’ll be keeping your pumpkins outside, a covered porch or other dry, shaded spot works best. Too much sun will dry it out and speed up the decaying process. Likewise, leaving it out in the rain can lead to moldy and mushy pumpkin.
Go faux.
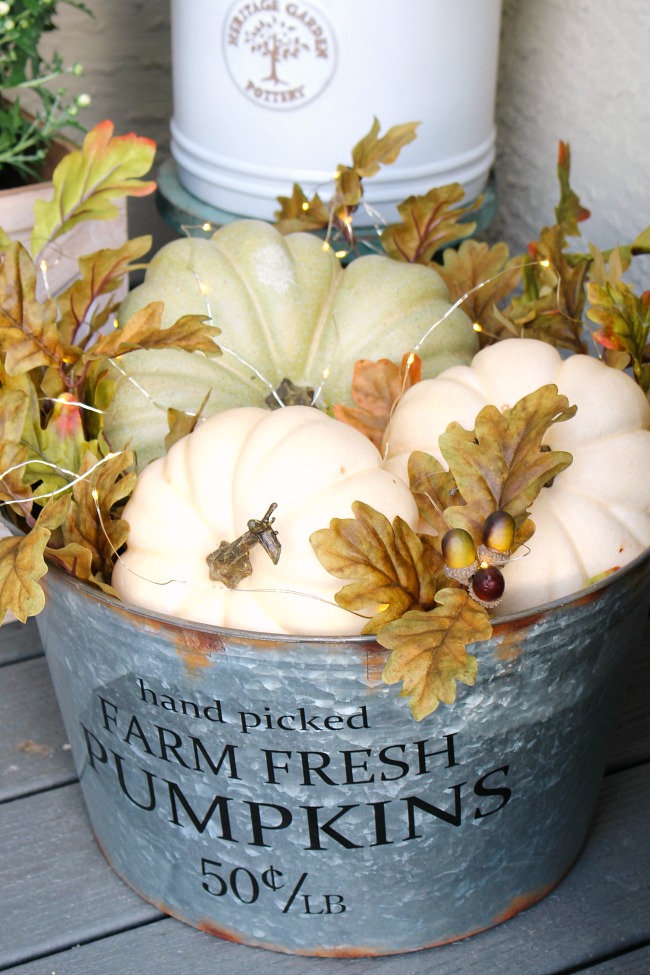
Obviously, the easiest way to make your pumpkins last longer is to go faux! You can actually find some beautiful, realistic looking pumpkins these days and they’ll last you for many seasons to come. Another idea is to mix in some faux pumpkins with the real ones. You might not even be able to tell which is which! You can find instructions for this lighted fall pumpkin basket HERE.
How to Make Carved Pumpkins Last Longer
- Take out as much of the guys as possible and allow the cavity to dry out before carving.
- When you’re done carving, rub lemon juice on the outside of the pumpkin. This helps maintain the color, delays rotting, and helps keep insects away.
- Rub petroleum jelly on any carved areas of the pumpkin to help lock in the moisture.
- Use battery operated candles instead of real candles. Not only is it safer, but it also helps to prevent your pumpkin from drying out as fast.
- Make a water/bleach mixture of 10 parts water to 1 part bleach and store it in a spray bottle. Spritz lightly over the inside of your carved pumpkin daily. Just be sure not to leave any pooled water in the bottom.
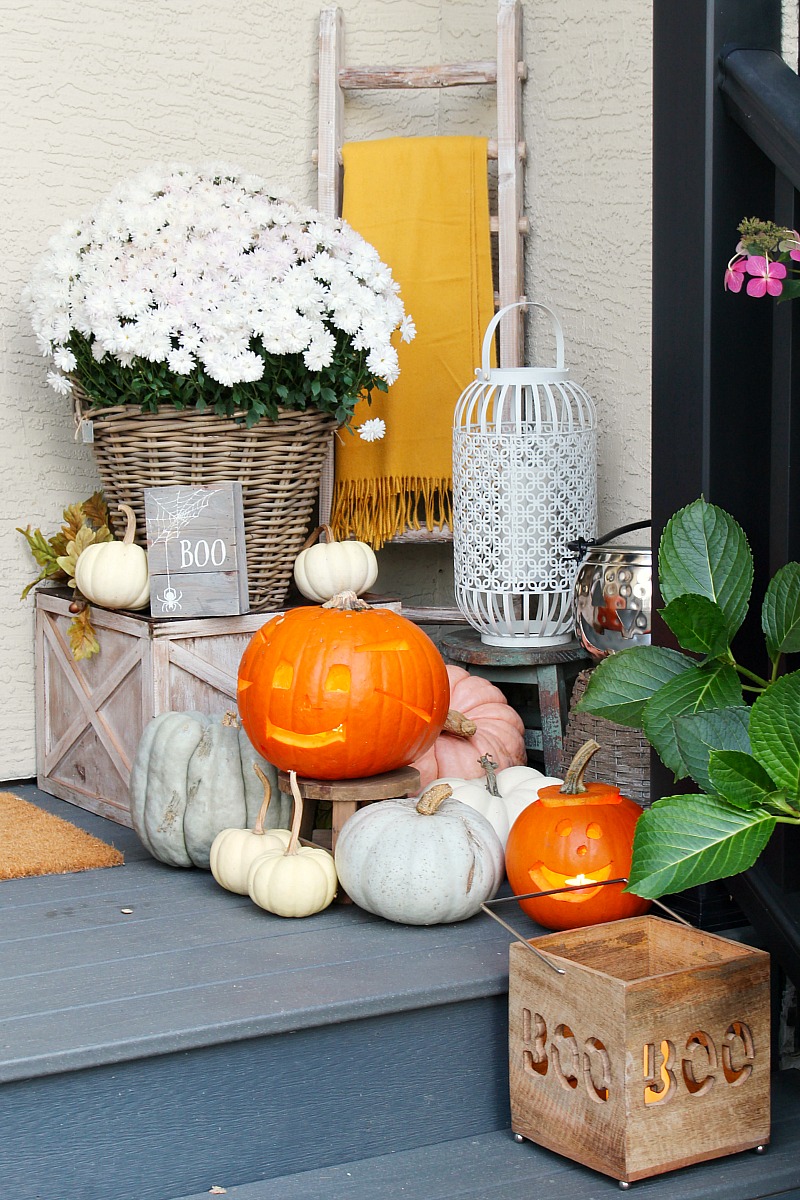
Obviously pumpkin carving skills are not my specialty! lol! And if you really want your jack-o-lanterns to last, try painting them instead of carving!

Leave a Reply