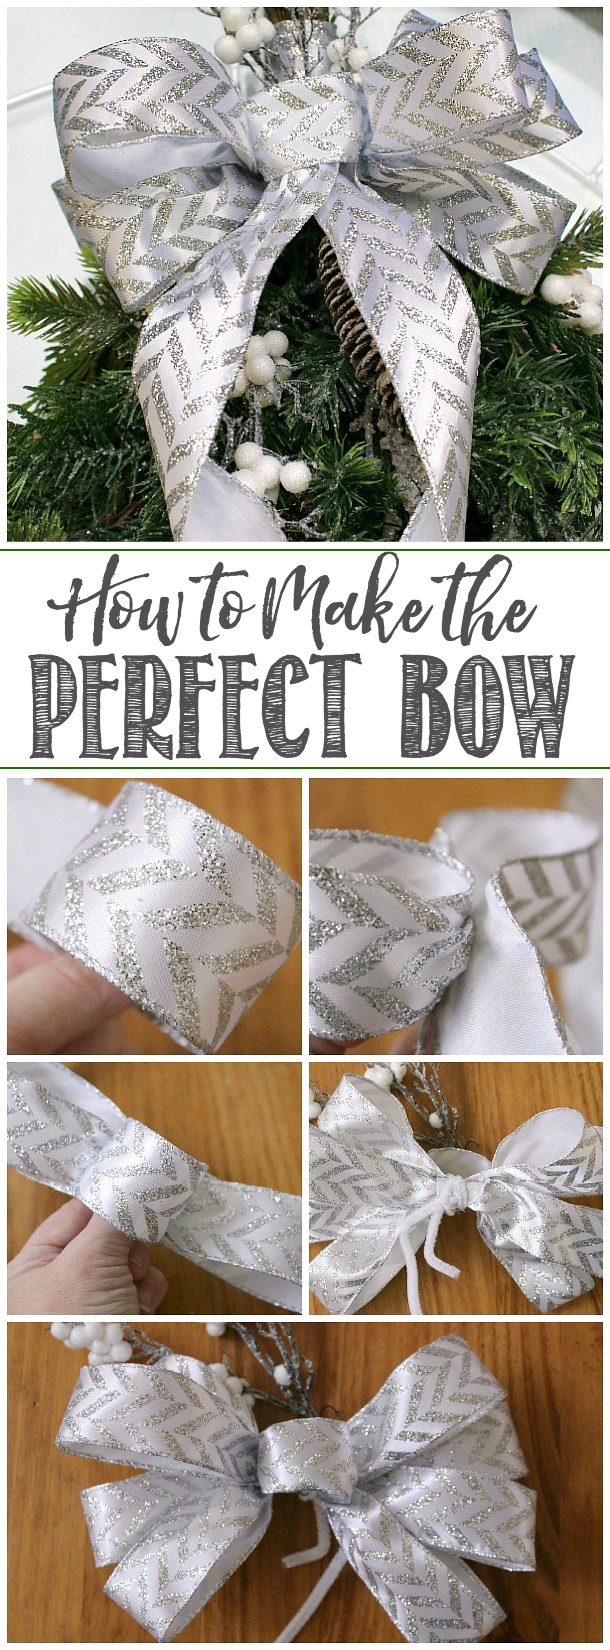
Follow this simple tutorial and learn how to make a bow out of ribbon. Perfect to use on wreaths, craft projects, or gift wrapping!

How to Make a Bow Out of Ribbon
Making a big, pretty bow is actually really easy! With this simple step by step tutorial, you can create the perfect bow every time. I’ve broken it down into many little steps for you, so don’t panic when you read the instructions. Once you get the hang of it, I promise that you’ll be making them in no time!
Materials
- Ribbon. I used a wired ribbon for this tutorial but you can use regular ribbon as well.
- Pipe cleaners. These are pretty much hidden but I try to use a color that is similar to the ribbon.
- Hot glue gun or other adhesive.
- Scissors.
Instructions
- Start by making a small loop in the end of the ribbon. This will be your center loop so you don’t want it too big. Secure it with a small dab of hot glue {or a little piece of duct tape if you are lazy like me!}. For the whole process, I basically used my left {non dominant} hand to pinch the middle of this loop and used my right hand to do the rest of the work.
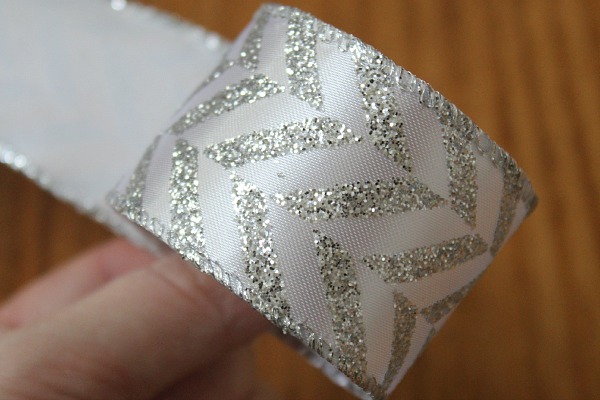
- If you have ribbon with a design on just one side like I used, you will need to twist your ribbon around the back each time you make a new loop so that the design is always facing outwards. This is where you are going to keep your pinch with your left hand.
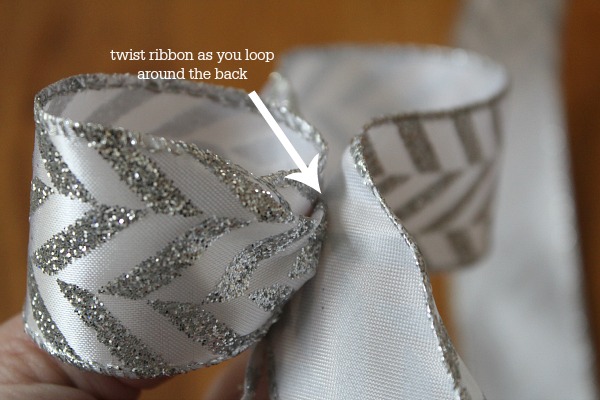
- Once you have twisted around the back of your small centre loop, make a larger loop for one of the sides of the bow to whatever size you would like your bow to be. Come back to your center loop, twist your ribbon around the back so the pattern side is facing out and make the same size loop to the other side.
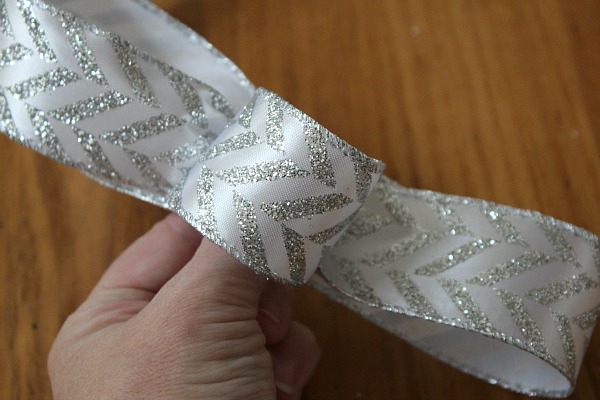
- Now all you have to do is repeat this process until you have the number of loops on each side that you would like. Make it as big and full as you would like! I ended up doing a total of four loop on each side for this bow.
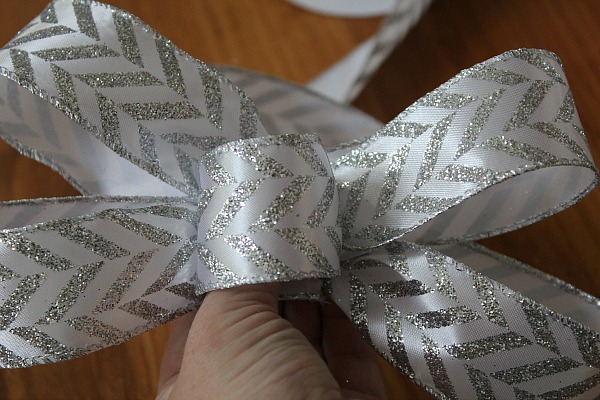
- Once you have your desired size, use a pipe cleaner to tightly wrap around all of the loops {and the backside of the center loop} to secure.
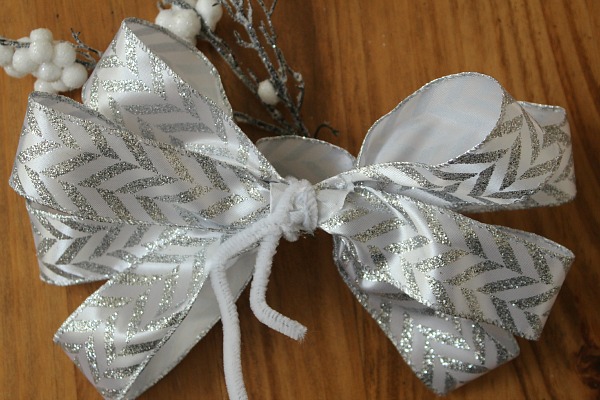
- Fluff up your bow until you get the desired shape.
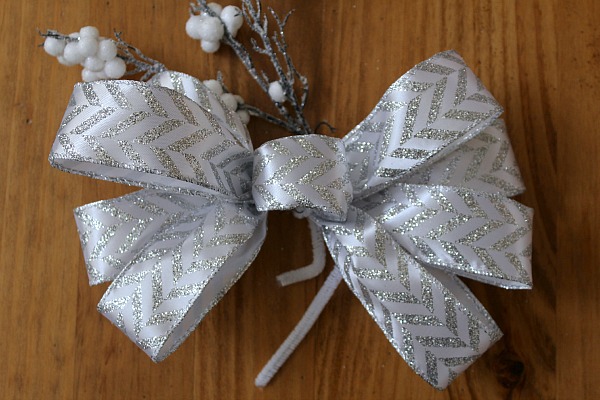
- For the tail of the bow, cut a separate strip of ribbon, fold it in half and secure it to the center loop using some tape {or hot glue}.
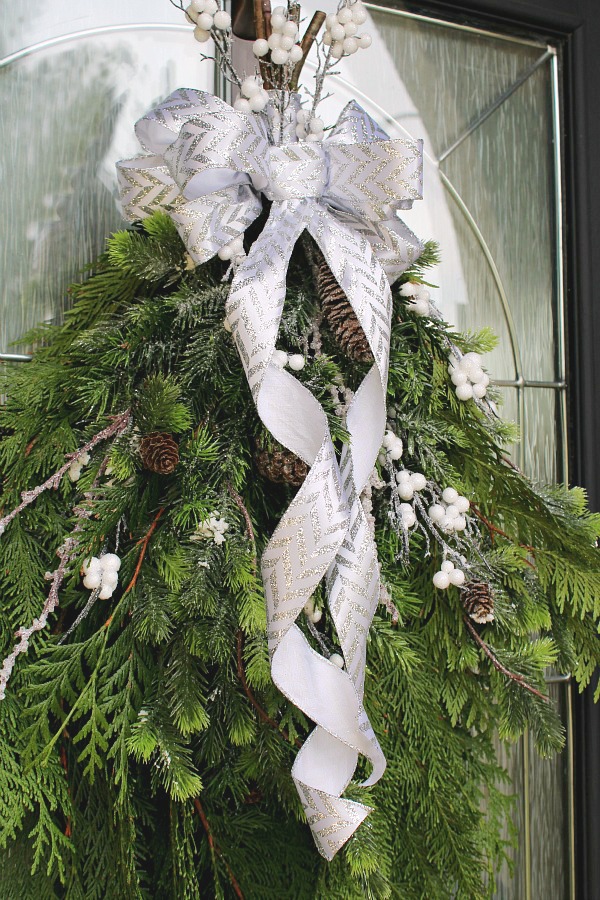
- You can then use the tail ends of the pipe cleaner to secure the bow to your wreath or other project. {You can see how I secured it on the swag wreath HERE}. If you’ll be using something else to secure the bow, just trim the pipe cleaner down.
When you first read the instructions, it might sound a little confusing, but once you have the ribbon in your hands and start creating, it’s actually really simple. If you use this on a project, I’d love to see what you create! It’s always fun seeing all of the different variations.
More Christmas Crafting Ideas
If you’re looking for more Christmas crafting ideas, check out these posts…
First time making a bow. Thank you for the easy to follow instructions. My bow came out great!
Awesome! A pretty bow makes all the difference! 😉