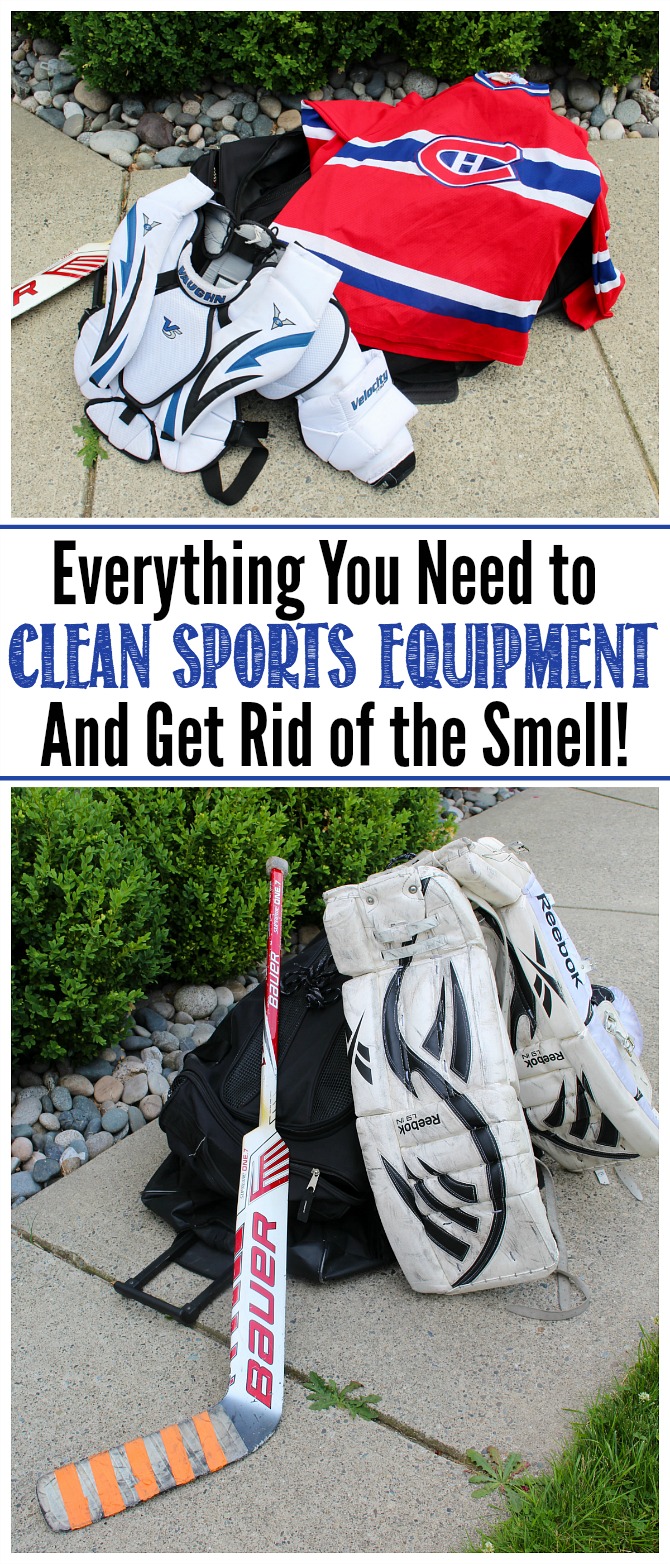
Learn how to clean sports equipment and get rid of the smell with these simple tips and tricks. Easy ways to prevent your sports gear from stinking as well as cleaning tips for when it’s getting out of control!
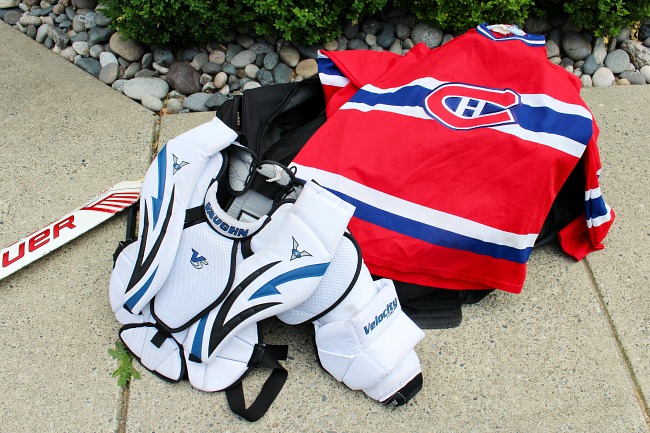
My youngest plays hockey almost year round {he’s a goalie} as well as lacrosse during the spring time. He plays hard and he sweats even harder! I honestly can’t believe how much his gear STINKS!!! Some days I don’t even want to let him in the car. 🙂
How to Clean Sports Equipment
Over the years, we’ve come up with some good tips and tricks for how to clean sports equipment and how get rid of that horrible “rink stink”. I think we’ve pretty much tried it all! So, if you have kids in sports or have some stinky sports equipment of your own, check out these easy ways to clean your sports equipment and keep it smelling {relatively!} fresh. If you have any other ideas, I’d love to hear them!
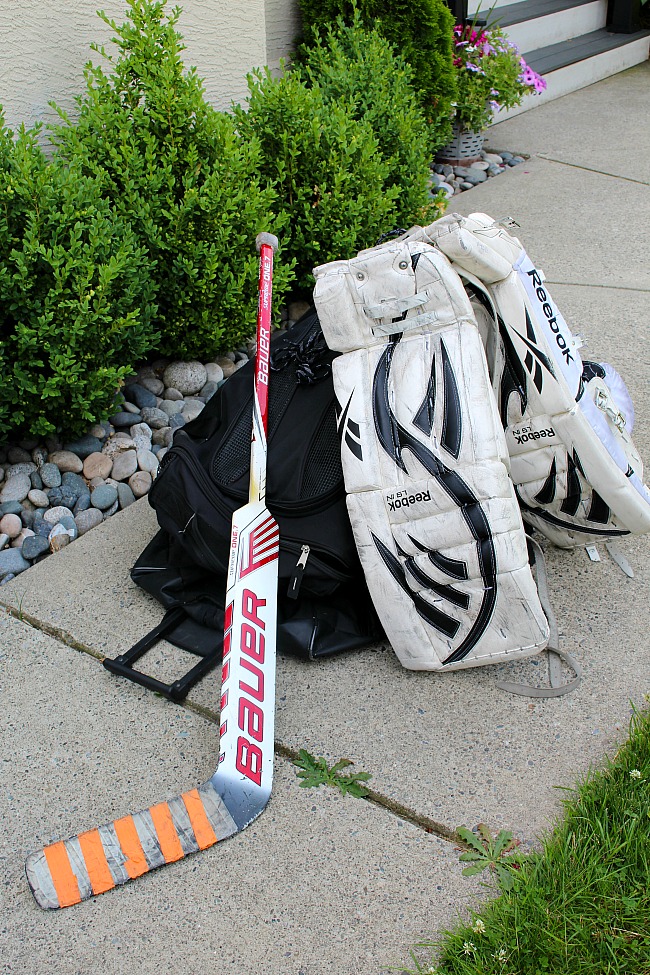
Why do you need to wash sports equipment?
Honestly, my son could pretty much care less if his sports equipment stinks. So gross, but true. If you’ve been in a hockey locker room, you’re probably very familiar with the smell. It’s kind of universal hockey room stench that seems to be there no matter what locker room you’re in. For some reason, hockey players seem to be immune to it. 🙂 But, there are actually some very valid reasons to wash that sports gear…
- To get rid of the smell. That sports equipment smell is caused from something known as bromidrosis. It’s basically a byproduct of the body’s natural bacteria when they feed on sweat and other bodily secretions {“B.O.”}. Sweat that’s left on sports gear continues to produce the BO byproduct and the equipment continues to smell.
- To get rid of the bacteria and prevent infection. In addition to the disgusting odor, the sweat filled pads, clothing, gloves, etc. are a prime breading ground for bacteria, molds and fungus, and there are actually many diseases that can be spread from untreated sports gear. There are actually over a million living organisms in the average set of hockey equipment! For this reason, you want to pay extra attention to equipment that has direct contact with the skin. If your child happens to have a skin abrasion or cut and it’s in contact with the sports gear, the bacteria can enter the bloodstream and can potentially cause serious infection.
- To protect your sports gear. Let’s face it. Sports equipment is not cheap – especially as a goalie Mom! Sports gear that is cleaned regularly will last much longer and can hopefully be passed down to younger siblings {or sold second hand} once your child grows out of it.
How to prevent sports equipment from smelling.
There are some quick and easy ways to help prevent sports equipment from smelling in between uses. Remember that it’s much easier to prevent smells than to get rid of really nasty odors that have been there for a while. So, take a little time after each use to keep your sports gear smelling its best!
Tips to get rid of the smell some sports gear.
- Remove gear from the sports bag after each use. Shake it out to remove any loose debris and hang to air it out. There are a number of hanging racks on the market designed specifically for sports gear, but you can come up with whatever set up works best for you. Our hockey gear station ends up being our garage.
- Allow gear to dry as soon as possible after use. Not only does this help with the smell, but it also helps to prevent the growth of bacteria, mold, and mildew.
- Spray down your gear as soon as possible with an odor eliminator spray like Febreze. Some products such as Live Luv Lavish also contain antimicrobial, antifungal, and antibacterial properties for an added benefit.
- Place a dehumidifier by the sports gear. This will help to suck out the moisture and allow the gear to dry faster.
- Use the power of the sun. If you have nice weather, spread the gear out on the driveway or back deck and allow it to dry in the sun. Not only does this allow it to dry with a nice, natural scent, but the UV rays from the sun have the added benefit of being able to kill bacteria that’s lurking on your gear.
- Wear a layer of clothing between your body and the sports equipment. This helps to keep the sweat away from the equipment itself and the clothing can be much more easily washed. Look for material that wicks sweat away from the body and is fast drying.
- Use a sports gear disinfectant spray every few uses to kill any bacteria that may be on the equipment.
- For smaller items like shoes or shin pads, place them in big ziploc bags and put them in the freezer for 48 hours. Just make sure they’re sealed! This helps to get rid of the bacteria that’s on them and can really help with getting rid of smells.
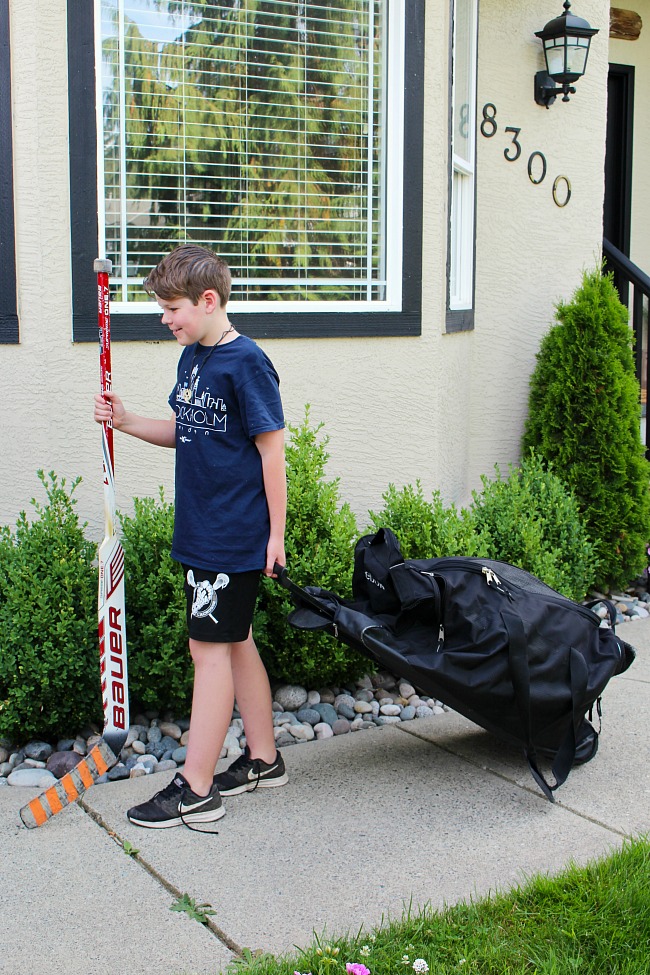
Can you wash sports equipment in the washing machine?
While you do have to do a little bit of sorting, there are a lot of items that can be easily washed in a standard washer with just a few precautions. This is pretty much the quickest and easiest way to wash your gear when possible. Generally, we’ll throw in the elbow pads, shin pads, jerseys, regular gloves, neck guard, pants, and even his chest protector. If you have a top loading machine with an agitator, it’s best to hand wash the pants and chest protector as these can get snagged on the agitator. Hockey pads, goalie gloves and goalie blockers should NOT to be washed in the washing machine. Check labels when possible or ask at your local sports shop about specific gear if you’re not sure.
Tips to clean sports equipment in the washing machine.
Once you have your items sorted as to what can be washed in the washing machine and what can’t, here are a few other tips to follow;
- To be safe, use a cool water setting on the gentle cycle for most equipment. If you have extra stinky items that you’re not concerned about shrinkage, you can put it in on a higher temperature setting for extra disinfecting. The higher temperatures and heavy cycles are obviously much better at killing bacteria and getting rid of the stains and odors, but it’s also much harder on the equipment. If you don’t get a good result with the cooler settings, you could try a second wash on a little more aggressive setting. You have to balance out the good and bad!
- If your hockey pants have removable pads, take these out prior to putting the pants in the wash. Using a sponge, scrub down the pads with dish soap and warm water without fully submerging them in water. Rinse well with clean water and dry completely.
- Hockey pants and chest protectors can be hand washed if you prefer using a sponge and mild detergent. Scrub gently and be sure to thoroughly rinse all of the detergent off.
- Don’t add too much detergent. I know the tendency is always to add extra detergent with stinky loads, but too much detergent will cause a residue that your washing machine cannot rinse out. This residue builds up in your clothing and can actually attract more dirt and sweat in the future, leading to more smell.
- You can add a laundry booster, but just make sure you’re only adding the recommended amount.
- Don’t use fabric softener. Fabric softener will coat the fibers and actually lock-in the smell rather than removing it. It can also be damaging for fibers in stretchy athletic clothing such as lycra. If you would like a fabric softening effect, just add some vinegar to your fabric softener dispenser. It can help with the prevention of smells and disinfecting too!
- Do not use bleach or bleach products.
- Hang equipment or place out to dry and allow it to dry completely. For gear with internal padding especially, it may need a while to dry, so ensure that you’re giving it enough time.
- Jersey’s should be washed inside out. Pretreat any stains.
Can you dry sports equipment in the dryer?
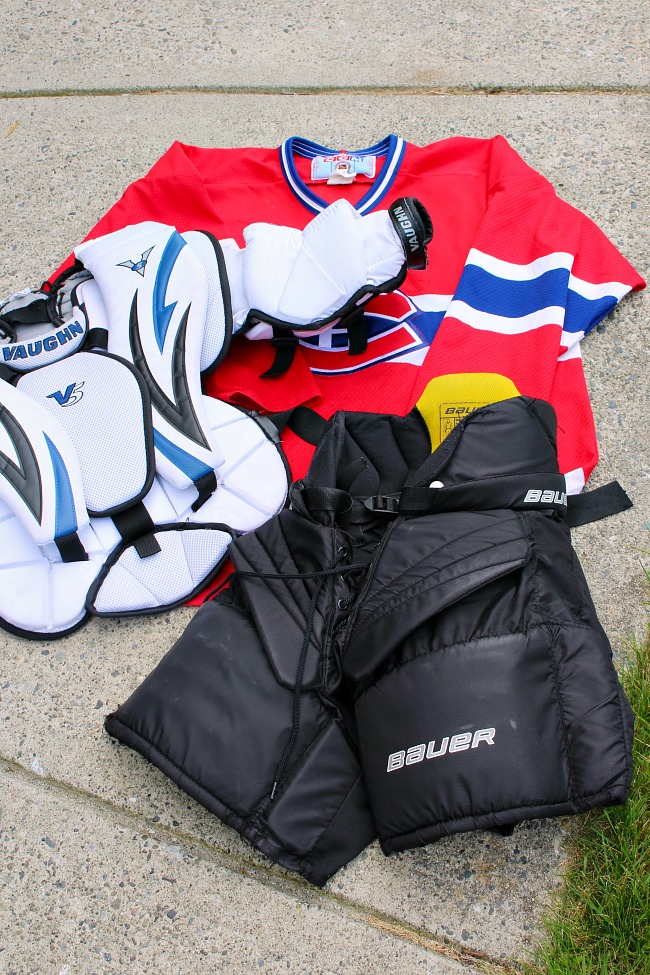
Although it’s VERY important that you let your hockey gear completely dry out after washing, most of it should be air dried – not dried in the dryer. Jerseys, jocks, neck guards, and socks can all generally go in the dryer but use a low dryer heat setting. High heat might dry your clothes faster, but it also cooks in any lingering smells and is harder on the fabric fibers. Hockey gloves or other gear with leather components should NEVER be put in the dryer and always allowed to air dry. Workout gear that is made of lycra or other stretchy materials will also do best when air dried. If you still notice smells when your gear is removed from the washing machine, try spraying them down with Febreze Fabric before letting them dry for a nice, light scent WITHOUT the lingering sports stink.
How to clean and deodorize helmets.
If your kids like sports, you likely have more than one helmet around your home – bike helmets, ski elements, hockey helmets. The list goes on. Like anything else, helmets gets dirty over time and can quickly start to smell. Unfortunately, they can’t be thrown into the washing machine, but there are still a few things that you can do to keep them looking and smelling their best.
Tips to Clean Helmets.
- As with the other sports equipment, always allow your helmet to air out in between uses. If you’re worried about your helmet smelling, a few quick sprays of an odor eliminator on the inside padding of the helmet can trap the odor and lock it away. Get in a habit of doing this regularly to keep the odors away.
- For a more deep clean, fill a basin or bathtub with warm water and add a little baby shampoo. The baby shampoo will be gentler on the equipment and, on the off chance that you don’t get rid of all the residue, will not sting if it mixes with sweat and gets into the eyes.
- Use a sponge or old toothbrush to really get into all of the little grooves and crevices and give the chin straps a good scrub. Spray the chin strap with vinegar for some disinfecting power or use a sports equipment spray.
- Some helmets come with a removeable “sweat band” that can be removed and washed in the washing machine. These can also be replaced when worn.
- Scuff marks on the outside of the helmet clean off nicely with a Mr. Clean magic eraser.
- While you’re washing your helmet is also a good time to inspect it for any damage and ensure that all of the screws are tightened. Masks should not be altered or continue to be used if damaged is noted.
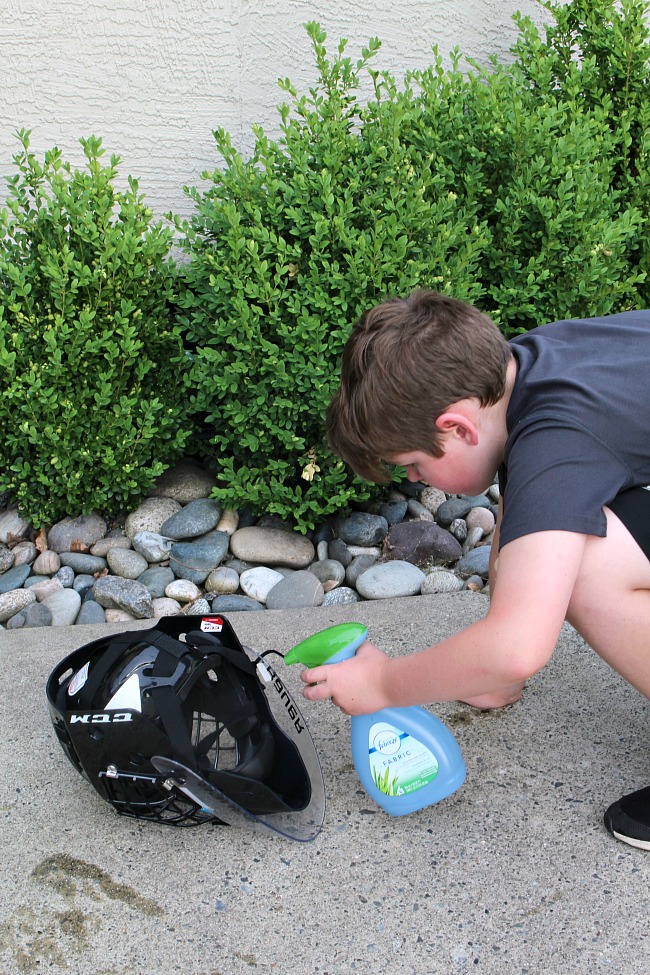
How to Clean Skates, Cleats and Other Sports Shoes
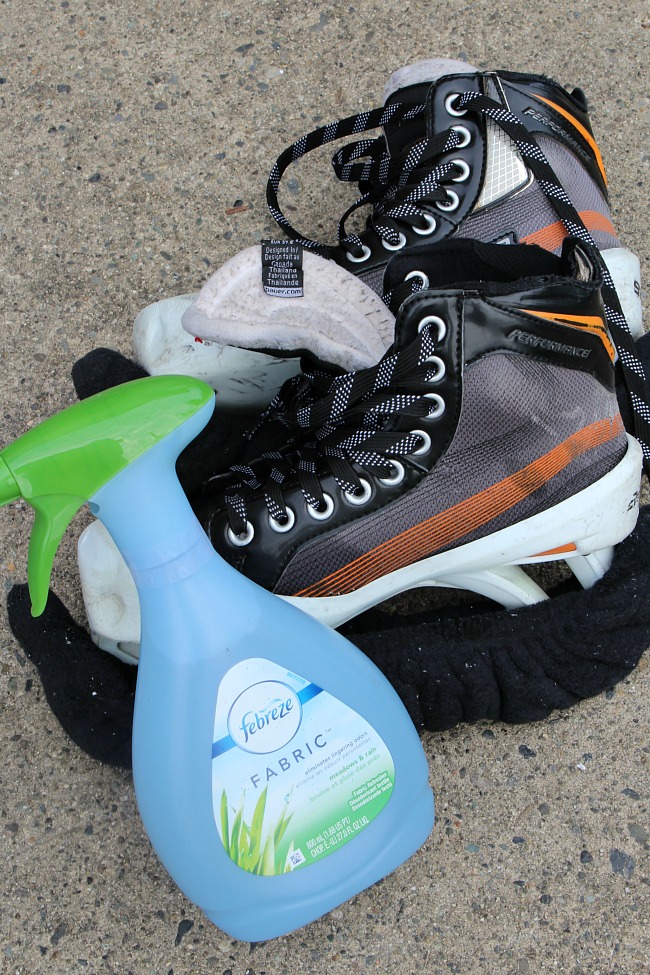
Perhaps one of the smelliest pieces of equipment is the foot wear. For footwear such as hockey skates or cleats that can’t go in the washing machine, keeping the odors away can be tricky. The best tip is to be proactive and air out your shoes on a regular basis BEFORE the smells start to come. It’s so much easier to prevent smells than to get rid of them!
Tips to clean sports footwear.
- Ice skates should always be wiped down and dried after each use. Cover the blades with skate guards.
- After each use, loosen the laces and pull the tongue forward to better air out the inside of the skate or shoe.
- If the skate or other footwear is quite wet inside, many insoles can be removed to allow better air flow and drying. The insoles can then be washed or replaced as needed.
- Crumple up newspaper to place inside the shoe or use an old rag rolled up to absorb wetness if the insoles do not easily come out. You can also purchase shoe deodorizers to go into the shoes that will do the same thing.
- Spray down the inside of the skates or shoes {and any other soft surfaces} with an odor eliminator regularly. Pull the tongue forward to allow it to air out and dry completely.
- Use a microfiber towel, warm water, and a few drops of dish soap to wipe down harder surfaces. A Mr. Clean magic eraser works great on scuff marks.
How to clean equipment that can’t be washed.
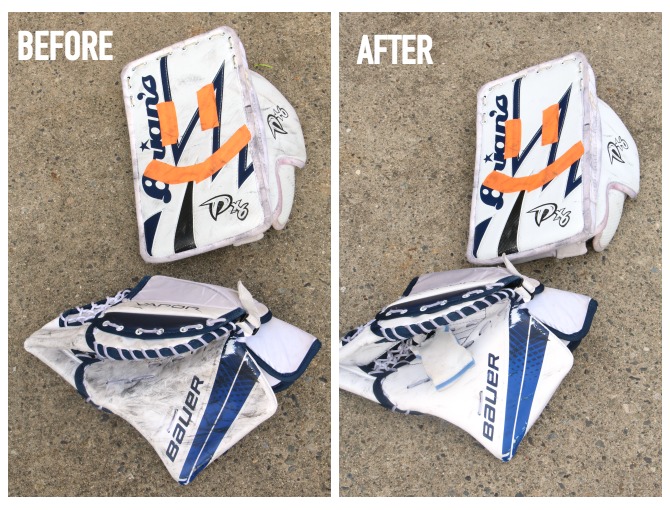
If you have equipment such as goalie pads, blockers, and gloves that can’t really be washed, they can still use a little TLC. Using a microfiber cloth, wipe them down with a little bit of warm water and dry completely with another cloth. For scuff marks or puck marks, a Mr. Clean magic eraser works wonders! I find that the heavy duty kitchen magic eraser holds up the best for this. Pads, gloves, and blockers can also be treated with a water-proofing agent for longer wear.
Get Your Kids Involved
And one last tip before you go. I highly recommended getting your child to do these tasks with you, and eventually take over the process as soon as they’re capable. Not only does it mean one less job for you, but it also teaches them about taking care of their own gear. I know it seems like a lot of work when you read everything, but the regular cleaning tips should only take a few minutes to do after each use. It’s really just more about habit. I definitely wish I had started earlier with mine! 🙂
More Cleaning Tips
If you love a good cleaning hack, check out these popular cleaning tips…
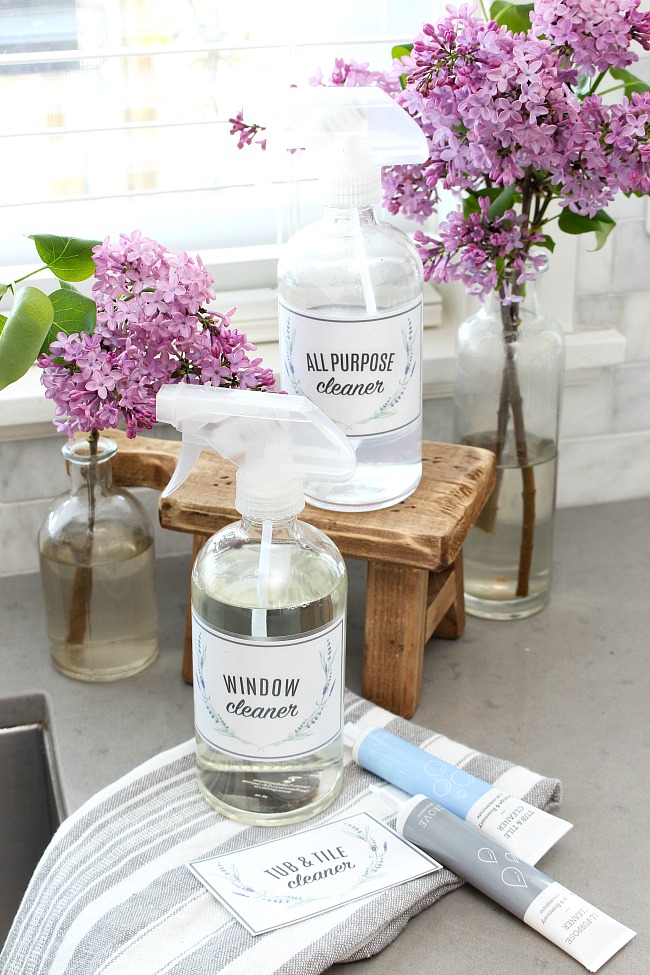
Free Printable Cleaning Labels
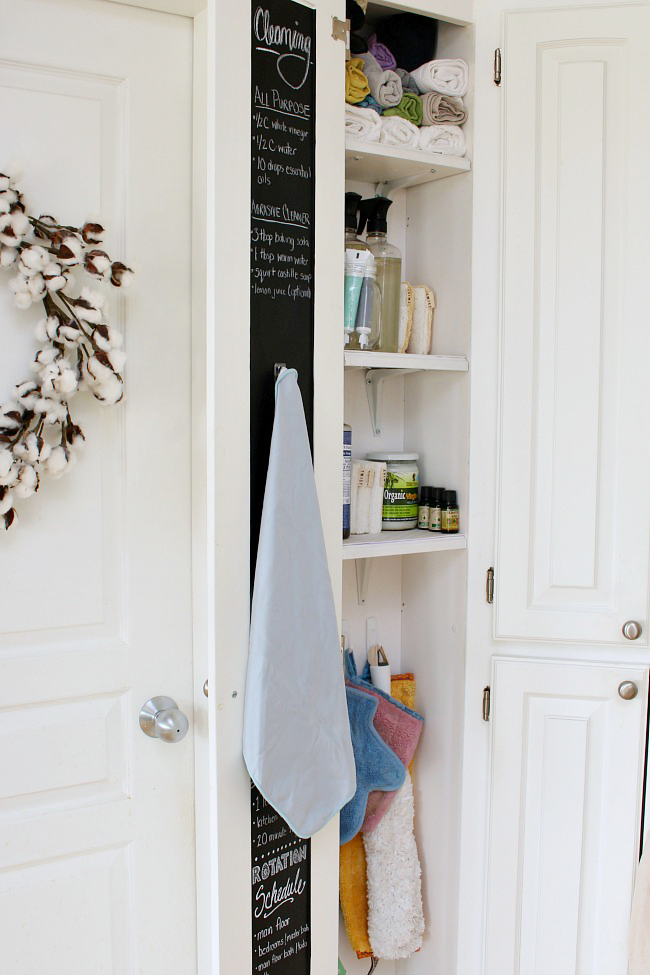
How to Organize Cleaning Supplies
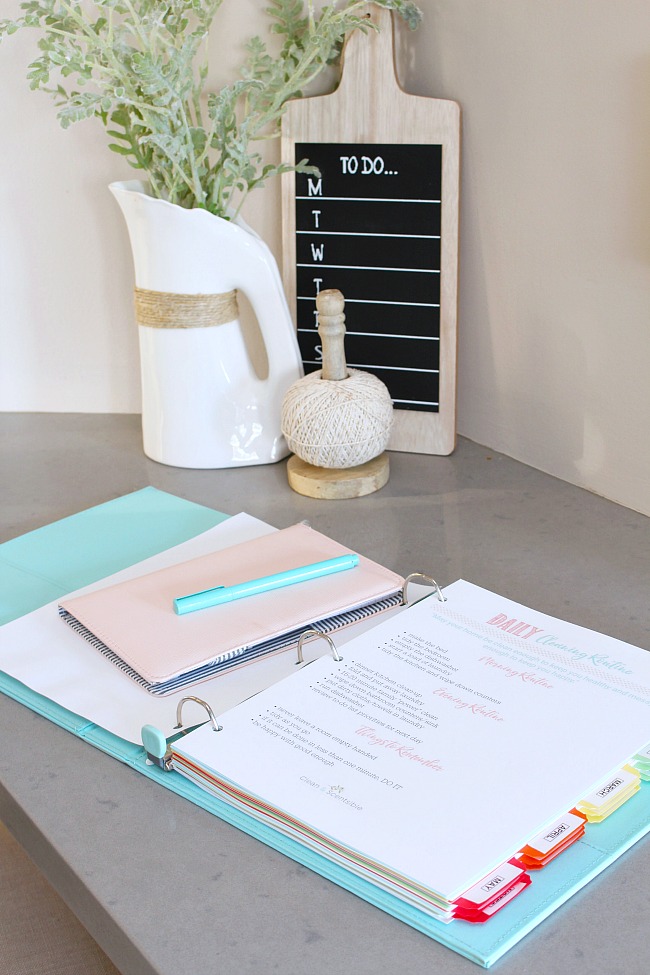
Daily Cleaning Routine Tips and Free Printable
Designate specific totes, boxes, and gym bags for each individual child and sport so that you can ensure easy access to clothes and equipment at all times.
Good idea!
Wow I had no idea that sports gear is that awful with bacteria. Great tips thanks for sharing. Happy Summer, Kippi
Great post! Thanks for sharing it with SYC.
hugs,
Jann
Great information! My son is 11 so you know I needed to know this stuff. Thanks so much for sharing at the To Grandma’s House We Go DIY, Crafts, Recipes and More Link Party! Pinned this! Hope to see you link up again this Wednesday!