While I am continuing to resist the end of summer for as long as possible, I do realize that fall is just around the corner. The return of school on Tuesday will officially end our summer vacation {assuming our teacher strike is settled!}, and I know that the changing of the leaves and the crisp fall air will soon be here. I am starting to pull out a little of my fall decor, and this easy fall wreath will be one of the first things to go up!

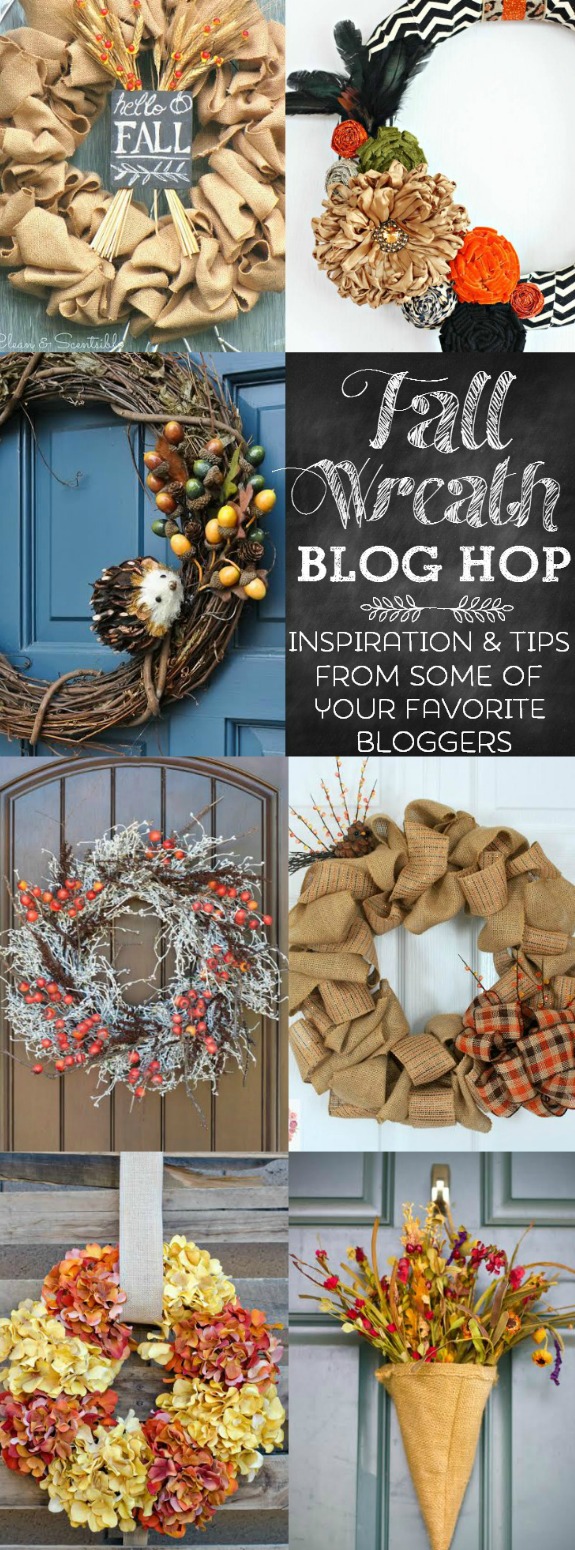
Be sure to click on each link below to get all the tips from each blogger!
From left to right:
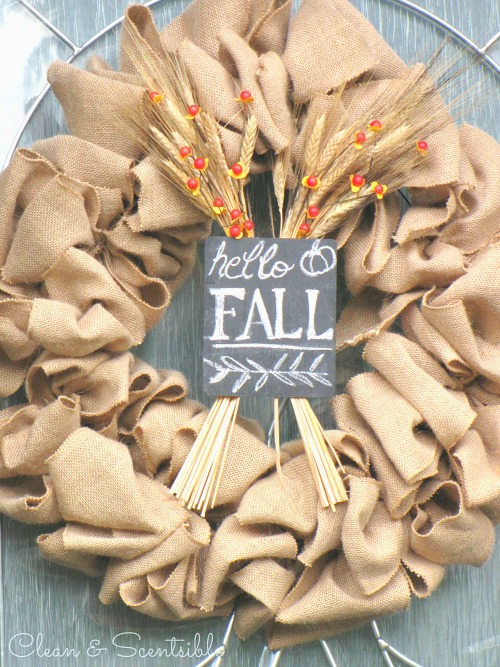
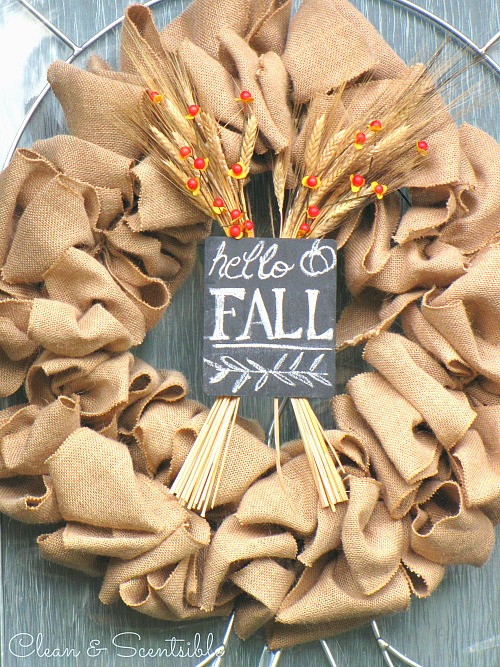
Wheat and Burlap Fall Wreath via Clean and Scentsible
Chevron and Posie Fall Wreath via Nest of Posies
Fall Hedgehog Wreath via Bombshell Bling
Fall Bittersweet Wreath via The Lily Pad Cottage
Fall Burlap and Plaid Wreath via A Glimpse Inside
Easy Fall Hydrangea Wreath via A Night Owl Blog
Burlap Flower Cone via Sweet C’s Designs
One of my favorite things to decorate for fall is our front porch. I always look forward to a trip to the pumpkin patch to gather up pumpkins and gourds and I do love all of the pretty fall colors. I actually made this wreath last year {and shared it over at Design, Dining, and Diapers} but I kind of forgot about posting it here. So for those of you that missed it and for those of you that are new around here, here’s an easy tutorial for you to follow.
- metal wire wreath
- high density burlap garland {I used about 2 1/2 rolls}
- pipe cleaners {as close to the color of your burlap as possible}
- thin wood sign
- chalkboard paint
- wheat
- elastic bands
- duct tape
- twine
Instructions
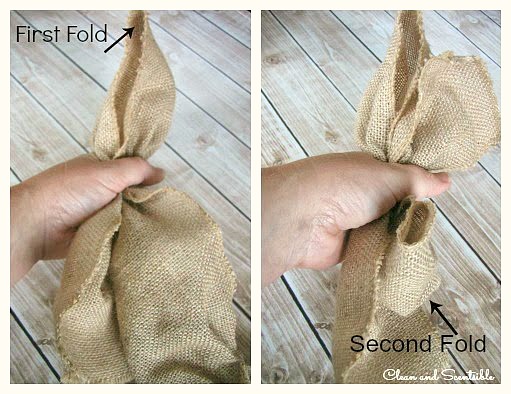
- Take a strip of burlap roughly about 2 feet long and fold it into thirds.
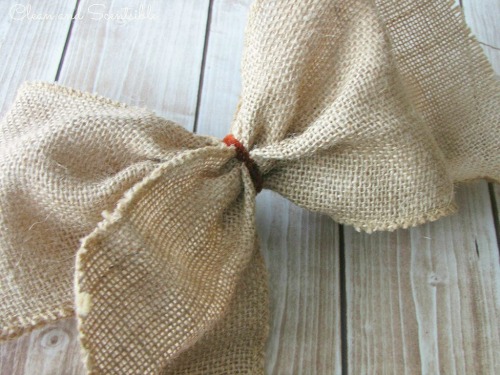
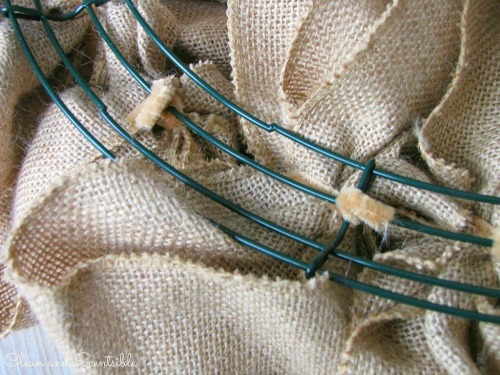
- Take a pipe cleaner and tie in the middle to form a bow {I used a dark brown pipe cleaner in the picture just so you can see it better but I used a lighter color for my wreath so that it blended in more}.
- Attach to the metal wire wreath {I attached mine on the second wire from the center} by twisting the ends of the pipe cleaner.
- Continue to add the bows until you have the desired fullness that you like. Fluff the boys to fill in any gaps. {NOTE: By the end of the project, I was actually not cutting the burlap into individual bows. It was a little trickier to form the bows when it was still joined up to the previous one but if I ever want to take the wreath apart I will still have a nice long strand of garland to use}
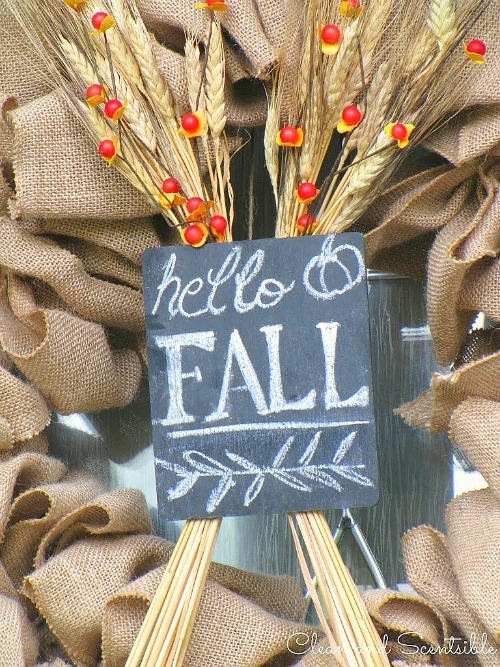
- Now to add a little fall touch! Spray a wood board with a few good coats of chalkboard paint {I just purchased mine from Michaels}. Let dry for 24 hours and then “season” the chalkboard by rubbing the side of a piece of chalk over the entire board. Erase and add your fall greeting.
- I purchased a bunch of wheat from our local Safeway and split it into two little bunches, tying each up with an elastic band to secure. Using duct tape to secure them, I taped them down over the back of the board. {It doesn’t look too pretty on the back but you don’t see it!}
- I hung the burlap wreath on our wreath holder and then attached some twine to the back of each what bundle to form a handle to place on the wreath holder as well. This makes it super quick and easy to change up my wreath with each season since the chalkboard is not actually attached to the wreath at all.
- Just to give it a little pop of color, I stuck in a few twig berry branches as well.
And there you have it – an easy DIY fall wreath!
If you are looking for more fall inspiration, you can check out these posts…
loving this Fall DIY
I stumbled upon your website by accident from a Link in an online magazine article (I think it was Woman’s Day). What a great website–tons of very original projects, great straigntforward directions on how to make things, beautiful pictures and more! I am a Crafter who also works for the company Stampin’Up! (www.stampinup.com) and I can see millions of connections between products I sell and the projects you have online. My clients look to me as an innovator and someone who can coax the creativity out of the most craft-challenged person. I also sell things I have made at local craft fairs, and some of you ideas look like they could be worth some money for me! Thanks again for the great site; I look forward to all the ideas it will generate!
Thanks Karen! I used to get a ton of things from Stampin’Up! back in my scrapbooking days. 🙂