This fall basket wreath is quick and easy to put together and can easily be switched up for different seasons. Add some twinkle lights for an extra warm welcome!
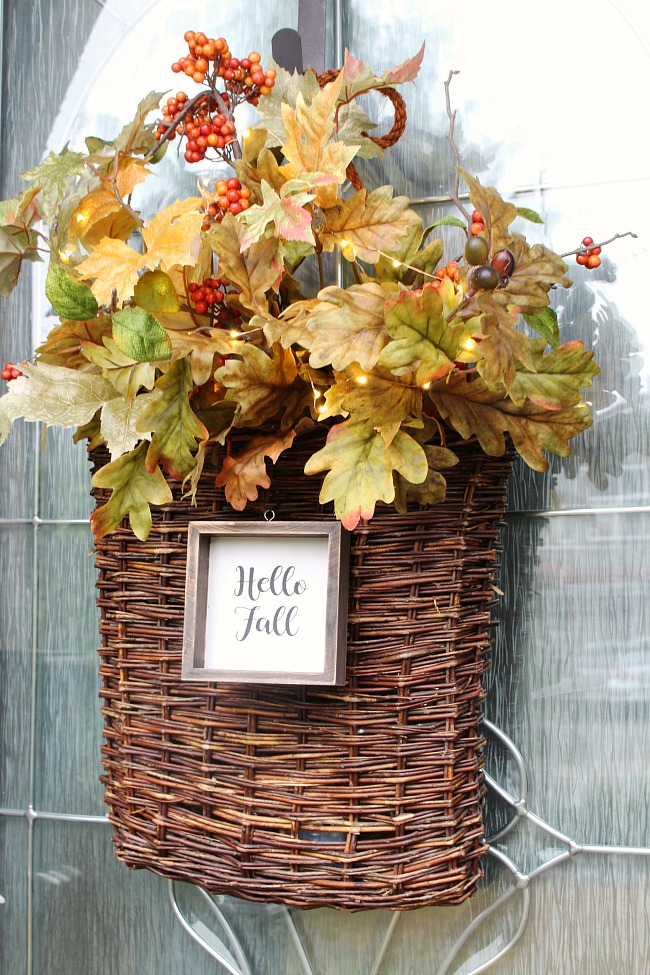
I’m back for week two of the seasonal simplicty fall series! Last week we shared our best fall DIY projects and today is all about fall wreaths. There are over 20 beautiful fall wreaths to inspire you for the season. From traditional styles to more modern designs, there’s really something for everyone. Be sure to check them all out at the end of the post!

Fall Basket Wreath
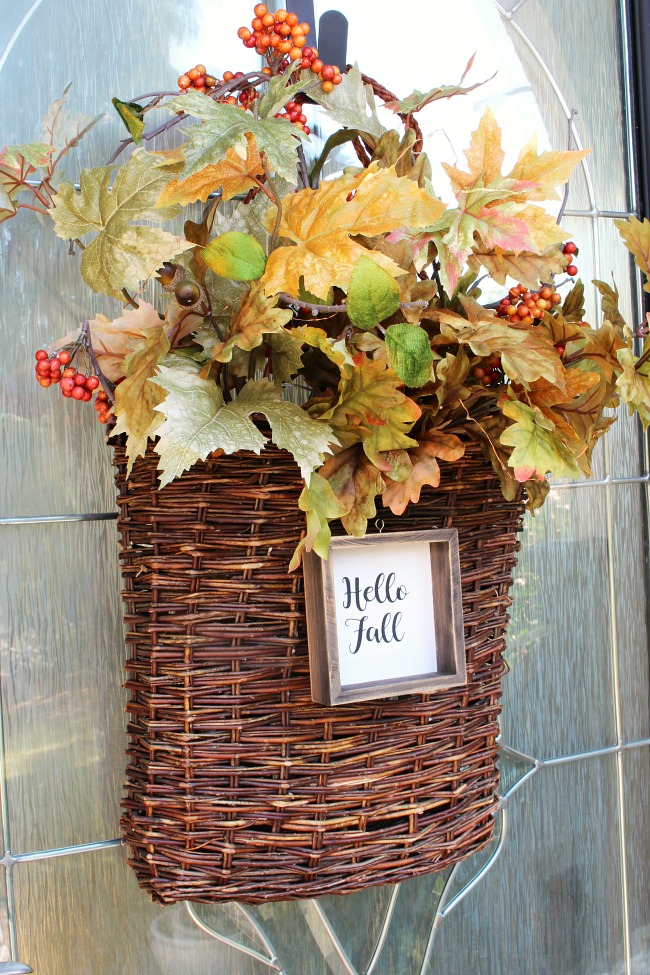
I always love to dress up our front door for the different seasons, but it’s nice to have something that’s quick and easy to change up throughout the year. When I saw this flat wicker basket, I knew that it would be perfect! There are so many different options to fill it up and it took less than 15 minutes to put this fall basket wreath together. As an added bonus, I was able to just use supplies that I already had on hand.
Fall Basket Wreath Tutorial
I’ve been trying to stick with super simple, easy decorating ideas for our fall decor this year, and this basket wreath definitely fits the bill. Just a few little touches like some twinkle lights and a cute fall sign make all the difference!
Materials
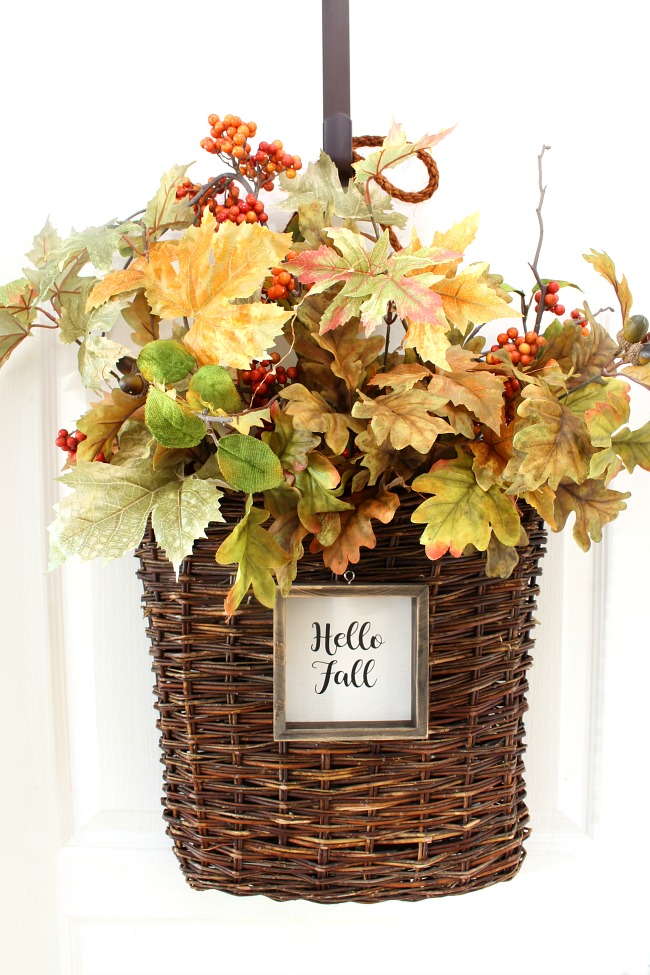
- basket with flat back {I purchased this one from Amazon, but I also found this one that’s even cheaper}
- faux fall leaves and/or berry branches. Try to get 2-3 different varieties of various dimensions/textures. Look for stems that can be bent and will hold their shape. Feel free to mix in some real leaf branches too!
- floral foam {may be needed depending on the size of your basket}
- wire cutters
- floral wire
- mini lights. Look for ones that have an automatic timer to turn on and off so you don’t need to worry about them. Costco had a great deal on these last time I went.
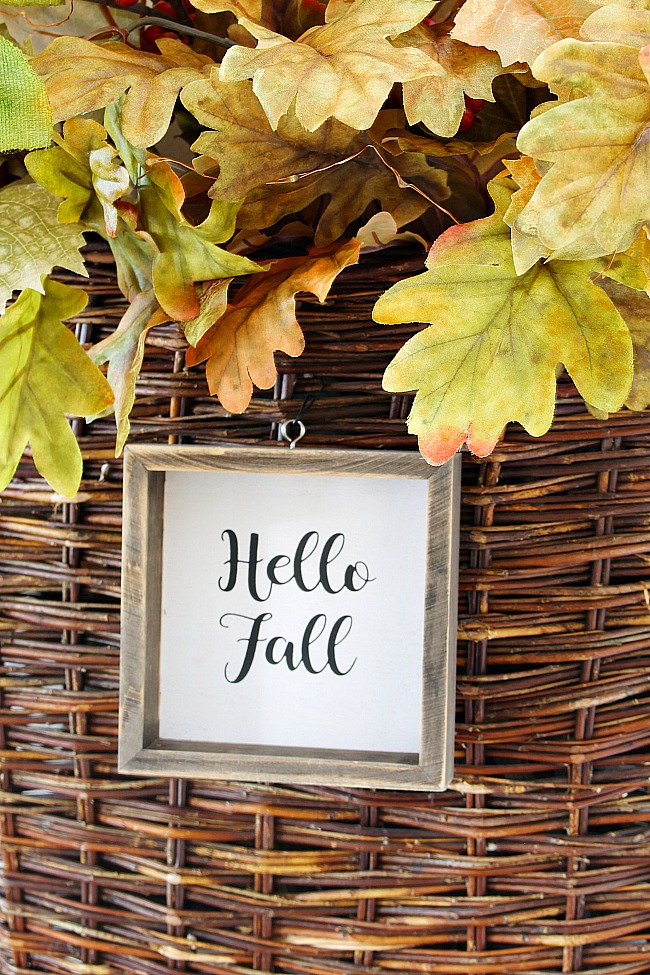
- fall sign or chalkboard sign. I purchased mine at Hobby Lobby but you can find similar ones all over the place – even the dollar store. If you can’t find one that you like, you could just draw your own message on a chalkboard sign.
Directions
- Lay out your faux leaves. You want to start working with the biggest, bushiest of branches. If you’re using a big stem that has a lot of branches, it’s generally easier to work with if you break it up into smaller sections. You can usually bend the branches back and forth until they break off or you can use wire cutters. I usually try to get three pieces – one taller one and two slightly smaller ones that are similar in size. Place the tallest one in the middle of the basket and the two smaller ones on either side.
- Since my basket was really narrow in depth, the branches stayed in place nicely. If you find that they flop around too much you can place some floral foam in the bottom of the basket to hold the stems exactly where you want them. If you don’t have any floral foam, crumpled up newspaper in between the branches will often do the trick as well.
- Grab the next smallest branches and start filling in holes on either side of the middle branch. Bend the stems and fluff the leaves until it starts to fill out the way you like it. Finally take some smaller berry branches and place them in any remaining gaps.
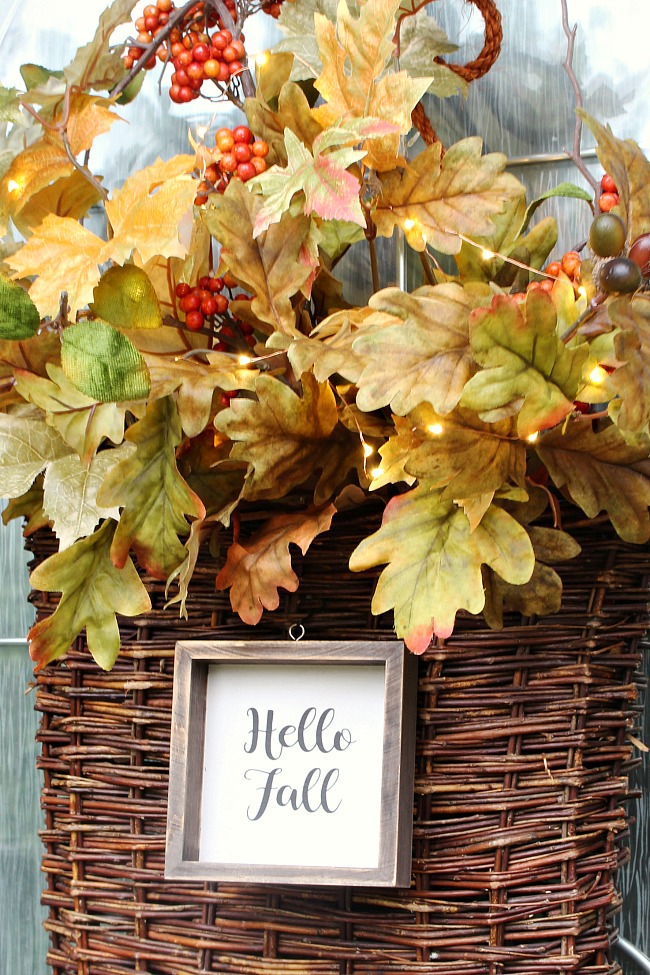
- Attach the sign to the basket with some floral wire. If you don’t like the look of a sign, you could either leave the basket plain or tie some burlap or ribbon around it.
- Add in the mini lights spacing them randomly amongst the leaves. Tweak them until you have a fairly balanced look.
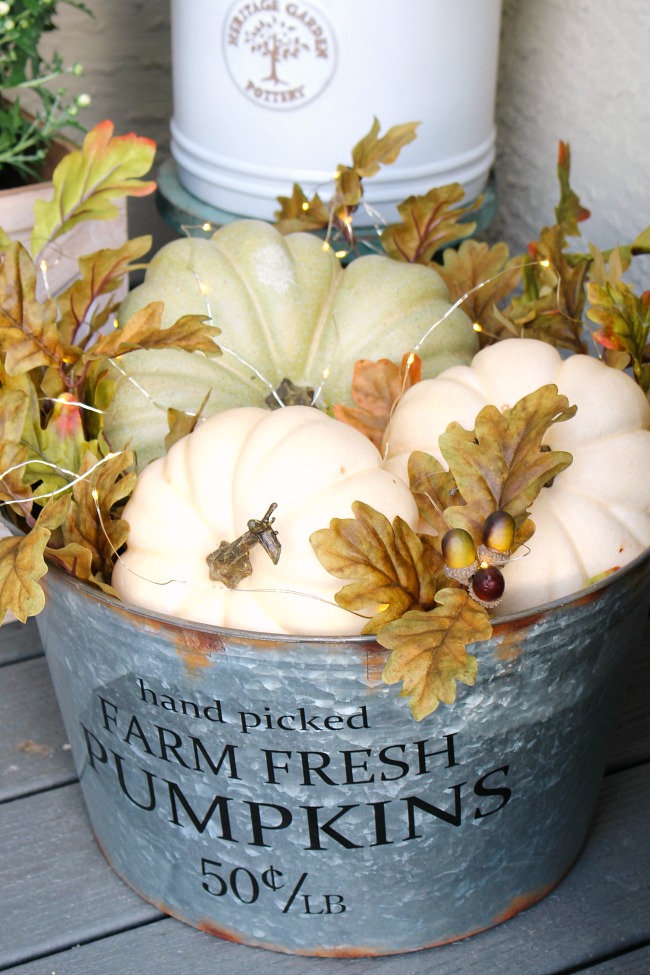
Then all that’s left to do is figure out where you want to hang it. I have ours on our front door, but it would look really pretty inside too – especially when it’s all lit up at night! If you saw my lighted pumpkin bucket last week, you know I’m all about the lights this fall!
More Fall Wreath Ideas
Before you go, be sure to check out some of these gorgeous DIY fall wreaths from some of my favorite blogging friends. There are so many different colors and styles used – I just love seeing what everyone comes up with!

The Happy Housie // Rooms for Rent // The Turquoise Home // Finding Silver Pennies

Deeply Southern Home // Hallstrom Home // Shabbyfufu // Sincerely, Marie Designs //
The DIY Mommy

Lolly Jane // Happy Happy Nester // Amber Tysl // A Pretty Life

Place of My Taste // Love Create Celebrate // Modern Glam // Lemon Thistle

Town and Country Living // Clean and Scentsible // Summer Adams // Willow Street Interiors
You may also like these fall crafts…
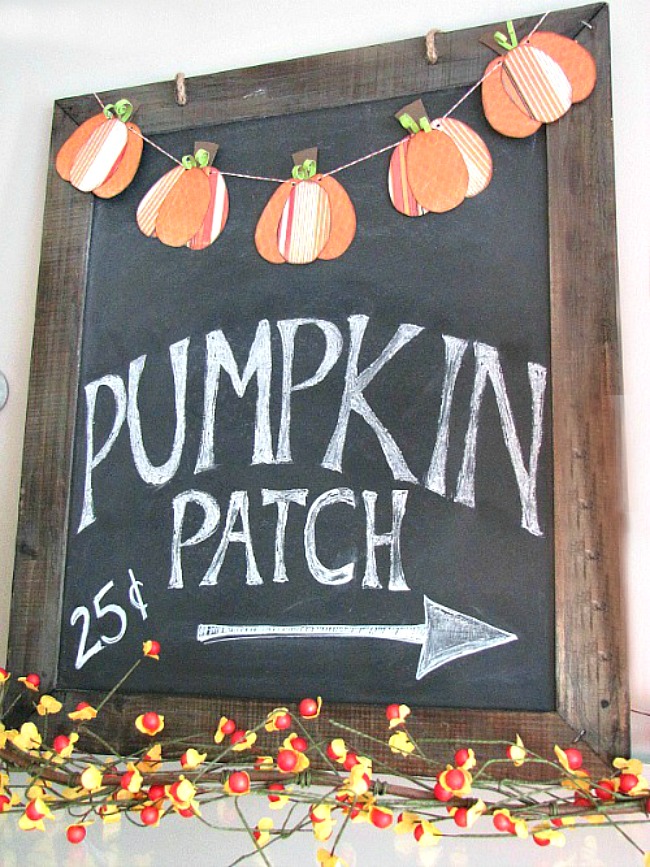
Mini Pumpkin Bunting and Fall Chalkboard

Oh what a cute idea!!! It looks fairly simple too which means I can probably do it without messing it up lol!
Yep! It’s pretty much impossible to mess this one up! 😉
THIS IS SUCH A COZY FALL WREATH, JENN! THE LITTLE SIGN IS SUCH A SWEET TOUCH! XOXO
Thank-you Laura! I knew I’d find somewhere for that sign. 🙂
This is too cute! I adorable baskets so I love this idea. I also love the leaf stems you used, so pretty!
So pretty, Jenn! I need one of these baskets – such a fun wreath alternative! Glad you could be on this hop, friend:)
Jenn,
Love your fall basket, I’m always drawn to those shaped baskets! They are so elegant and unusual! Your fall sign is just adorable, I’m going to have to buy one too! Great post and Happy Fall!
What an adorable basket! Love the way you’ve brought fall to life in it!!
Thanks so much Leslie! Happy fall!
So pretty Jenn…it’s perfect for fall! I love that you added fairy lights!!
Jenn, this is absolutely darling! Love the basket idea and cute frame! Happy Fall! 😘
I love the addition of the twinkly lights! What a fun and festive wreath for fall! Gorgeous!
What a great idea! I love this and the perfect way to re-use a basket! So cute with the frame and mini lights too!
Thanks! I’m all about the lights this fall! lol!
So pretty. I love the basket for the door and those pretty lights too.
I love how you use the basket as the base of the wreath. It is so pretty.
Thank-you!
This is beautiful. Thanks for sharing at the To Grandma’s House We Go DIY, Crafts, Recipes and More link party. I pinned this. Hope to see you again next week.
Beautiful fall basket to greet guests. I love the added sign.
Congratulations! Your post was my feature pick at #OverTheMoon this week. Each Hostess displays their own features so be sure to visit me on Sunday evening and to see your feature! I invite you to leave more links to be shared and commented upon. Please don’t forget to add your link numbers or post title so we can be sure to visit!
Thanks so much for hosting and for picking my post as your feature!
Hope you saw we featured you at this week’s Reader Tip Tuesday:
This turned out GREAT – I needed a little fall inspo 🙂
Looking forward to seeing what you have to share this week. Have a GREAT!
PS I’d love if you’d grab a button and add it to your post to help us to promote Reader Tip Tuesday – you can find it at the party – xo
I really love the simplicity of this and your auto-twinkle lights! Thanks for sharing with Share Your Style!
Thanks for the party.