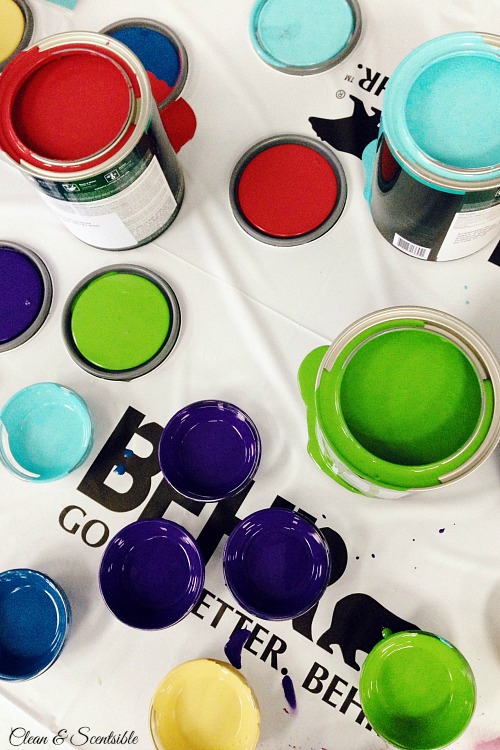
For those of you that follow me on Instagram, you may know that last month I had the chance to head down to California to tour one of BEHR paint’s production plants. It was quite the experience and I was seriously amazed at everything that goes into creating their paint {especially their new Marquee line} and choosing their beautiful custom colors.

I am always amazed at the power of paint – it is probably one of the quickest and most economical ways to completely transform a room. Whether you are looking for a bright, airy space or a darker, cozy room, paint can always give you the results you are looking for. Now what I am not a fan of, is the actual painting process. There is just something about it that has always seemed overwhelming to me. But…after listening to some of the painting pros during my BEHR tour, I picked up a bunch of cool painting tips and tricks that have me excited to paint again. And, of course, I wanted to pass them all on to you. We’ll all be painting like the pros in no time!
Take time to prep your space properly.
Okay. Okay. I totally agree that this is not a fun part, but cleaning your surfaces prior to painting will help improve the paint adhesion and make your paint look beautiful longer. And, in the end, that means less work for you. Use a sponge with TSP (trisodium cleaner) to quickly wipe away any dirt or grime that may be on your walls. In addition, the TSP will also slightly etch the previous paint coat, allowing for better paint bonding with your fresh coat.
Use high quality tools.
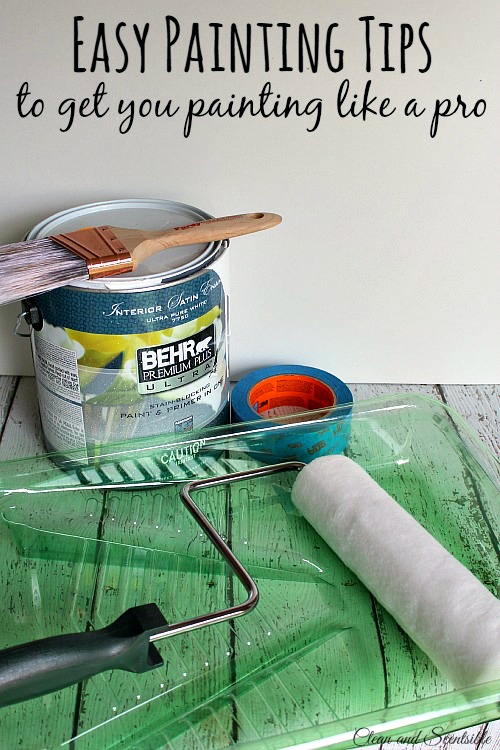
You don’t necessarily need to go top of the line with all of your tools but there is a definitely a reason that the cheap products are so cheap! If you are investing all of your time and money to paint your space, it is definitely worth it to spend a few extra dollars on decent brushes, rollers and other painting products. When we were painting our garage this summer, Dave bought a cheap package of rollers and we ended up with a ton of fluff on one of our walls. The more we tried to fix it, the worse it got. In the end we had to completely sand it down and repaint it – it was a complete waste of time and a waste of paint. I usually go for the Purdy rollers {and have heard that Wooster is a good brand as well} and definitely won’t be making that mistake again. They really only cost one or two dollars more and are SO much better! To ensure a completely shed free roll, you can also roll the roller over some painter’s tape before applying any paint to remove any loose fibers {especially if you are using one of the really cheap rollers!} For brushes, I also like to use Purdy and like the plastic handled Wooster ones too. If you are using acrylic or latex paints, look for a synthetic brush and make sure you have a good angled brush for doing all of the cutting in. When you are painting, only load your brush 1/2 to 1/3rd of the way up the brush to help prolong the life of your brush.
Choose your paint wisely.
I’m not saying that the most expensive paint is the necessarily the best paint, but there is definitely a difference in quality between the cheap paints and the more premium paints. The increase in price basically reflects higher quality glues {which will improve your paint adhesion and durability} and higher quality pigment {which will result in a richer, truer color}. In the long run, these paints will give you better color, will be able to be cleaned easier, and will prolong the life of your paint job {which means less painting for you!}
One of the paints that we learned more about during the tour was BEHR’s new Marquee line. It is available in 372 colors and comes with a 1 coat color guarantee. Yes – just one coat! We used this paint for our garage and even painted the shelving {which was unfinished wood} with just one coat. Painting a light color over a darker color? Still just one coat! In the end this is definitely both a time and money saver – one of those win-win situations!
To Tape or Not To Tape.
Taping off your edges definitely takes some extra time, but if you do not paint frequently or have an unsteady hand, it will sure help to give you crisper lines. There are a variety of different painter’s tapes on the market so be sure to read the packaging to make sure it is the right tape for your project. The tape should re removed after your final coat of paint is dry to the touch – roughly about 1 hour after the final application. If you find that your paint is pulling up with the tape or cracking when you remove it, score along the edge of the tape with an exacto knife to break the seal between the paint and the tape. If you are doing multiple colors or painting stripes, allow at least 24 hours before taping over freshly painted surfaces.
If you want to give it a go without the tape, there are a few little tricks to help you get a cleaner line. Regardless of whether you are taping or not taping, be sure to use a tapered paintbrush when you are painting the edges as the angled bristles will uniformly unload the paint as you cut in. Dip the brush into the paint, then tap {don’t wipe} each side against your container to knock off the excess. Brush the paint on the wall, about 1/2 in. from the trim. Then make a second pass, cutting in all the way to the trim. Avoid “pushing” the paint with your bristles or you’ll leave a ridge where you’re cutting in. Apply just enough pressure to let the bristle ends glide next to the trim. To help keep the brush steady, move your entire arm as you paint instead of moving your arm only from the elbow down.
Creating a crisp line along textured ceilings is often tricky regardless of whether or you tape or don’t tape. To get smoother line, us a putty knife at a 45 degree angle to the wall to gently scrape away the texture along the border. This will create groove at the edge of the ceiling for the paint bristles to slide into and will help to minimize any paint getting on the ceiling. Just make sure you clean out all of the dust from the groove with a dry paint brush prior to painting.
Make sure you are using enough paint.
We all want to make sure that we are stretching our paint to cover the most wall space as possible; however, not using enough paint will often result in uneven coverage and, in the end, will end up requiring more time and paint for an additional coat. When you are loading your roller, make sure you take a few minutes to completely saturate it with paint and allow the paint to soak into the roller. This should take at least 15-20 times of rolling the roller back and forth in the tray to completely cover and saturate all aspects of your roller. Check to make sure that there are no dry pockets and, on the other side of things, there should not be so much paint on the roller that it actually drips.
Work In Small Sections
I am always bad at this and tend to roll a much larger area than I should. To get a more even coverage, you should only roll in 2×2 to 3×3 sections at a time before reloading your paint and working on the next section. When rolling, be gentle and do not press too hard on the roller. Apply the paint in a ‘V’ or ‘W’ formation and then roll back into the previous application until your section is completed. Start at the top of the wall and work your way down {or vice versa if you like!} Always keep your edges wet between the sections and slightly overlap to avoid streaking. Once you have completed your sections from ceiling to floor, do a final roll down from ceiling to floor to even it all out.
Clean your Tools Well.
My least favorite part of painting, is probably the clean up. If you are finished painting for the day but have not yet completed your project {or you are just in between coats}, place your brush in a ziploc bag or tie it up in a plastic bag making sure you have squeezed all of the air out. For the rollers, wrap them in plastic wrap or tie them up in plastic bags. If you want to be extra cautious, you can place them in the fridge or freezer – just be sure to allow them to come back to room temperature before using again.
When it comes time to actually wash your brushes, clean them immediately after use using water and dish soap {for latex or water-based coatings} or mineral spirits {for oil-based coatings). Do not soak your brushes for long periods of time as this will cause them to break down. Spin or flick the brush by hand to remove the water once you are finished cleaning. Once the brush is clean, you can use a paint brush comb to remove any dried paint and help to reshape the brush. Place it on a flat surface or hang to dry.
 And there you are -all the tips you need to get started! Now grab a paint brush or a roller and get painting! And let me know if you have any other mind-breaking painting tips to share! 🙂
“Life is a great big canvas and you should throw as much paint on it as you can.”
This post is part of my DIY Behr Expert Painting series. Look for a new painting project each month!
Thanks for sharing. I painted a bedroom, family room, pantry, kitchen & hallway in the past 6 months and wish I had this before I began.
That’s a lot of painting so you must have been doing something right! 😉
Thanks for the tips! I’m painting my home for the first time, so knowing a few tips and tricks to make the paint job in my home look great would help a lot. I thought that the tip in this article about using high quality tools was very insightful. At first, I didn’t realize that the quality of the tools that I use to paint my house made that much of a different. It’s good to know that spending a few extra dollars on good brushes, rollers, and paint would go a long way to make my house look really good.
love the article, some great tips in there. I also like the way in which yo focus on the preparation side of things and the importance of the tools you work with. thanks.
Great tips! You even gave the W technique. Not many people know about how efficient this is when used properly!