Thank-you to Graphic Stock for sponsoring today’s post. I hope you enjoy these free Easter printables!
**************************************
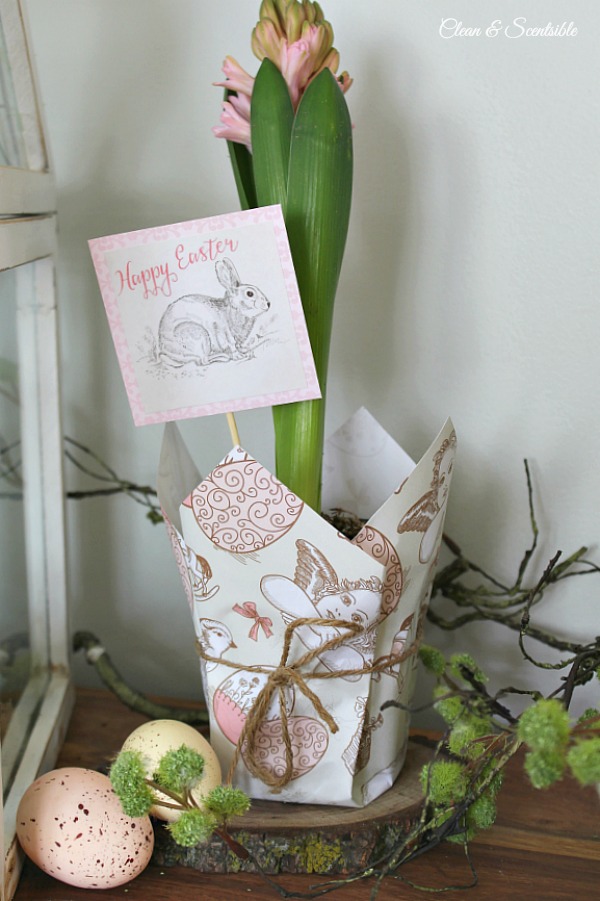
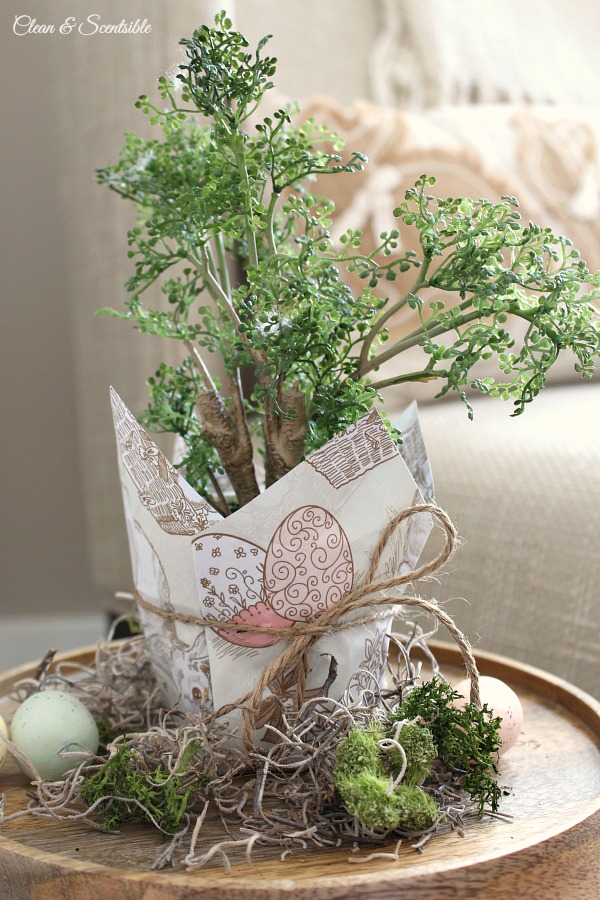
Once March hits, I am always anxious for Spring to arrive. Even though we don’t get a lot of snow around here, the dark, rainy days really start to get to me. Luckily, we are already starting to see a few buds pop up and I have been starting to add some fresh greenery and flowers to our home. As you saw yesterday, I have already pulled out some of our Easter and spring decor, and today I wanted to share this easy tutorial for wrapping up an Easter planter as well as some fun Easter printables for you!
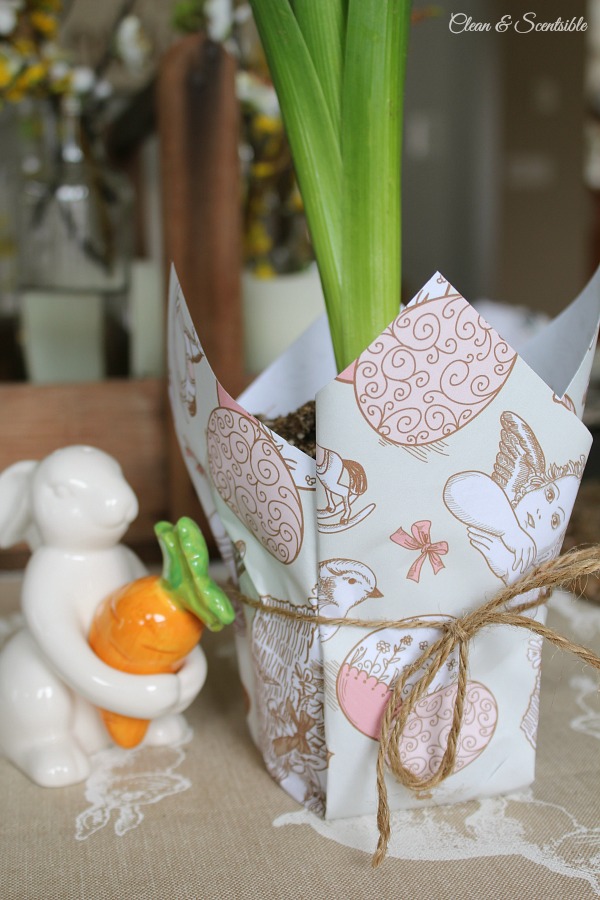
These wrapped Easter planters would make a cute hostess gift or teacher gift and are an easy way to add some Easter decor to your home. They’re perfect to dress up your dining table or add that fresh touch to an Easter vignette.
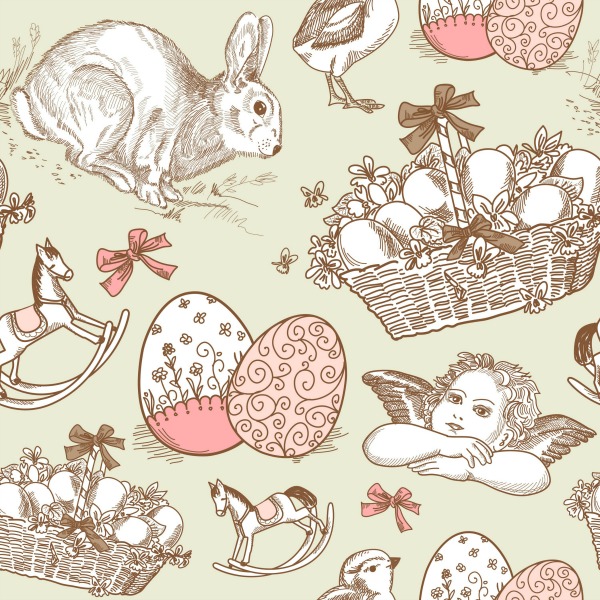
When I was searching through Graphic Stock for some Easter inspiration, I came across this beautiful Easter print {under “vintage Easter”} and knew that I had to do something with it.
If you are not familiar with Graphic Stock, they have a huge selection of royalty-free images {over 300,000!} for pretty much any activity or occasion that you could imagine. They can be used for making cards, creating printables, scrapbooking, home decor and craft projects and so much more! To get started, Graphic Stock offers a free 7 day trial with up to 20 downloads per day. Even if you choose to cancel {be sure to remember to do this if you don’t want to continue!}, you are still able to keep the images that you have downloaded during your trial. It’s kind of a win-win situation. 🙂
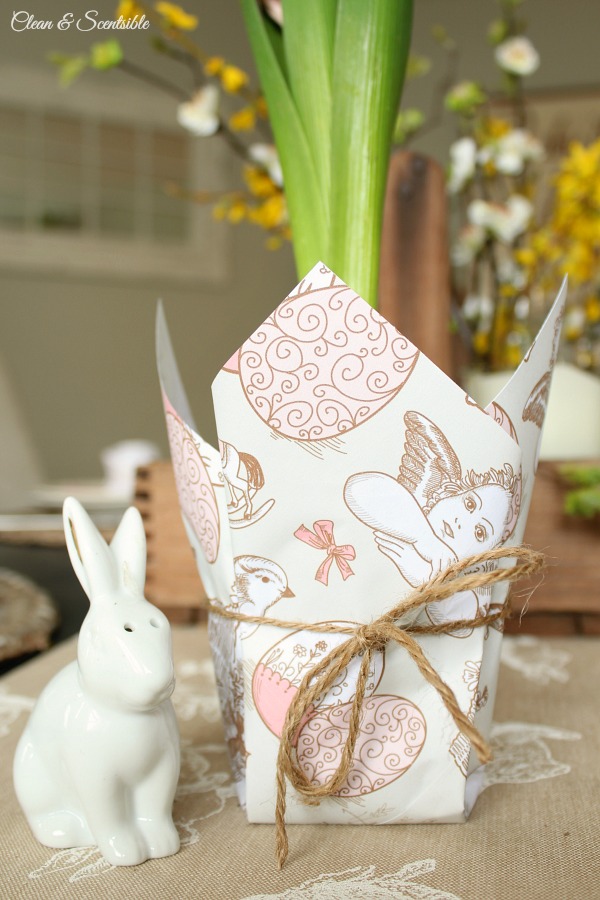
Now getting back to that print again, I had seen some inexpensive small flower pots down at our local grocery store and thought that the vintage Easter paper would be a pretty way to dress them up. I also created some Easter tags that could be used as a plant pick or gift tag. Whether you keep them for yourself or give them away as gifts, they are fun to make up and can be completed in about 10 minutes.
HOW TO WRAP A PLANT WITH PAPER
Materials:
- A piece of paper cut into a square. I found that I needed to use about 2.5 -3 times the paper size compared to the planter size. For example, my plant had about a 4 inch pot, so I used a 11×11 piece of paper. To get the larger sheets of paper {since you can likely only print an 8.5 x 11 at home}, you can either use some double sided tape to tape two sheets together {just match up the pattern like you would with wall paper} or take the file down to your local print shop and get it printed out as a larger engineer print. I used the tape method and you can’t even see a seam once it is wrapped.
- Double sided tape.
- Twine or ribbon.
- Gift Tags {optional}.
DOWNLOAD THE PAPER HERE
DOWNLOAD THE TAGS HERE
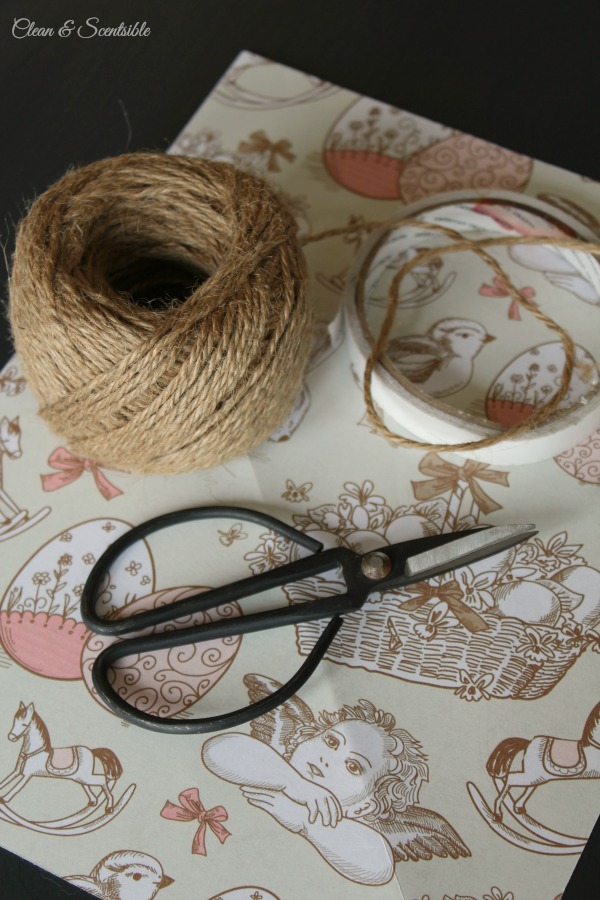
To Do
- Cut your paper into a square to your desired size. I find that the easiest way to measure out a square is to just fold the paper over on itself into a triangle and then just trim off the excess.
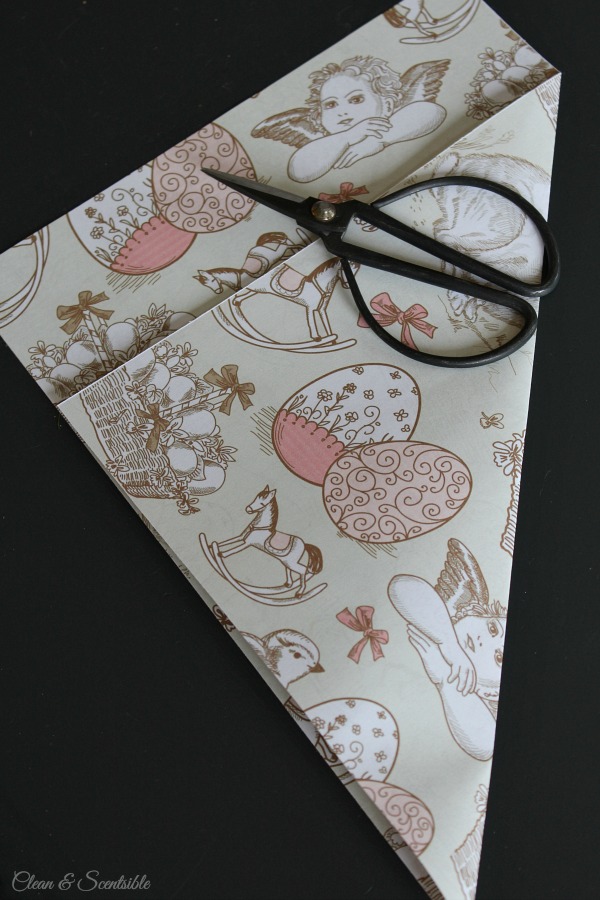
- Place your plant in the middle of the paper and ensure that it is centered by folding the sides up to make sure they are even. Fold up opposite ends of the paper and attach to the planter with double sided tape.
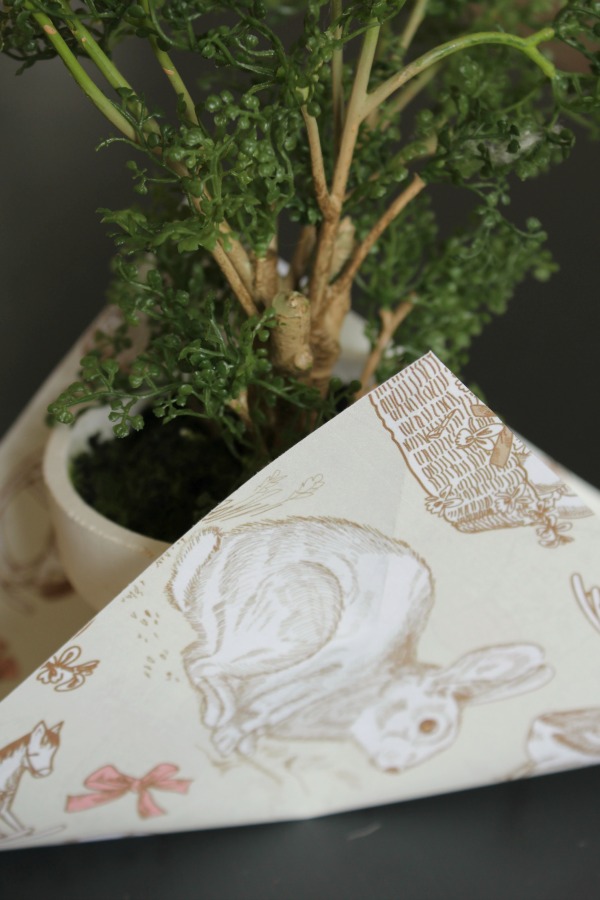
- Fold in the remaining two corners and tie with twine or ribbon.
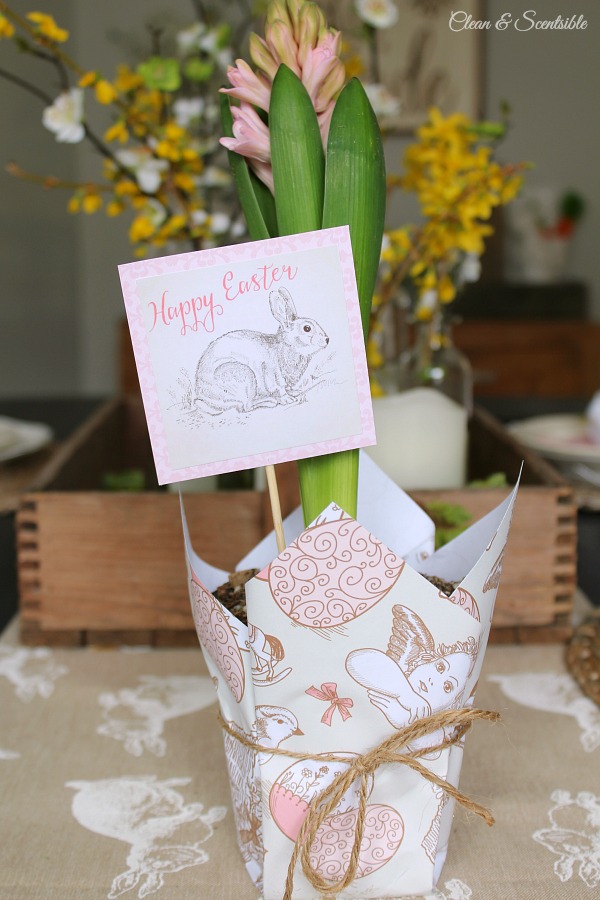
- If you would like to add some tags, you can either cut them out in the square or use a circle punch to trim it down to a circle. For some added dimension, I used some patterned cardstock to add a matte to mine, and then used some double sided tape to add a skewer to it for a plant pick. You can just cut out a second piece of cardstock to cover over the pick on the backside so you don’t see it.
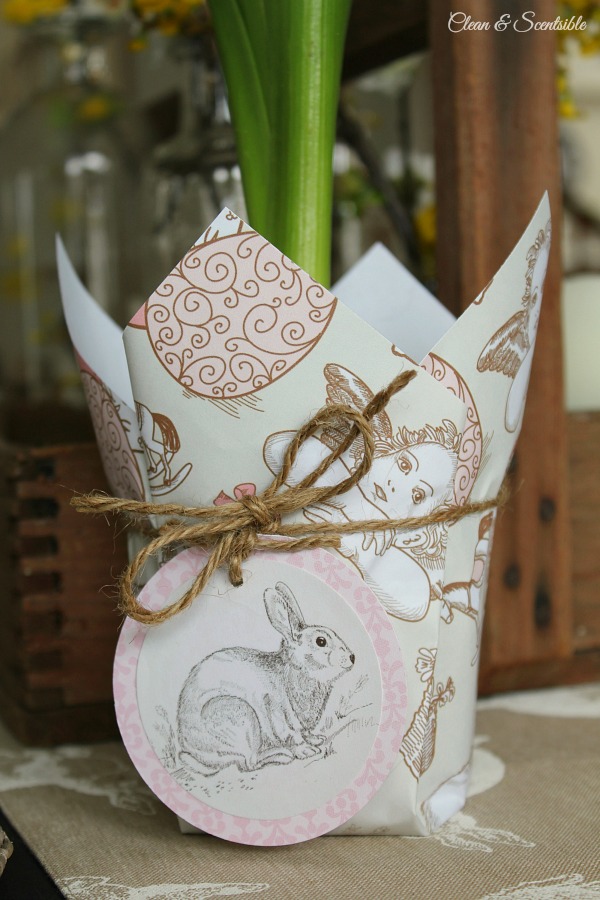
- For the circle tag, I used a circle cutter to cut out a circle around the bunny and then glued it to some patterned cardstock. I then just punched a hole and tied it on with some twine.
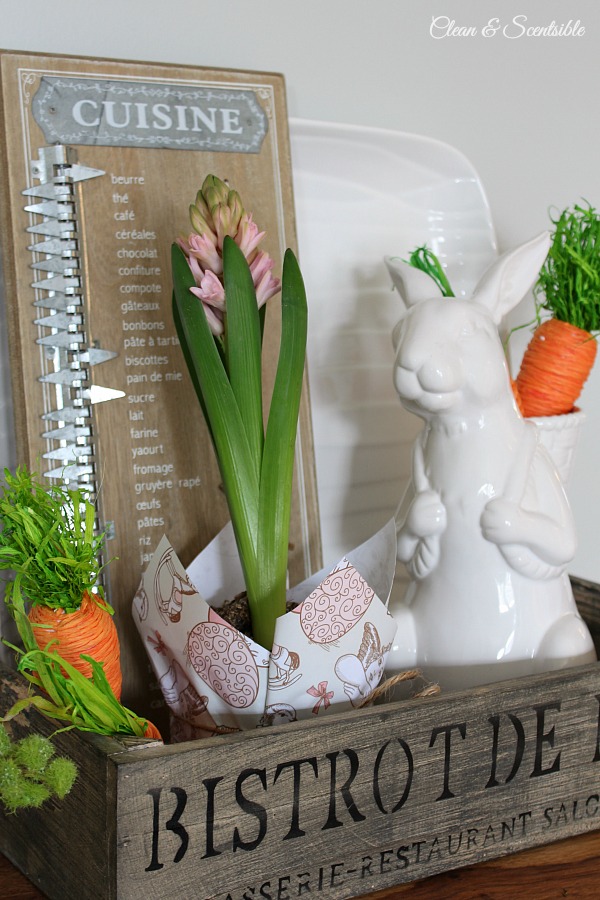
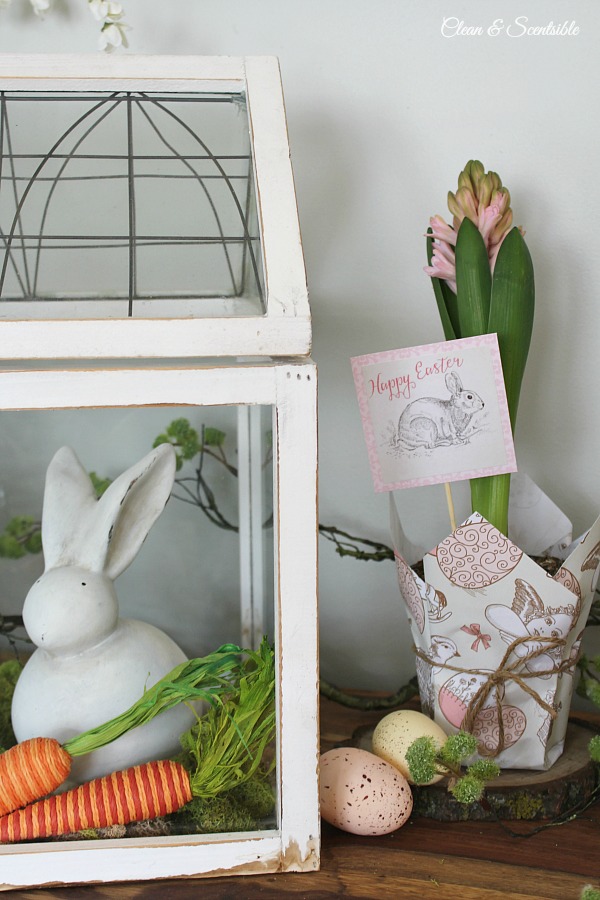
Not only does it make a cute gift, but there are lots of fun ways that you can use it in your Easter decor too!
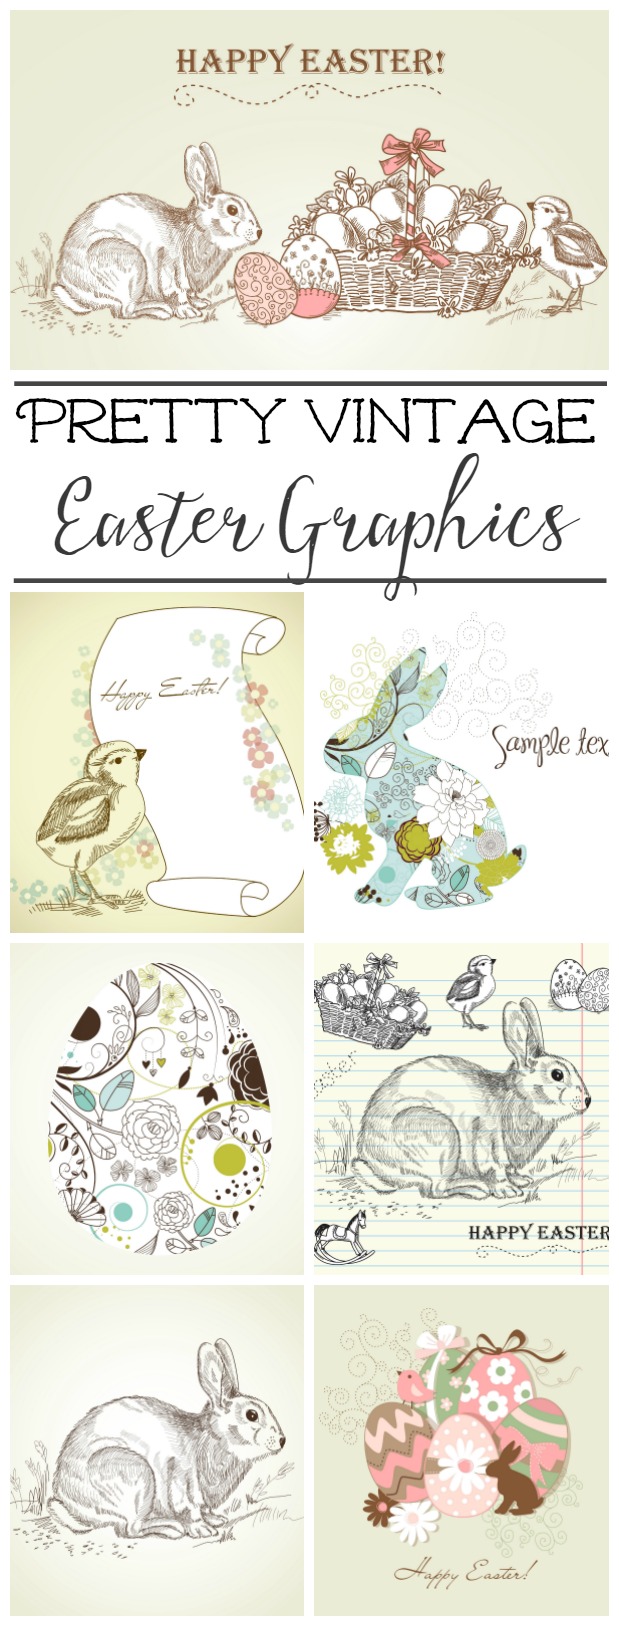
In case you were wondering, here are a few of the other vintage Easter images that I downloaded from Graphic Stock…
If you are interested, head on over to Graphic Stock for the free 7 day trial.

This is really lovely! Thank you for the tutorial. Pinning to share. Thanks for linking up this week for Snickerdoodle Sunday!
~Laurie
Thanks for the pin and thanks for hosting!
This is such an adorable planter idea, Jenn! Thank you so much for linking it up to the party this weekend!
Thanks Kristi and thanks for hosting! xo
We love your Easter Planter and would love for you to join us today at Thoughts Of Home On Thursday!
What a great idea. Simple and easy. Thanks for sharing with us.
Thanks Charlene!
I love this idea. I need to do this for sure. What a great idea for a gift! Thank you so much for linking up to the Best of the Blogosphere Linky Party this week! We look forward to seeing your post this week!
Thanks Hilary! I appreciate you hosting!
Love the planter idea. Thank you for linking up with us @ #HomeMattersParty. We would love to see you again.
I love this and they’re so simple and sweet! Great instructions! Thanks for sharing this with us on Throwback Thursday!
Mollie