Hey everyone! I hope you are having a fabulous weekend! The sun is finally out here and it has been nice spending some time outside again. I have been taking a little break from the master bedroom projects over the past couple of days to work on some Easter crafts. It has been fun getting back to some easy crafts again!
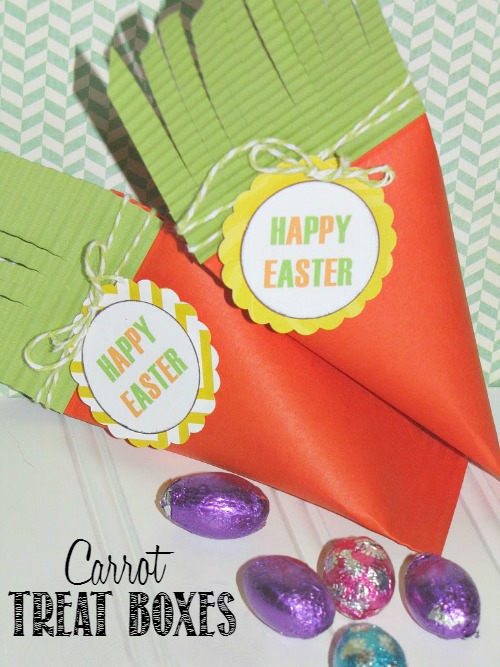
I made these little carrot treat boxes for Matthew to hand out to his classmates. Since I had 25 to make, I kept them simple, but they would be fun to dress up a bit more too.
MATERIALS
- orange cardstock or patterned scrapbook paper
- green cardstock
- double sided tape
- paper crimper {optional}
- baker’s twine or ribbon
- chocolate treats
- Happy Easter tag {see below for how to}
HOW TO
- Cut your orange cardstock to 5 x 6 inches
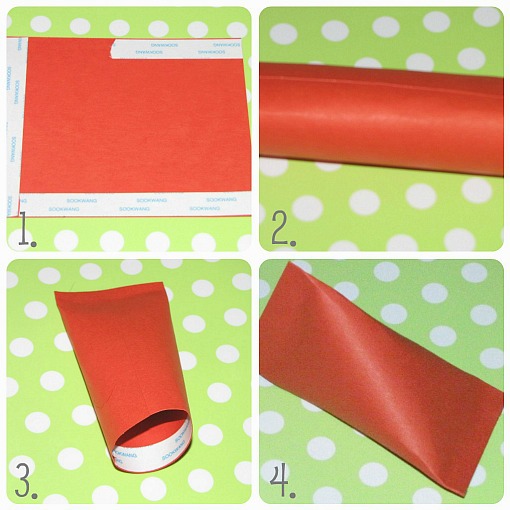
- Place double sided tape along one of the short edges and one of the long edges. Place a third strip of tape along half of the other long edge {see picture above}
- Take the backing off the double sided tape on the full short edge and full long edge. Roll up your tube {short edge to short edge}
- Pinch the end together where the tape backing has been removed. {align the seam so it is in the center}
- Add your treats! {I kept closing my carrot up and forgetting to add my treats!}
- Remove the other tape backing and pinch the open end together at a 90 degree turn compared to the other end.
- Crimp each of the ends of the container.
- For the tops, cut a green strip of cardstock approximately 2.5 x 3 inches. Run through the crimper. Attach to the top of the carrot with glue or double sided tape. Cut strips in the cardstock and randomly trim the tops at an angle.
- For the tag, I cut the scalloped circle on the Silhouette and just created the Happy Easter in a basic word processing program. I then used a circle punch to punch the Happy Easter and attached it to the scalloped circle with a large pop dot. I punched a hole in the tag and tied it on with some baker’s twine.
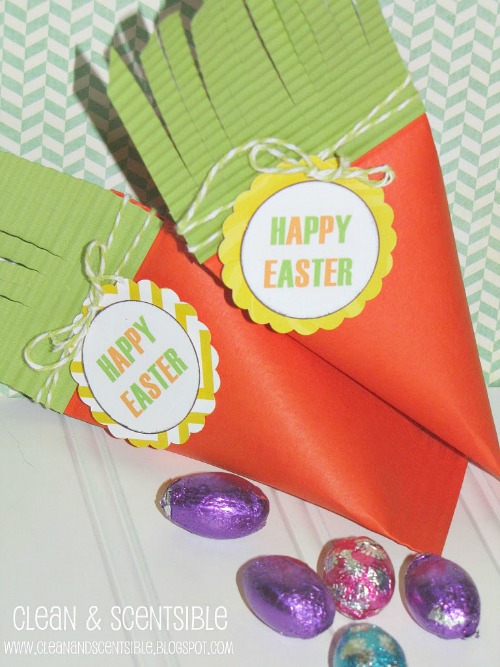
And the best part is, there is no way that I can get that chocolate out of them while they are waiting to be taken to school!
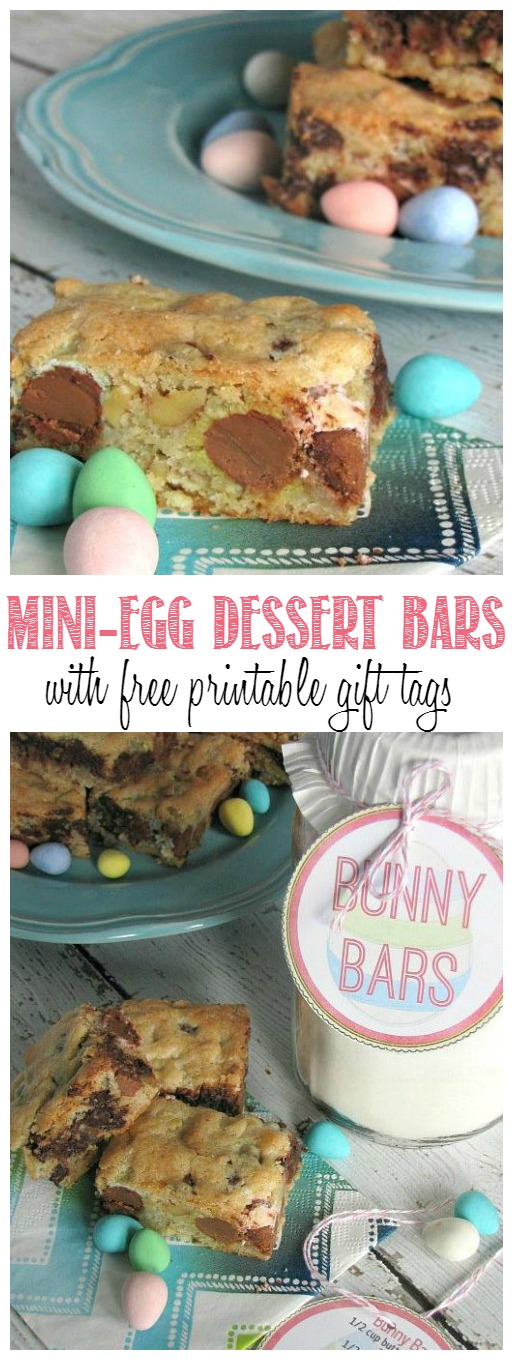
For more Easter inspiration, check out these posts…
These turned out super cute! Visiting from IHeartNaptime!
Kara
http://www.mineforthemaking.com
Loving these! Super adorable and really fun to take to school! Great idea Jenn!
Absolutely adorable, it never dawned on me to make those little sour cream containers and turn them into carrots. I have a template for paper carrot boxes that I used this year but I think I like these much better! Have a great week!
Ok…you are the queen of all things paper! SUPER CUTE Jenn!! Have a wonderful Sunday!! 🙂
Love these! Who would have thought to use double sided tape?? (Not me!)
This is such a great idea! We’d love for you to share it at our Beautify It Monday Link party going on now at BringingBeauty.blogpsot.com!
Oh! These are so cute! Love your ideas!!
Such a cute idea!
Thanks for linking up!
I featured your post in my wrap up! http://tidymom.net/2012/12-easter-ideas/
Have a great weekend!
So cute! and simple too! Thank you for sharing this.
Such a cute idea for Easter. Thanks for sharing!
We have a lot in common. I could have written your “about” portion. 🙂
These are so adorable — and easy! I’m heading to Michaels today to pick up the supplies. Thank you!
Good morning! Quick update — I made 18 of these cutie carrots last night, and it took just a couple of hours (well, I’ve not added tags, don’t know if I’ll have time to do that). I just love them. Thanks for the fun idea! Sharon
These are adorable. Great idea!
That is such an awesome idea! I’ve got to pin that for next Easter!!