Yikes! It’s hard to believe that May is here and Mother’s Day is just around the corner! For those of you that are still trying to come up with that perfect gift for Mom, I have some great ideas for you today. I have joined up with some of my favorite Canadian bloggers to bring you some amazing DIY gifts that are perfect for Mother’s Day!

And for those of you that don’t have time for a DIY project, enter our giveaway for a chance to win this awesome Breville Food Processor!
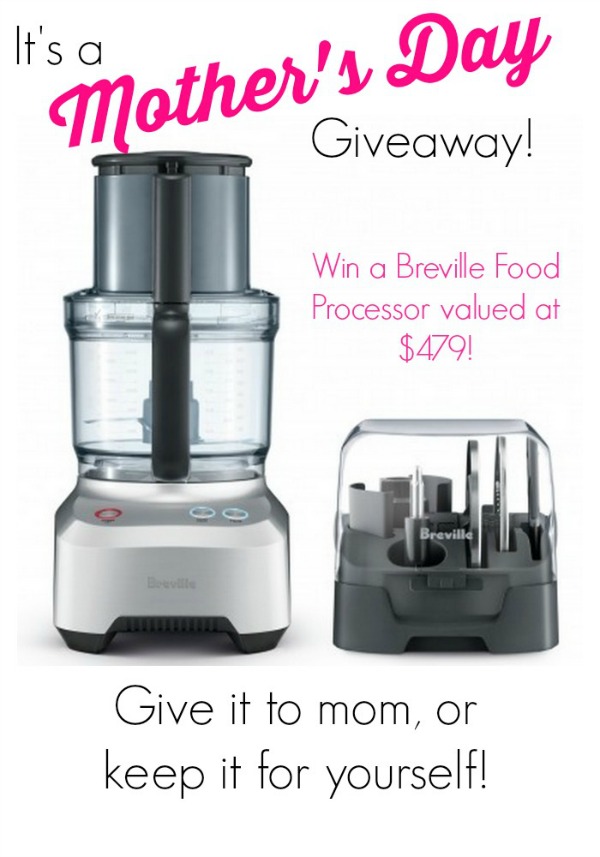
You can find the links to all of the handmade gift ideas {as well as all of the details of the giveaway!} at the end of the post. Just keep on scrolling! 😉
********************************************
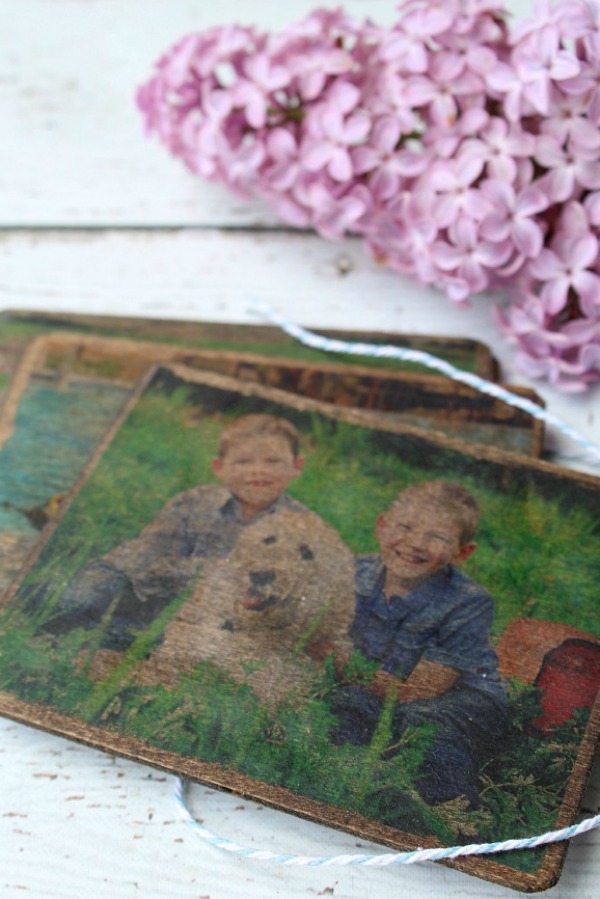
I always love giving {and receiving!} photo gifts, so today I am going to show you this easy wood photo transfer technique to transfer any laser jet photo image onto wood. I made some wooden coasters with my photos but you can use this idea to create any number of wood photo projects!
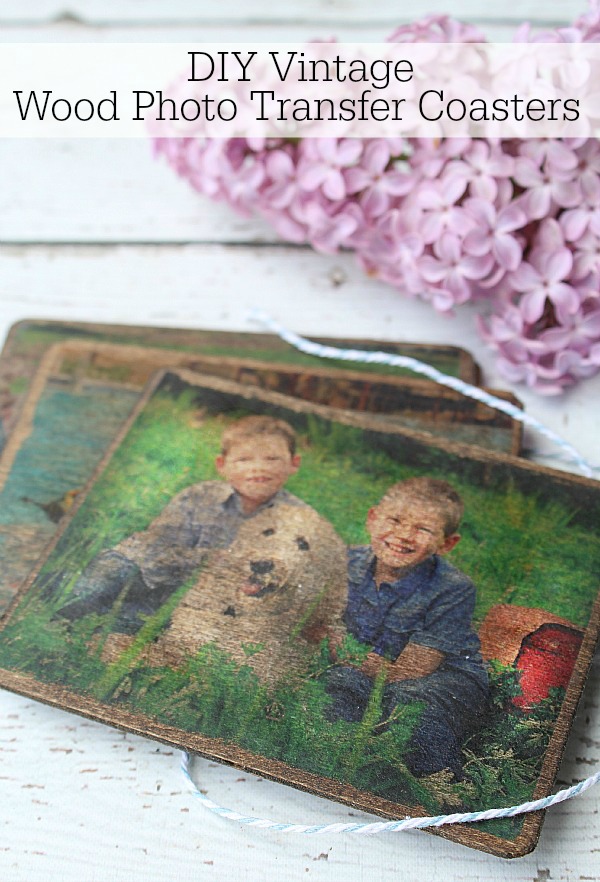
This is quite a simple project to do and, while there is a lot of drying time involved, the actual hands on time is fairly quick. It probably took about an hour of time to create the four coasters above. All you need are a few supplies!
MATERIALS
- laser jet photos trimmed to the size of your project
- wood coasters {or other wooden piece – wooden trays, photo blocks, wall hangings,etc.}
- gel medium to transfer photos {this can be found in craft supply stores such as Michaels}
- wood stain {optional}
- sponge brush
- boning knife{or just use a credit card}
- wood sealant {I used a hemp oil but Mod Podge or soft wax would also work}
DIRECTIONS
STEP 1: Print Your Photos
Your photos need to be printed on a LASER JET printer. Since most home printers are ink jet, you will likely need to get them printed at a printing shop or office supply store {I printed mine on my own at Staples for .39 cents}. If you are going to be printing the photos yourself, you will need to format the photos to the size that you want them printed before you head down to the store. Otherwise, you can just load the photos onto a USB stick, take them down, and ask the associate to size them for you. 🙂
Remember that the image that comes out on the coasters will be mirror image of the photo that you are using. If you do not want this, you can use a photo editing program to mirror image your photo before you have it printed so the coaster image will then be a duplicate of the original photo. Try to print your photos on the thinnest paper you can get – the thinner the paper, the less work you will have to do when you are peeling it away. Trim your photos down if needed to the desired size and you are ready to go!
STEP 2: Choose Your Wood
I used inexpensive wood discs for my coasters that I picked up at Michaels. {I was actually really hoping to find some thicker wood slice pieces to use for this project but no luck.} Remember that the lighter the wood you choose, the brighter your photos will come out. I wanted more of a subtle, vintage look so I stained my wood prior to doing the wood transfer with a walnut stain. {NOTE: In hind site, I think I would add the stain after the photo transfer as it gives you a better idea of how dark to go with the stain. Just use a rag to lightly wipe the stain over the photo until you have the desired color and then wipe off with a clean rag}.
STEP 3: Photo Transfer
Using a sponge brush apply a liberal layer of the gel medium to the wood ensuring an even distribution. Place your photo image over the gel and use a boning knife or credit card to smooth out any bubbles. Allow to dry overnight as you need to make sure that the gel medium is completely dry. If you are short on time or just impatient like me, you can use a blow dryer to speed the process along a bit. {NOTE: It is extremely important that you allow the gel to completely dry otherwise the image will just rub off}
Following drying time, take a wet reg and completely dampen the back of the photo. Using your fingers in a circular motion, gently start to rub the paper away {this can get a little messy!} Continue to rub the paper away in layers until only the image remains. If the paper is not coming off, just add a little more water.
STEP 4: Wood Sealant
Once you have all of your images, you just need to seal the wood. I applied a couple of coats of hemp oil on mine {this also happens to be a food safe oil} using a sponge brush and a rag to wipe away the excess. You can also use a soft wax, Mod Podge, or other sealant of your choice – just be sure to follow the application guidelines on whatever sealant you choose.
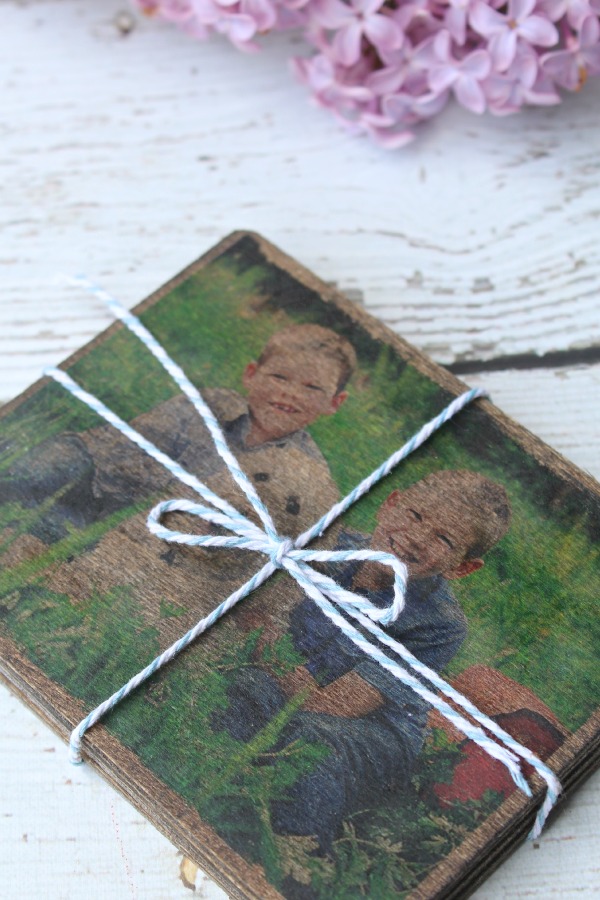
One of the fun things about this project is playing around with the wood tones and photo colors that you are using. Experiment a little to come up with a customized look that YOU love!
For more handmade Mother’s Day gift ideas, don’t forget to check out these other amazing ideas! I kind of want ALL of them!

Shauna of Satori Design for Living made a Pink Grapefruit Salt Soak
Christina of The DIY Mommy shows you how to make a Mini Fairy Garden in a Tin
Jenn of Clean & Scentsible made Vintage Wood Transfer Photo Coasters
Tara of Suburble put together a Weathered Gift Tray Tutorial
Kristi of Making it in the Mountains shows you how to make a DIY Blanket Ladder
Lucy of Craftberry Bush shows you how to make this Press Fern Resin Tray
Jo-Anna from A Pretty Life in the Suburbs has a recipe for a Lemon Coconut Sugar Scrub
Alex of Northstory made these fantastic Photo Tea Bags
Virginia of Fynes Designs has a free Apron Sewing Pattern
Krista of Happy Housie made a DIY Silhouette Image Tea Towels
And now for the GIVEAWAY!!!
To enter, just follow the prompts below for a chance to win an awesome Breville Food Processor. I’m sorry but this giveaway is only open to residents of Canada. The hardest part will be deciding whether you should give it to Mom or keep it for yourself!
I LOVE, LOVE, LOVE the rustic look of these coasters! What a sweet idea Jenn!!!
Great idea Jenn! I know a couple of moms and Grandmas that would LOVE these…they’re a treasure!
These look fantastic, Jenn! I’ve always wanted to try this photo transfer medium, but never got around to it. Picking it up on my next trip to the craft store.
Absolutely sweet gift idea!
Those are wonderful memorable coasters to give to a Mom!! They’ll love them!
Thanks Brenda!
I love these! Such a great idea and so meaningful. Thanks for sharing the technique!
Jenn, I LOVE this! I know that this would be a huge hit with my mom too! Pinning!
Wow. This is quite unique. It looks like something you would pay a decent amount to have made, and I would not even know where to have it done. Doing it yourself will allow for better memories and a caring personal touch.
I’ve always wanted to try that photo transfer DIY! And thanks for the opportunity to win the food processor…and shoot, I should have read the contest rules about living in Canada =) Whoopsies! Thanks for linking up at Found & Foraged. See you tonight at 8PM!
Just lovely! This is such a wonderful gift for a mom or for your home, too. I love the vintage wood look!! Thank you for sharing with us at #homematters Linky party.