I know Halloween isn’t even here yet, but I have a confession to make… I have started working on Christmas projects! I’m not actually decorating for Christmas yet, but I did want to get a little head start on some of my Christmas projects. I always try to get as much work as I can done in November so I can relax and enjoy the holidays a bit more once December hits. I’m not saying that actually happens, but you can’t blame me for trying!
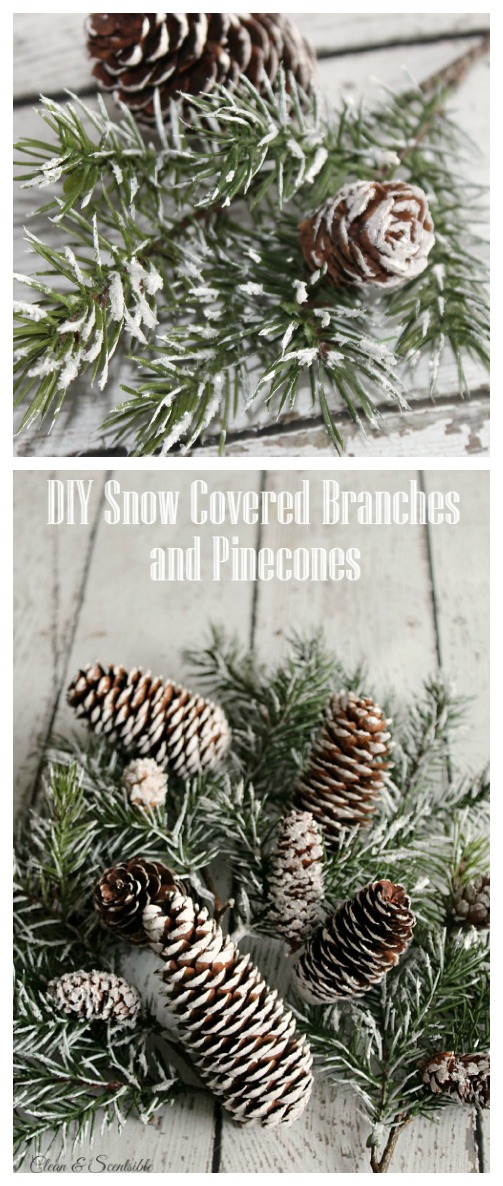
One of my favorite things to use for my Christmas decorating is snow covered branches and pine cones. I use them throughout the house in different vignettes and displays and I love that they can still be used for decoration in the winter months once Christmas has passed. It is amazing how much prettier a little “snow” makes everything!
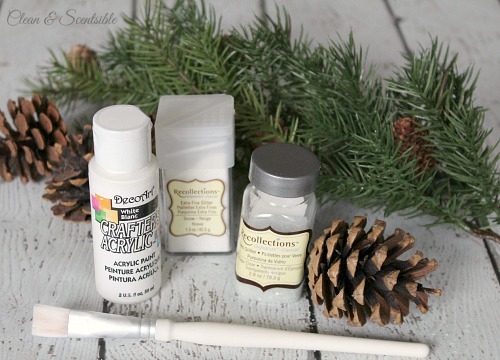
To make your own DIY snow covered branches and pine cones, all you need is white paint, fine glitter, and some German glass {or courser glitter}. If you want a little thicker snow, you can also use epsom salts as well with some spray adhesive.
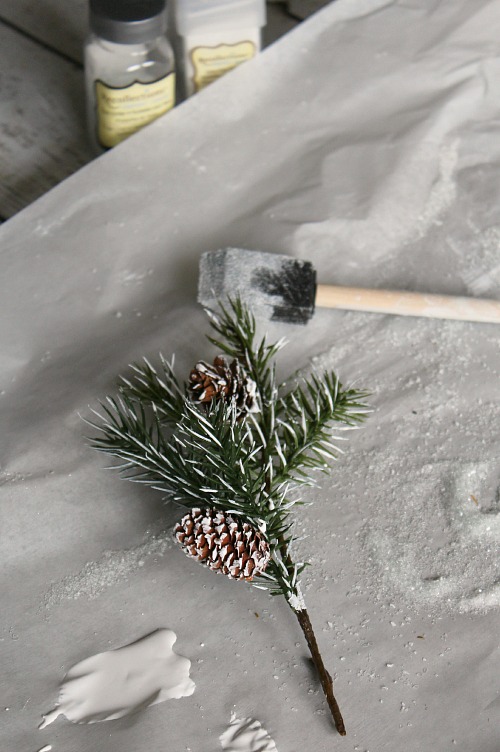
Set up your project on a cookie tray lined with parchment paper and mix up the German glass and fine glitter. Use a paint brush or foam brush to add the paint where you want it and them sprinkle the glitter mixture over top while the paint is still wet. If you don’t have as much snow as you would like, add a little more paint to some select areas and try rolling it directly in the glitter.
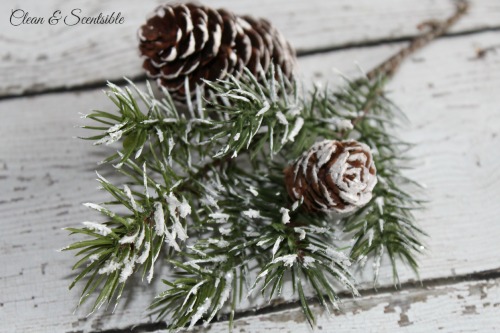
If you are wanting a bit of a thicker snow, try adding some epsom salt {NOTE: these photos are only done with the glitter}. For this I let the paint dry and then use an adhesive spray on the branches before adding the epsom salt and glitter. This technique will also work on bare branches so have fun adding snow to whatever you would like!

And don’t just limit this project to branches and pine cones. I purchased a few of these little Christmas trees in the dollar section of Target last week {although they were actually $3}. They looked kind of cheap but I had a few ideas of what I wanted to do with them.

I used the same techniques as above to add the snowy touches and then added a few twigs for some added texture.

So much prettier! I think I might have to make another trip back to Target to pick up a few more! I have a project planned for these ones {that I can’t wait to show you!} but I think I need a few more to scatter throughout the house. You can’t have enough snow covered tress, right?

For more Christmas projects, check out these posts…

Chalkboard Christmas Tree Ornaments
I can’t wait to get decorated for Christmas!

Awesome idea!
I love this Jenn- pinned and definitely trying. Especially since we usually just get rain covered branches and no snow covered ones around Christmas:)
Thanks Krista! I am more than happy to have the snow stay in the mountains and make do with my faux snow! 🙂
I love the snowy pine cones.
Thanks Diane!
I WANT TO USE MY PINE CONES ONLY HALF OPEN. HOW CAN I ARREST THE OPENING OF THE CONES.
I HAVE WASHED THEM AND THEY ARE ALL CLOSED AT PRESENT. CAN I USE A SPRAY PRODUCT ON THE
INSIDE OF THE CONES BEFORE THEY ARE TOTALLY DRY TO STOP THEM FROM OPENING COMPLETELY.
Sorry – I’m not sure about that. Maybe some readers might have some suggestions?
What is German glass?
It’s just a specific type of glitter – it’s made from finely crushed glass and just tends to be extra sparkly and pretty. 🙂 You could really use whatever glitter you wanted though.