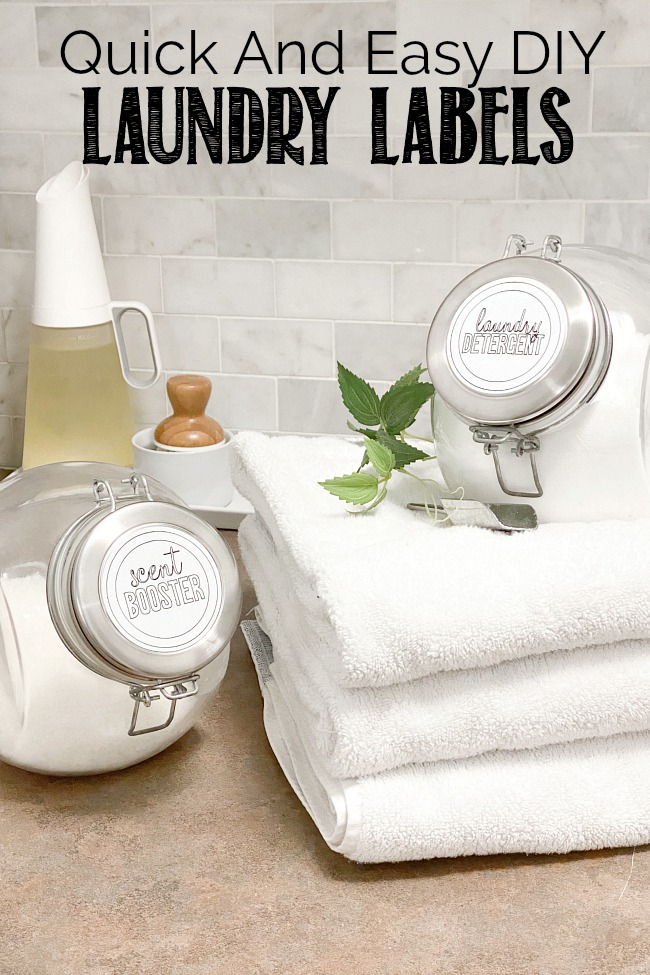
Use Cricut Joy and new Smart Labels to create these cute DIY laundry room labels. It’s the perfect way to add a little fun and organization to your laundry space!
This is a sponsored post in partnership with Cricut and does contain affiliate links. This simply means that I may receive a small commission if you purchase any products directly through the links provided {at no cost to you!}. As always, all opinions are 100% my own.
Meet Cricut Joy
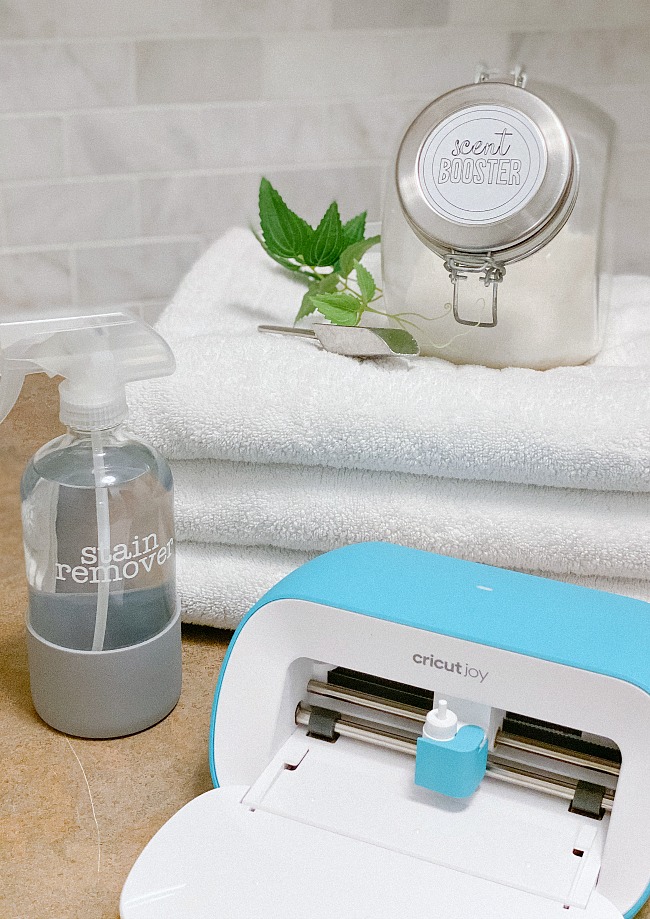
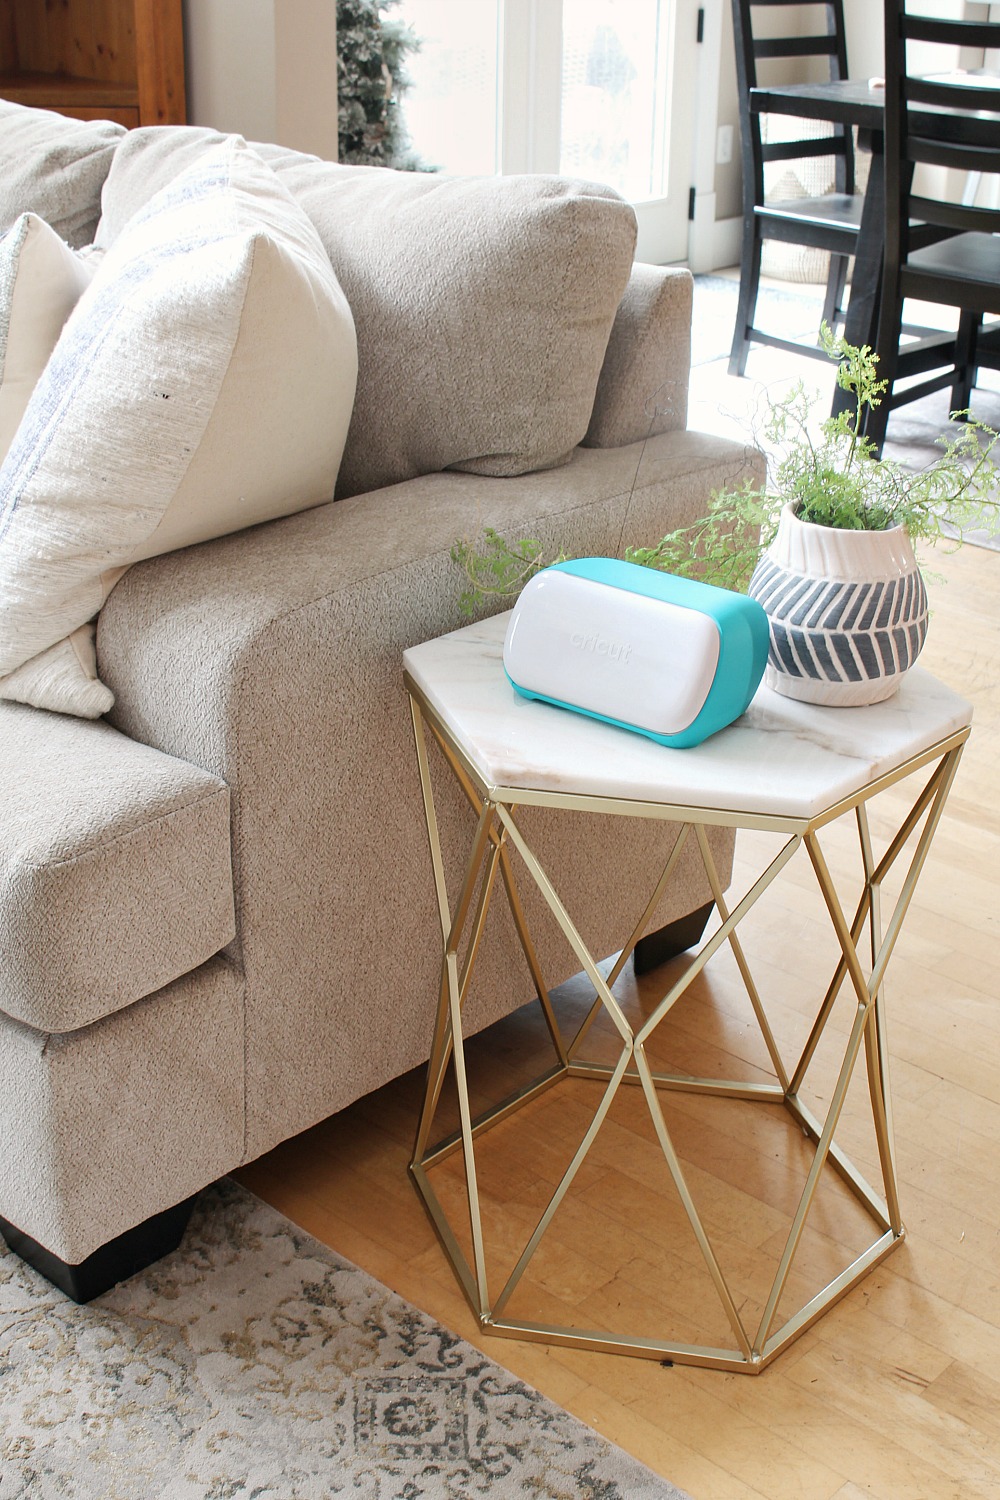
Have you seen the new Cricut Joy? This brand new machine is Cricut’s smallest {and cutest!} smart cutting machine to hit the market. It’s compact design and no-mat cutting option make it easy to move around from room to room or pack up for a crafting night out. And, while it can be quickly packed away, it looks just as great sitting out on a shelf or countertop!
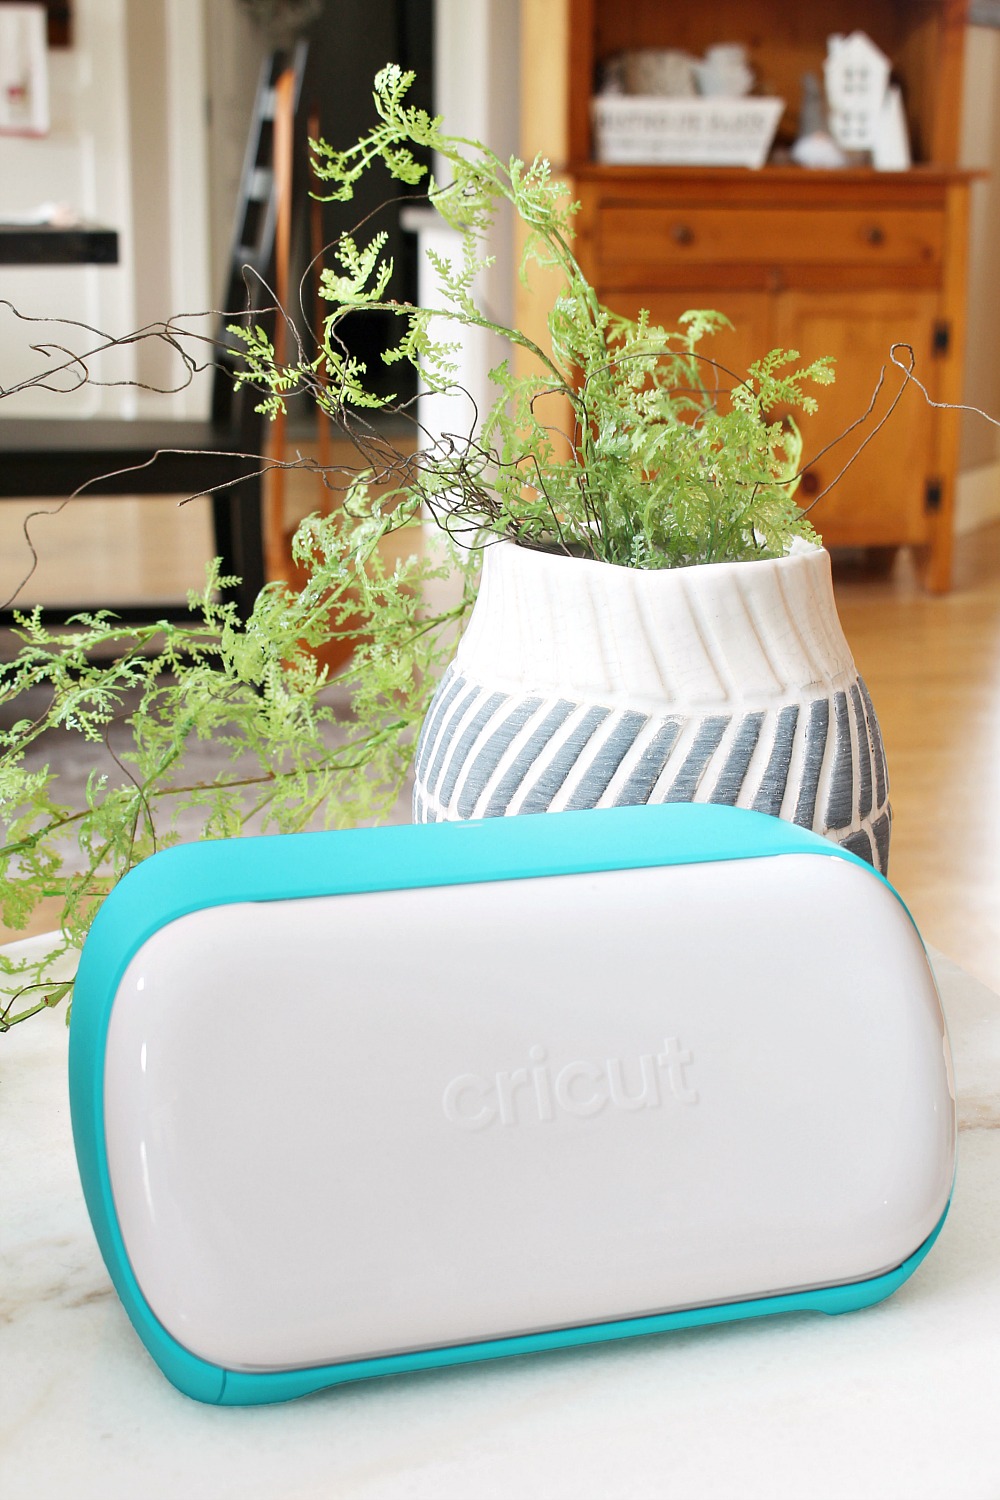
Cricut Joy is designed for quick and simple DIY or craft projects without all of the fuss – and it’s the perfect companion to the larger Cricut Maker or Cricut Air 2. Whether you’re a seasoned crafter or just a beginner, you can easily create…
- personalized labels for water bottles, notebooks, etc.
- beautiful greeting cards for any occasion
- DIY labels for home organization projects
- simple home decor pieces like wall art, coasters
- DIY home projects such as large signs or wall decals using the long cuts {it cuts up to 20 feet!}
- custom t-shirts, pillow covers, tote bags, and towels with the infusible ink or iron-on transfers
- and so much more!
I actually wrote a whole post on all of the features of Cricut Joy, so be sure to check it out HERE.
Get Organized with Cricut Joy
One of the things I was most excited about when I first saw Cricut Joy was all of the organization possibilities! The design options are basically limitless and you can truly create custom labels for any space or function. Pick you color, font, images, design – it’s all up to you! Plus, with the compact size and easy portability, you can literally take it to any space in your home that you want to organize in.
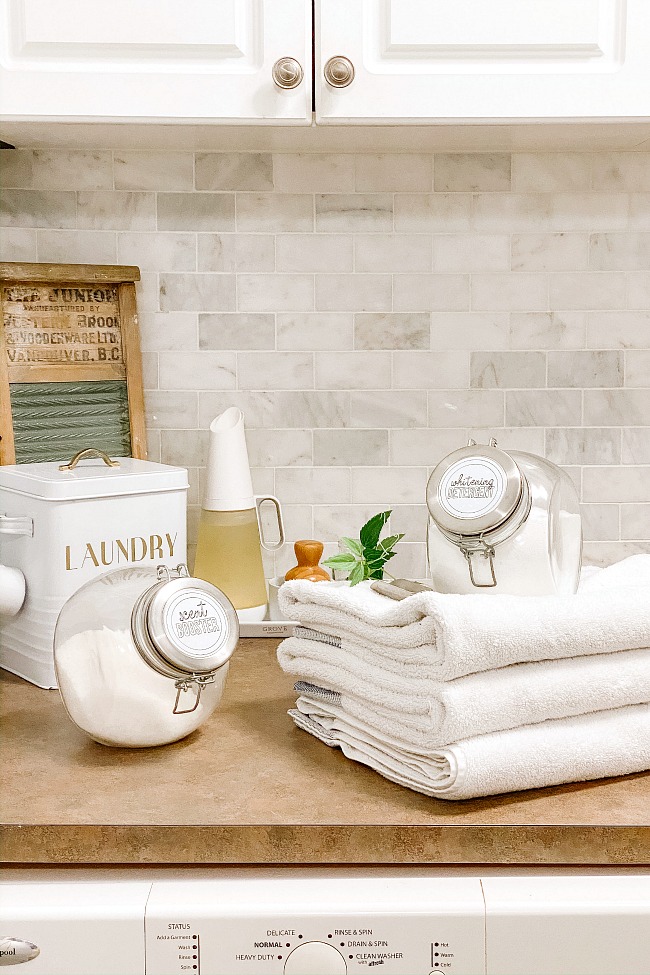
I’ve been having lots of fun playing around with different organization projects around the house, but today I want to show you how to create some easy DIY laundry room labels.
DIY Laundry Room Labels Using the Smart Labels
These cute laundry labels add a little special touch to your laundry room space. You’ll be amazed at how quick and easy they are to make using the Cricut Joy Smart Labels for Cricut Joy. There’s no weeding or transfer tape required!
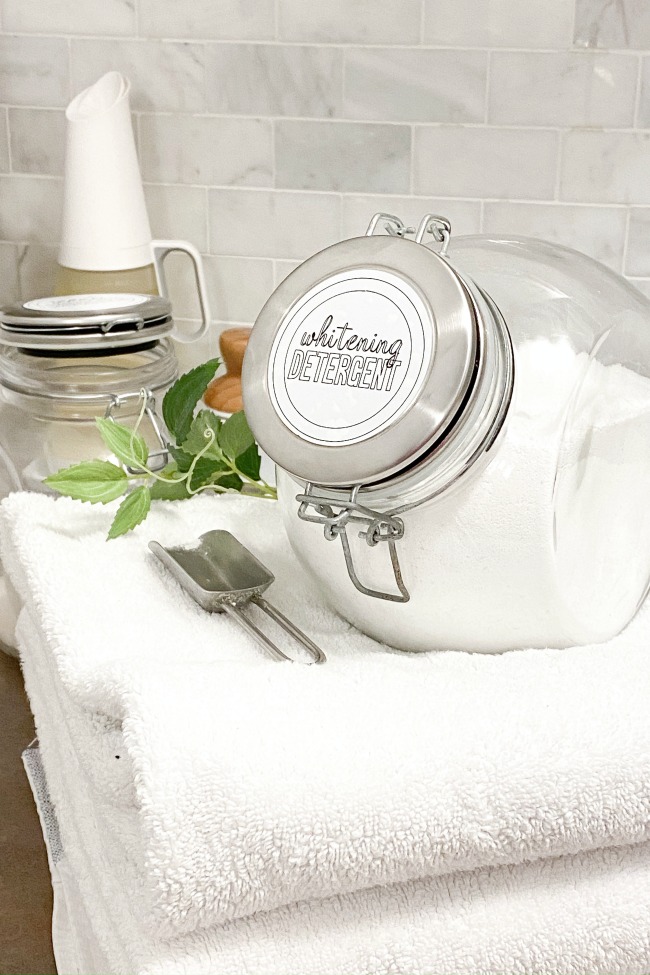
MATERIALS
- Cricut Joy
- Black Fine Tip Pen {this comes included with the Cricut Joy}
- Cutting Blade {this comes included with the Cricut Joy}
- Cricut Joy Smart Label Writeable Vinyl
- Containers for laundry detergent, whitener, scent booster or other laundry needs. Any container will work so pick a size and shape that works for you!
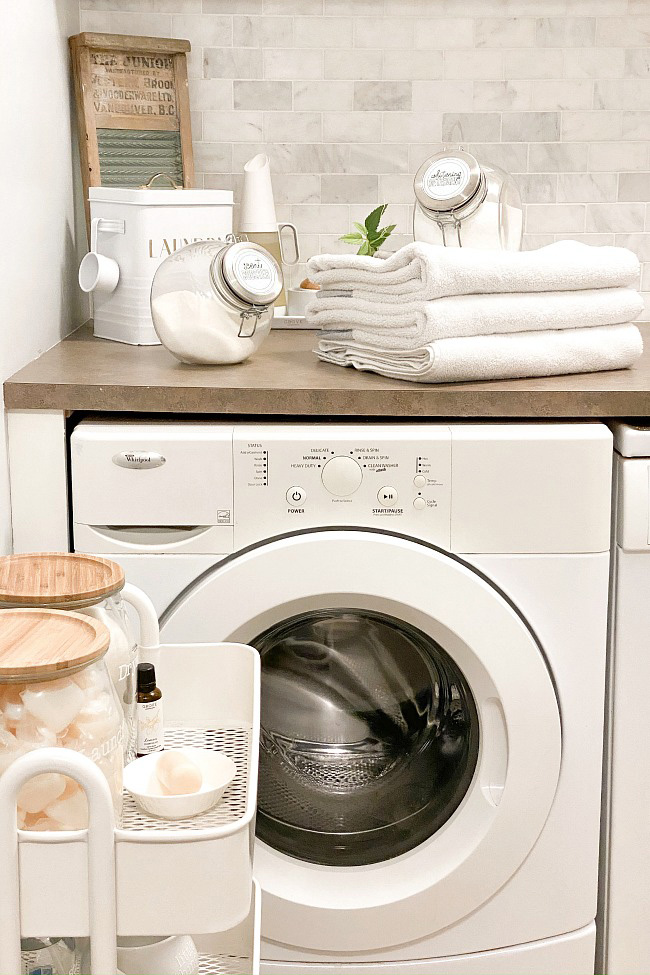
INSTRUCTIONS
These labels have two components to them – a draw layer {for the text and inner circles) and a cut layer {for the outer circle}. These layers will be attached together at the end of the project and Cricut Joy will do the rest!
Design the Labels in Design Space
- Open Cricut Design Space and click “New Project”.
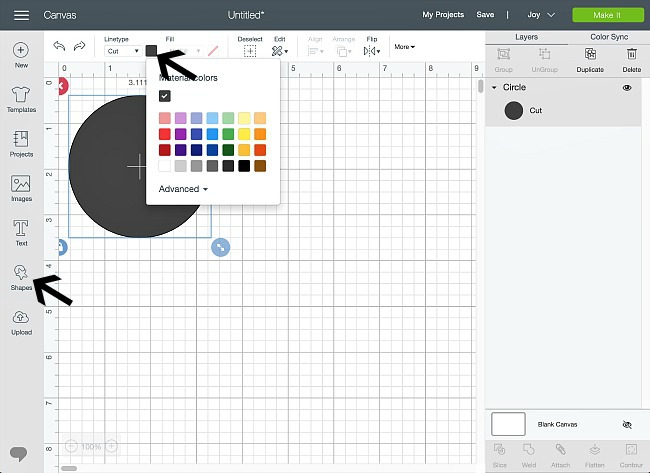
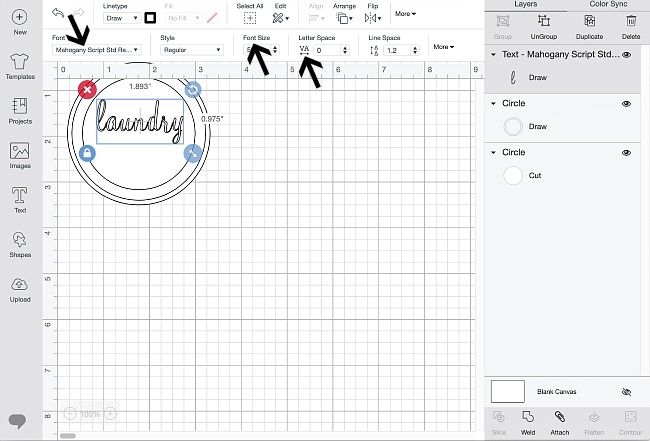
- Click on “Shapes” in the side bar, select your shape, and size it to fit your container or lid. Change the fill color to white to make it easier to see the rest of the design. This will be your cut layer.
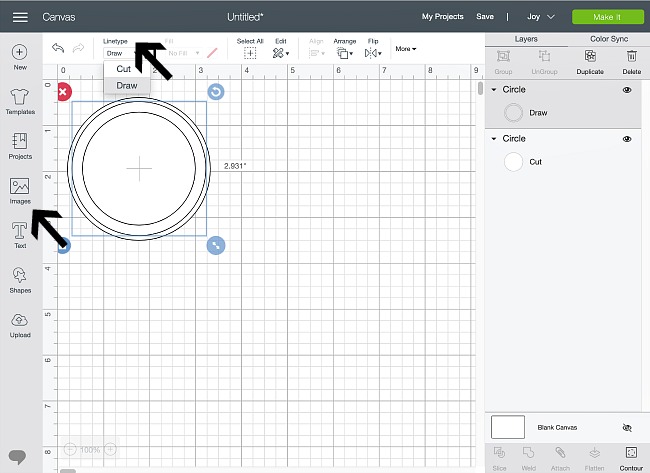
- Click on images and search for “circle outline” in the search bar. Click on the double circle outline. Size it to fit inside your larger circle. With the circle outline still selected, go up to Linetype menu and click “Draw”.
- Click “Text” in the side bar. Choose your font. Type in your label name and then click and drag it on top of your label shape. Change the font size until you like the look. I also like adjusting the letter spacing to bring the letters in a little closer together. You can use the same font for both words or choose two different fonts that compliment each other. I used Mahogany Script Font and A Frightful Affair. While the text is still selected, go to the Linetype menu and choose “Draw”.
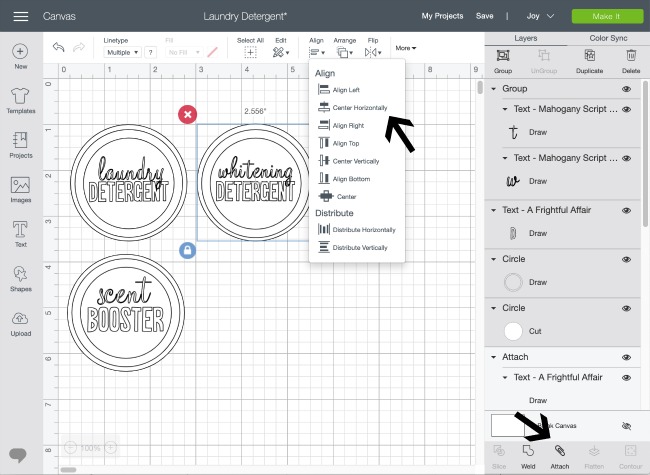
- Drag your mouse to select all of the label {both the cut and draw elements}. To ensure that everything is centered, click “Centered Horizontally” from the Align menu. Once you are happy with your labels click the “Attach” paperclip in the bottom right corner. This will keep all of the elements together when you draw and cut.
Create the Labels on Cricut Joy
- Once you’re happy with your labels, just click the green “Make It” button in the top right hand corner. Cricut Design Space will then prompt you through the rest of the process to load the correct tools and materials. The prompts are so clear, it’s pretty much impossible to mess up!
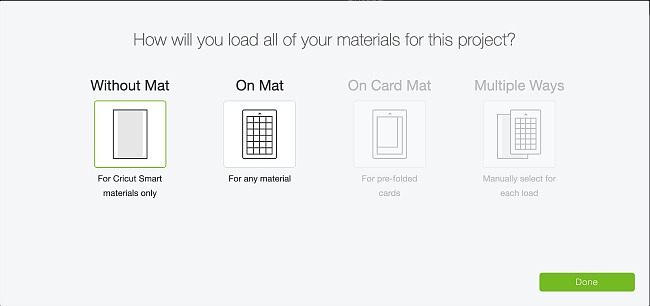
- Choose how you will load the materials. Since we’re using Cricut Joy Smart labels, no mat is required! Once you have selected the “Without Mat” option, you will be shown a preview of your design. Check to make sure the images are displayed as you would like them. {NOTE: If you forgot to check the “Attach” button prior to clicking “Make It”, the wording will appear outside of the circle, so make sure the labels look as you expect!}
- Once you review the artwork, click continue and the Cricut Joy will connect to your computer or other device via Bluetooth.
- Follow the prompts for your tools and materials. The draw step will be first. When putting in the pen, simply drop it in and close the latch. You don’t need to push it down in place like you do for the Cricut Maker. {NOTE: Wait until this screen pops up before loading your Smart Labels. If you’ve already loaded it, you’ll need to just take it out and reload it so the sensor picks it up.}
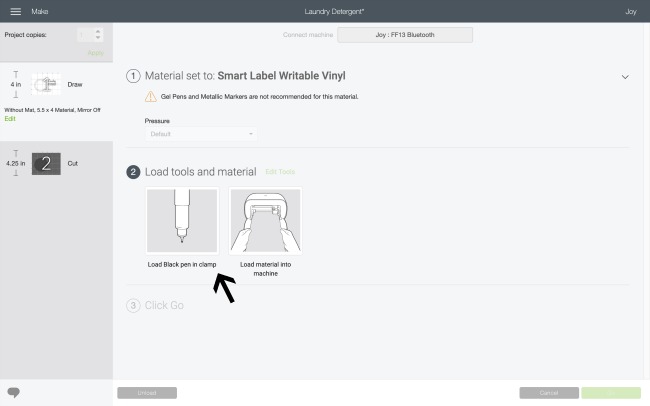
- Once the draw step is completed, leave the vinyl in the cutter and follow the prompts to switch the pen to the blade. Once the blade is secured, press continue and the cut step will complete.
Apply the labels to your container.
- Make sure your container is clean and completely dry.
- Carefully peel the label off of the backing and line it up on your container. I like to start with lining up the middle top and then slow work my way down, smoothing it down gently as I go. This helps to avoid any bubbles or wrinkles. There is a little bit of wiggle room to reposition when you first place down the label but once the label is fully down, you can’t really peel and reposition. NOTE: I did find that the labels were sometimes a bit tricky to remove from the backing. If you have a weeding tool, you can just lift up a small corner with that to get it started.
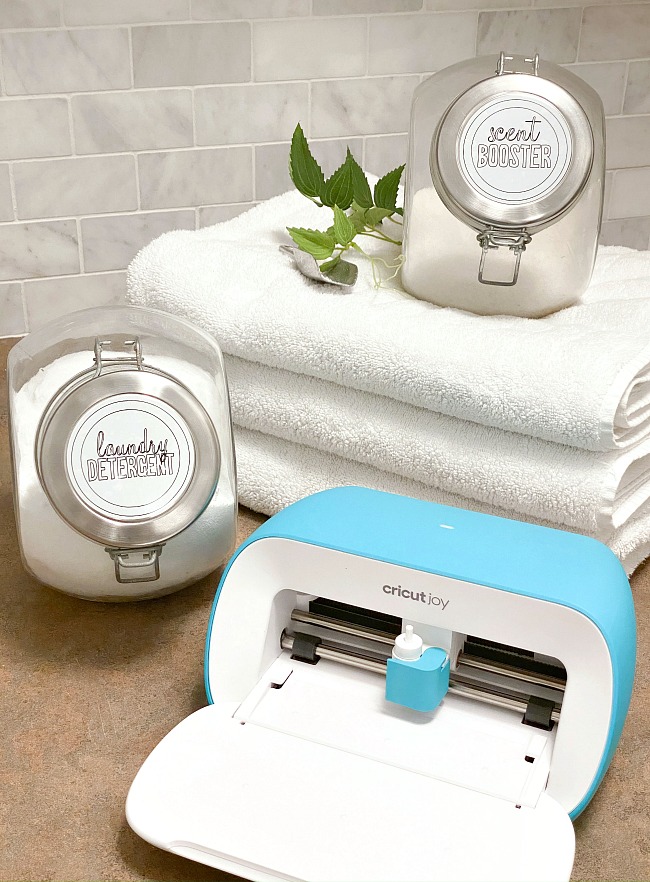
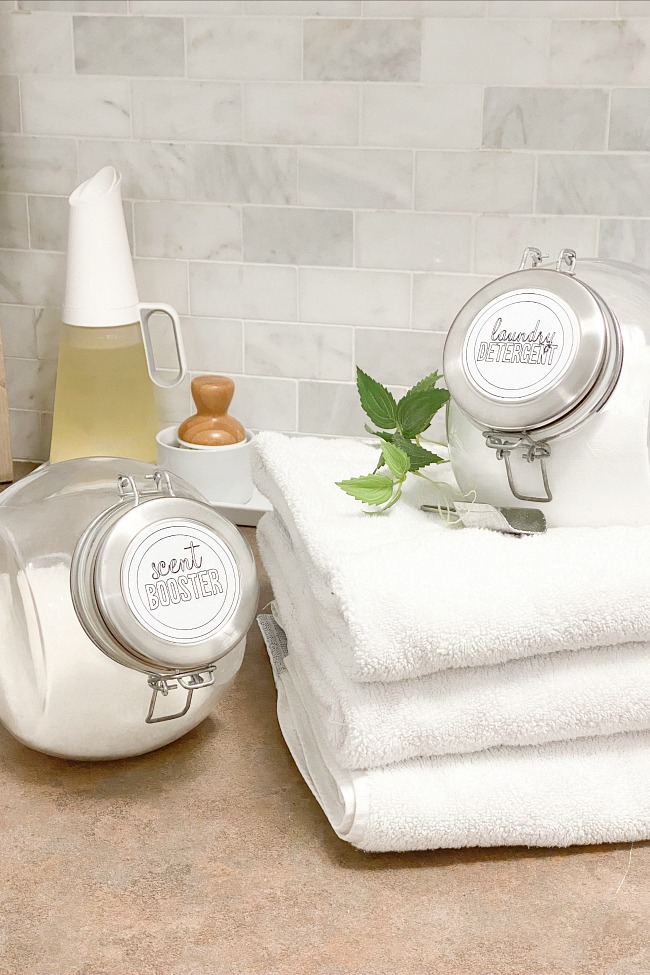
The whole project took me about 30 minutes from start to finish {and most of that time was just spent choosing what fonts to use!}. To make it even simpler, you could omit the drawn circle outlines and just stick with one font. I just enjoy playing around with designs. 🙂
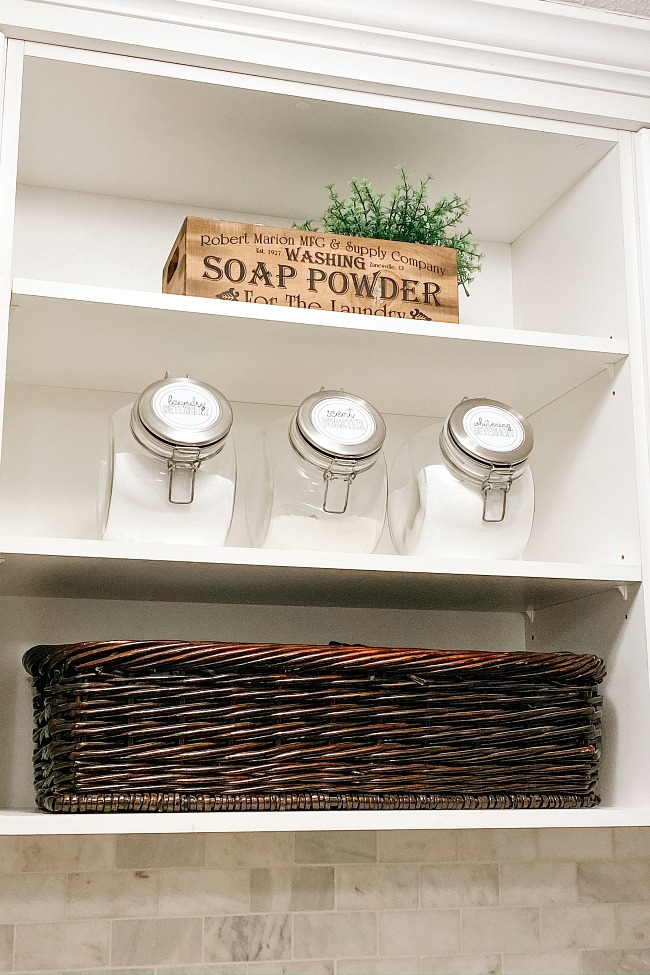
I also made some simple vinyl word labels for some other items in our laundry room. Stay tuned for those soon with the rest of our laundry room organization!
Check out Cricut Joy
For more information about Cricut Joy, check out the website HERE or read my post on Everything You Need to Know About Cricut Joy. Cricut Joy will be available for purchase online and in store on March 1, so get ready to get crafting! {Don’t worry if the website says that it’s sold out before then – it’s just not available yet!} I’m so excited for the launch and can’t wait to see what you make with it. The portability, compact size, and ease of use make it the perfect crafting tool for pretty much everyone!
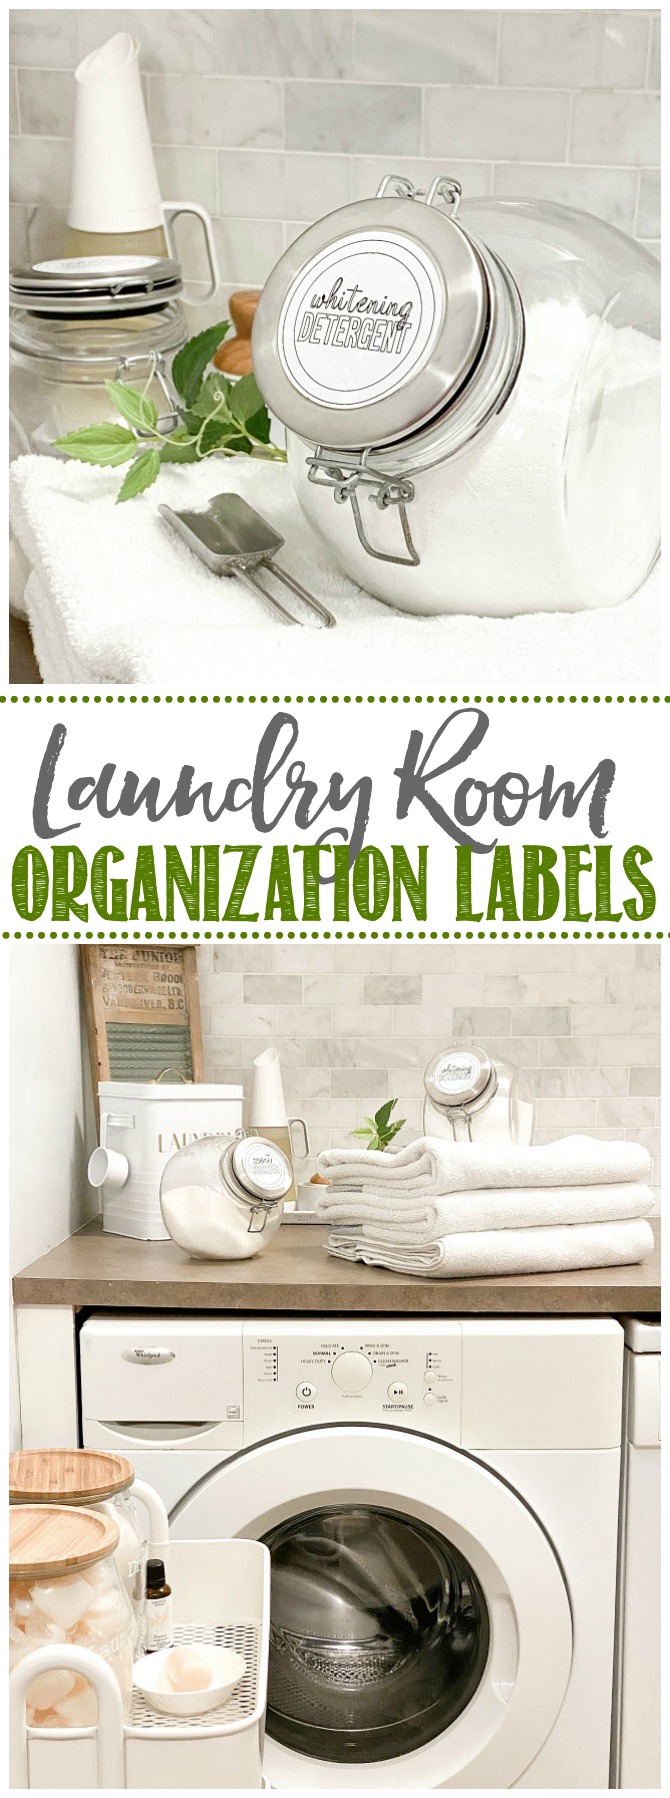
You have probably been asked a thousand times, but where did you find you glass jars with the metal lids? I have 1 with a glass lid and would like to get 1 or 2 more and can’t find them. Thanks for all your tips.
These ones were from Ikea a number of years ago but I don’t seem to see them on the site anymore. If you’re in Canada, I did see them at Superstore a while ago but not sure if they’re still there. If you google glass penny jars, there are some similar styles but I can’t find anything that has quite the same lid. Good luck with your hunt!