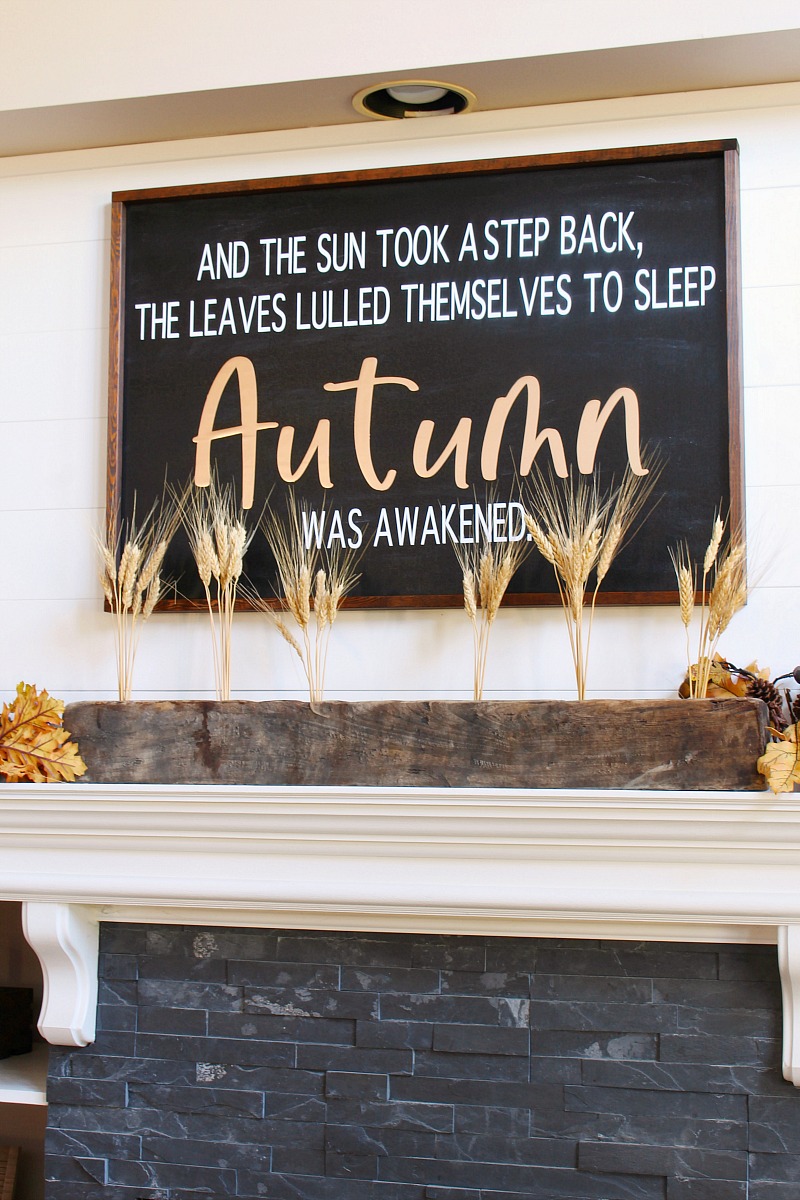
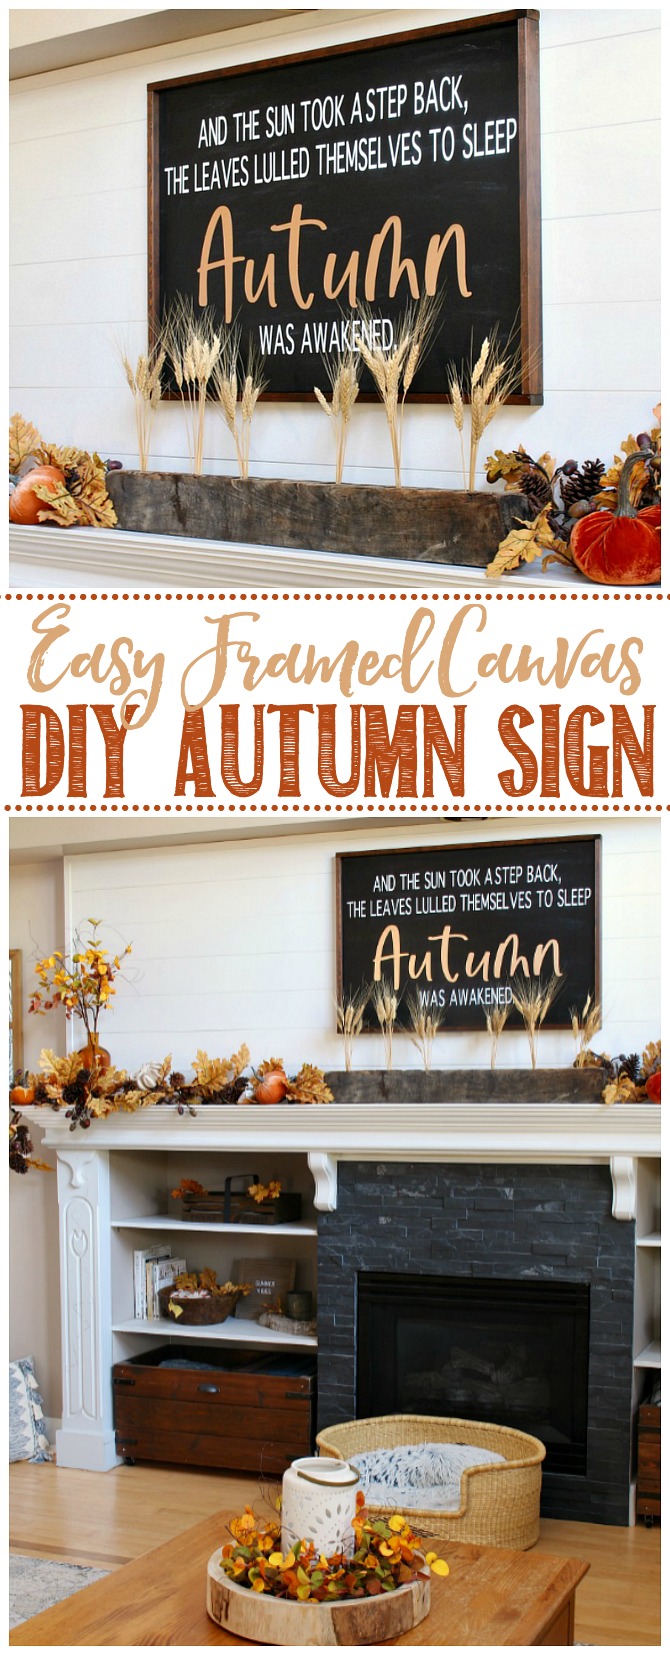
Add a pretty statement piece to your seasonal decor with this easy DIY fall sign. Customize it to any colors and design you would like!
Seasonal Simplicity Series
Welcome back to Week 2 of the Seasonal Simplicity Series! Each week 20+ bloggers are sharing their best fall ideas – from fall crafts to seasonal recipes and fall decor! Last week we got started with our favorite fall recipes and this week is all about fall DIY and craft projects! You can find all of the beautiful ideas at the end of the post, so be sure to check them out before you go!
This post contains affiliate links. This means that I may make a small commission at no cost to you off items that you purchase directly through the links provided. Thanks so much for your support!
DIY Fall Sign
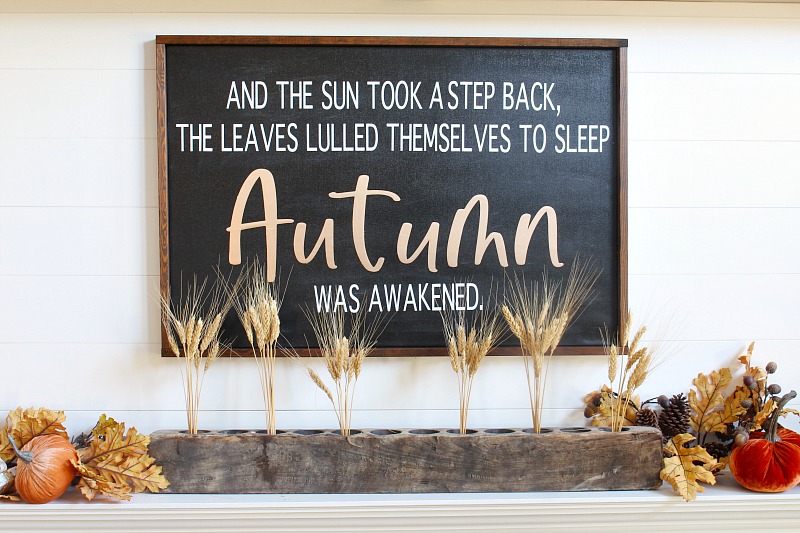
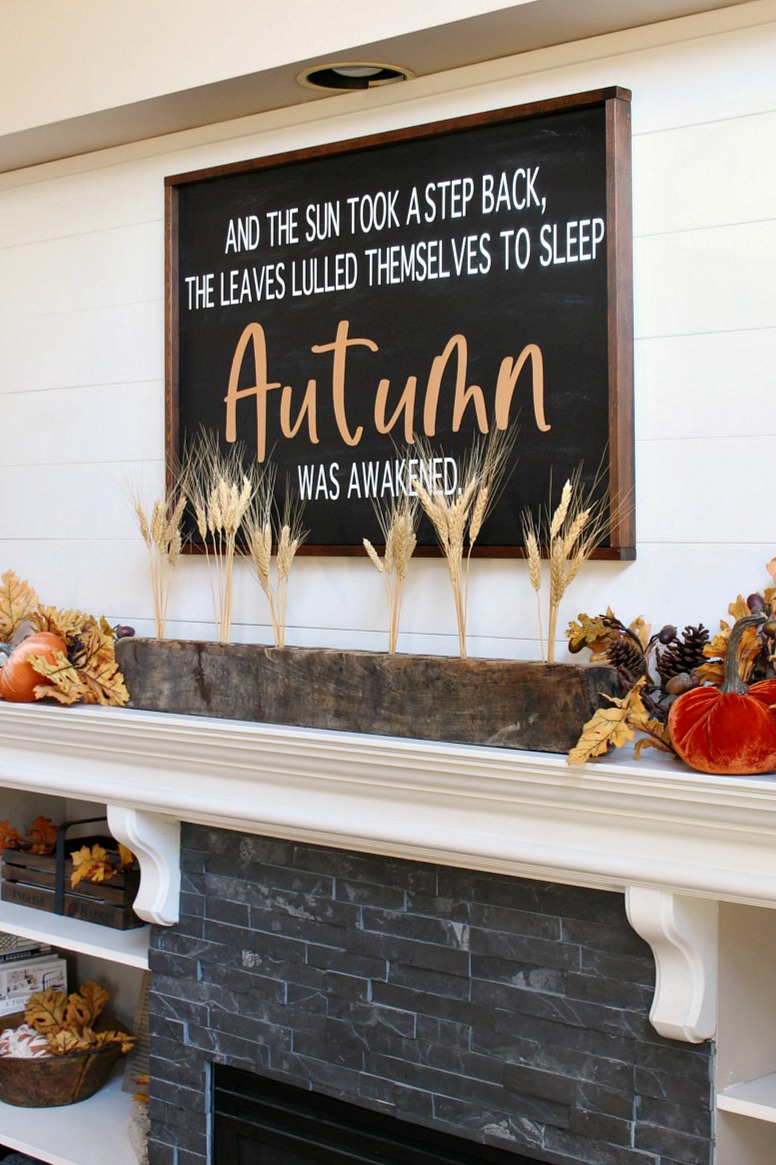
A big statement piece can make such an impact on your seasonal decor. Unfortunately, they can also be expensive and it can be hard to find exactly what you’re looking for. That’s why it’s always awesome if you can create your own! This DIY fall sign is made from a canvas with simple 1x2s as the frame. You can find the canvases in a number of different sizes and the design and colors can be switched up for any style, theme, or color scheme.
DIY Canvas Sign Tutorial
There are a number of different ways that you can make a DIY fall sign similar to this one. I’ll walk you through the step by step of how I did mine and then talk at the end about a few alternative methods that you could do if you want a slightly different look. if you have any questions, just let me know!
Materials
- canvas {mine is 24×36}. These are often on sale at craft stores or a great way to use your coupons!
- 1×2 boards for the frame. A softer wood will be easier to attach {I learned this the hard way!}
- stain {I used a dark walnut stain}
- paint {I used black spray paint on mine but any paint will do}
- vinyl {I used white vinyl for the smaller words with matte adhesive gold foil for Autumn}
- tape measure
- level
- cutting machine {I used my Cricut Maker and Cricut Joy}
- nail compressor or wood glue/clamps
NOTE: If you don’t have a cutting machine you can make your own stencils to use using this print and cut method or this transfer method.
Directions
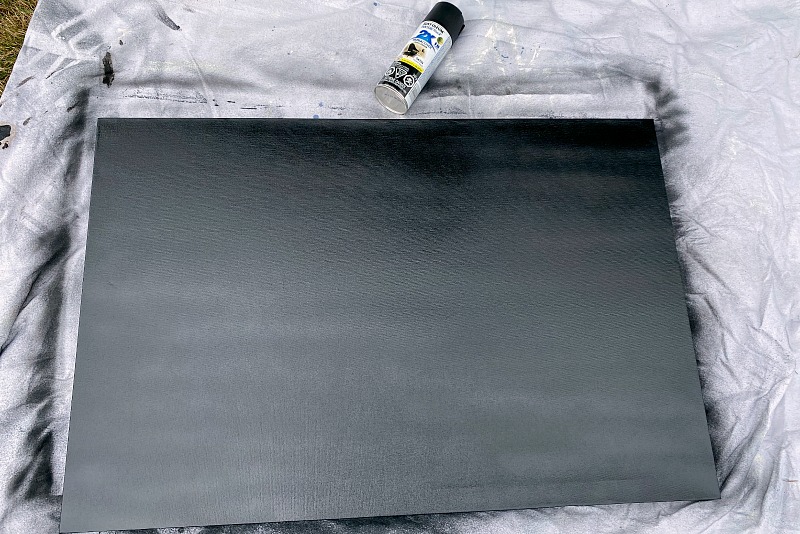
Paint the canvas.
I just used some black spray paint on mine since it’s the fastest application, but any paint should work.
Come up with your design.
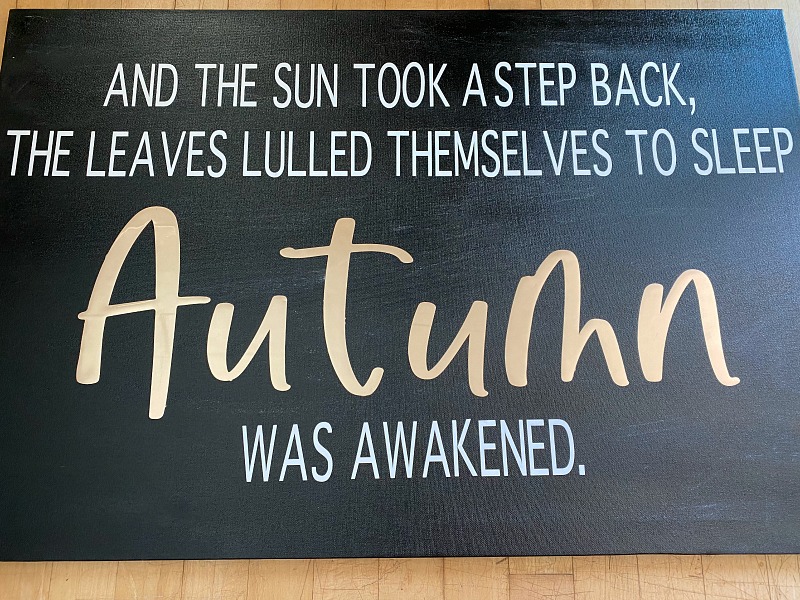
I found a quote that I loved and then played around with the design in Cricut Design space. If you don’t have a Cricut or other cutting machine, you can do a work up of your design in Photoshop or other photo editor. I used Thornburi and Pumpkin Harvest for my fonts. Check to make sure that the font size works with the size of your canvas. You might have to do a little bit of math! 😉
Cut and adhere your design.
I used my Cricut Maker to do the bigger Autumn letters and my Cricut Joy to do the smaller letters {you can read more about Cricut Joy HERE}. This was my first time working with the gold foil and I loved it! Using vinyl transfer paper, apply the design to your canvas. It’s helpful to have a level and a tape measure on hand for this so you can get everything centred and levelled. I like to lay everything out before I start adhering it.
Prepare the frame.
Cut your 1x2s to fit your canvas. To keep things simple, I just framed it by butting up the pieces together rather than doing 45 degree cuts. First, cut 2 pieces the same length as the width {short side} of the canvas. For the 2 length pieces {long sides of the canvas}, you will need to cut them the length of your canvas plus the thickness of the wood x 2 {so your length piece will cover the width pieces on each end}. Just remember that canvases are not always perfectly square, so double check your measurements up along the side of the canvas just to be sure. Sand if needed.
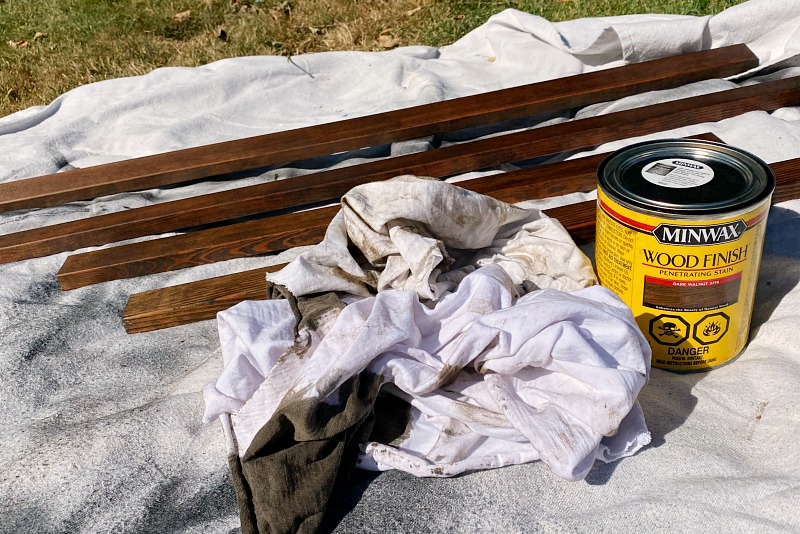
Stain the 1x2s. I used a dark walnut stain to go with the other wood tones in our family room but I think a lighter stain would be nice against the black too. I find it easiest to apply the stain with some old rags and basically just wipe it on and then wipe it off. Let dry. You can sand these down if you would like a more distressed look or leave as is.
Attach the frame.
If you have a nail gun and compressor, this will be the easiest method to attach the frame. If you have a softer wood for your frame, you can just use the nail gun and attach the frame directly to the canvas. I’ve done this successfully many times in the past, but the wood I used for this project was a really hard wood {I think they were oak}. After a few failed attempts, we ended up using a very small drill bit to pre-drill the holes and then used the nail compressor. Success!!
Start by attaching the two short sides of the frame and then add the longer pieces.If you don’t have a nail gun and compressor, you can use wood glue and clamps to attach the frame. In the past, I’ve also used wood screws and drilled in from the inside of the canvas to attach the frame as well. This works if you have the thicker 2 inch canvases but the one I was using was just a 1 inch.
Distress your canvas.
This step is totally optional, but I found the black spray paint was just a little too “perfect” and I wanted to distress things a bit. I just used some chalk for this and rolled it over the canvas using the side of the chalk. I then used my hand to blend it all in until I got the look I wanted. This doesn’t really show up in the photos well, but you can see it better in different light. I think it just lightens up the look a bit.
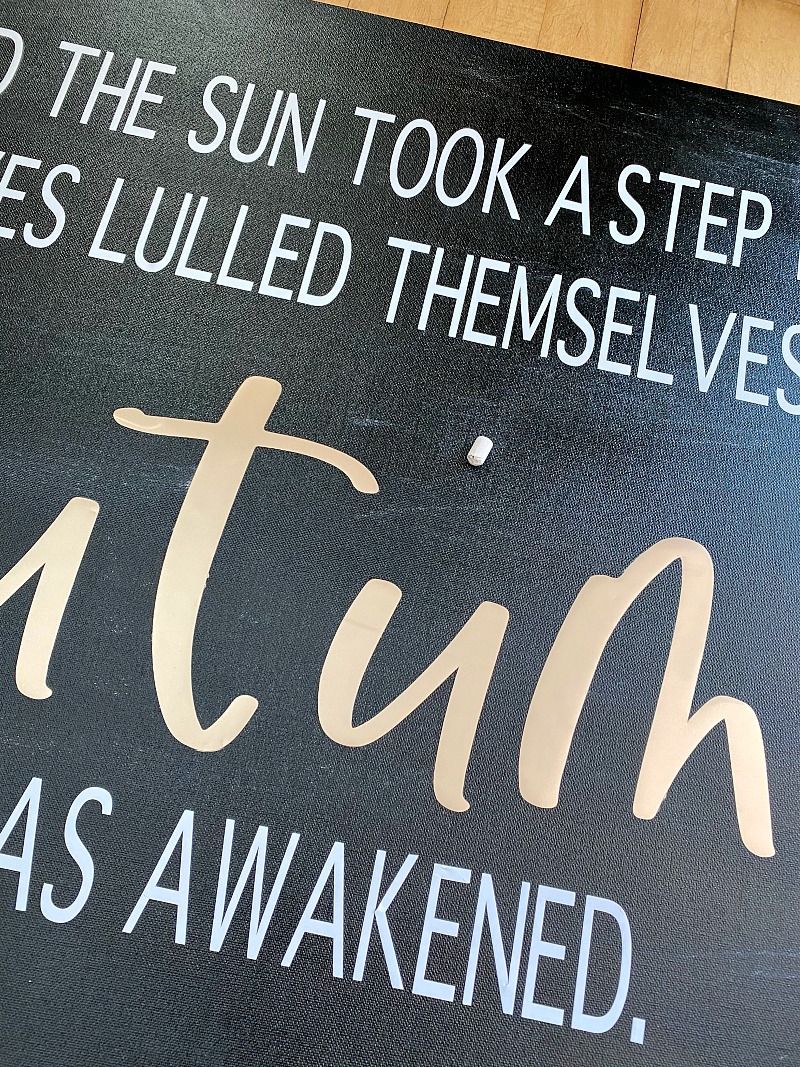
Alternatively, you could do a light distressing with sandpaper over the canvas for a similar look. If I had thought of it at the beginning {before I applied the vinyl}, a little dry brushing with white paint would also do the trick.
Alternative Methods
There are a number of different ways that you can achieve a similar look with the lettering. I chose to just add the vinyl directly to the canvas and not use the vinyl as a stencil. This allows me to simply remove the vinyl if I want to use the canvas for another project in the future. Plus, it’s the easiest and least messy method! 😉 Here are a few alternative methods that you could use if you want a painted or more rustic look…
- Use the negative space {the outline} from your vinyl to use as a stencil or make your own DIY stencil. For this method you would paint your background, add the stencil and then paint inside for your lettering.
- Use the positive space from the vinyl as a stencil. This works best if you would like your letters to remain the white canvas color. Just apply your vinyl design to the canvas before painting. Once the vinyl is applied, paint the background, allow to dry and then carefully remove the vinyl.
- Lightly draw out your design on the canvas and then paint it in.
- Use a transfer method {there are two methods described depending on whether you will be transferring to a lighter or darker surface} and then fill in with paint. If you’re not great with a paint brush, paint pens are a much easier alternative!
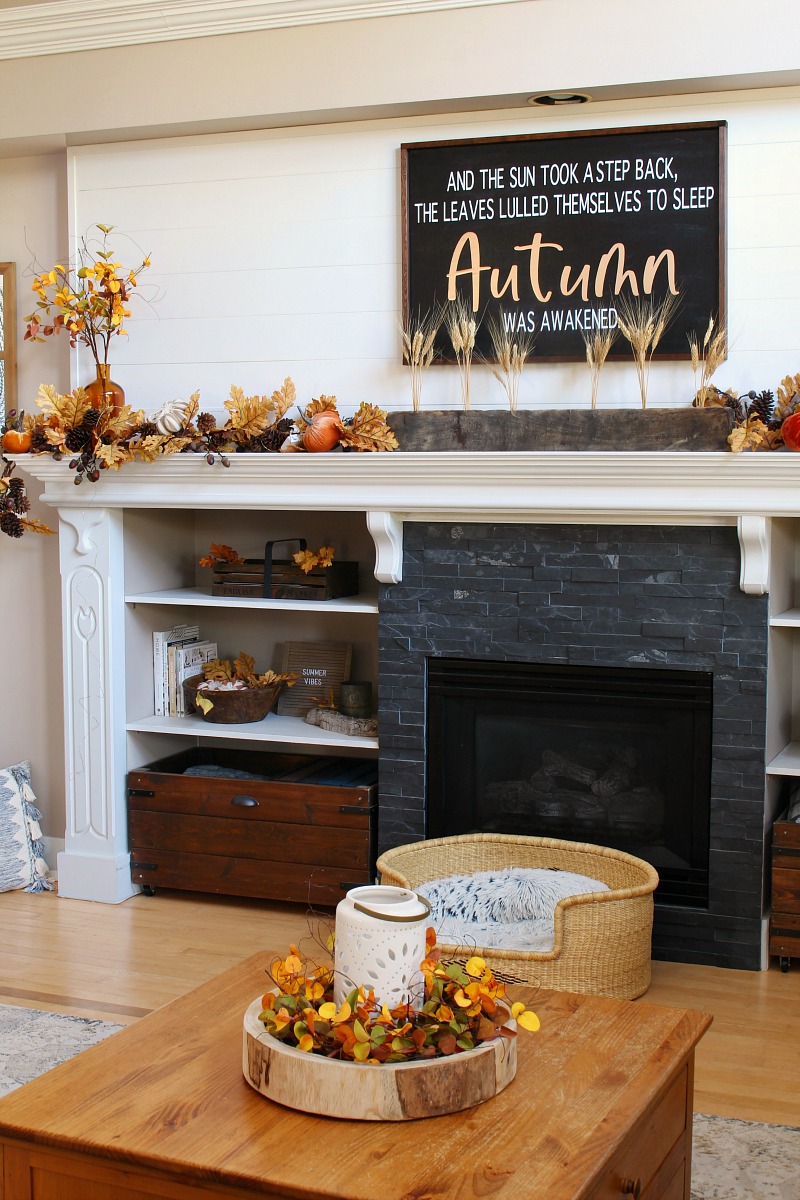
I hope this tutorial was helpful for you! Remember that you can always scale the size down or leave off the frame if you want a quicker version. Let me know if you make one!
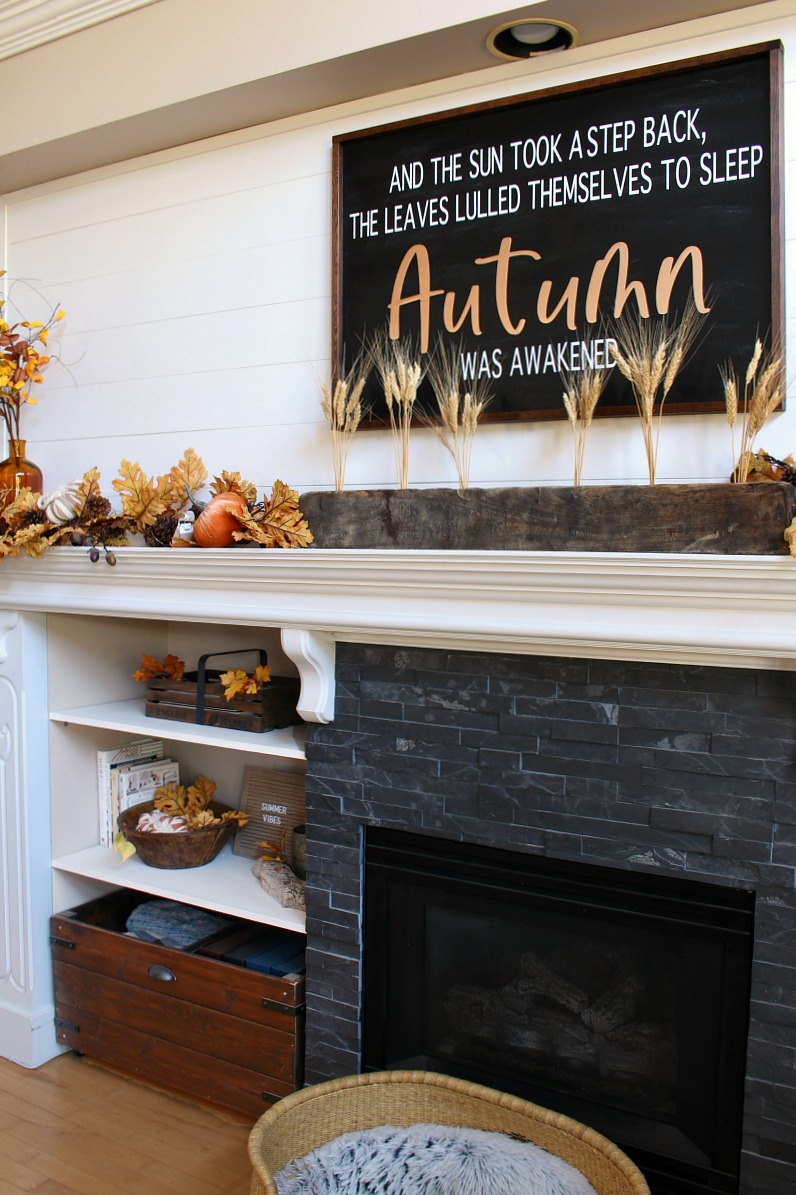
Now to finish off the rest of the fall mantel! {Can you see the summer letter board still on the shelf?} I’ll show you all of the details next week and our full fall family room home tour the week after that. Happy fall decorating!
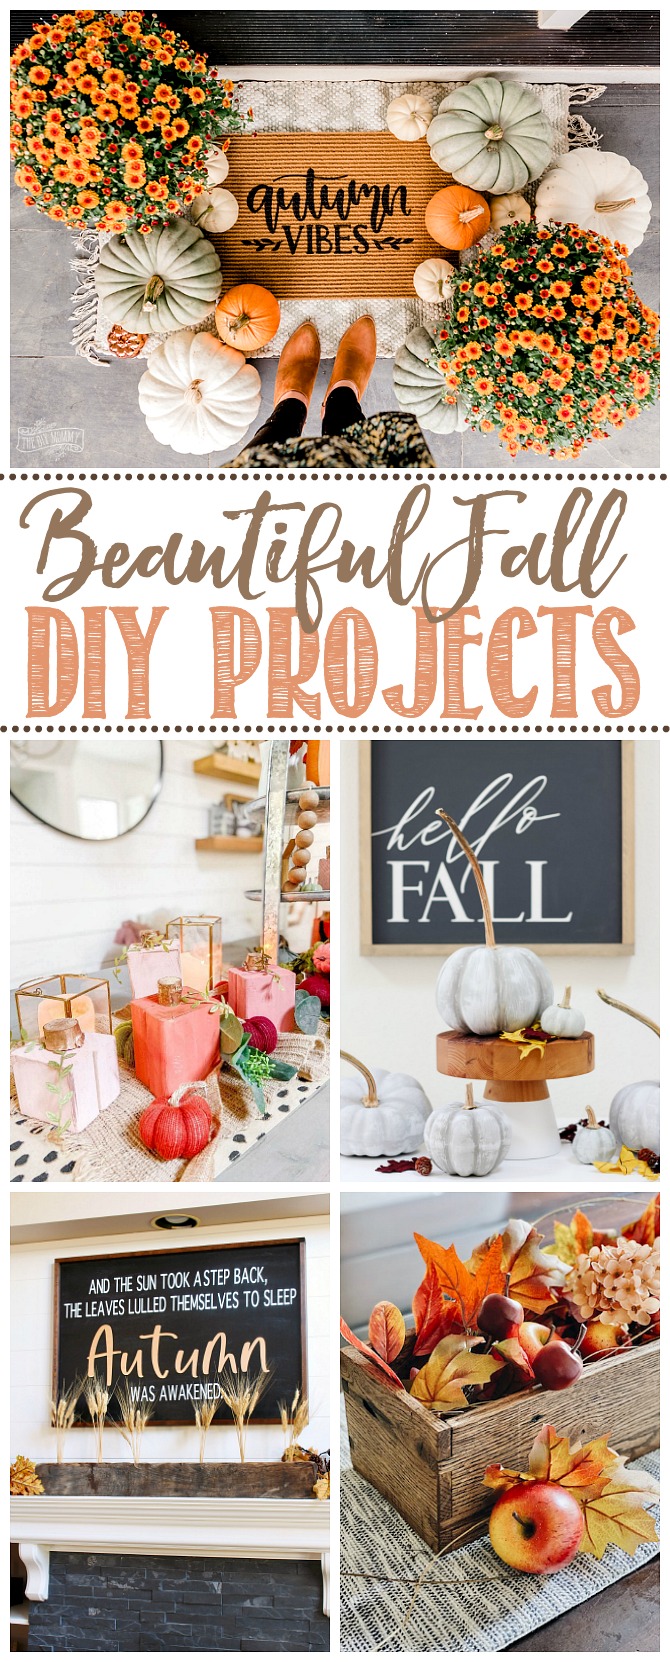
More Fall DIY Projects
If you’re looking for more fall DIY and craft projects, check out all of these amazing ideas. These should keep you busy for a while! 🙂

DIY Fall Acrylic Abstract Landscape Painting at The Happy Housie
Five Fun Fall Arrangements at Finding Silver Pennies
How to Make a Dried Floral Wreath at the Tattered Pew
DIY Painted Pumpkins that Look Like Cement at Modern Glam

How to Make a Doormat with a Cricut at The DIY Mommy
DIY Fall Sign at Clean & Scentsible
Scrap Wood Fall Pumpkins at Tatertots and Jello
Macrame Garland at Life is a Party

DIY Abstract Art Our Best Tips at The Handmade Home
Modern Fall Lunaria Wreath at This is Simplicite
Painted Mason Jars at Dans le Lakehouse
Fall Macrame Wreath at Place of My Taste
Easy DIY Fall Shelf Decor at Cherished Bliss

DIY Glitter Pumpkins at Lolly Jane
DIY Rustic Fall Flower Arrangement at Pretty Life in the Suburbs
How to Make a Handmade Clay Bead Garland at My Sweet Savannah
DIY Rustic Wood Centerpiece Box at She Gave it a Go

How to Make a Fall Wall Hanging at Cassie Bustamante
Elegant Fall Flower Arrangement at Rambling Renovators
Blush Fall Hoop Wreath Tutorial at Chrissy Marie Blog
DIY Blue and White Chinoiserie Pumpkins at Jennifer Maune
And if you’re still looking for more ideas, here are some of my favorite fall DIY projects and crafts from previous years…

Love it! I love the color palette you used, too!
This is perfect for fall! Pinned. xo
Thanks so much Ashley! Happy fall!
Love this quote Jenn! What a great statement piece over your fireplace!
There are so many beautiful fall quotes!
What a beautiful sign and it looks so cozy in your home. xx
Such a great sign for Fall and I love the detailed tutorial. I really need to use my Cricut more!
Such a great Fall DIY! I’m pinning this one for later!