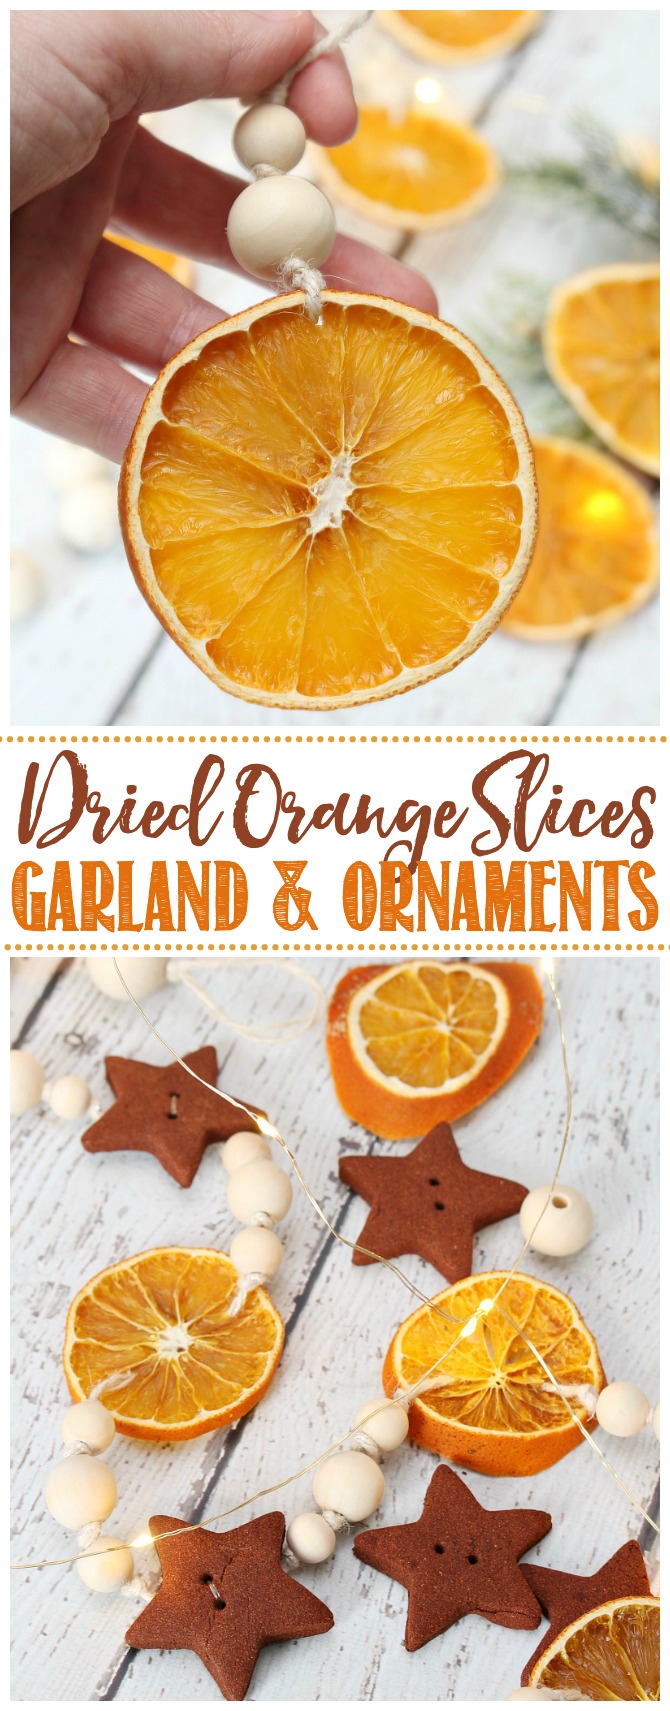
Add a traditional Christmas touch to your home with this pretty dried orange garland and simple wood bead ornaments. Easy to make and fun to customize!
Last week I posted about how to dry orange slices and now I’m back with a few ideas of what to do with them. I must admit, I’m kind of obsessed! I love these dried oranges so much that I keep making new batches. The pop or orange is so pretty with our more neutral Christmas decor and the oranges just glow when the lights hit them. They’re almost like stained glass. Add some twine and wood beads for texture, and they’re just perfect for your Christmas decor!
Turning your dried oranges into a dried orange garland or Christmas ornament is so easy to do and can totally be customized to your own style. Make them as simple or as detailed as you would like! I had lots of fun coming up with a few different designs for these and hope you enjoy them as much as I did. It would be a simple project to do with kids and is also an easy project to do if you like to keep your hands occupied when watching a movie.
This post contains affiliate links. This means that I may make a small commission off items purchased directly through the links provided at no cost to you. Thank-you so much for your support!
DIY Basic Orange Garland
Materials
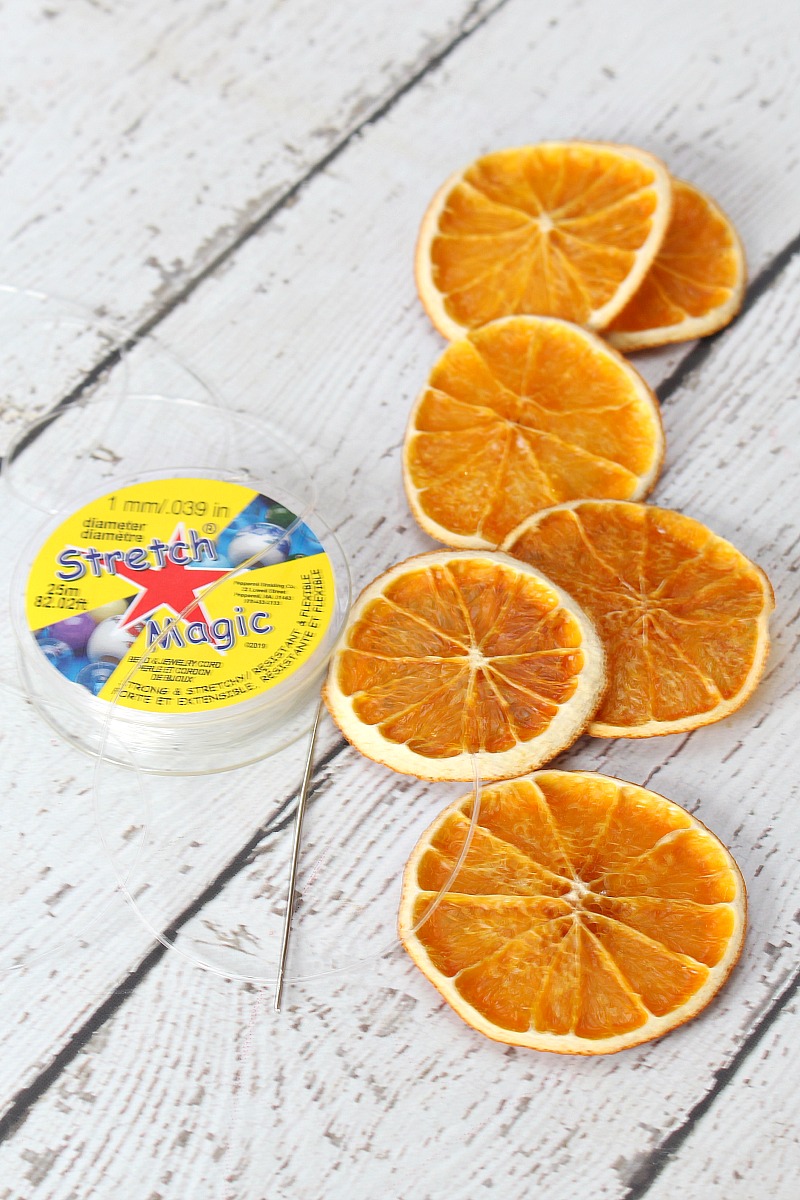
- needle {you want the smallest needle that will still fit your threading material}
- cord, fishing wire, twine or other threading material. I used this Stretch Magic clear 1mm jewellery cord. You can also find it at Michaels.
- dried oranges
Directions
For a basic orange garland all you need to do is thread your oranges with a needle and some kind of thread, cord, or twine. Tie a knot in each end to secure.
I experimented with a few options for the threading material {including fishing wire, twine, and jewellery cording} and preferred the Stretch Magic 1mm clear jewellery cord. I liked this the best for a couple of reasons:
- It was clear but, since it’s a little thicker than fishing wire, it made it easier to work with.
- The cord allowed the oranges to be moved around when needed but was thick enough that they would stay in place when positioned. If you were going to be hanging the garland vertically with no other supports, the oranges might slide a little bit, but they stayed pretty secure on mine. I liked the 1mm size but you could go slightly thinner if you’d like.
The only thing that I didn’t like with the jewellery cord was that the knots didn’t hold too well. It didn’t really matter for my garland but it’s something to consider if you’re using it for other projects.
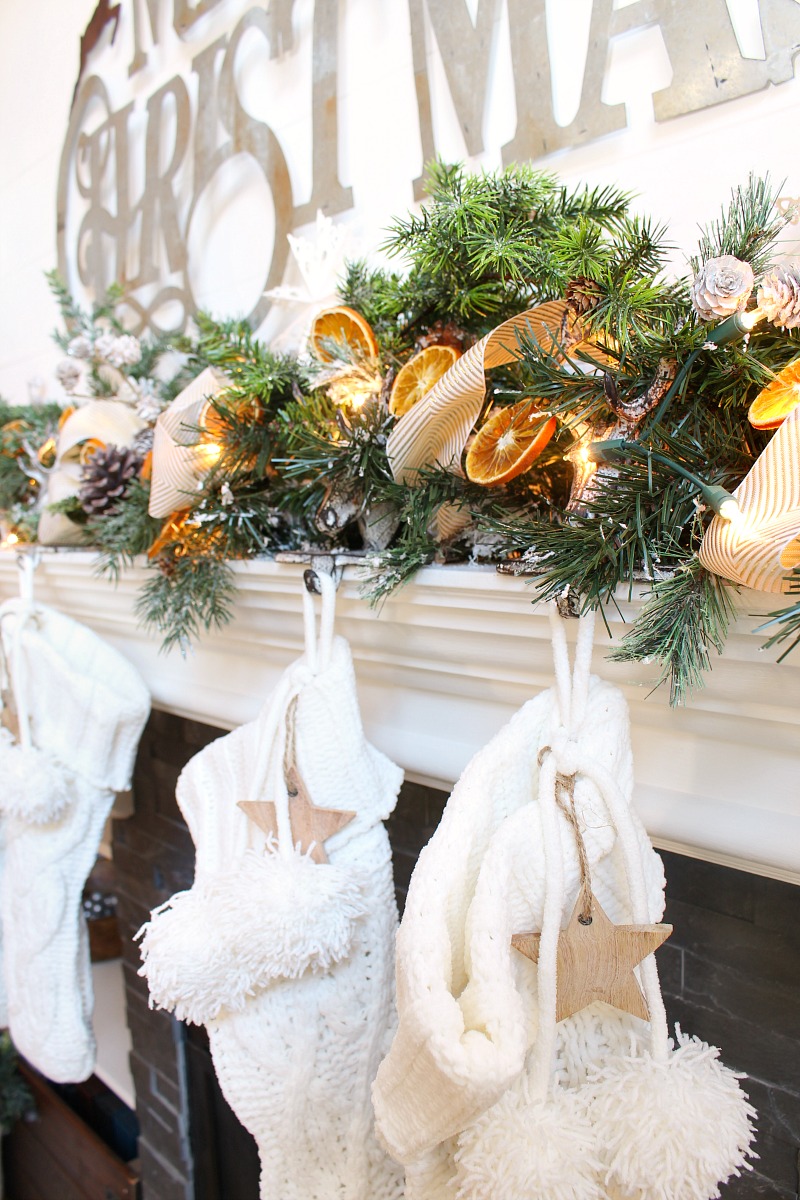
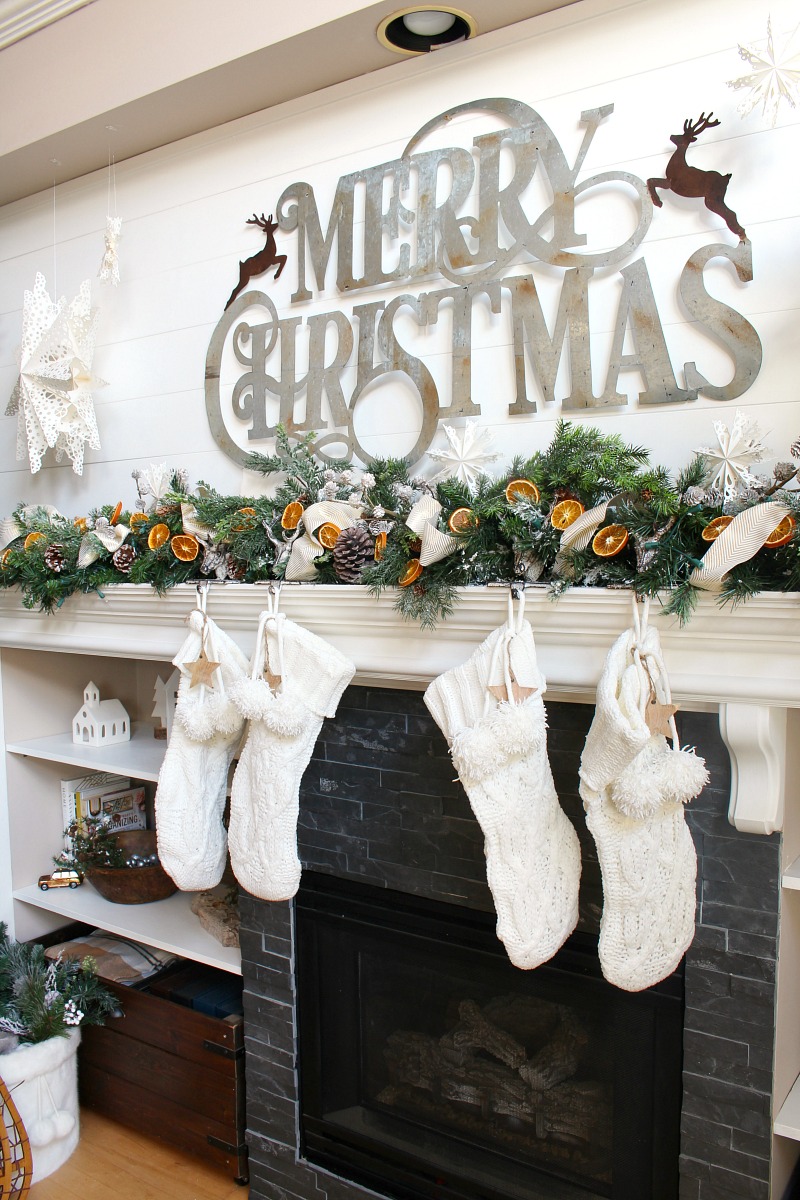
I added my garland to our mantel {which I’ll be showing you in detail tomorrow!} as well as in our kitchen above our cabinets. And, of course, I had to add lights too. 🙂
DIY Dried Orange Garland with Beads
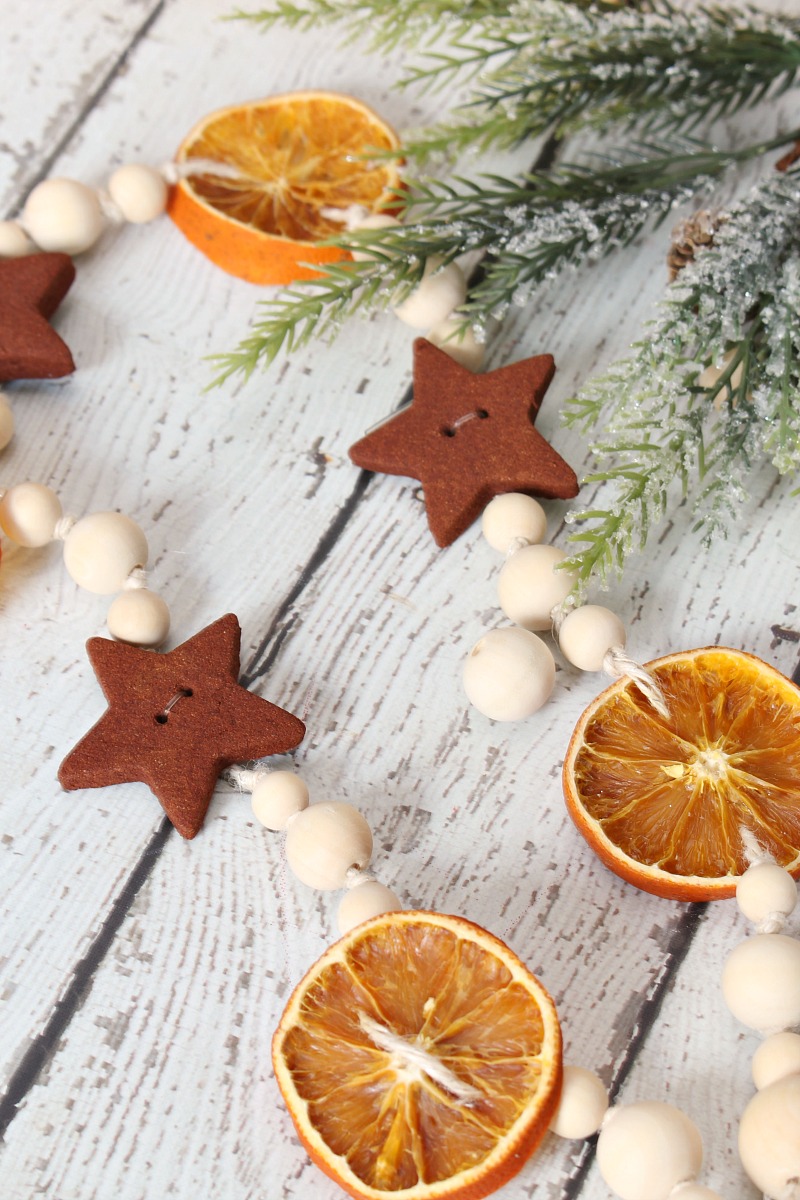
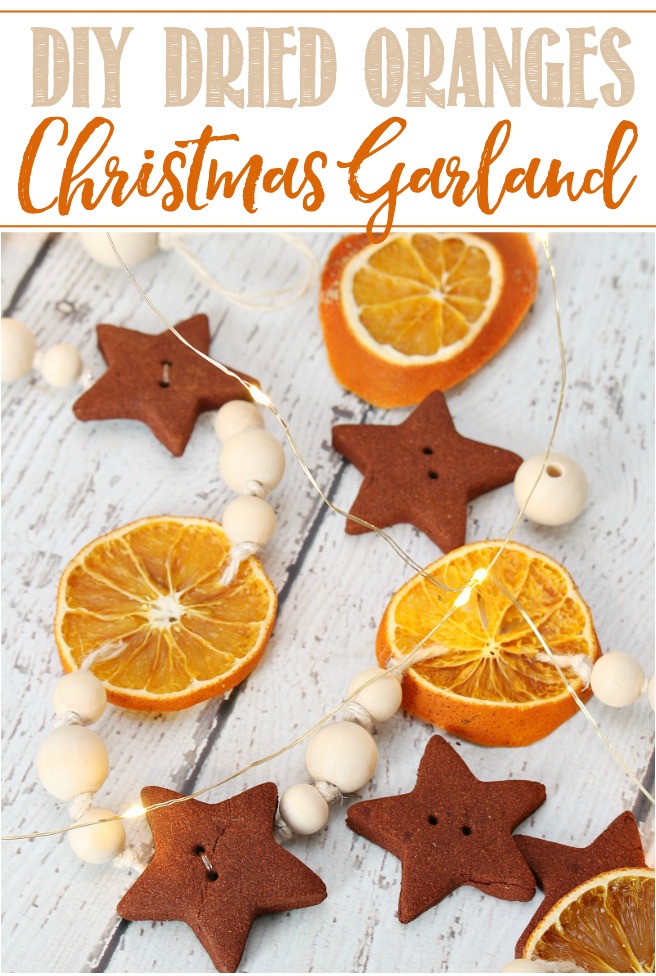
This DIY dried orange garland looks cute on a Christmas tree or just for some added interest in any Christmas vignette. I had some of these cinnamon star ornaments left over from another garland that I made (you can find the 2 ingredient recipe HERE} and loved how they looked with the wood and orange. Plus they smell amazing!
Materials
- needle {with an eye big enough for twine}
- twine {you don’t want this too thick}
- wood beads. I like this multi-pack with various sizes.
- dried oranges
- cinnamon ornaments, air dry clay stars, or other embellishments. These aren’t needed but just add a little extra detail. You could always use cinnamon sticks if you wanted the scent of cinnamon without having to make the ornaments.
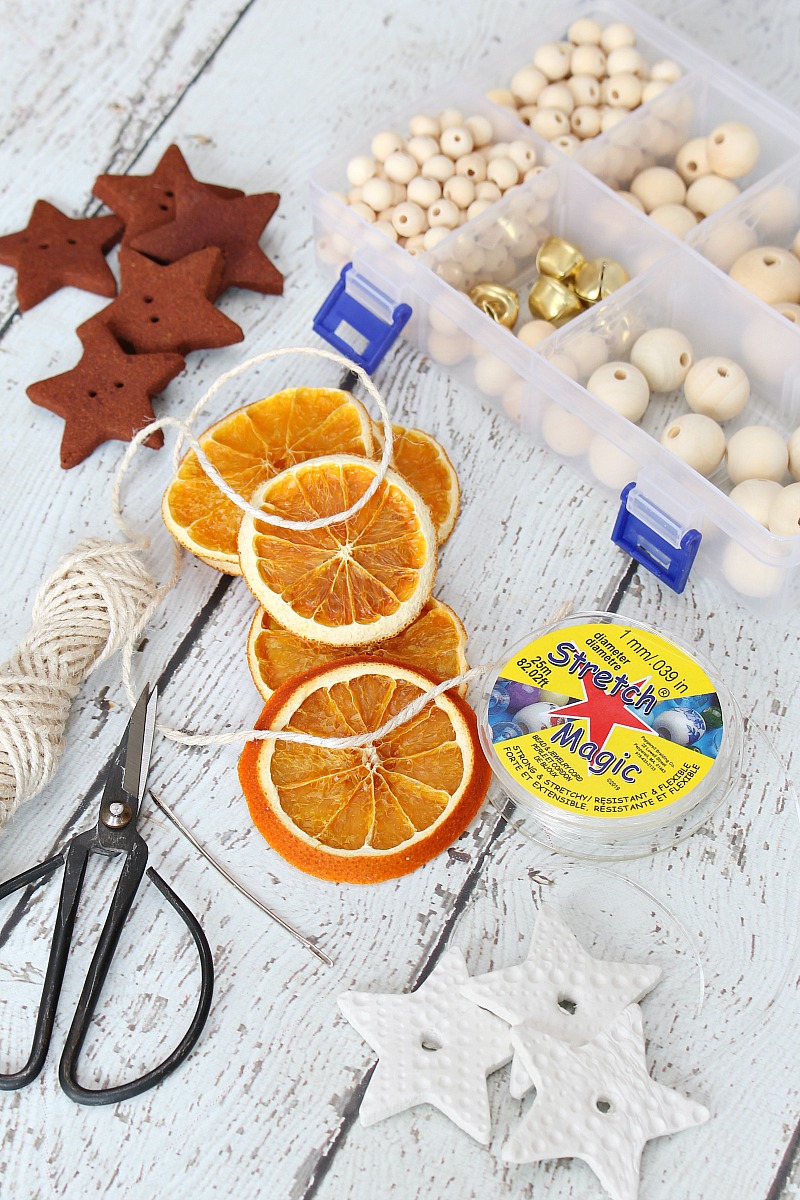
Directions
- Cut twine to your desired length. Start by making a small loop in one end. This will allow you to secure it to the tree and makes it easier to hang.
- Thread your needle with the twine.
- Take a large bead and thread it onto the twine tucking the loose end of the knot into the bottom of the bead so it doesn’t stick out. Make a knot after the bead and add you next bead. I chose to do 3 beads in between the dried oranges and cinnamon stars but you can do whatever number and pattern you’d like.
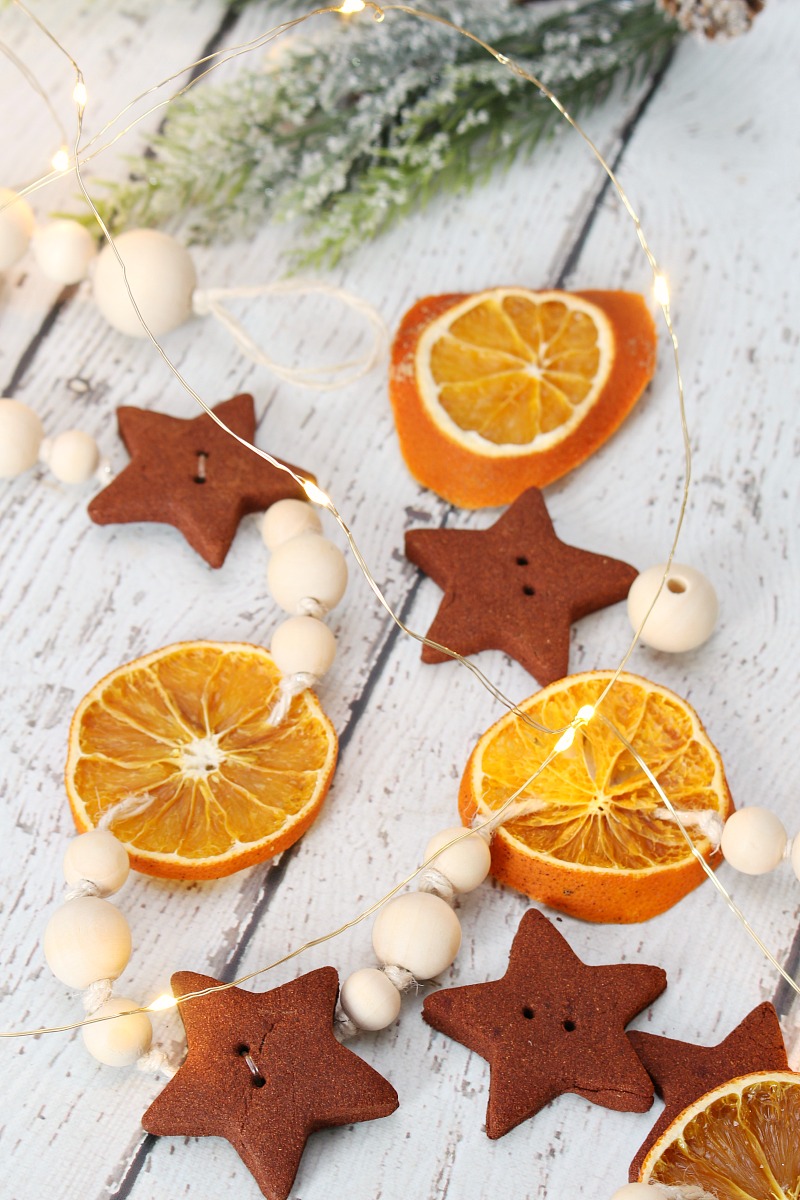
- Continue adding a bead and then knotting after each bead. {NOTE: tying the knot is more for looks, so if you prefer the beads without spaces you can skip this step.} I followed the pattern of 3 beads, 1 orange, 3 beads, 1 star.
- The holes that I made on my cinnamon stars weren’t big enough for the twine to go through, so I used the jewellery cord to attach them directly to the twine. Fishing wire might have even been better as it would have given a more secure knot, but the jewellery cord was fine. You could always make the holes in the stars bigger if you were making these or picking up some thinner twine.
DIY Dried Orange Ornament
Materials
- wood beads
- twine
- needle with large eye
- dried orange slices
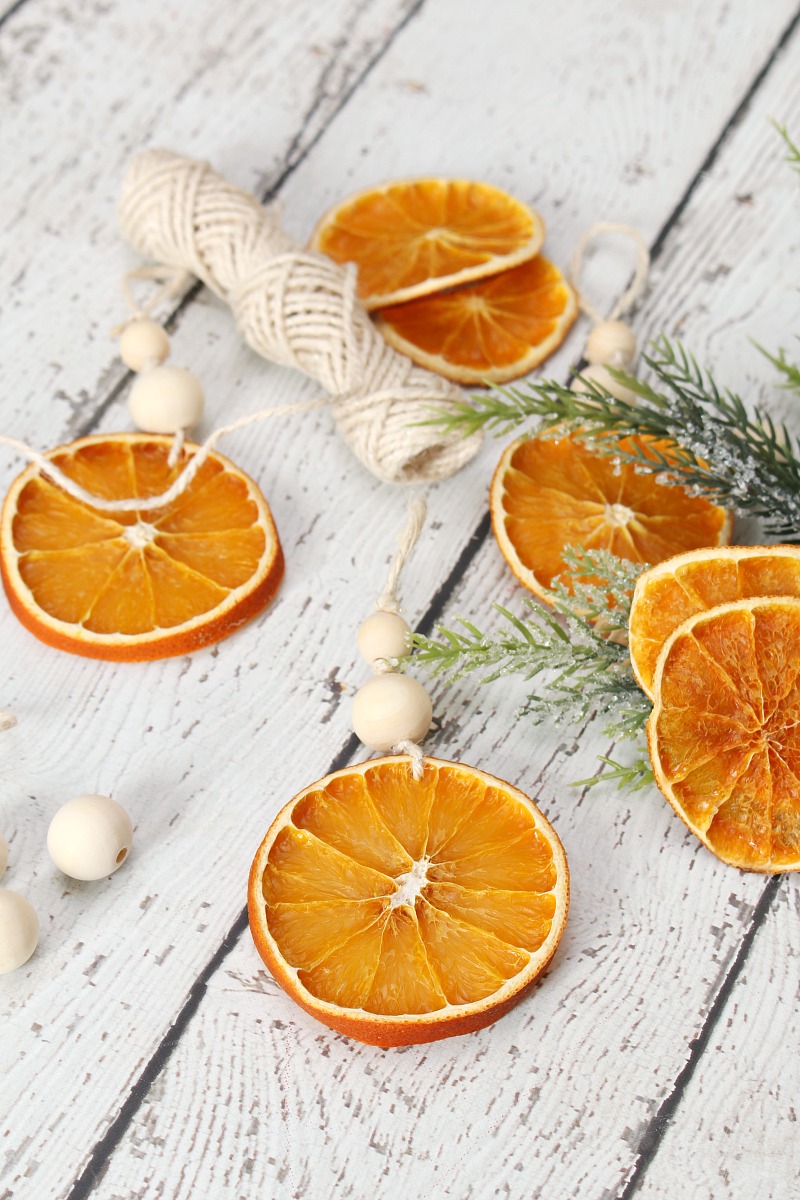
Directions
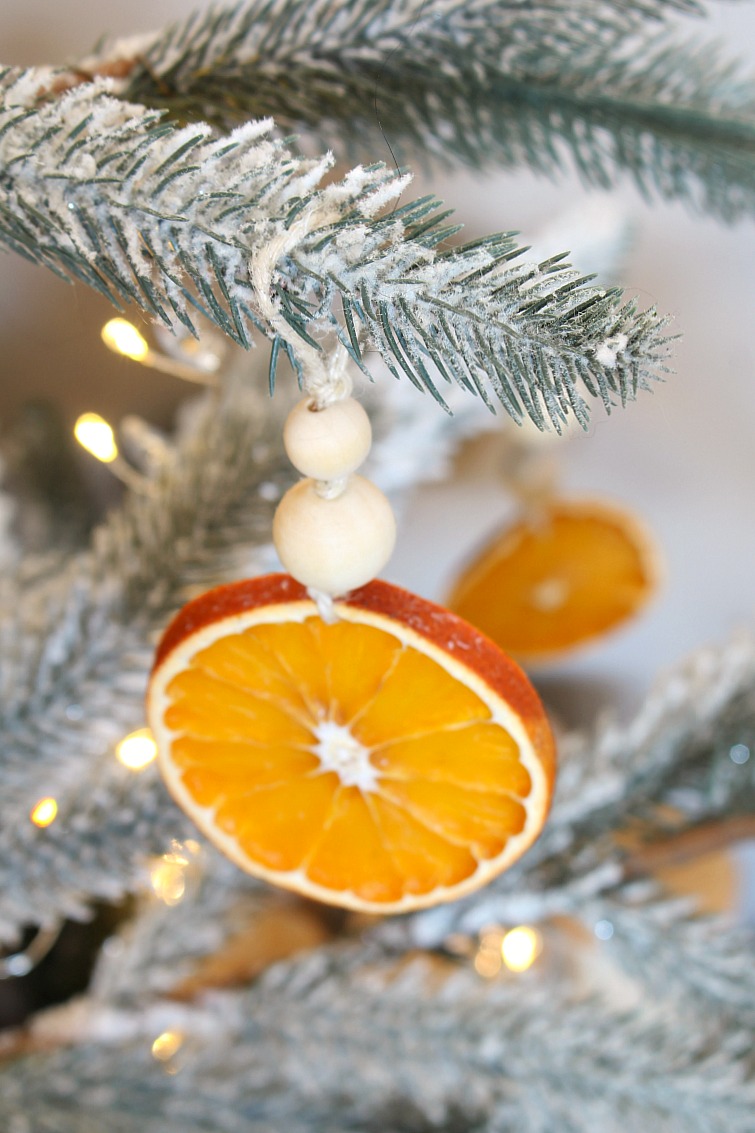
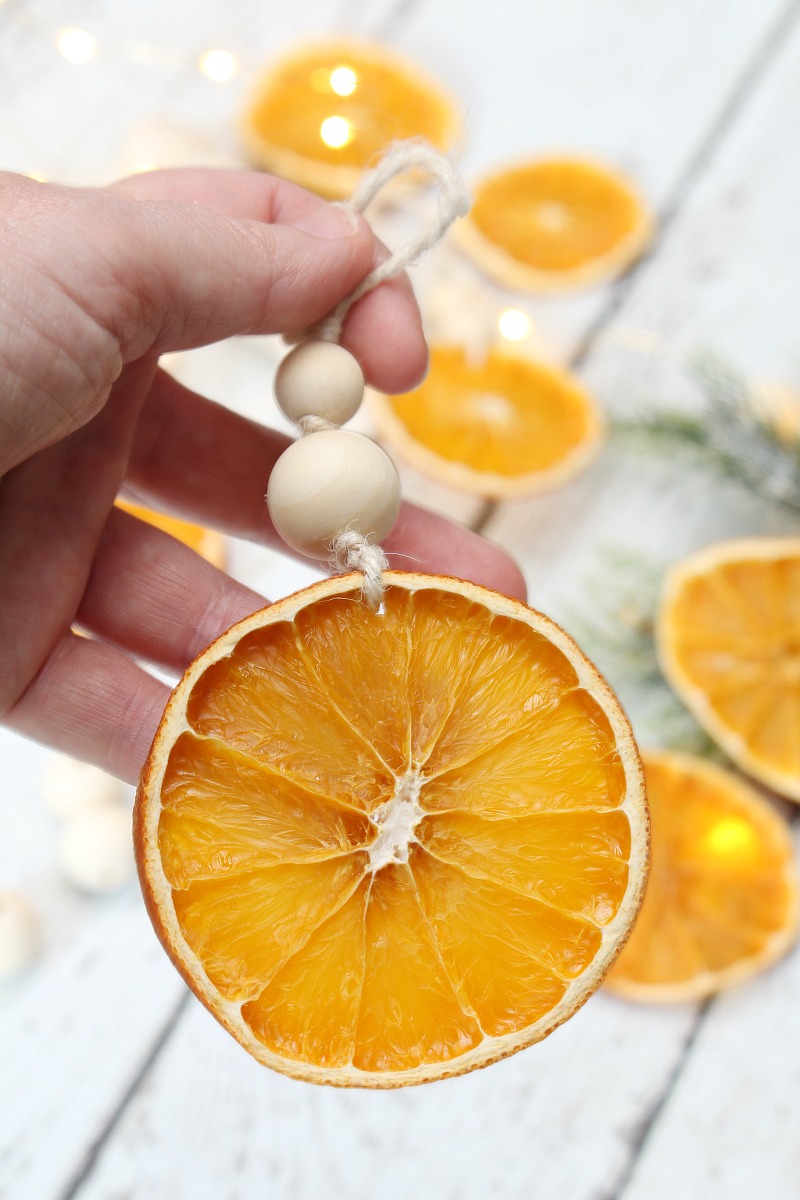
- Thread the needle with the twine and thread it through the orange. Tie a knot around the orange
- Thread on a larger bead making sure the tail of the knot from the orange gets tucked into the hole of the bead. Tie a knot above the bead.
- Thread on a final bead {you can always add more if you would like to make it longer}. Wrap a loop hole in the top and knot off just above the bead.
- Hang the ornament from the loop of use a regular tree hook to hang.
I hope you like the dried orange garland and ornaments as much I do. You’ll see them pop up a lot in our Christmas home tours next week! Happy Christmas crafting!
More Christmas DIY Projects
If you’re looking for more Christmas DIY projects to help decorate your home, check out these posts…

DIY Printable Christmas Ornaments
Leave a Reply