This is a sponsored post written by me on behalf of Cricut. All opinions are 100% mine.
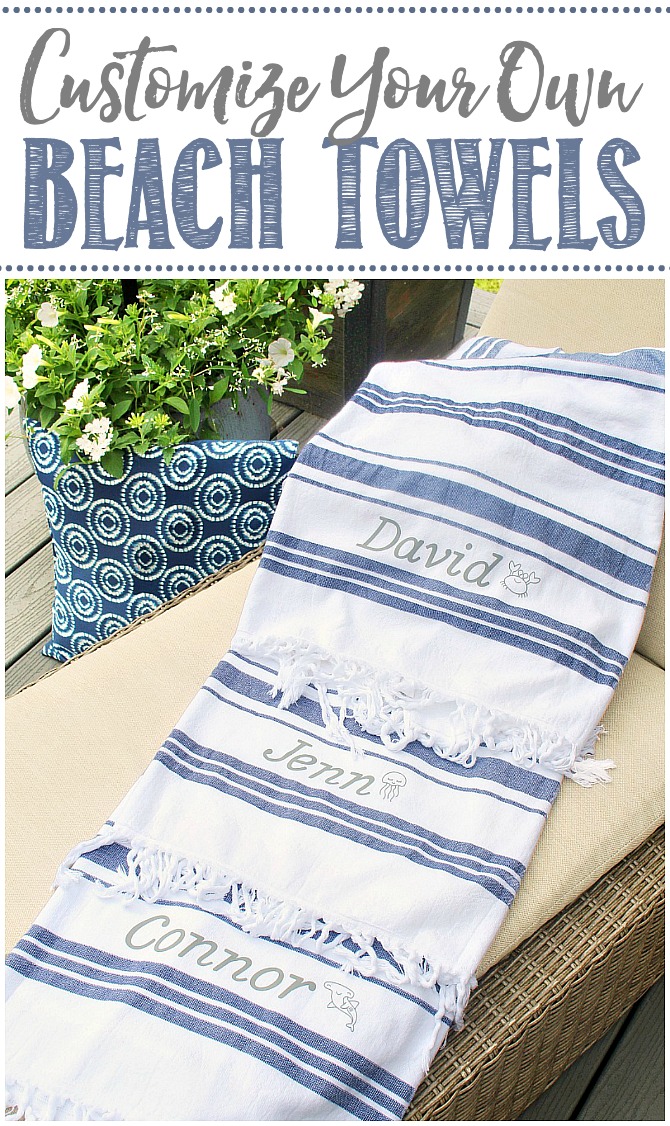
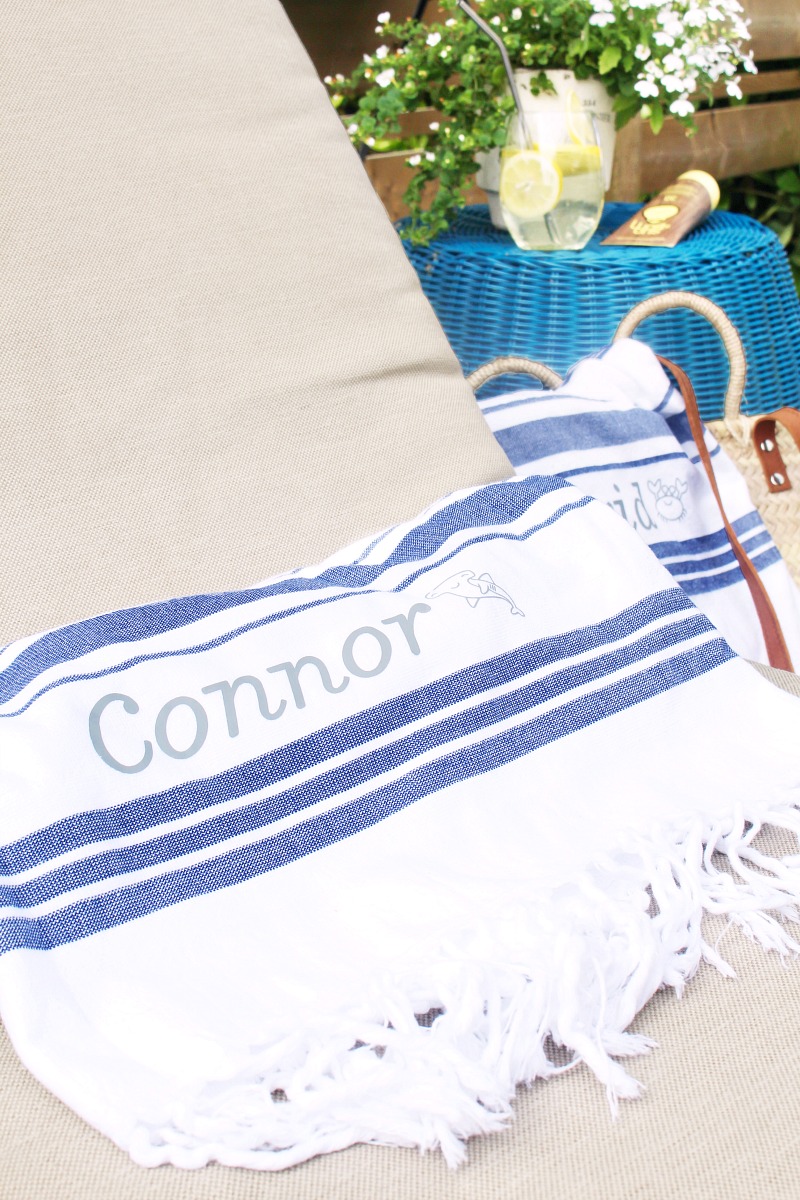
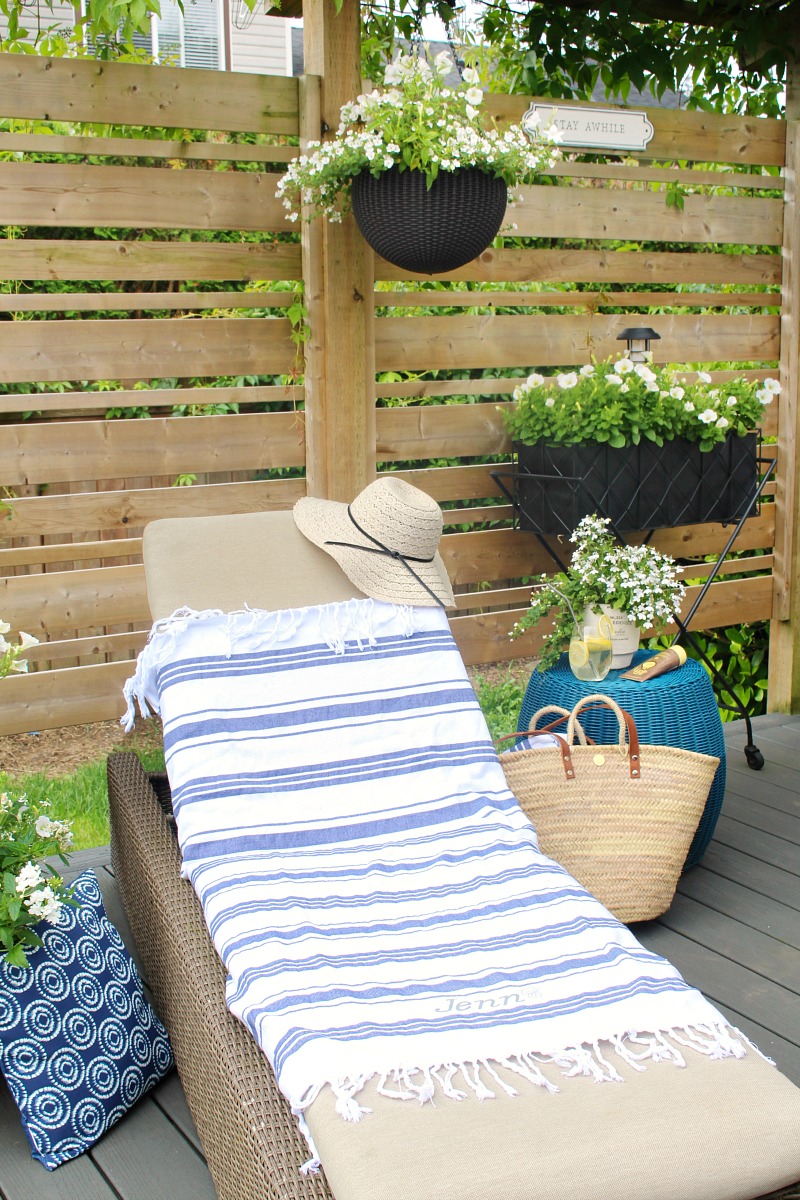
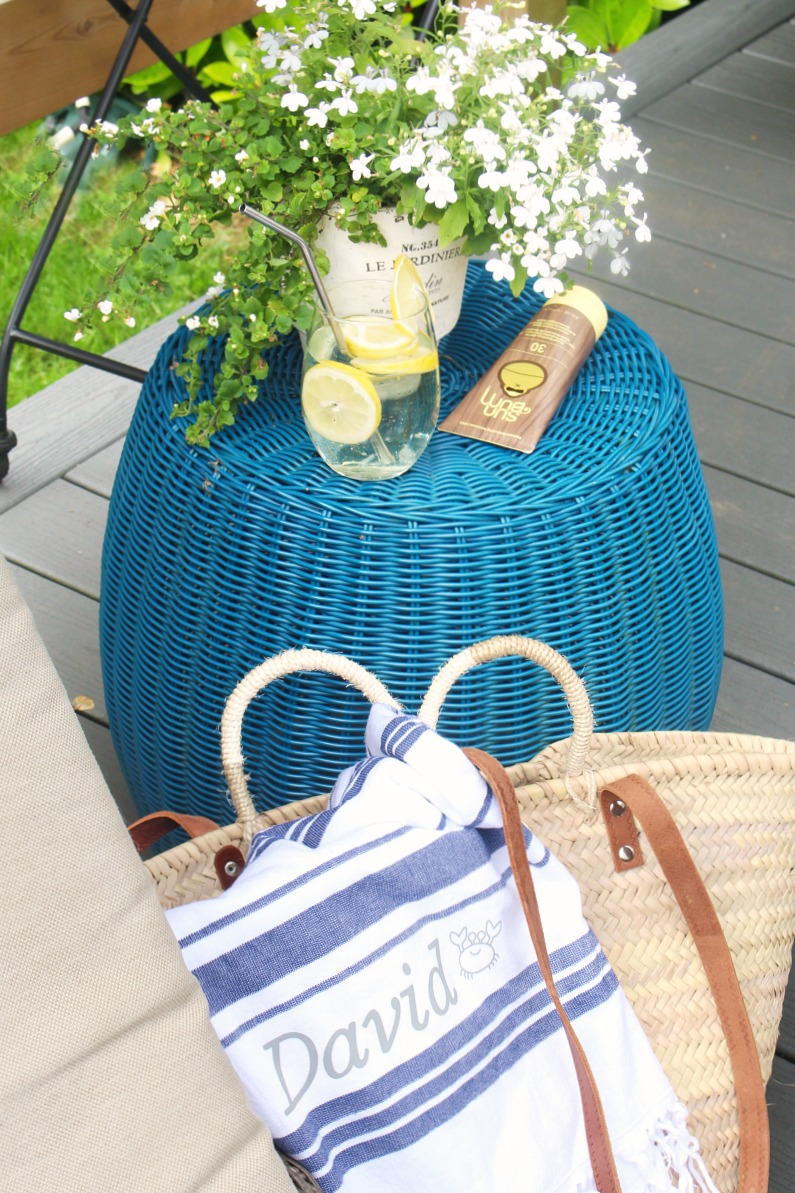
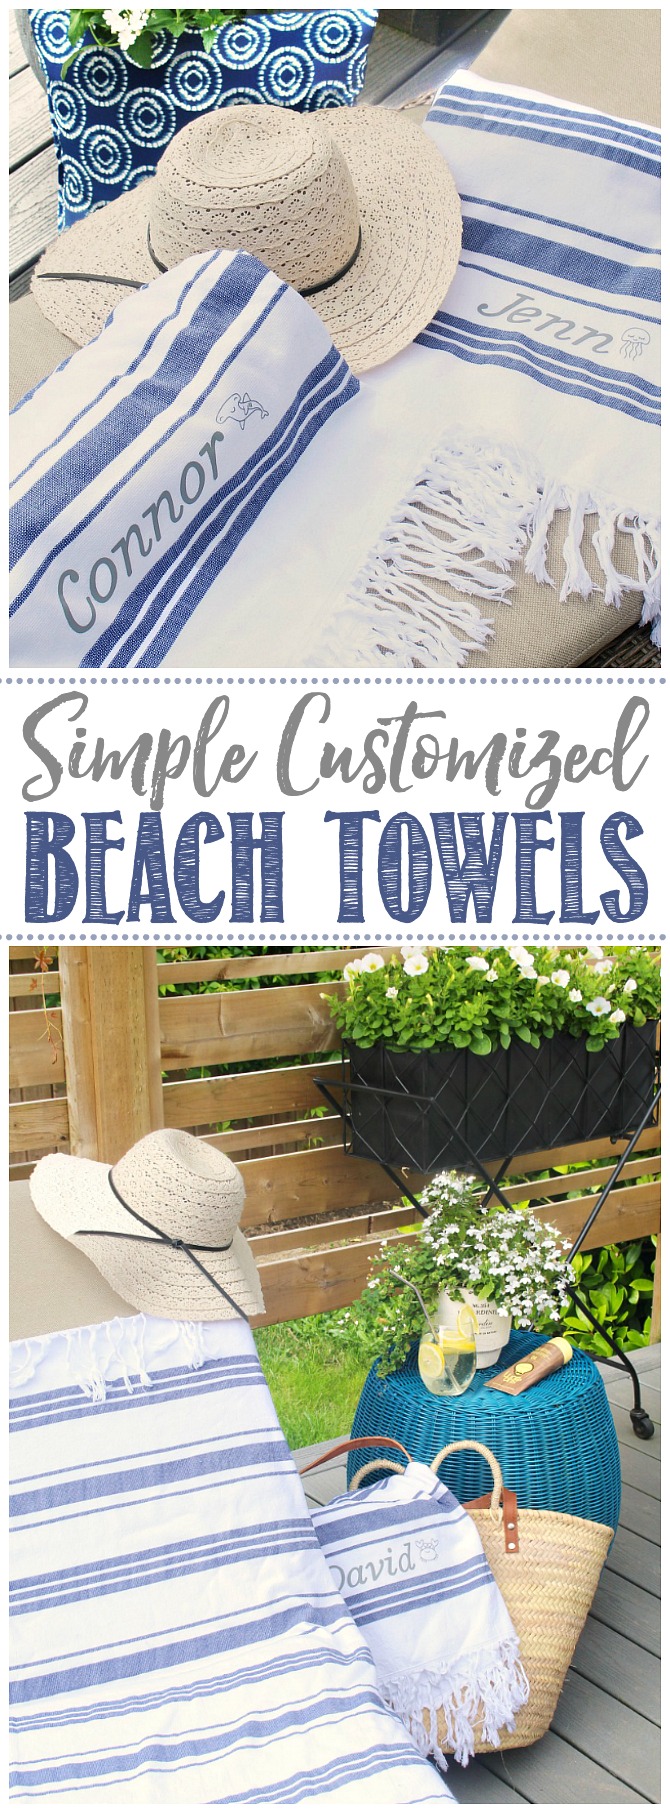
These cute DIY custom beach towels add a luxurious, resort-like feel to your backyard patio, pool, or next beach trip! No more mixing up towels!
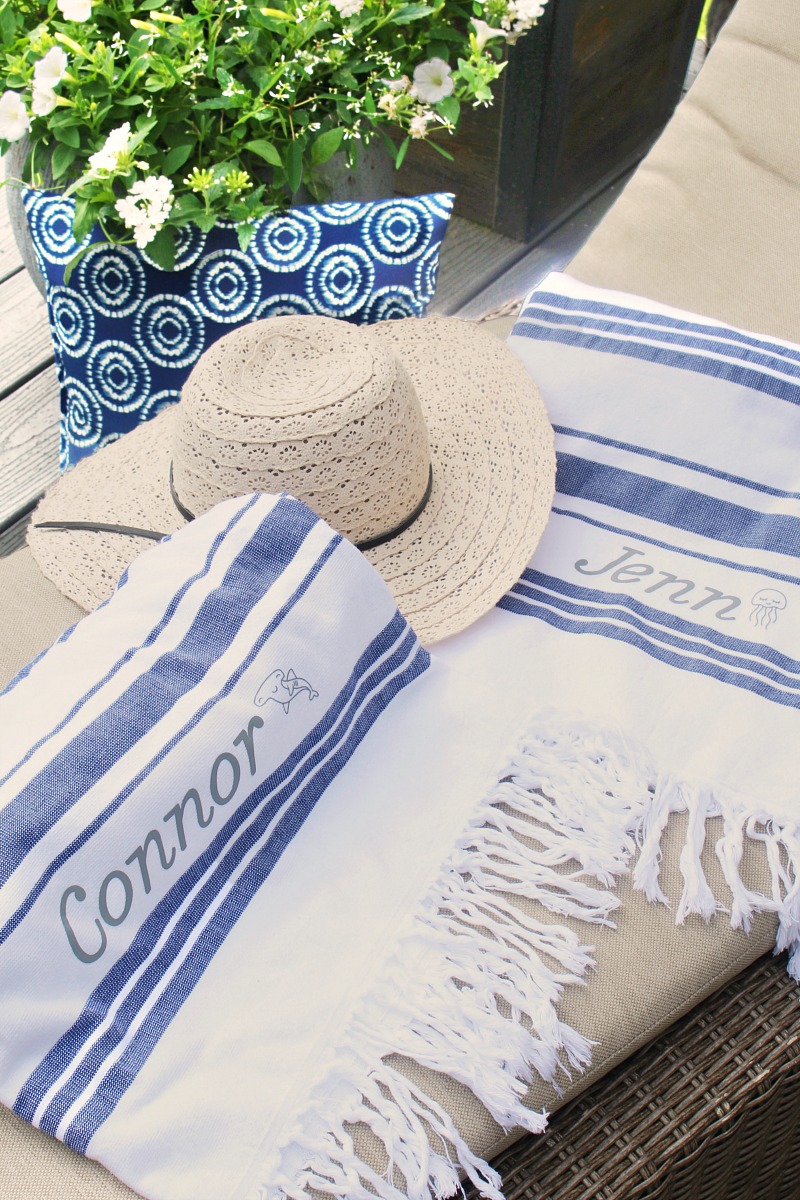
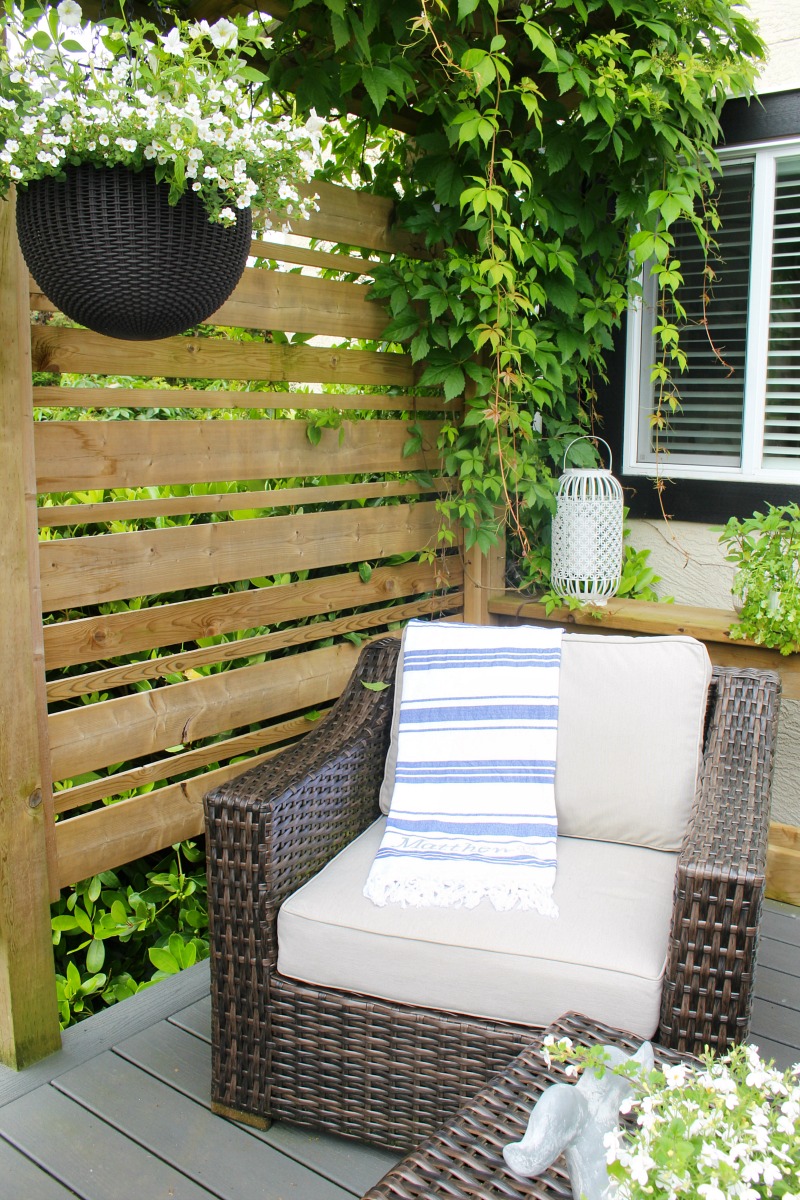
We usually try to get in at least one beach vacation each summer, but since we’re staying home more this summer, I decided to bring some of that beachy feel to us. I wanted to create more of a resort-like feel for our back patio and thought I’d make some DIY custom towels to use on our loungers and patio chairs. I love how they turned out!
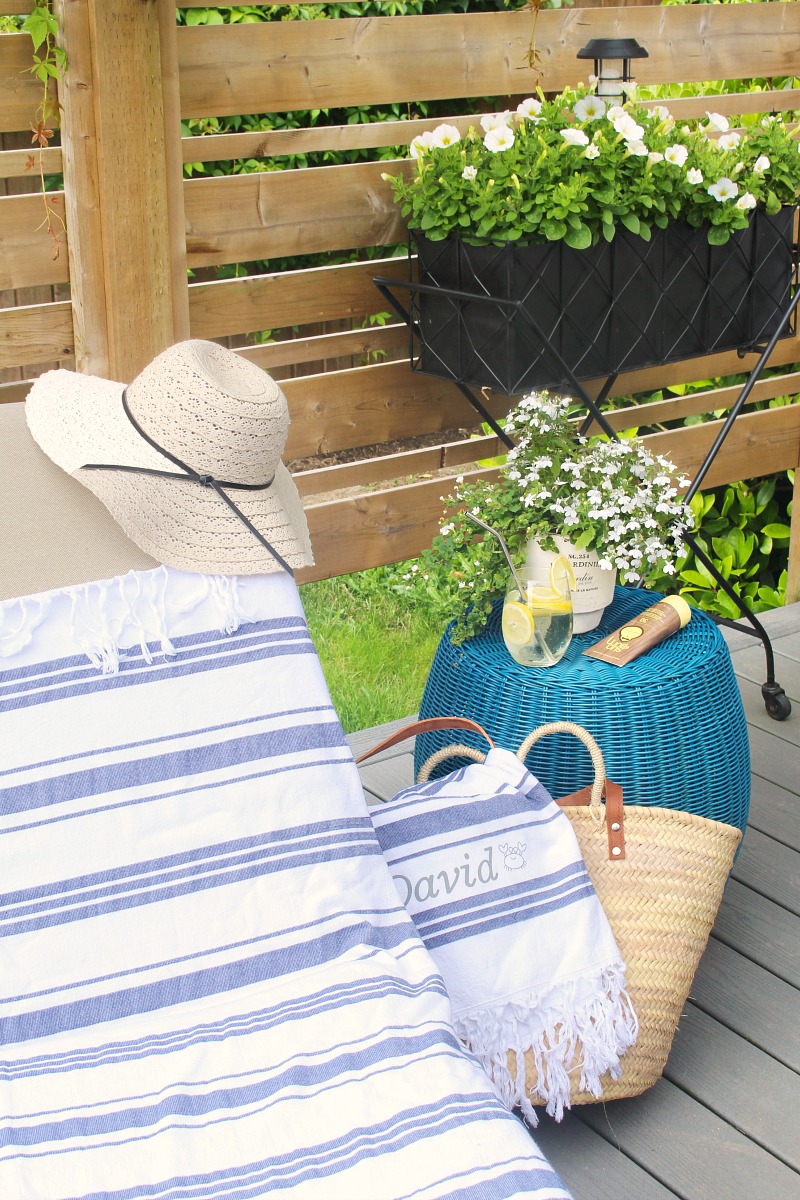
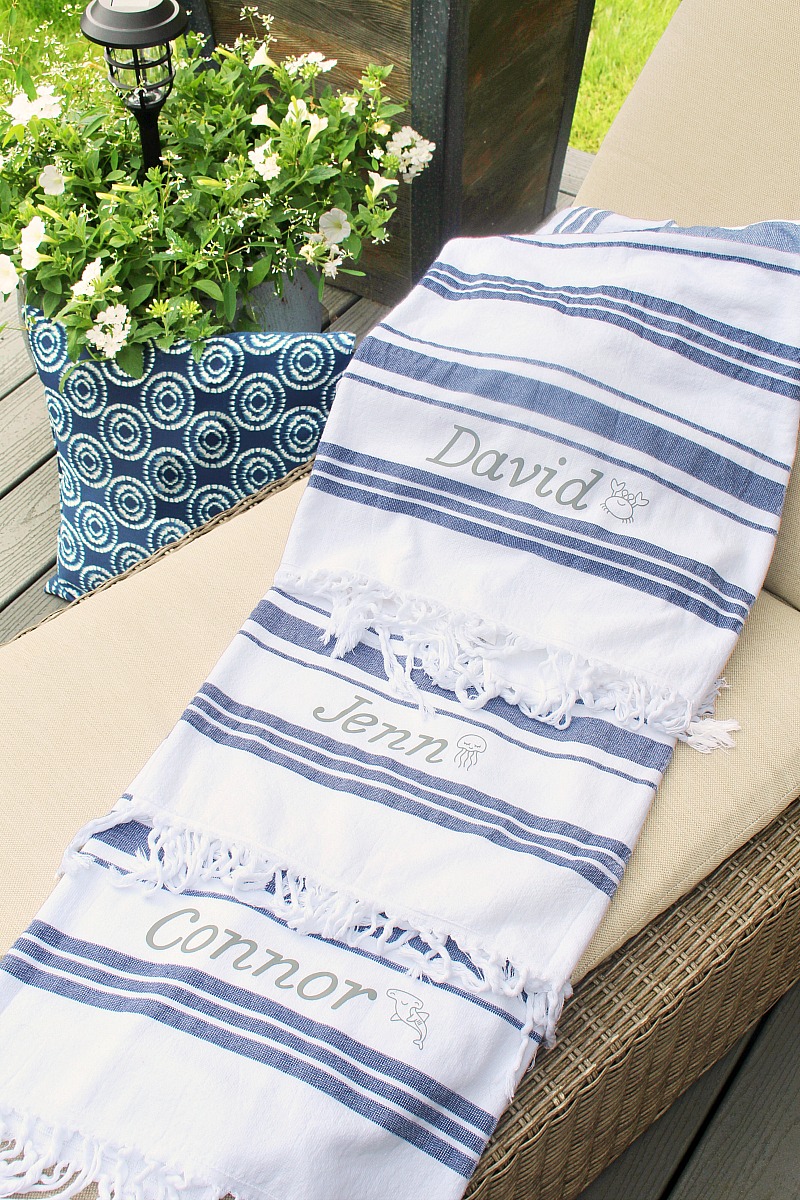
Custom towels also work great for beach days, camping trips, or shared bathrooms. You’ll always know whose towel belongs to who and the kids can’t fight over who didn’t put their towel away! 😉
DIY Custom Beach Towels Using Cricut Maker
These DIY custom beach towels are easy to make with a Cricut cutting machine – even if it’s your first project! Just gather up your materials and follow the instructions below. You’ll have some cute, custom towels in no time!
Materials
- Cricut Maker {A Cricut Explore Air 2 or Cricut Joy would also work}
- Cricut Iron-on. I used the Everyday Iron-On in grey but there are tons of colors to choose from.
- Weeding tool.
- Cricut Easy Press
- Paper Cutter or scissors
- Pre-washed towels. {Washing will remove any residue and extra fluff from new towels and reduce any future shrinkage.} I found these cute Turkish beach towels at Superstore for $5.
Directions
Create Your Design
In Cricut Design space, create your design. I used Martha Stewart Wedding Cake for the font as well as some cute sea animal images that are all available through Design space. You can find them here:
- crab outline #MB0D8BF0
- hammerhead shark outline #MB0D8CCF
- jellyfish outline #MB0D8B52
- sea turtle #MB533FC8
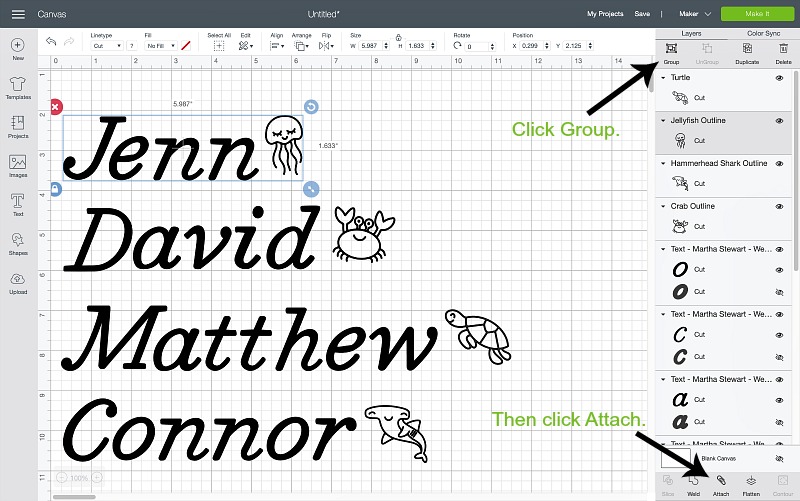
Determine what size you would like your iron-on to be and adust the font and image size as needed. I also like to play around with the font letter spacing and usually adjust this down. {TIP: if you notice the capital letter of the names is too far away from the rest of the font, do the capital letter as a separate text box than the rest of the name. You can then adjust it to wherever you would like.}
Group and Attach Each Design
Once you have completed your designs, you want to group and attach the font/images that you want to stay together. Otherwise, the Cricut machine will separate the designs for the best cutting option when it sorts the images onto the mat. I made all 4 towel designs at the same time and then just grouped each name and one image together. Click “Make It” when you’re ready to move on to cutting.
Cut and Weed Your Design.
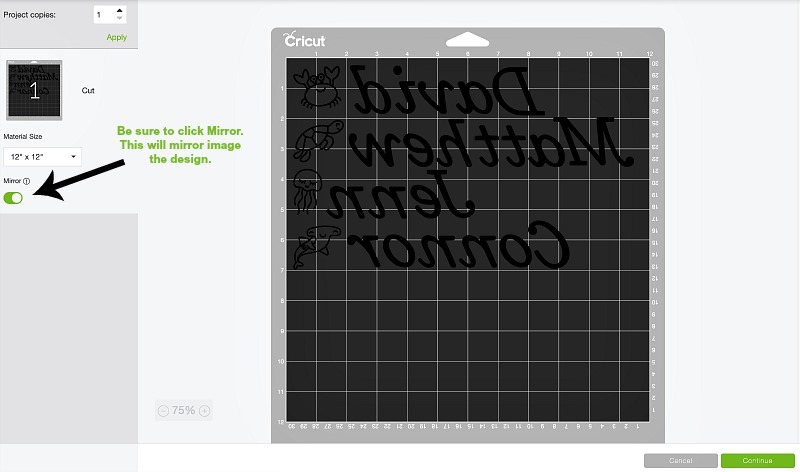
Before cutting, check the image layout on the preview mat to ensure that everything is the way you would like. The most important thing to remember when cutting iron-on is to click the button to mirror the images. Place your iron-on material shiny side down on the standard grip (green) cutting mat and follow the prompts to cut your images. Select Everyday Iron-On from the list of materials. Weed your design using a weeding tool. If you’re making multiple towels, cut the different names apart using a paper cutter or scissors.
Transfer Your Design.
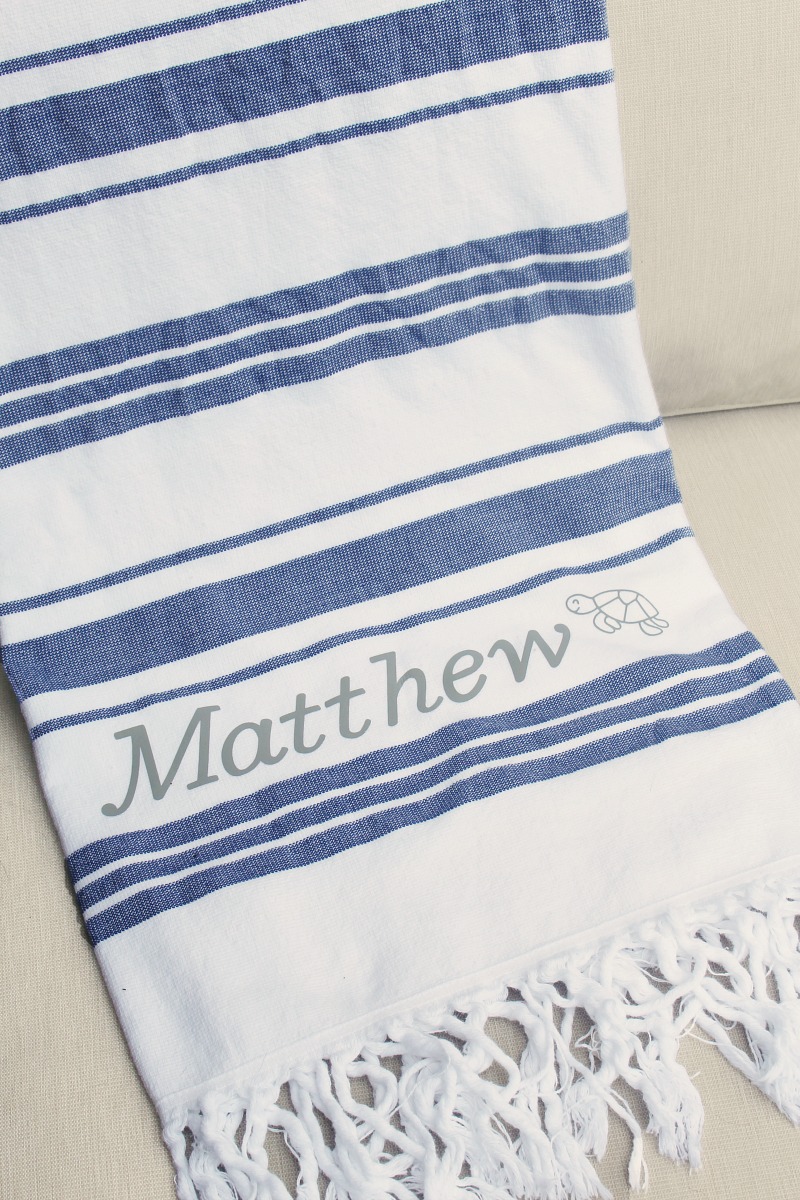
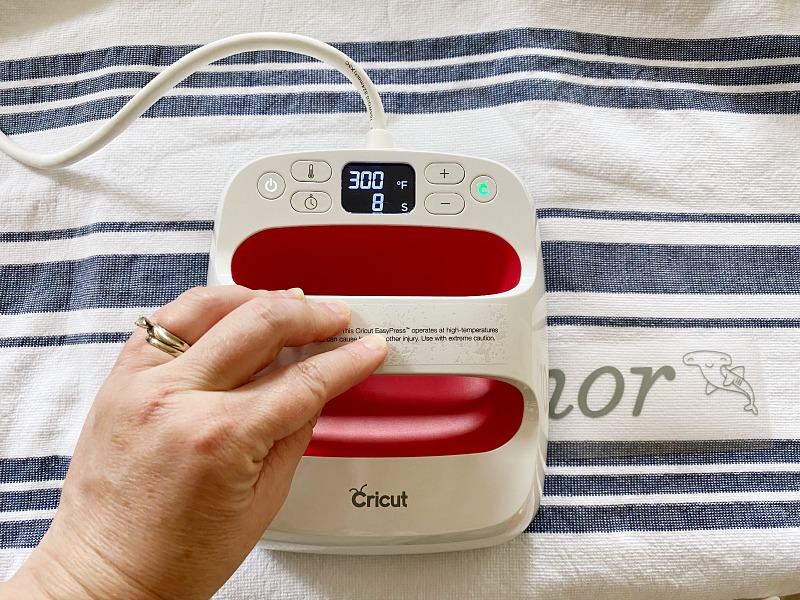
Use the Cricut Heat Transfer Guide to determine what temperature and time setting you need to use on your Easy Press. Preheat the towel using the Easy Press to heat it up and remove any wrinkles. Place your design on the towel wherever you would like with the shiny side up. I centered ours towards the bottom of each towel. Apply the heat with your Easy Press for the recommended amount of time {as shown in the heat transfer guide}. Flip the towel over and apply heat to the back of the design. Allow to cool and then peel away the liner.
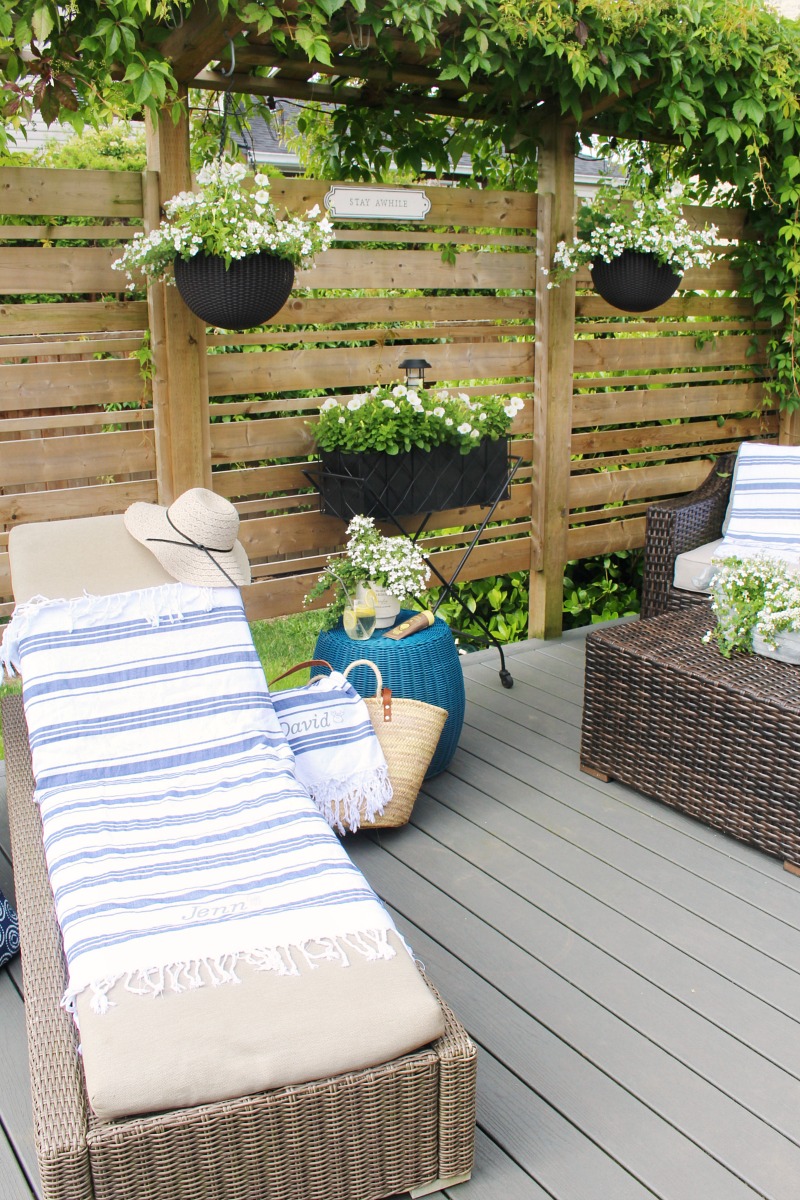
And that’s it! Your towels are done! Store your towels in a bin, basket, or beach tote on the patio for easy access whenever you need them.
What else can Cricut Maker do?
Cricut Maker is pretty much the ultimate cutting machine and perfect for any crafter or DIYer. I’ve had mine for almost two years now and I love how versatile it is. You can use it for SO many different craft and DIY projects including signs, pillow covers, organization labels, custom home decor pieces and more. It can cut over 300 different materials, from more delicate items like foil and crepe paper, to thicker materials such as fabrics, wood, and leather. {You can see the full list of materials HERE} Even though I’ve used my machine a lot, there are still a ton of ideas that I still want to try. Check some of the amazing project ideas over on the Cricut blog. The possibilities are endless!
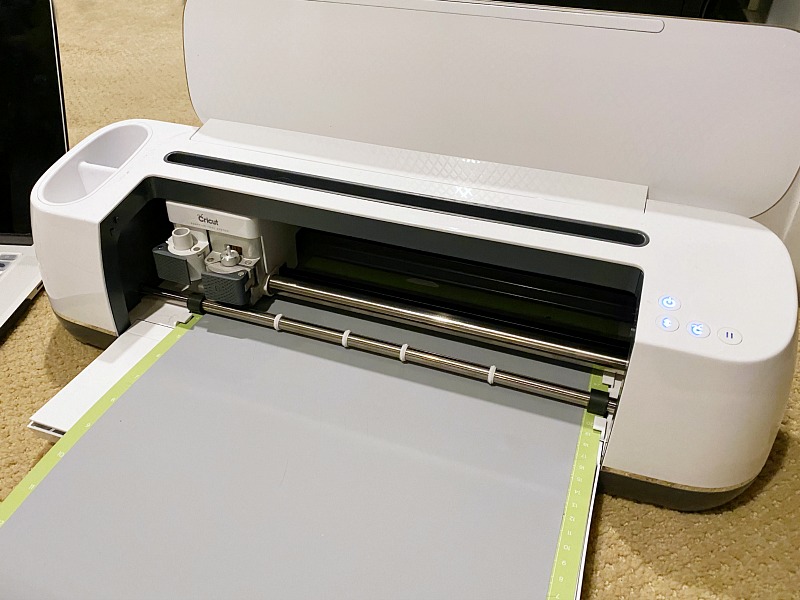
Now don’t be scared off by all of the functions that Cricut Maker has – it’s still very user friendly!! It’s easy to set-up and you can literally get started with your first project in less than 30 minutes. I love that Cricut Design Space {where you create your designs} is available on both desktop and mobile so you can easily create from almost anywhere. With just a little practice, you’ll be designing, cutting, engraving, and drawing like a pro! It’s so fun to be able to create your own custom pieces with just a touch of a button. Here’s a photo of a last minute birthday shirt that I made for my son’s thirteenth birthday this year…

Can I use a regular iron instead of Cricut Easy Press?
The short answer is “yes” you can use a regular iron, however, there are many benefits to using Cricut Easy Press over an iron. If you haven’t heard of Cricut Easy Press before, it’s basically an at home heat press that makes any iron-on or infusible ink transfer practically fool-proof. The press provides even temperature throughout your transfer and will allow you to set the exact temperature you need for the specific materials you’re using. A regular iron, on the other hand, has variable heat (the front of the iron has different heat than the back), you do not know the exact temperature, and the surface area is smaller and irregular. This can result in more difficulty getting your iron-on to actually transfer and stick or, even worse, damage to the material.
So, if you’re just going to be doing a random project or two, you can definitely get away with using your regular iron on a linen setting (just be careful!) but I would highly recommend Cricut Easy Press if you do the transfers more regularly. For more inspiration and ideas for iron-on transfer crafts as well as other home decor projects that you can do with your Cricut, check out the Cricut Inspiration Blog.
What towels work best with Cricut iron-ons?
While most towels will work with iron-on transfers, I prefer to use towels with a tighter weave like hammom/Turkish towels or a flour sack towel if I’m making dish towels. Towels with a loose weave {like the more looped terrycloth towels} will still work, but you will still see some of the texture under the iron-on material. The iron-on will still adhere but it will look a little bumpy. Alternatively, you can look for terry cloth towels that have a flat decorative band towards one {or both} of the ends and create your designs to fit on this.
Can my towel be washed in the washing machine?
Towels made with the Everyday Cricut Iron-On material like I used are able to washed in the washing machine. You just want to make sure you wait at least 24 hours after application before washing and avoid using bleach. It’s important to note, however, that different types of Cricut Iron-On materials have different care instructions, so be sure to follow the washing and care instructions on the packaging if you’re using other Iron-On materials. For more ways to ensure the durability of your Cricut Iron-On, check out this post on the Cricut blog.
I hope you get a chance to give these DIY custom beach towels a try. They’re a fun summer craft and a cute way to dress up your patio space! If you have any questions about any of the Cricut products used, let me know. I’m happy to help you out!
More Summer Ideas
For more summer DIY and decor ideas, check out these posts…
Ice Cream Sundae Bar and Free Printables
Leave a Reply