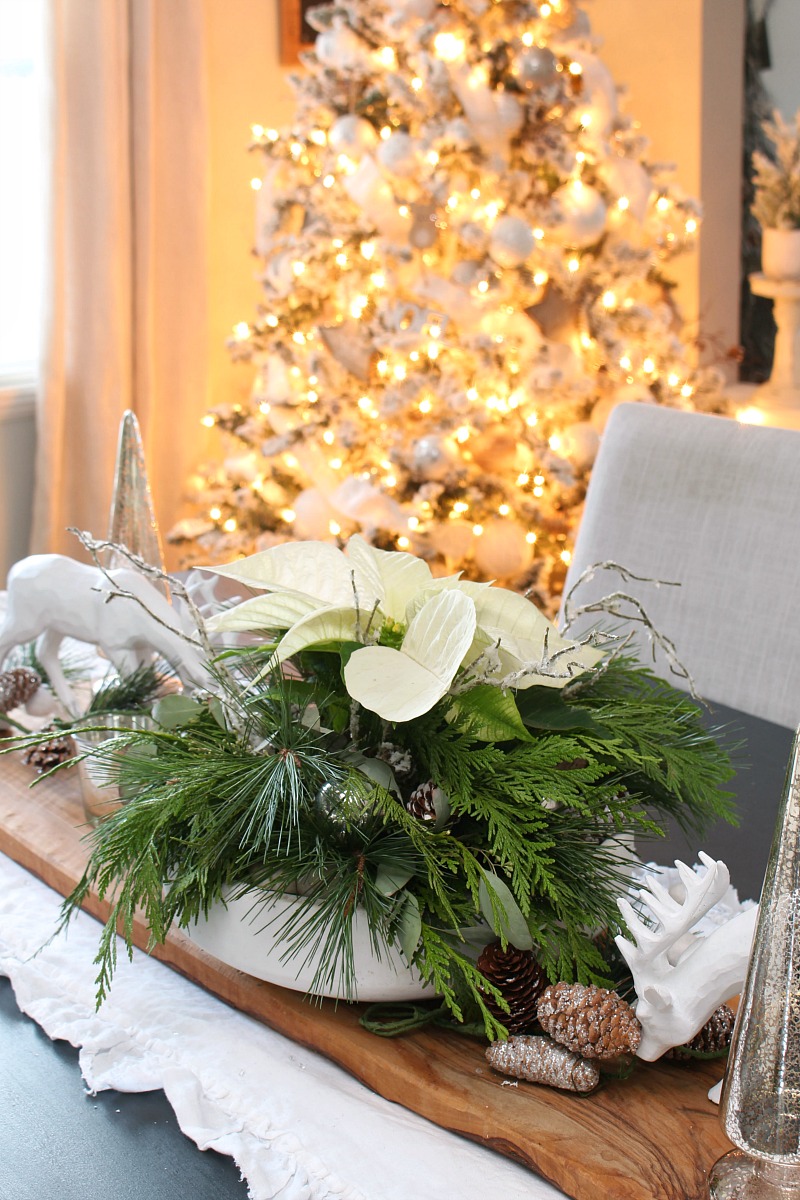
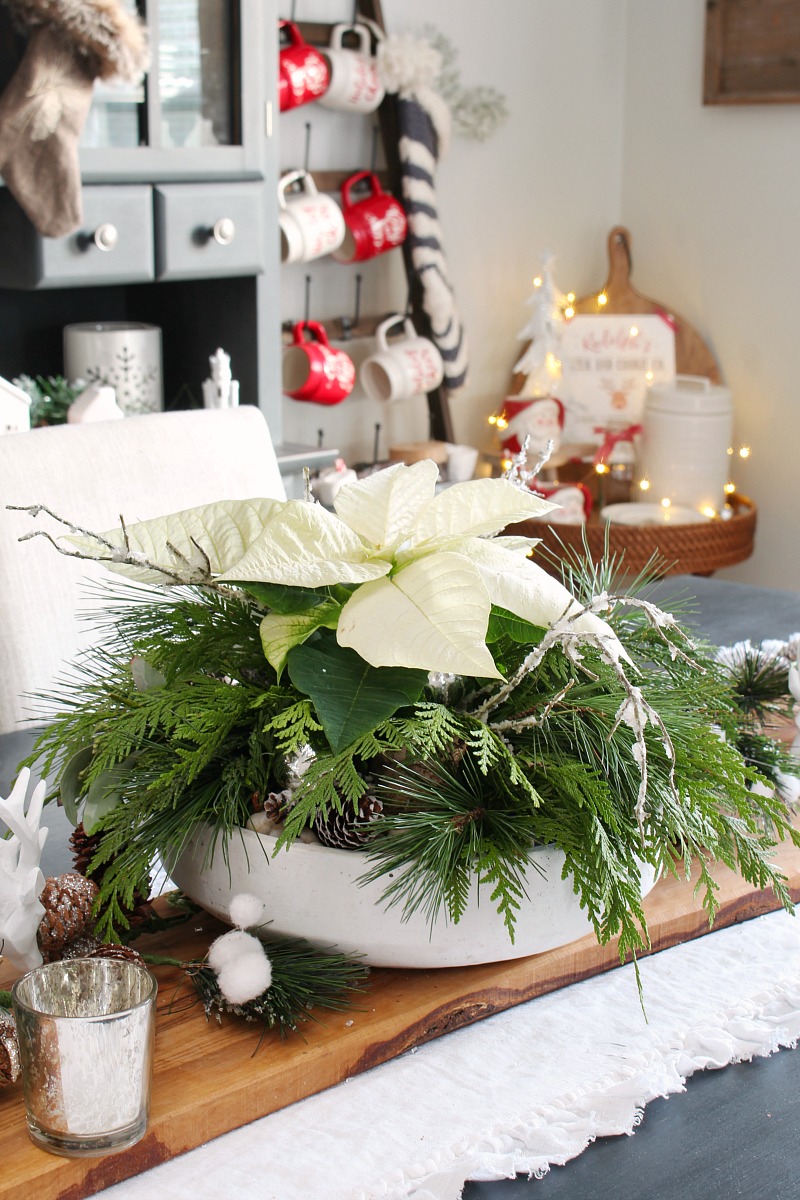
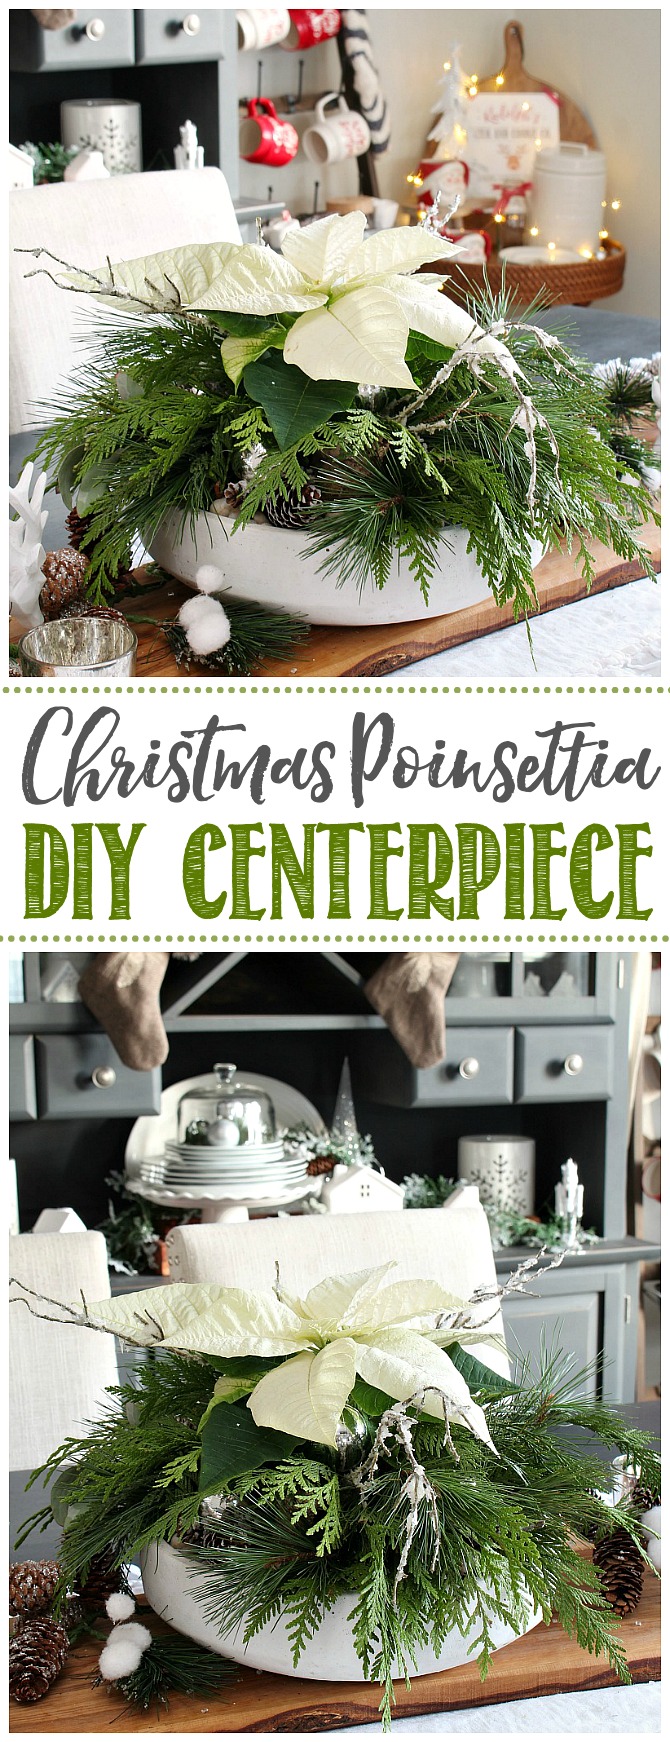
This poinsettia DIY Christmas centerpiece makes a beautiful addition to your Christmas decor or Christmas table. Quick and easy to make in less than 30 minutes!
Christmas Centerpiece Basics
A pretty Christmas centerpiece will brighten up your table and add that perfect festive touch to your gathering. Since you want to save room for all of the food, you don’t want your centerpiece to be too big or bulky. You also don’t want it to be too high – generally about 14 inches maximum – so you can still see each other across the table. If you’re doing more of a buffet style dinner you can always go a bit bigger but be sure to balance it out with all of the food. Most of all, just have fun coming up with your designs!
DIY Christmas Centerpiece
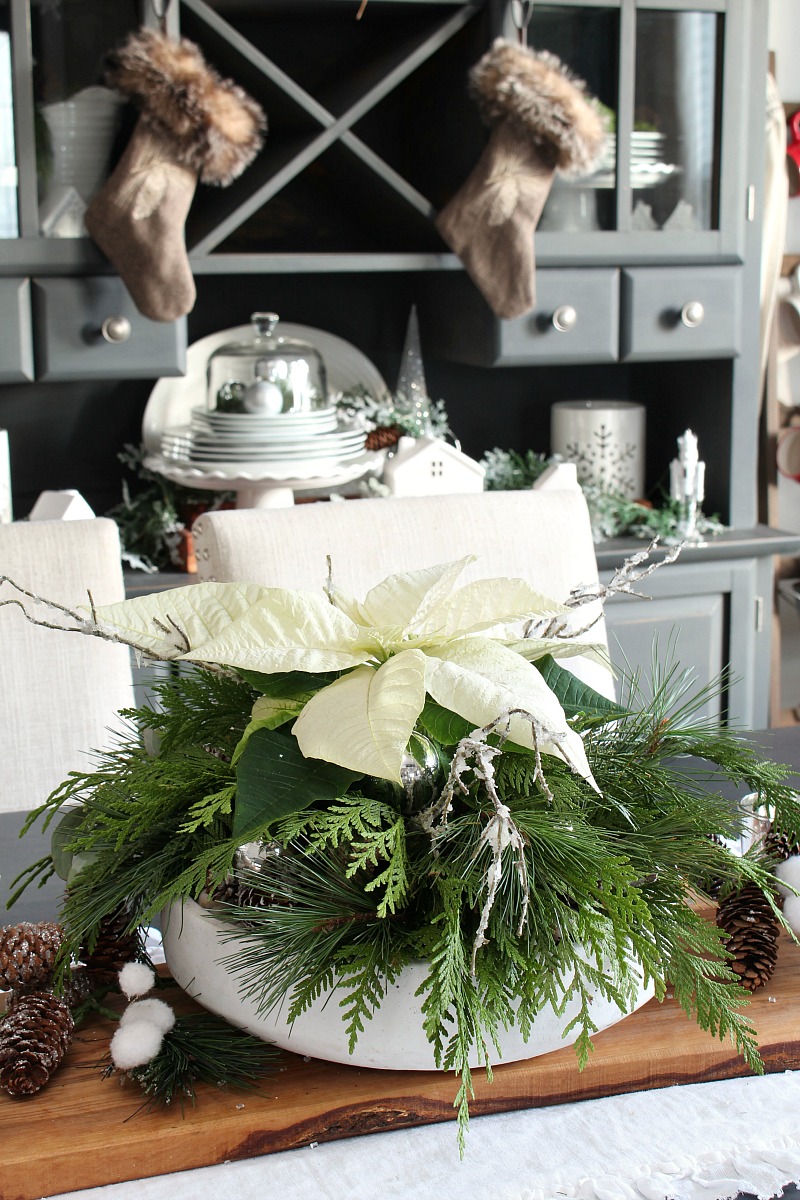
This poinsettia Christmas centerpiece would look beautiful on your Christmas table but could easily be displayed in almost any room in your home. It goes together in less than 30 minutes and can totally be customized with any of your favorite embellishments.
MATERIALS
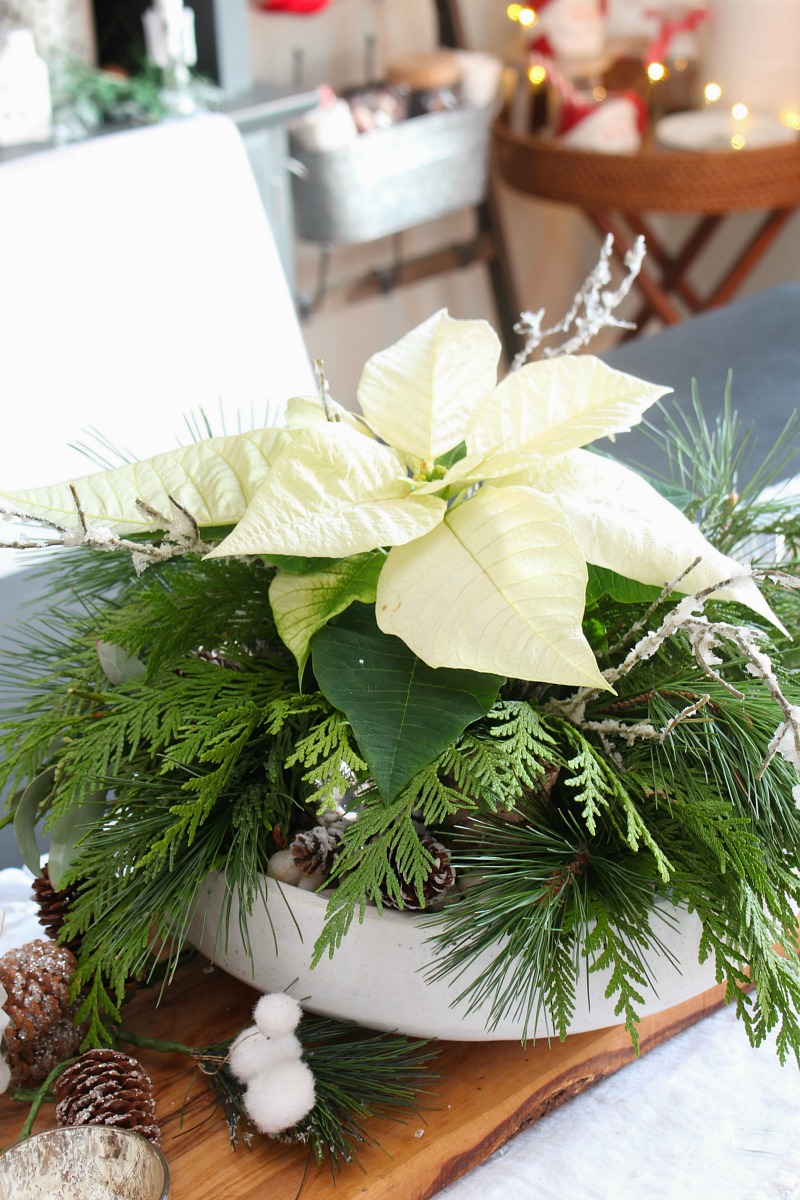
Other than the poinsettia and greenery, you can probably find most of the materials needed for this Christmas centerpiece around your home. I re-used most of the supplies from our tropical planter that I made last spring, and used left over greenery clippings that I used on our Christmas front porch.
- planter or other container
- potting soil
- poinsettia {I used a small 4 inch pot}
- fresh greens. I used some pine and cedar branches that I had left over from our front porch decor.
- clippers
- small pebbles
- wood pieces or other add-ons for added texture or interest.
- Christmas embellishments. I used a few silver balls, some snow-covered pine cones, and a few small faux snow covered twigs. You could also make a bow with some ribbon to add with a pick, add some flocking, or use other decorative Christmas picks.
INSTRUCTIONS
- Add a thin layer of soil to the bottom of your container. This will vary depending on the depth of your container.
- Remove the plastic pot from the poinsettia and place the poinsettia in the middle of your container. Fill in the soil around the poinsettia.
- Place 2-3 wood pieces around the container. Play around with their positioning until you get the look you like. You don’t need these if you con’t have them but they add a little bit of texture and structure to the planter.
- Clip the greenery and place it in the pot around the poinsettia. Play around with the angle that you insert the greenery until it lays nicely. Start with the larger pieces and then fill in any gaps with smaller greenery. I used the larger pine branches more on the bottom, then added the cedar and finally placed a few smaller pine branches on the top layer. You really can’t go wrong with this – just fiddle around until you like the look!
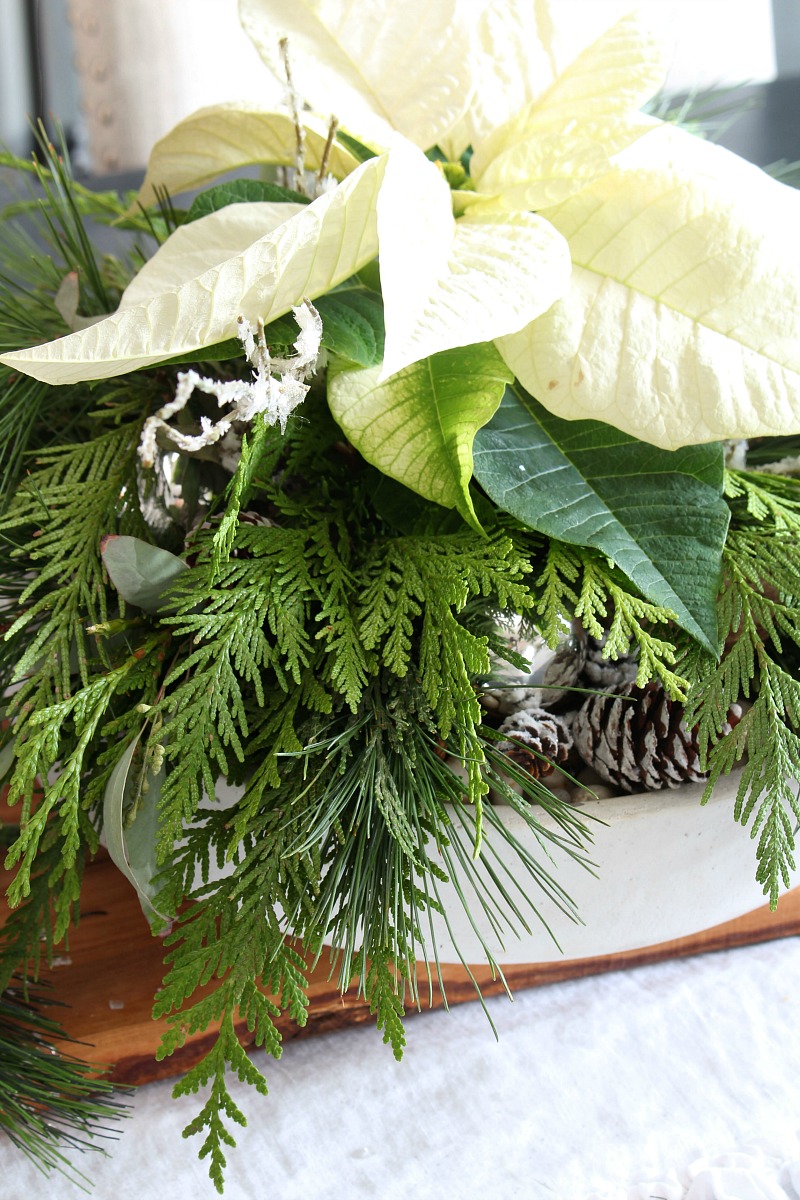
- Place the pebbles in any areas where the soil is still showing. The larger pebbles can be used to give the greenery a bit of a lift too.
- Add the embellishments. I stayed fairly neutral with my design and just added some snowy pine cones, some silver ball ornaments, and 3 faux snowy branches that I cut from a large faux stem that I had. Again, it’s just adds a little more texture and depth to the planter. You could leave it more natural, add other ornaments in your color scheme, or add in a pretty ribbon pick.
- To keep it fresh, I just mist it with a water spray bottle every few days. This centerpiece is easily transportable so you can always move it around to various places in your home.
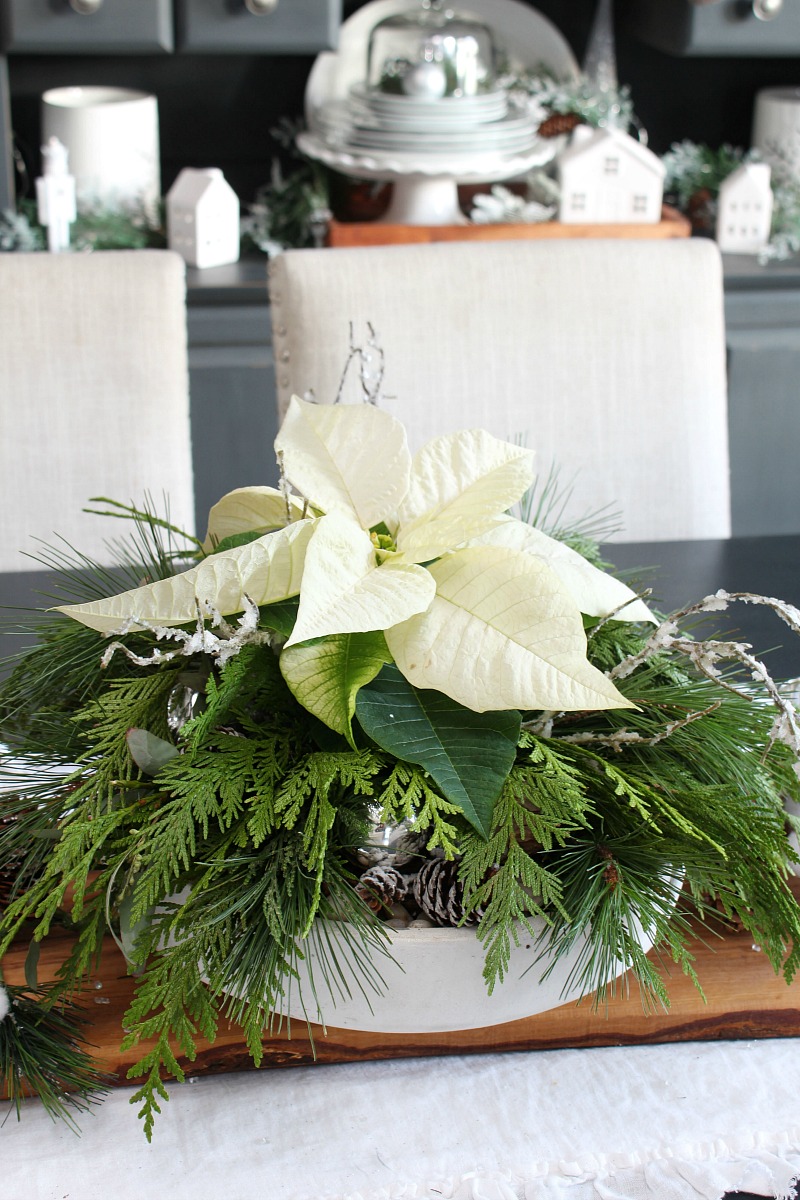
I hope you like it and are inspired to give one a try for yourself! These would make great gift ideas too!
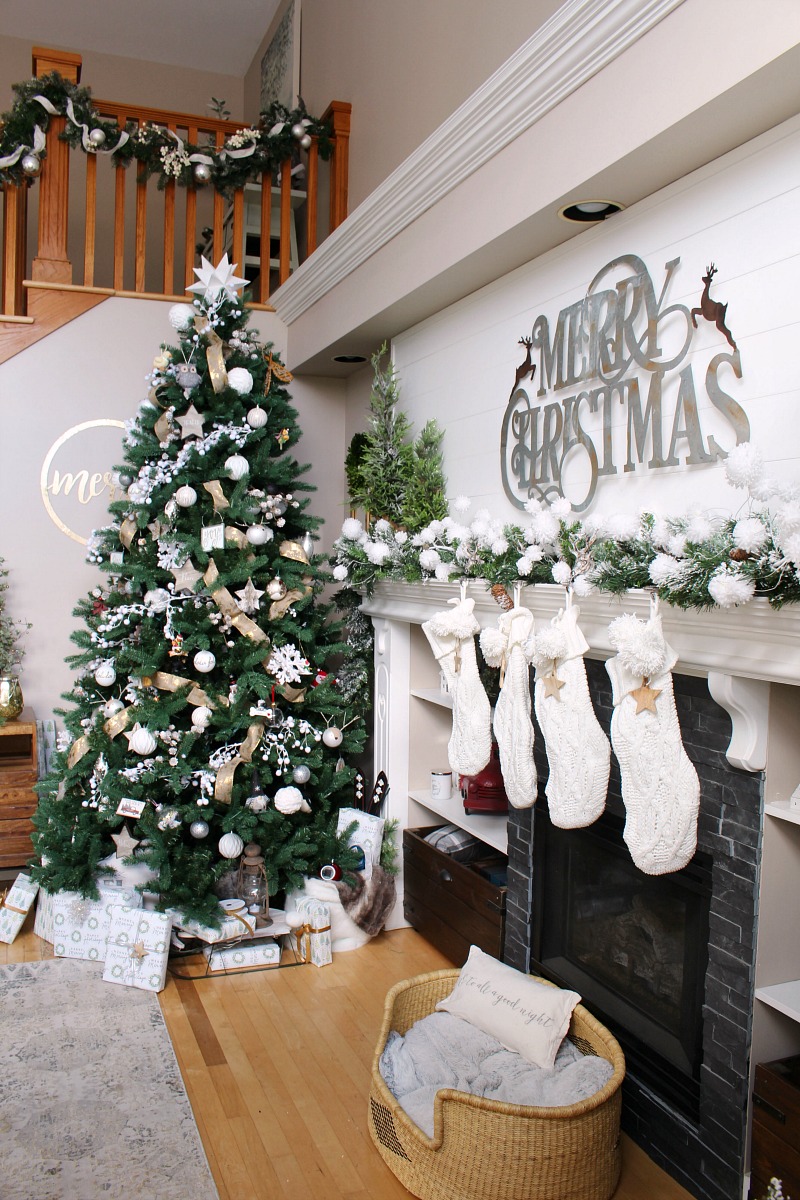
More Christmas Decor Ideas
For more Christmas decor ideas, check out these posts…
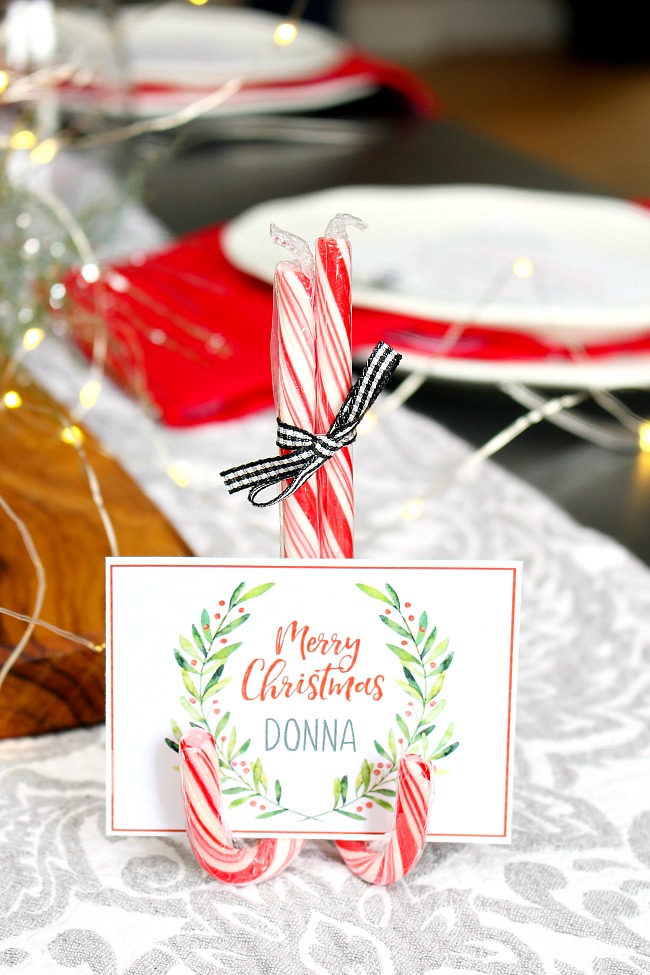
Christmas Place Cards and Candy Cane Place Card Holder
Leave a Reply