I have been itching to get going with some holiday crafting and my box of Martha Stewart Crafts products was just the inspiration that I needed! I have used their regular craft paints before but had not had a chance to try out their glass paint line. I always like to do some kind of ornament for the kids each year so I figured that this would be the perfect opportunity!
My boys like to join me for a craft project every now and then but it better be short and sweet to keep their interest! Last year my friend Becky made a memory scroll ornament for her little baby and I really wanted to do a similar idea with my kiddos. I loved the idea of catching a little “snapshot” of their personalities that we could look back on in Christmas’ to come. 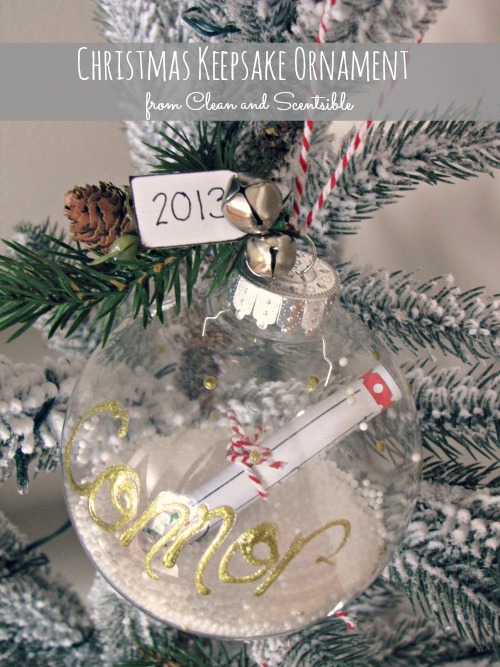
Materials
- Craft glass ornament balls {I picked mine up at Michaels} There are a variety of sizes available – mine is about a 4 inch ball.
- Martha Stewart Crafts Fine Glitter Craft Paint {I used Florentine Gold and Antique Silver}
- Artificial snow balls {I picked a fairly big bag of this up at the dollar store}
- Baker’s twine
- Jingle bells
- Small white tag
- Faux sprig branch
- Memory Printable {you can download mine HERE and a slightly smaller size HERE if you are using a smaller ornament }
For the extra ornaments at the end of this post I also used:
- Martha Stewart Crafts Glass Etching Cream
- Martha Stewart Crafts Adhesive Holiday Stencils
NOTE: All Martha Stewart Crafts Products can be purchased at Michaels or Plaid’s online store.
One of my favorite things about the Martha Stewart Glass Paint is the applicator tip. 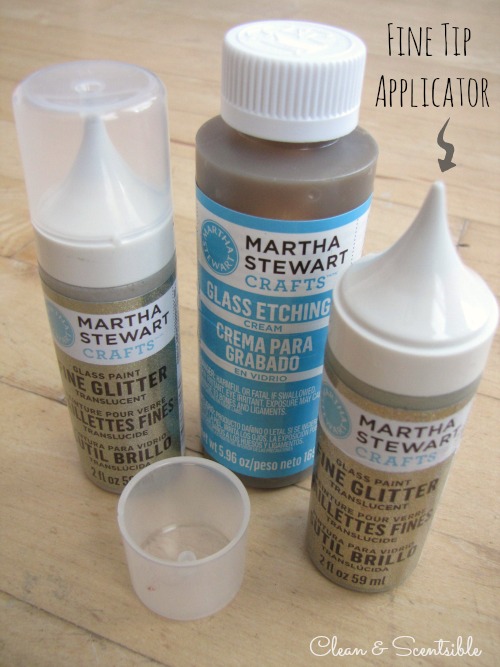
It makes it so easy to apply the paint where you want it and also allows you to write directly onto your glass surface. As an added bonus, the paint is super easy to wipe away if you make a mistake!
Directions
- Write your child’s name on the glass ball using the Fine Glitter Glass Paint {depending on the age and skill level of your children they maybe able to do this on their own}. Let air dry or speed the process up a bit by drying it using your hair dryer for a couple of minutes. {NOTE: Paint will be fully cured and totally permanent after 21 days}
- Still keeping the applicator tip on the paint, dab dots randomly around the glass ornament. {Since I was doing this with the boys I kept things pretty simple. See below for additional ways that you can dress up your glass balls!} Cover the top half of the ball first, blow dry, and then complete the bottom half.
- Fill the bottom portion of the ornament with snow balls {I recommend doing this over a sink or large bowl to avoid a big mess!}
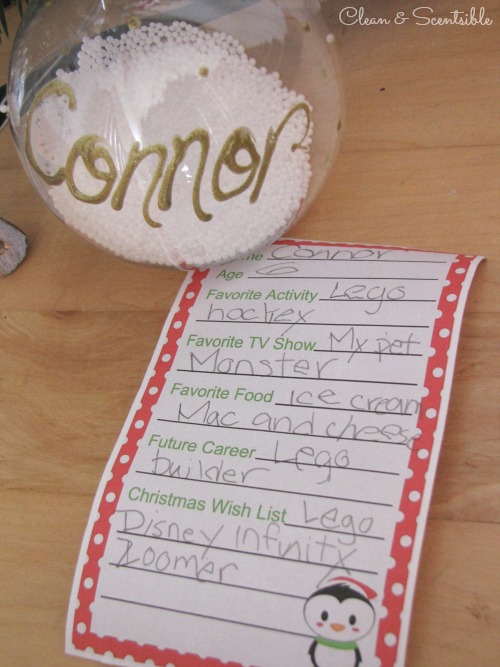
- Print out the printable and have your child fill it in. Roll it up into a scroll and secure with some baker’s twine. Place inside ornament.
- I made up a little tag from white cardstock to record the year on it. I then punched a hole in it and tied it up with a faux pine sprig, a couple of jingle bells, and some bakers twine to hang.
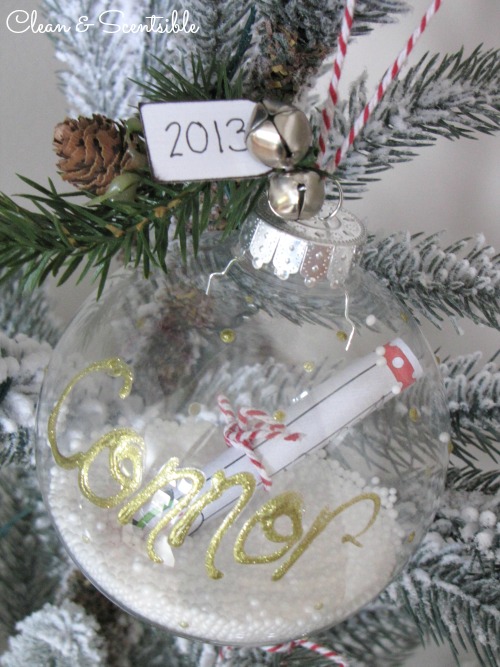 Once the boys were done with their project, I decided to play around with the supplies a little bit more to create a few more ornaments for myself.
 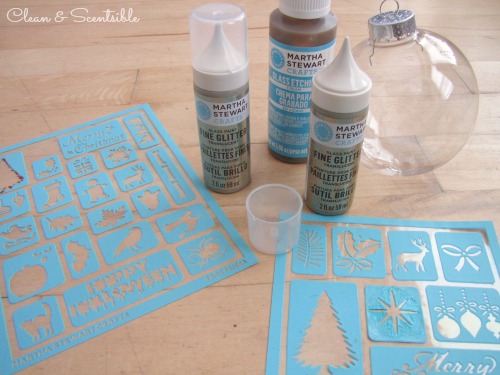 I loved the adhesive craft stencils. They were super easy to position {even over the rounded balls} and worked with both the paint and the glass etching cream. Even with repeated usage, they stuck right to the glass and I rarely had any bleeding of the paint or etching cream.
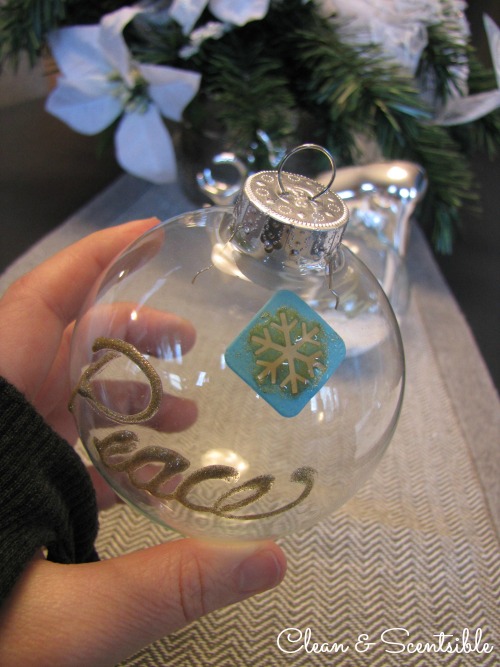
To Glass Etch:
- Clean surface well with soapy water or rubbing alcohol and dry completely.
- Position your stencil where you would like the glass etched and apply the etching cream with the included brush. Try to apply the cream as evenly as possible and do a fairly liberal application. If you do not have enough cream, some streaking can occur. {NOTE: Technically you should wear gloves when applying the etching cream but I was just doing a small area. I’m kind of a rebel like that!}
- Remove stencil carefully and allow the cream to sit for approximately 15 minutes.
- Rinse under running water.
You’ll have to look really closely at the photo to see the after. Glass is really hard to photograph but I promise that they show up better in real life! I just did the front of my ornaments but I think that I am going to go back and do a few more snowflakes around them. 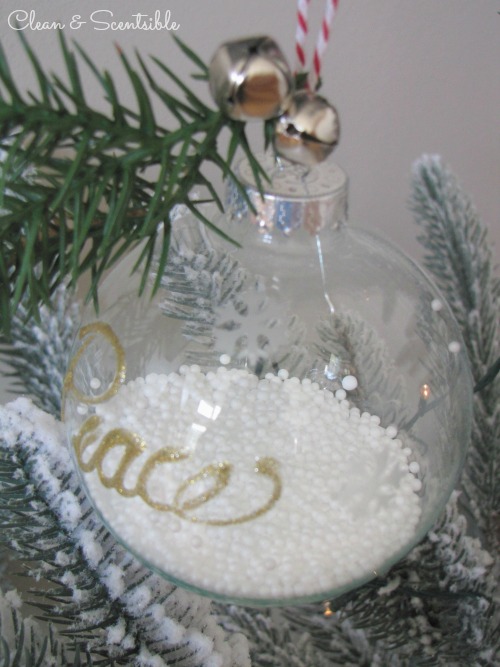
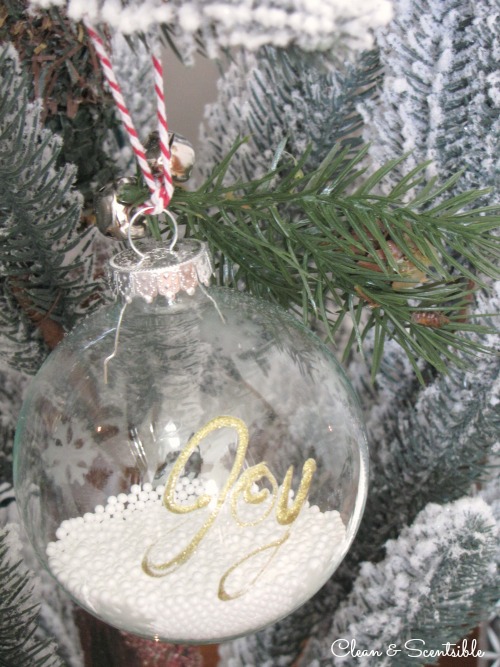 I also did another ornament with an etched tree on the front. You can see the etching a bit better in this one. I painted the snowflake on using the glitter paint and the stencils. {I ended up painting 7 snowflakes in total but forgot to take a picture! of the final product!}
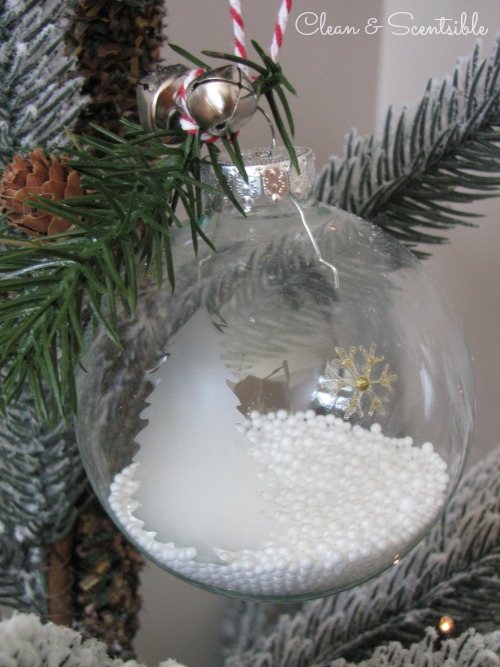
We always get a real tree for Christmas so we obviously aren’t even close to putting up our actual Christmas tree yet. My little Charlie Brown tree offered to fill in though, so here are our ornaments all hanging up. 
Of course, it looks much prettier at night with all of the twinkling lights!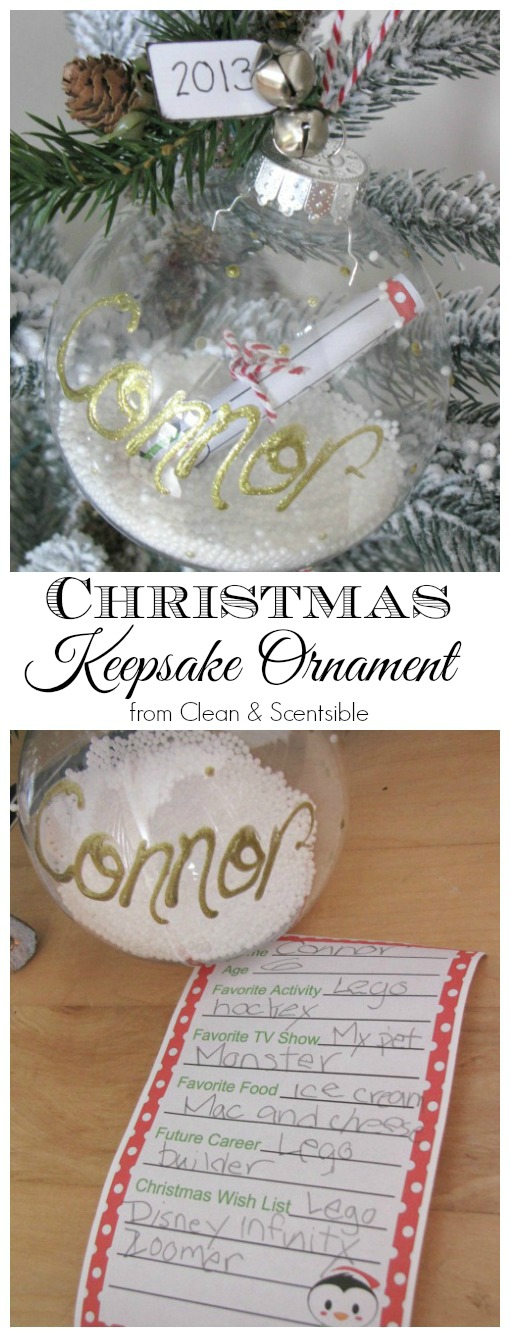
If you are looking for more inspiration, you can sign up to receive Plaid’s email newsletter, follow along with them on Facebook or check out their Martha Stewart Crafts board on Pinterest.
This is a sponsored post written by me on behalf of Blueprint Social for Martha Stewart Crafts by Plaid. As always, all opinions are 100% mine.
I shared this project at Under the Table and Dreaming, I Should be Mopping the Floor, Liz Marie Blog, Savvy Southern Style, Uncommon, Lil Luna, Whipperberry, Craftberry Bush and Tidy Mom.
Hi Jenn, These are really cute. Thanks for the fun ideas. Have you ever tried using Epsom salts for fake snow? I think it has a really nice texture.
Happy Crafting!
Marilyn
Thanks Marilyn! I have used epsom salts and I agree – very cute! I used them last year to make some snow covered branches and just using them again to make some snowflakes!
Super cute idea Jenn – I absolutely love the little scrolls with their favourite things. Such a special keepsake:)
Thanks so much Krista!
Wow, this is such an amazing idea! I had never thought of doing this…you are so clever!
The scroll keepsake is so heartwarming 🙂 I had no idea about artificial snowballs! They look great in the ornaments and I just love how you decorated them. Even cuter with your Charlie Brown tree!
Thanks Amy! It is amazing what treasures the dollar store brings! 😉
What a sweet keepsake!
I love this project so much Jenn, keepsake ornaments are so fun and special to make together, lovely! xo
I’m the Editorial Assistant for Fun Family Crafts and I wanted to let you know that we have featured your project! You can see it here:
http://funfamilycrafts.com/christmas-keepsake-ornament/
If you have other kid-friendly crafts, we’d love it if you would submit them. If you would like to display a featured button on your site, you can grab one from the right side bar of your post above. Thanks for a wonderful project idea!
Thanks so much for sharing! 🙂
Love these ornaments – so creative and sweetly personal! Just wanted to let you know I featured your post in my roundup of glass ornament crafts here. Feel free to check it out if you want and hope you like it! : )
-Mel the Crafty Scientist
I love this idea and plan in using it with 10 six year old girls for my daughters party. Would it be ok to use plastic ornaments too? I love the idea of Epsom salts if I can’t find artificial snow balls at the dollars store, thanks for the awesome and cute idea!
What a fun idea for a party! Yes, the plastic ornaments are fine – that is actually what we used. 😉