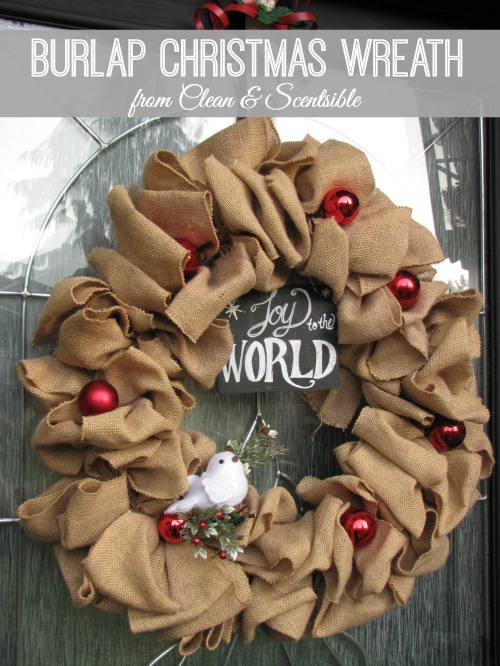
Happy Monday! Can you believe that there are only 16 days until Christmas? The days sure go fast once December hits! It seems like I have been decorating the house for forever now but I can finally say that I am almost done! We are heading out to cut down our tree this afternoon and, once the tree is trimmed, I will officially be finished! I’ll be sharing the last of my Christmas decor projects and our home tour throughout the week starting today with our Christmas wreath…
If you saw my fall porch, this wreath may look familiar to you. With just a few simple changes, it was able to quickly transition from fall to Christmas! I had originally posted the tutorial for my fall wreath over at Design, Dining, and Diapers but I thought that I would share it here today for those of you that missed it. The wreath is super simple to make and the basic wreath can easily be done in less than 30 minutes.
- metal wire wreath
- high density burlap garland {I used about 2 1/2 rolls}
- pipe cleaners {as close to the color of your burlap as possible}
- thin wood sign
- chalkboard paint
- wire Christmas tree ornament hangers
- Christmas ornaments or other embellishments
- twine
Instructions
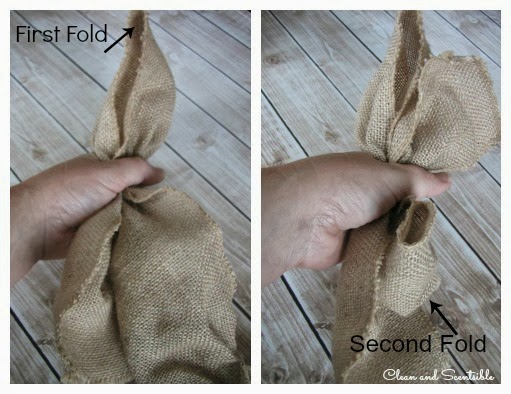
- Take a strip of burlap roughly about 2 feet long and fold it into thirds.
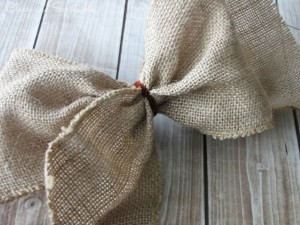
- Take a pipe cleaner and tie in the middle to form a bow {I used a dark brown pipe cleaner in the picture just so you can see it better but I used a lighter color for my wreath so that it blended in more}.
- Attach to the metal wire wreath {I attached mine on the second wire from the center} by twisting the ends of the pipe cleaner.
- Continue to add the bows until you have the desired fullness that you like. Fluff the boys to fill in any gaps. {NOTE: By the end of the project, I was actually not cutting the burlap into individual bows. It was a little trickier to form the bows when it was still joined up to the previous one but if I ever want to take the wreath apart I will still have a nice long strand of garland to use}

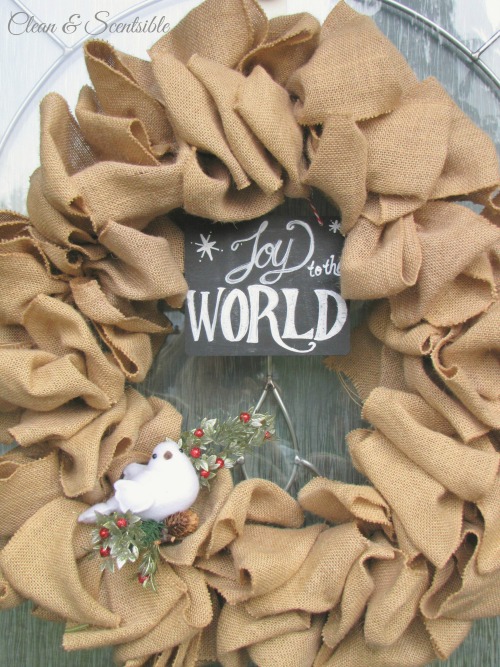
- Once the basic wreath is done, all you have to do is add your seasonal touches! I used the same chalkboard that I used with my fall wreath {a wooden rectangle that I picked up at Michaels and sprayed with chalkboard paint} and just turned it horizontally rather than vertically. I punched a couple of holes in it, added some twine, and just hung it on the wreath hanger with the wreath. I picked up the little bird Christmas tree ornament at Superstore and added a few twigs and berries that I cut from a Christmas garland that I had. I didn’t want to hot glue them on since I plan on changing things up each season so I ended up using some wire Christmas tree ornament hangers to secure them to the wire wreath.
- I wanted to try adding a little more color so I added on some red Christmas balls {again using the Christmas tree ornament hangers}. I’m still not sure what version I like best but the balls are still up there for now.

I’ll be back tomorrow with the rest of our Christmas porch. I hope to see you then! Have a wonderful week!
P.S. If you are interested in a new camera for Christmas, head on over HERE for a chance to win a Canon T3 DSLR plus a 18-55 lens!
I shared this post at Lil Luna, Design Dining and Diapers, Tidy Mom, Live Laugh Rowe, A Bowl Full of Lemons, Home Stories A to Z and Stone Gable.


[…] Burlap Christmas Wreath from Clean and Scentsible […]