Create this pretty DIY Christmas centerpiece in minutes with this simple DIY tutorial. It can be easily customized with fresh greens or other items that you already have on hand.
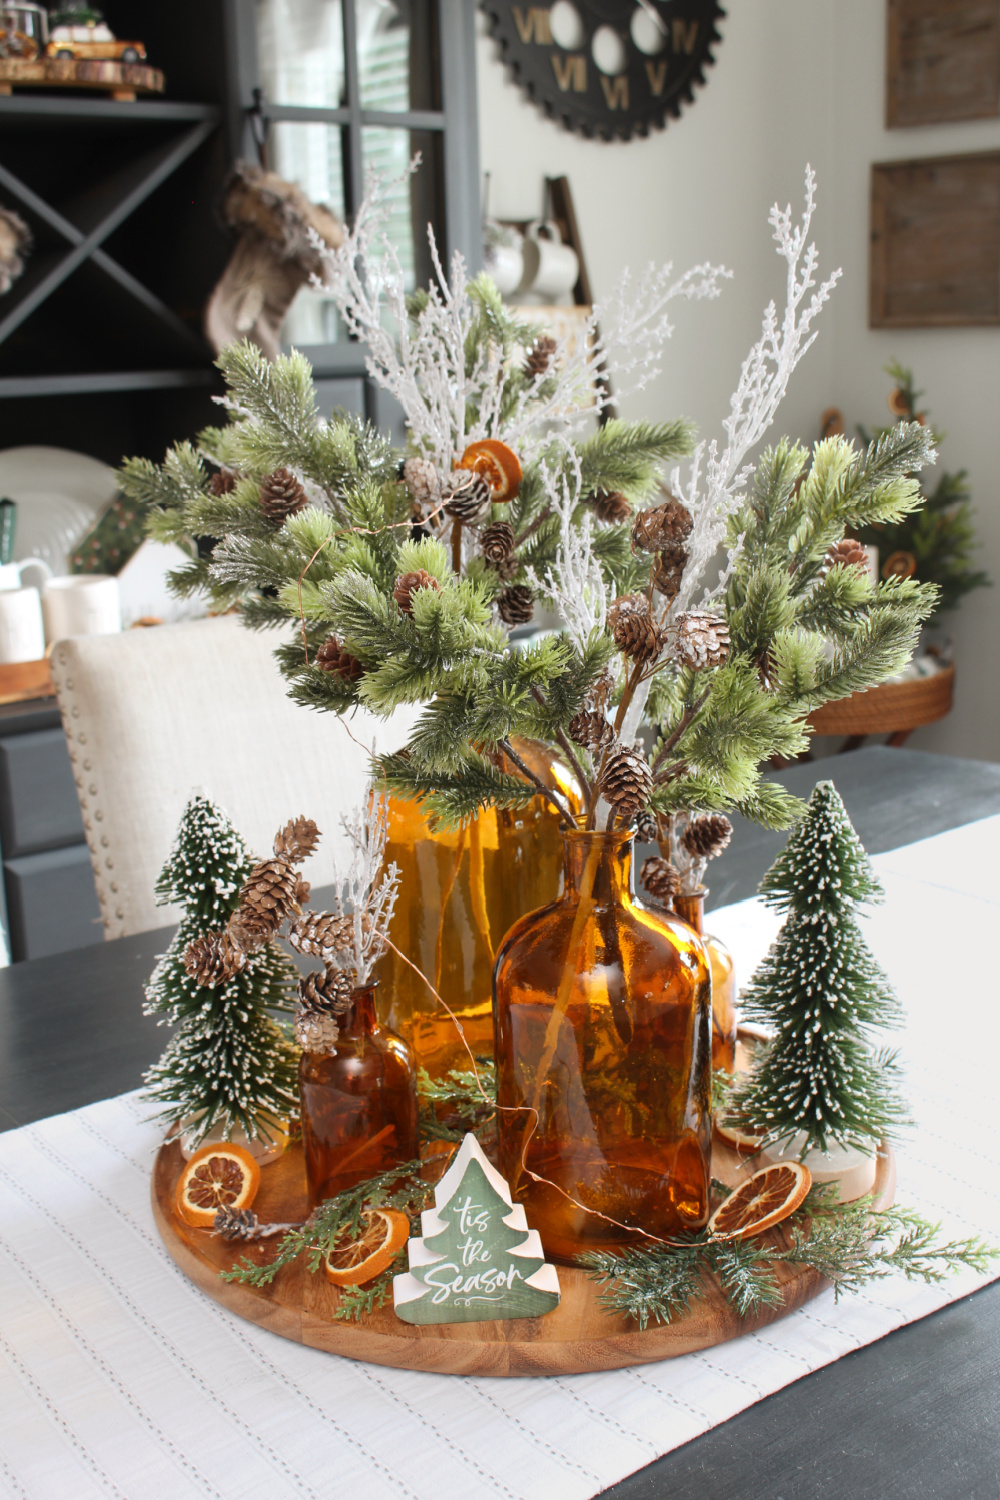
Christmas Dining Room Inspiration
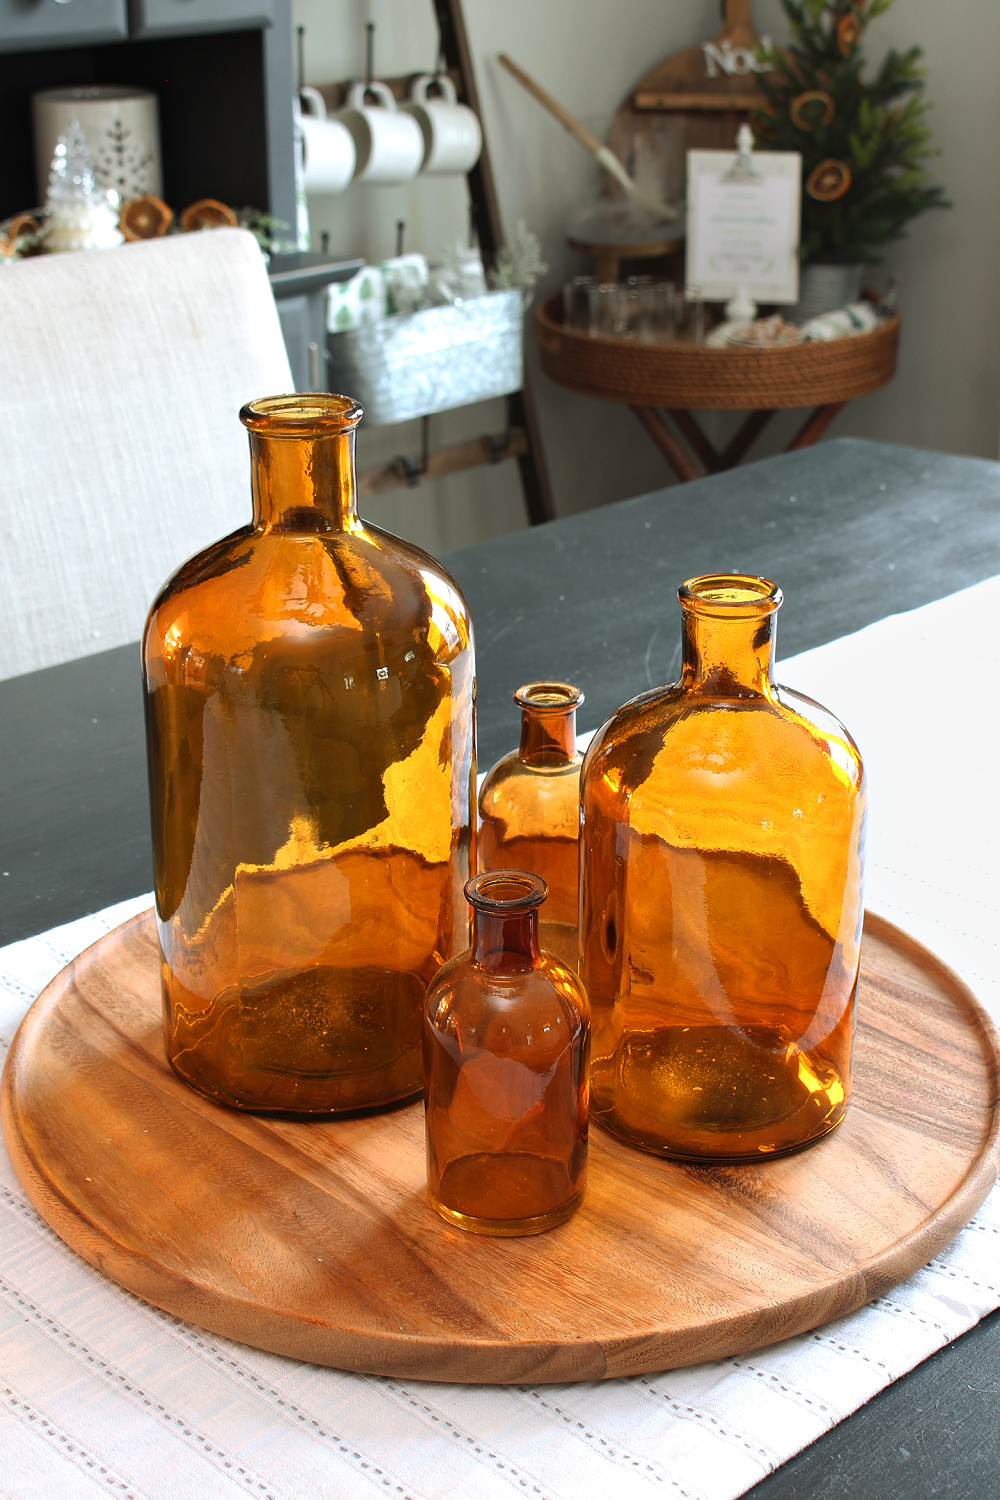
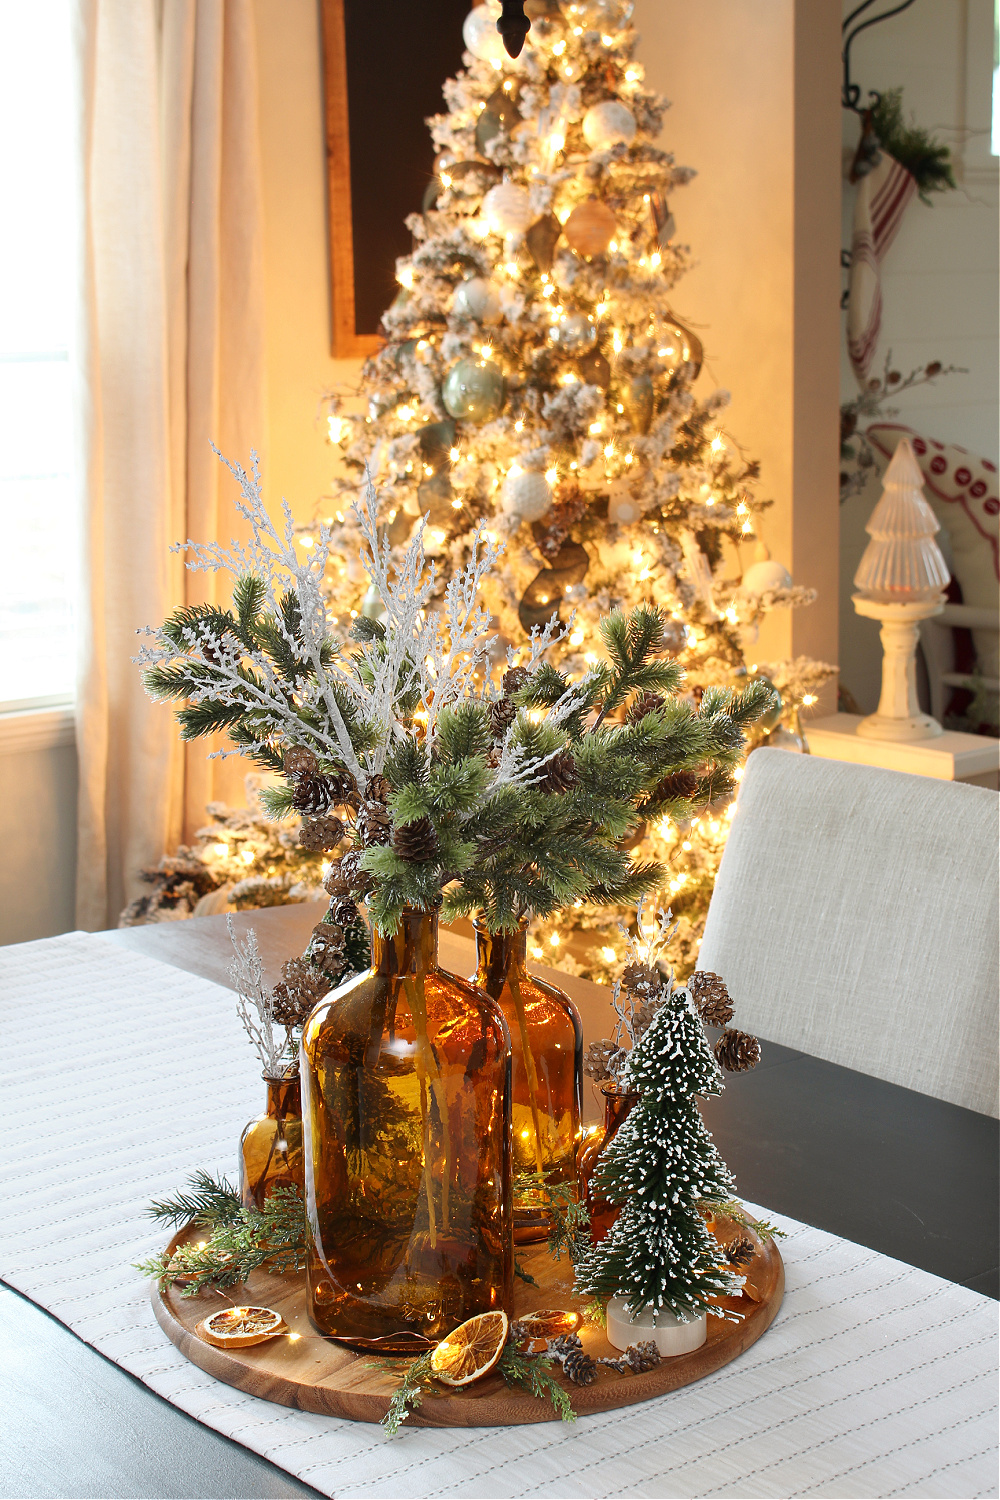
Before I start decorating a room for Christmas, I like to have some sort of inspiration piece to serve as the starting point for the room. This year, our Christmas dining room inspiration came from this simple amber glass bottle centerpiece. I love using the amber bottles for our fall decor, but have never used them for part of our Christmas decor before.
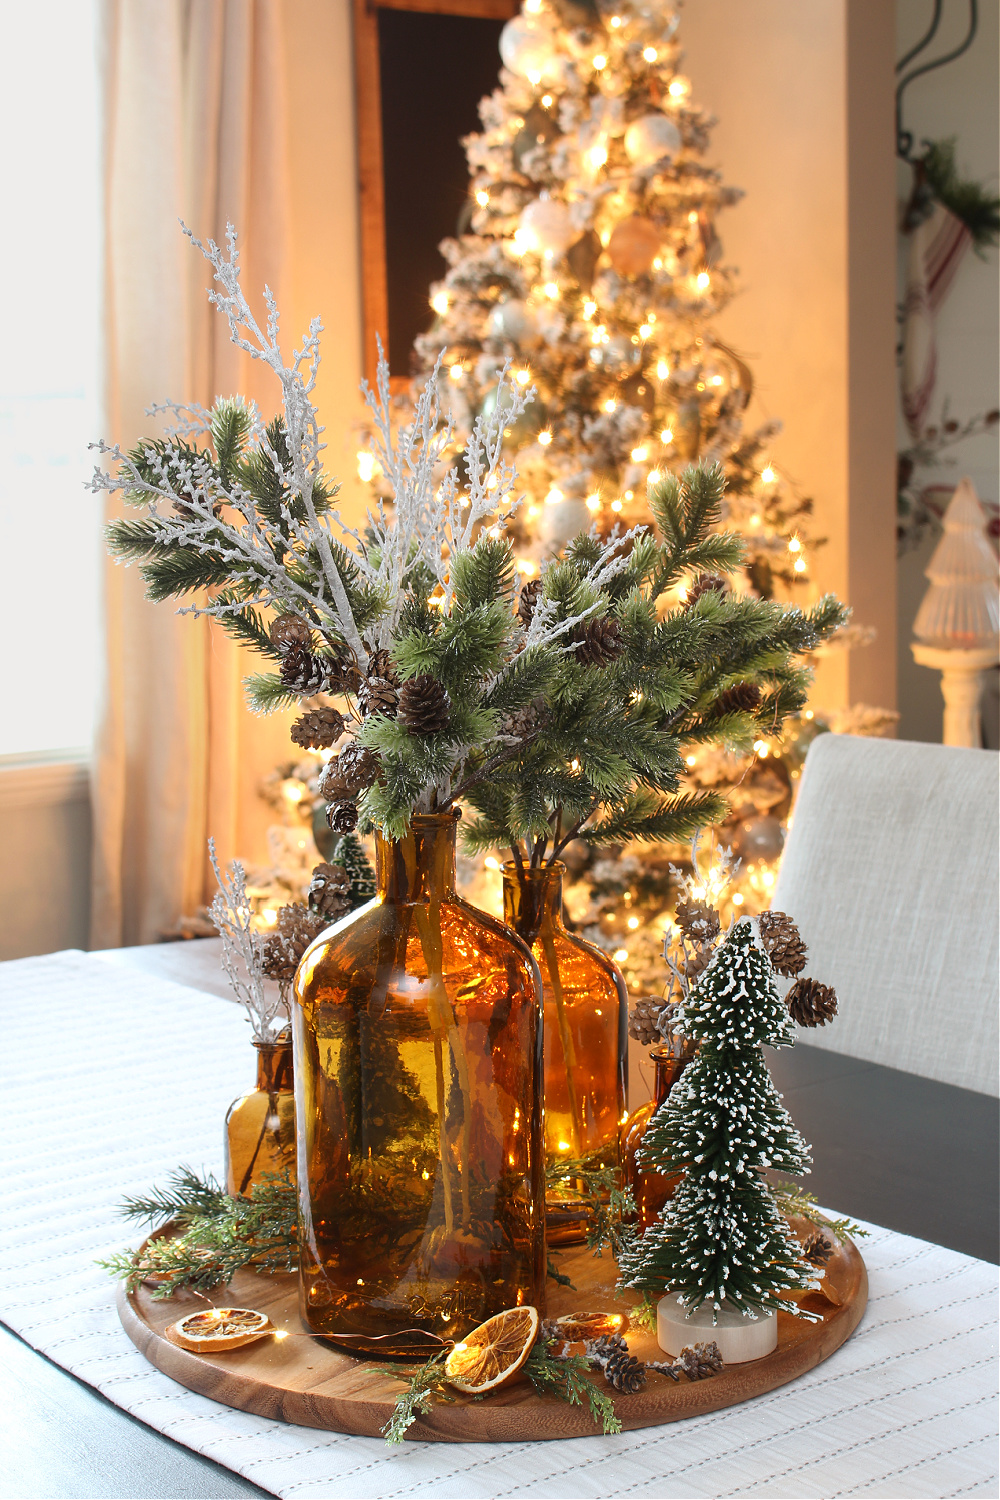
When I was cleaning up our fall decor this year, I had left the amber bottles on the table and then randomly placed some greenery in them as I pulled out my Christmas stuff. I loved the look of it and decided it would be perfect for a Christmas centerpiece. After playing around with some other items I had on hand, I came up with this pretty amber bottle Christmas centerpiece. The dried oranges that I made last year had darkened over the year into a darker amber color and went so well with the amber glass.
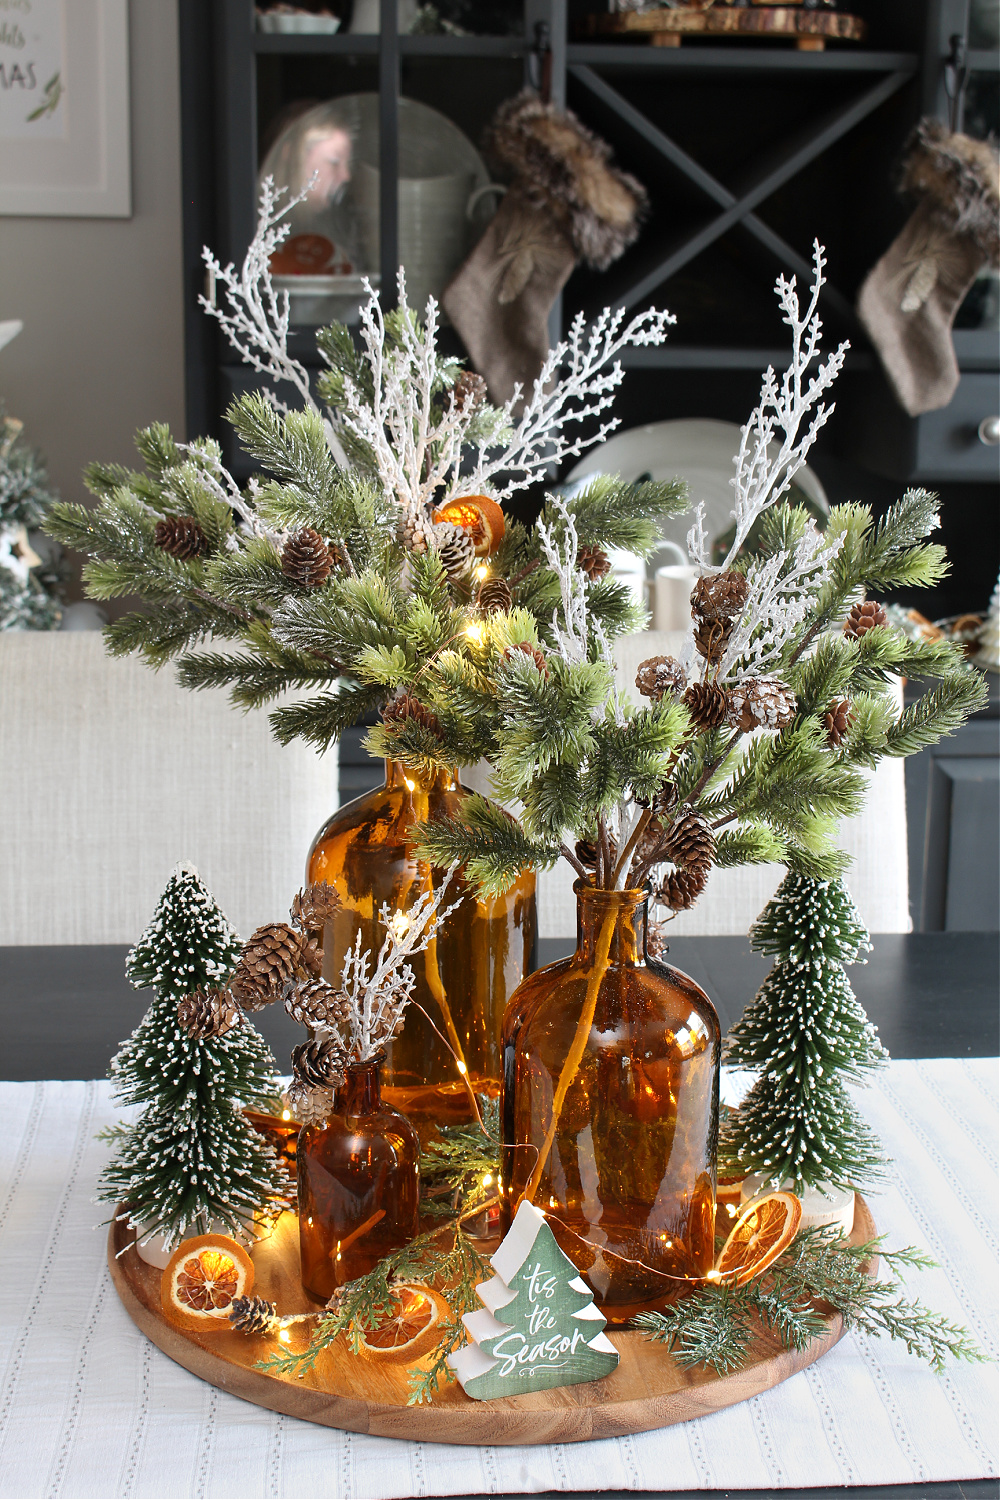
DIY Amber Bottle Christmas Centerpiece
This pretty amber bottle Christmas centerpiece can be made in minutes. Customize it with your favorite fillers or seasonal embellishments.
Materials
- amber glass bottles or other bottles or various sizes
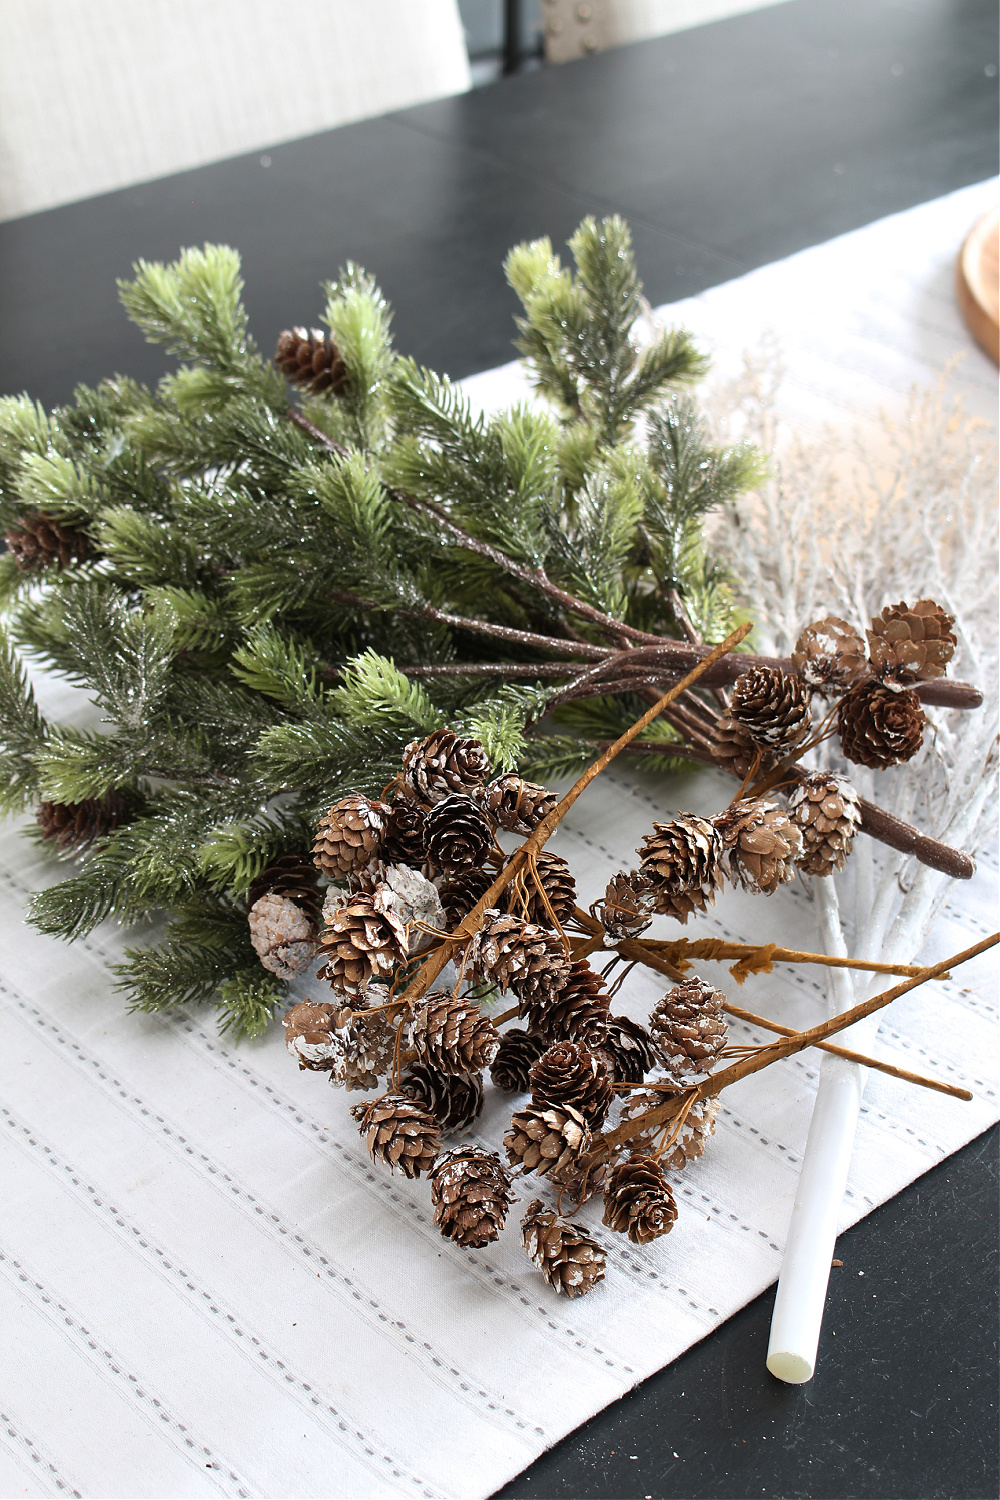
- faux greenery {you could use fresh greenery too}
- battery operated twinkle lights
- dried oranges {these are optional but you can find the DIY tutorial for dried oranges HERE}
- white twigs
- mini pinecone picks
- other seasonal embellishments
Instructions
- Place bottles on a tray or other base {a wood cutting board would work well too} and arrange how you would like.
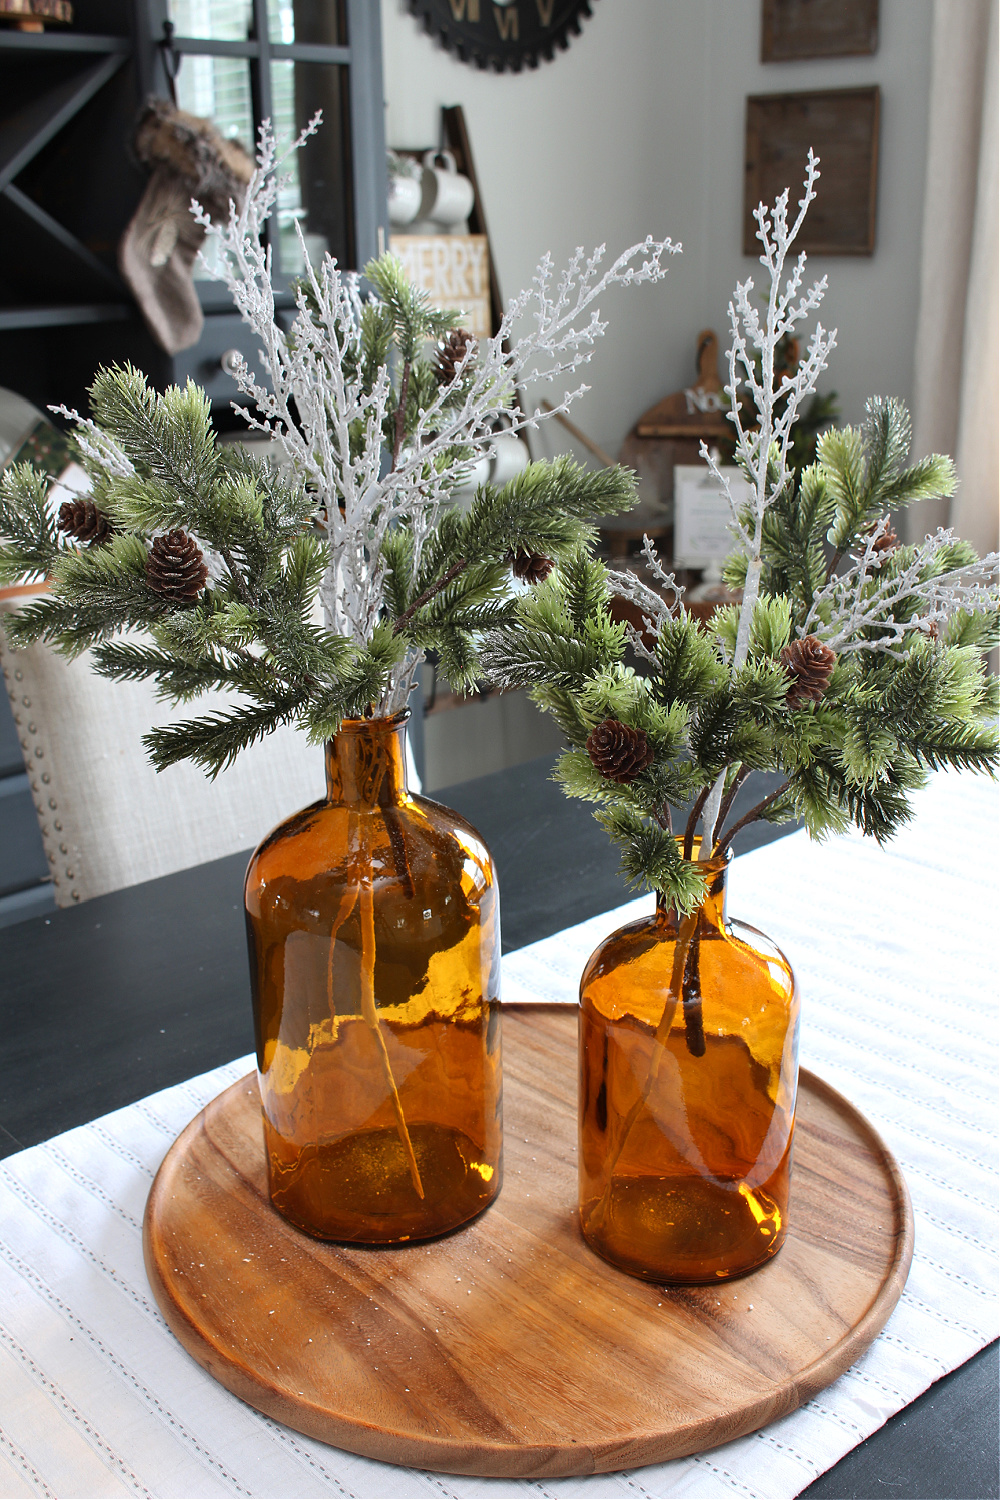
- Add greenery and a few white twigs to the larger bottles. Use metal clippers to trim off pieces of the branches if you need smaller pieces.
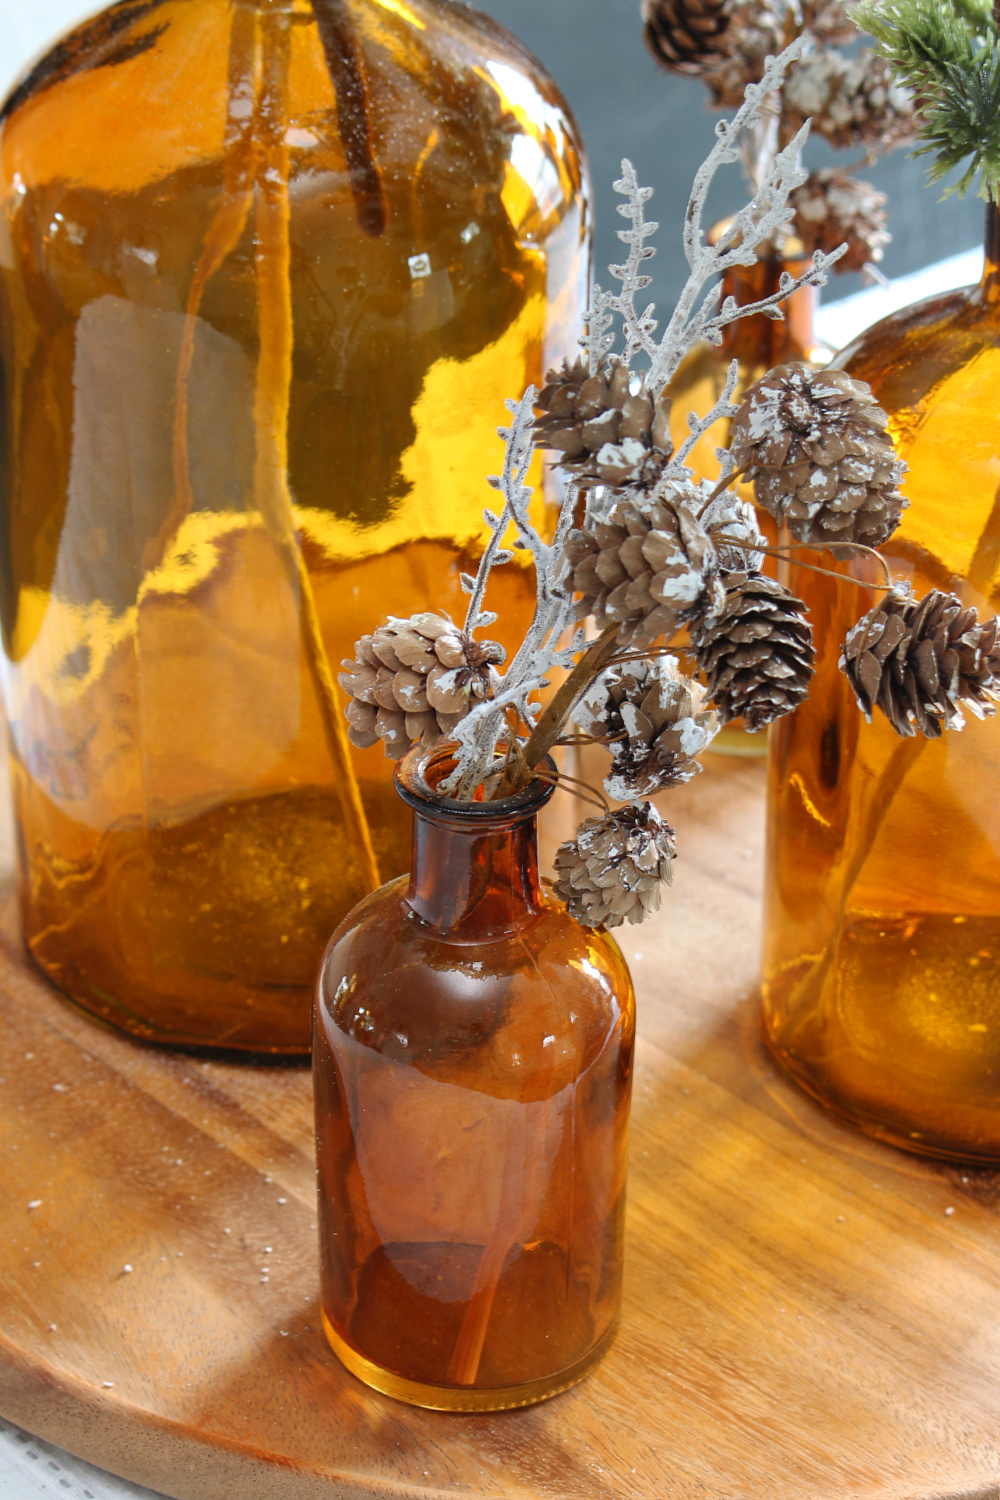
- Trim a smaller piece of the white branches and add it to a pinecone pick. Place in the smaller bottles.
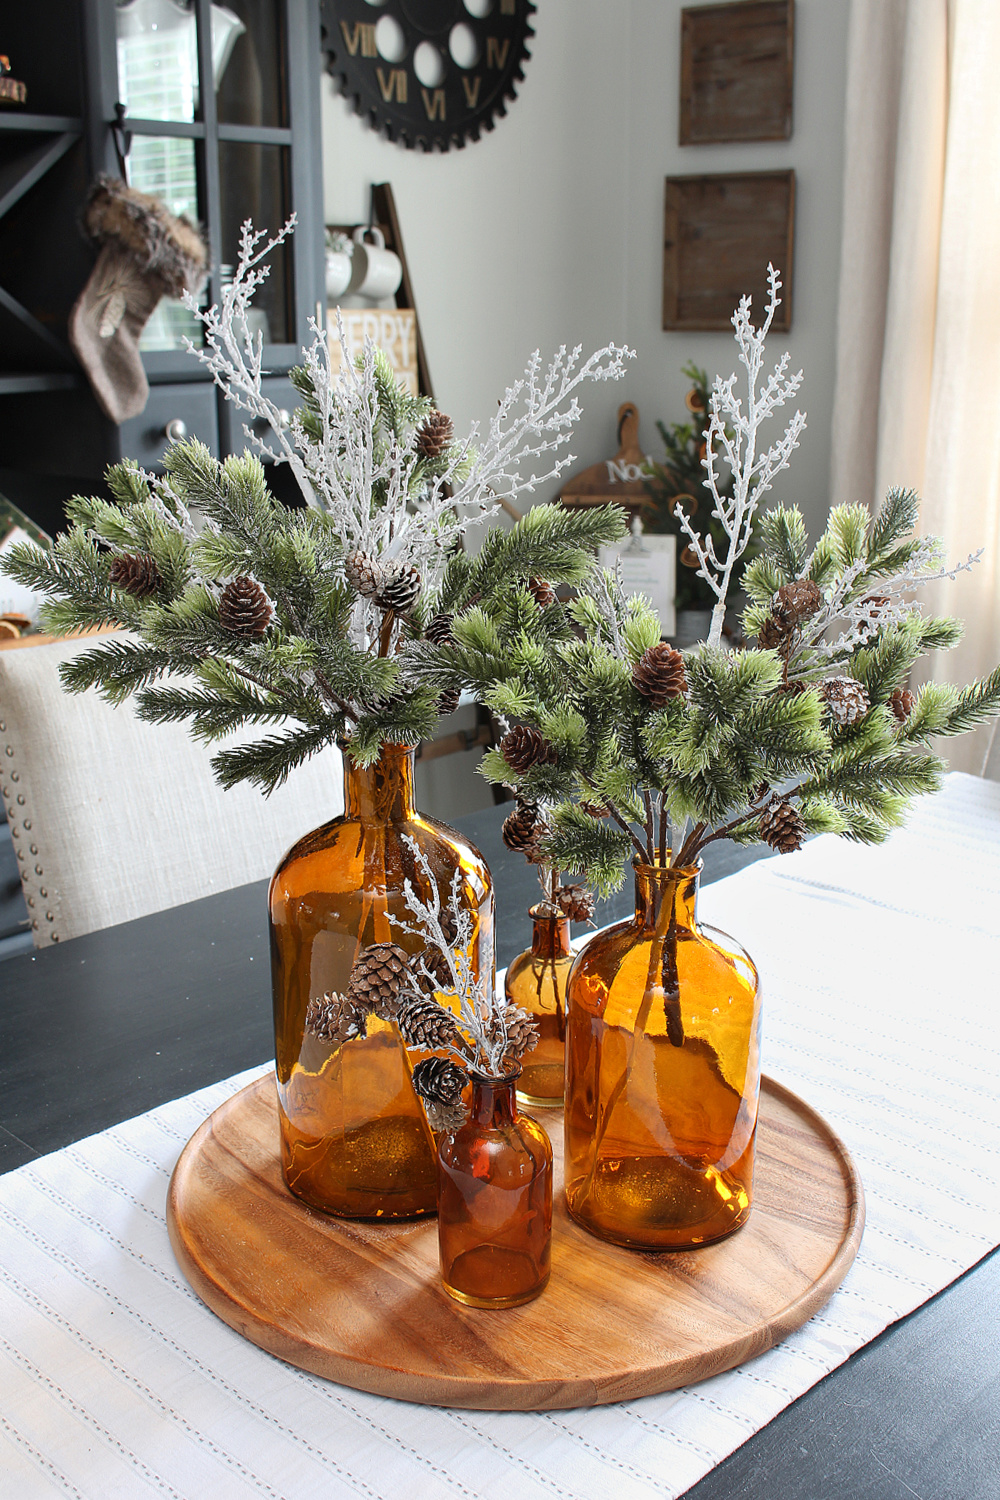
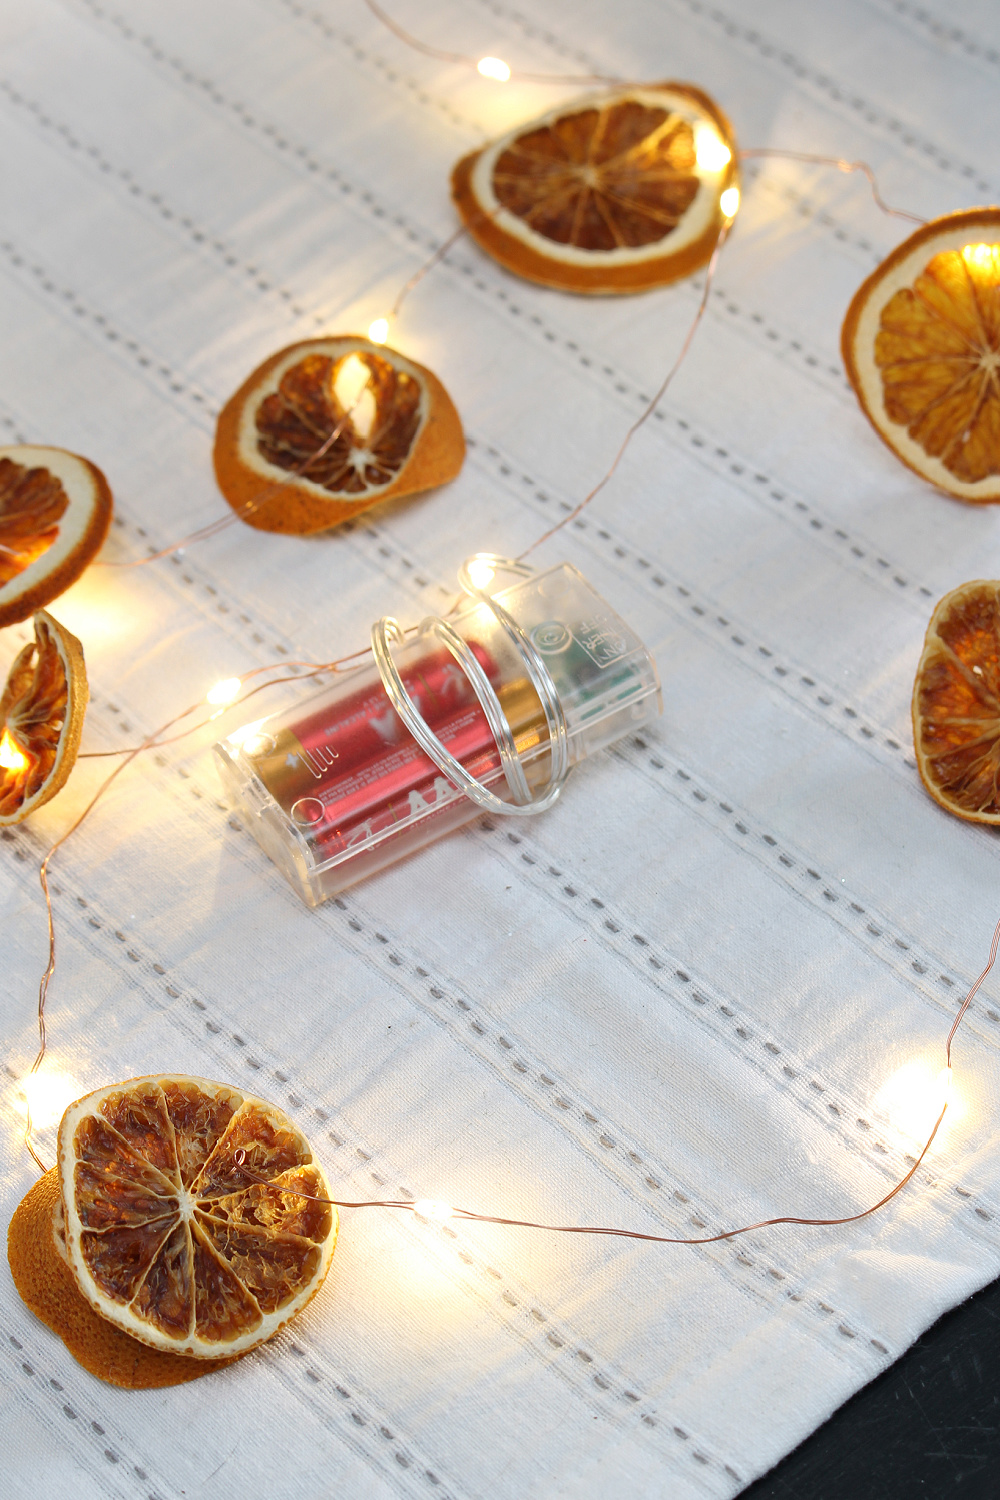
- String dried oranges onto a strand of battery-operated twinkle lights. Weave throughout the centerpiece and arrange how you would like it. I hid the battery pack between the bottles and covered it up later with some greenery. {NOTE: Use lights that have a timer option so you don’t have to pull out the battery pack every time you turn the lights on and off.}
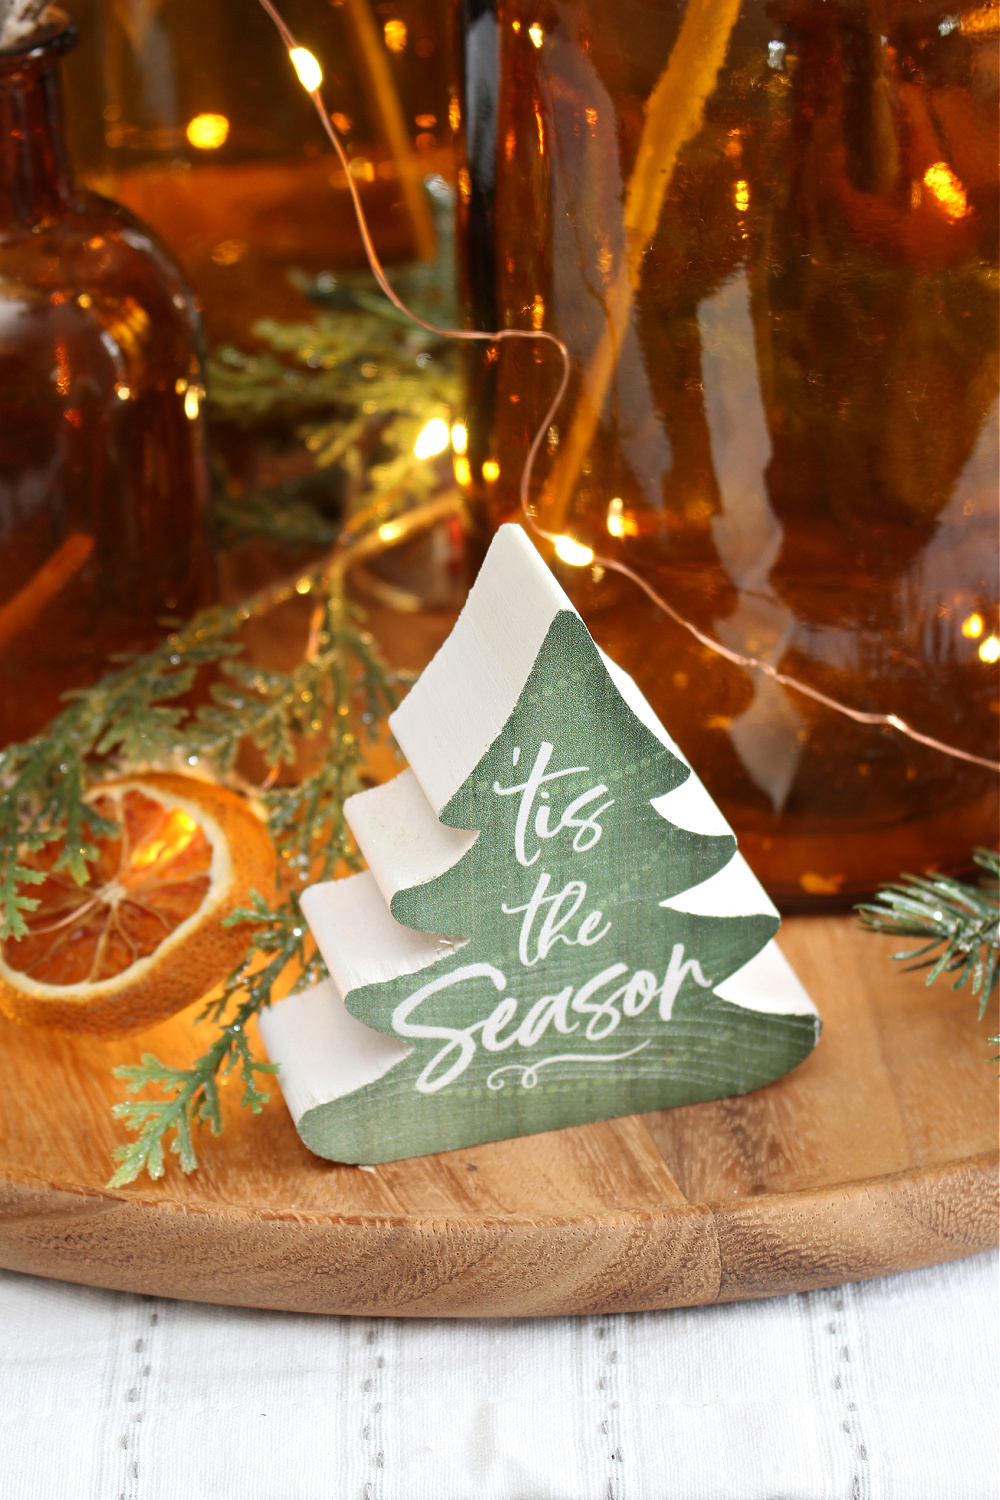
- Add any other embellishments you would like to the base of the tray. I cut a few more pieces of the greenery to add around the bottles and then added a couple of bottle brush trees on either side. I finished things off with this cute little wood tree.
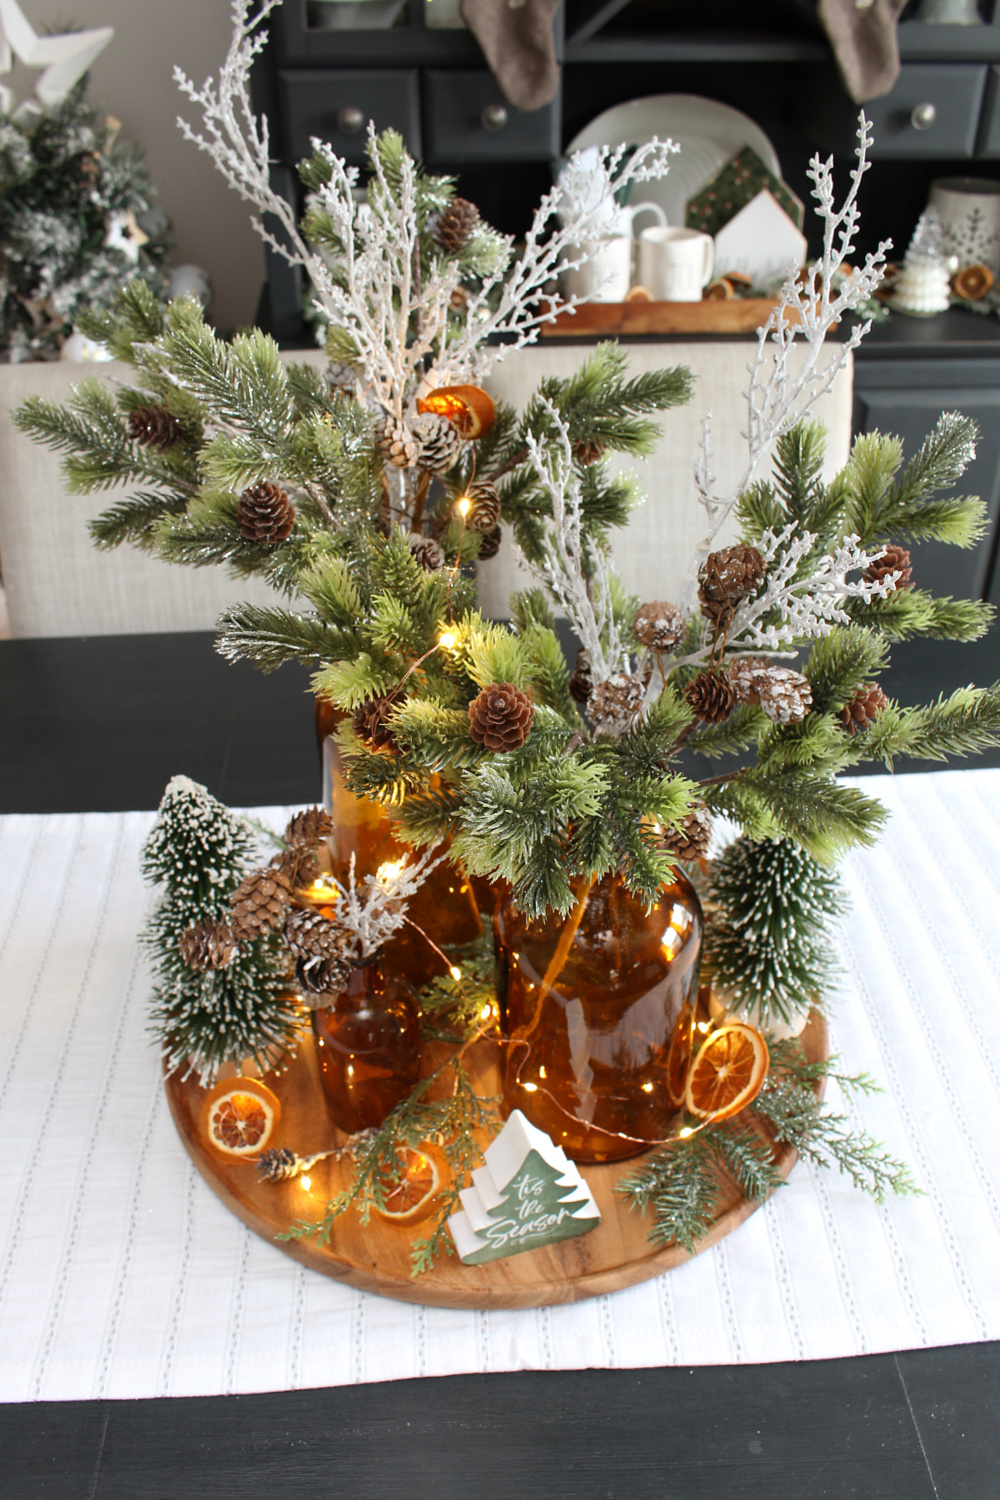
I’m really happy with how it turned out and it looks even prettier when it’s all lit up!
Other Items to use for your Centerpiece
If you want to add your own touch to the centerpeice, you can try these alternative add-ons…
- use fresh greenery instead of faux
- add snowy covered pinecones on the base
- dress it up with ornament balls {you can either place these on the base or hang small balls from the greenery}
- add flocking to the greenery for a snowy look {see how to flock a tree HERE}
- use regular glass bottles instead of the amber glass
- sprinkle with faux snow
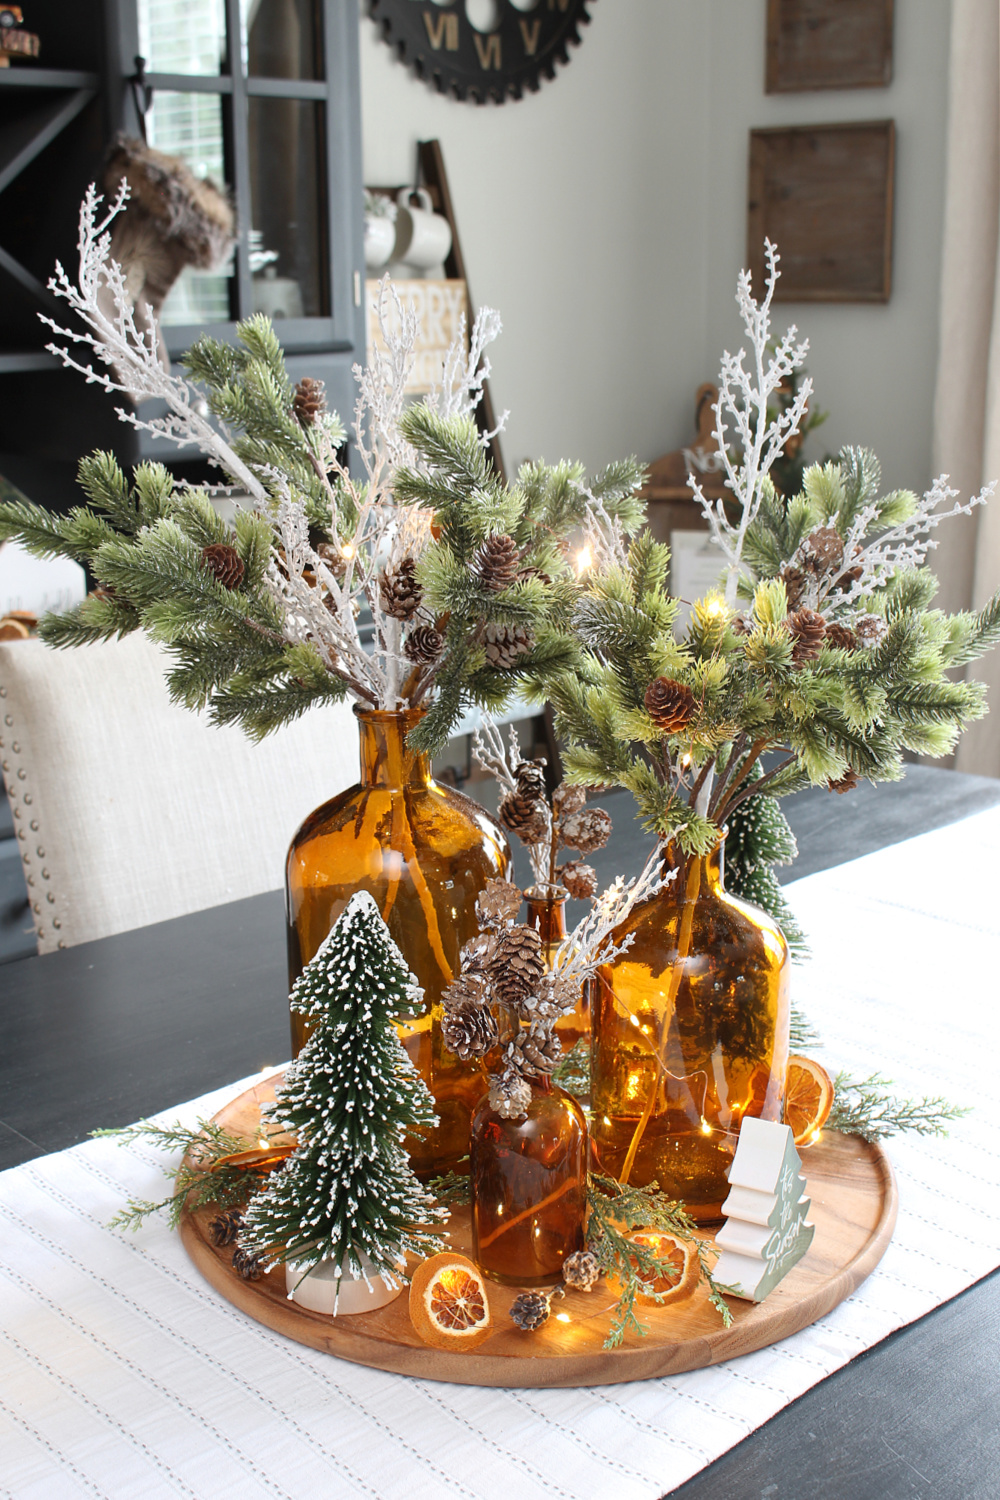
I hope you enjoy putting together this Christmas centerpiece as much as I did! Come back on Tuesday for our full Christmas dining room reveal. For more Christmas centerpiece ideas, check out THIS POST.
More Christmas DIY Ideas
Poinsettia Christmas Centerpiece
Leave a Reply