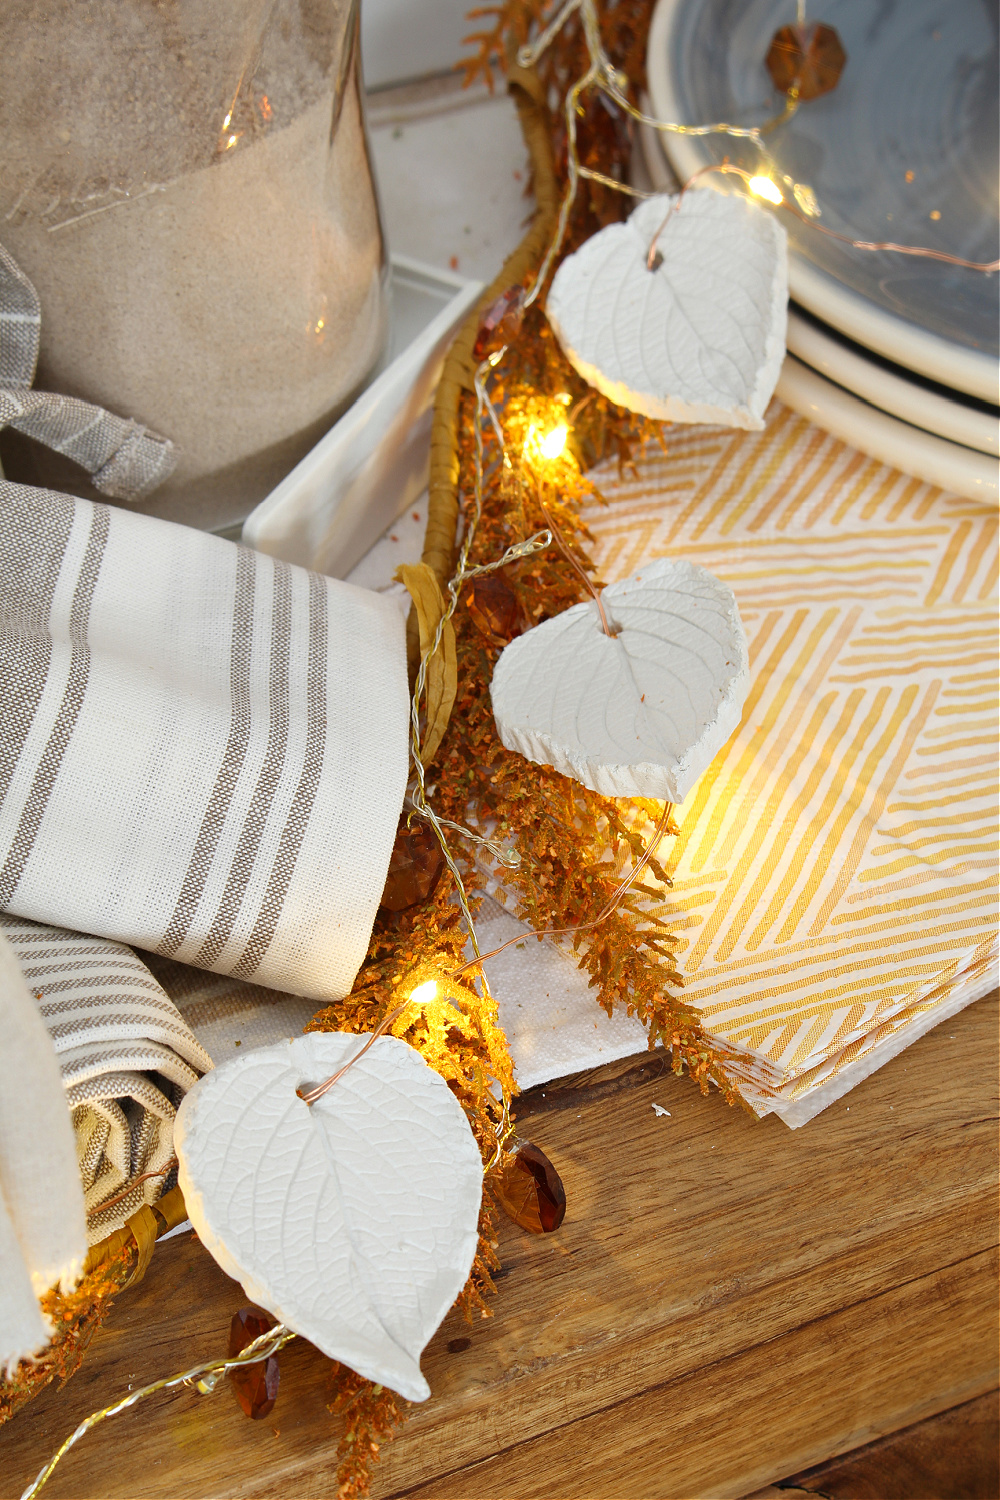
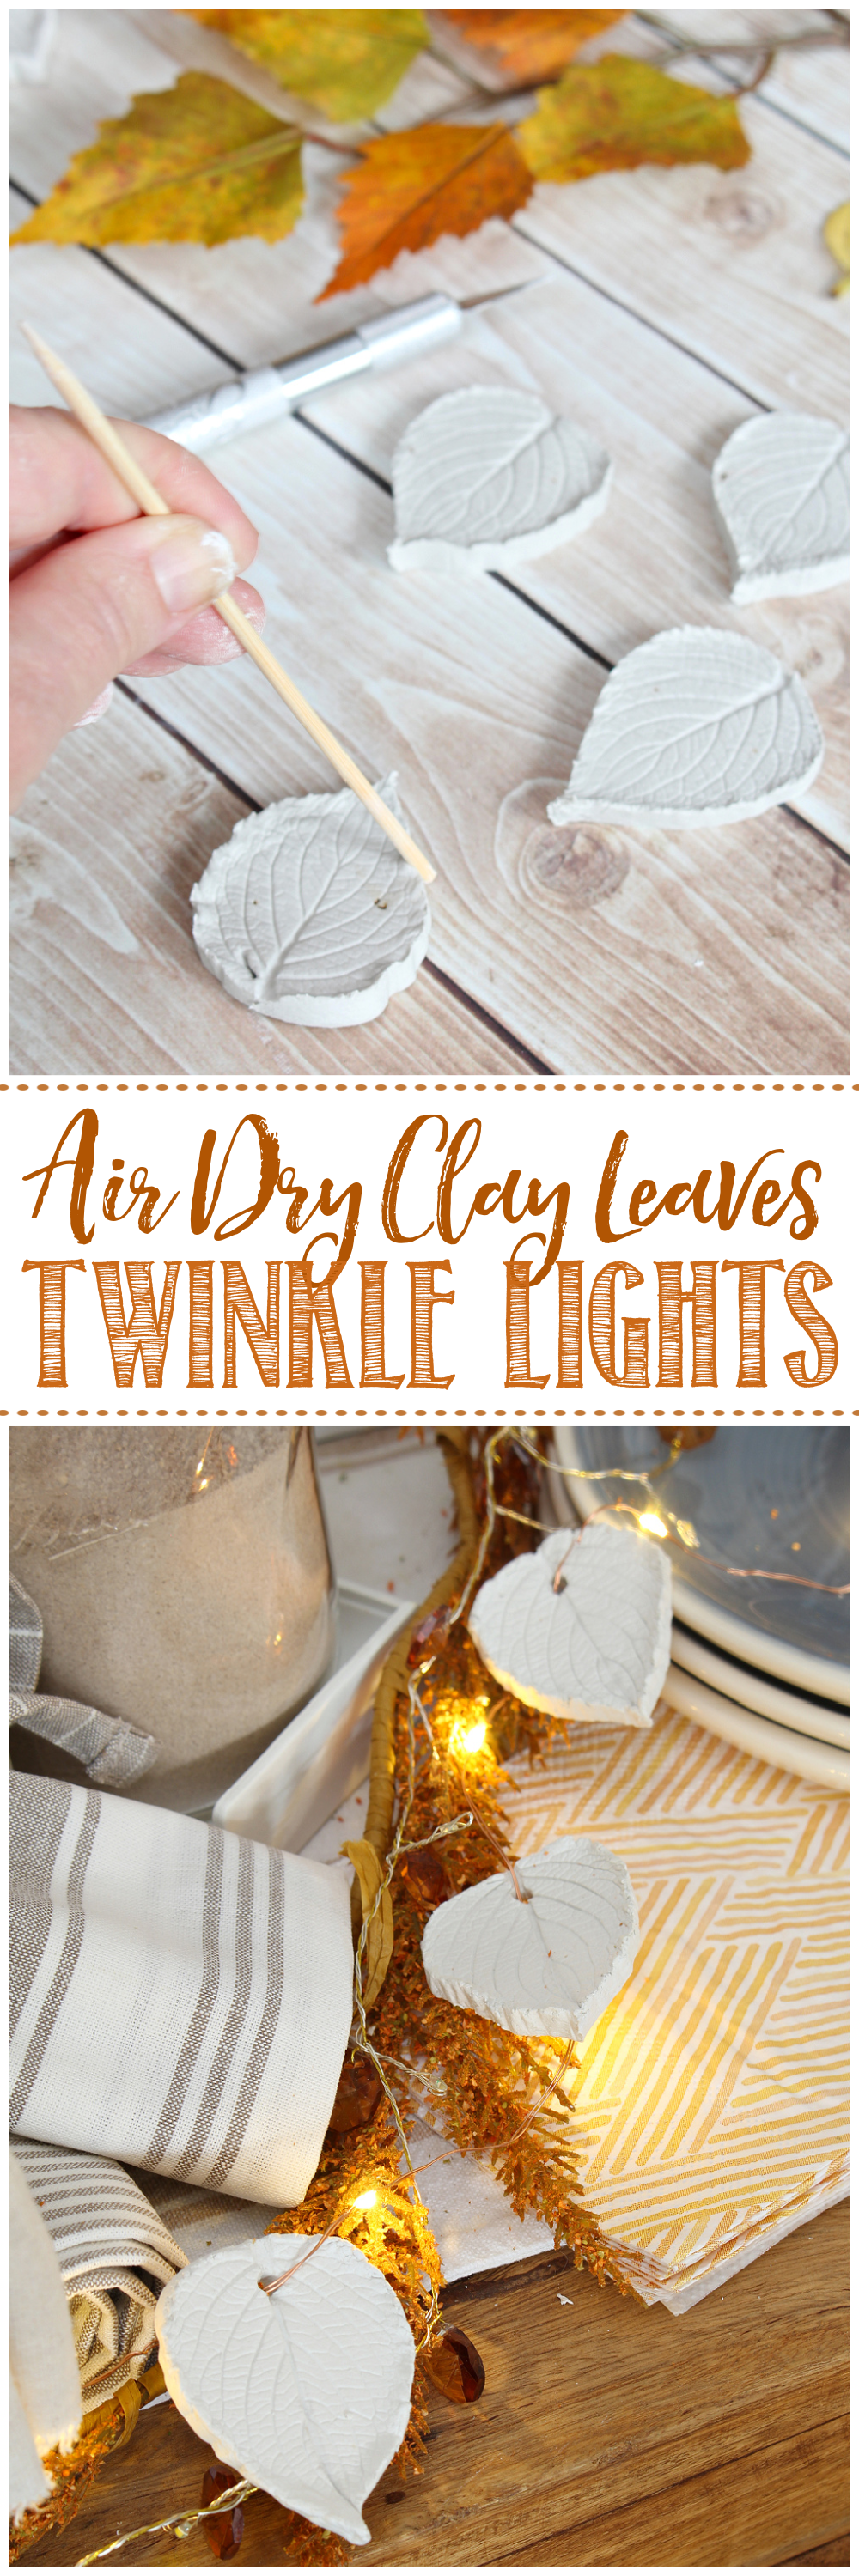
These air dry clay leaves add a pretty touch to any fall vignette. Add them to twinkle lights for a beautiful glow!
Fall Seasonal Simplicity Series
It’s hard to believe that it’s almost fall, but the fall seasonal simplicity series is back! Each week my blogger friends and I will be sharing our best fall ideas to help you enjoy the season. Everything from fall decor ideas to seasonal crafts, fall printables and more. Today we’re kicking it off with our favorite fall crafts and DIY projects, so get ready for some beautiful fall inspiration!
This post contains affiliate links. This means that I may make a small commission at no cost to you on items purchased directly through the links. As always, I only share products that I use and love. Thank-you for your support!
Air Dry Clay Leaves Twinkle Lights
No matter the season, I always LOVE twinkle lights! As the fall weather starts to cool and the days get shorter, twinkle lights add such a warm, cozy feeling to any space. Plus, they just make everything prettier!
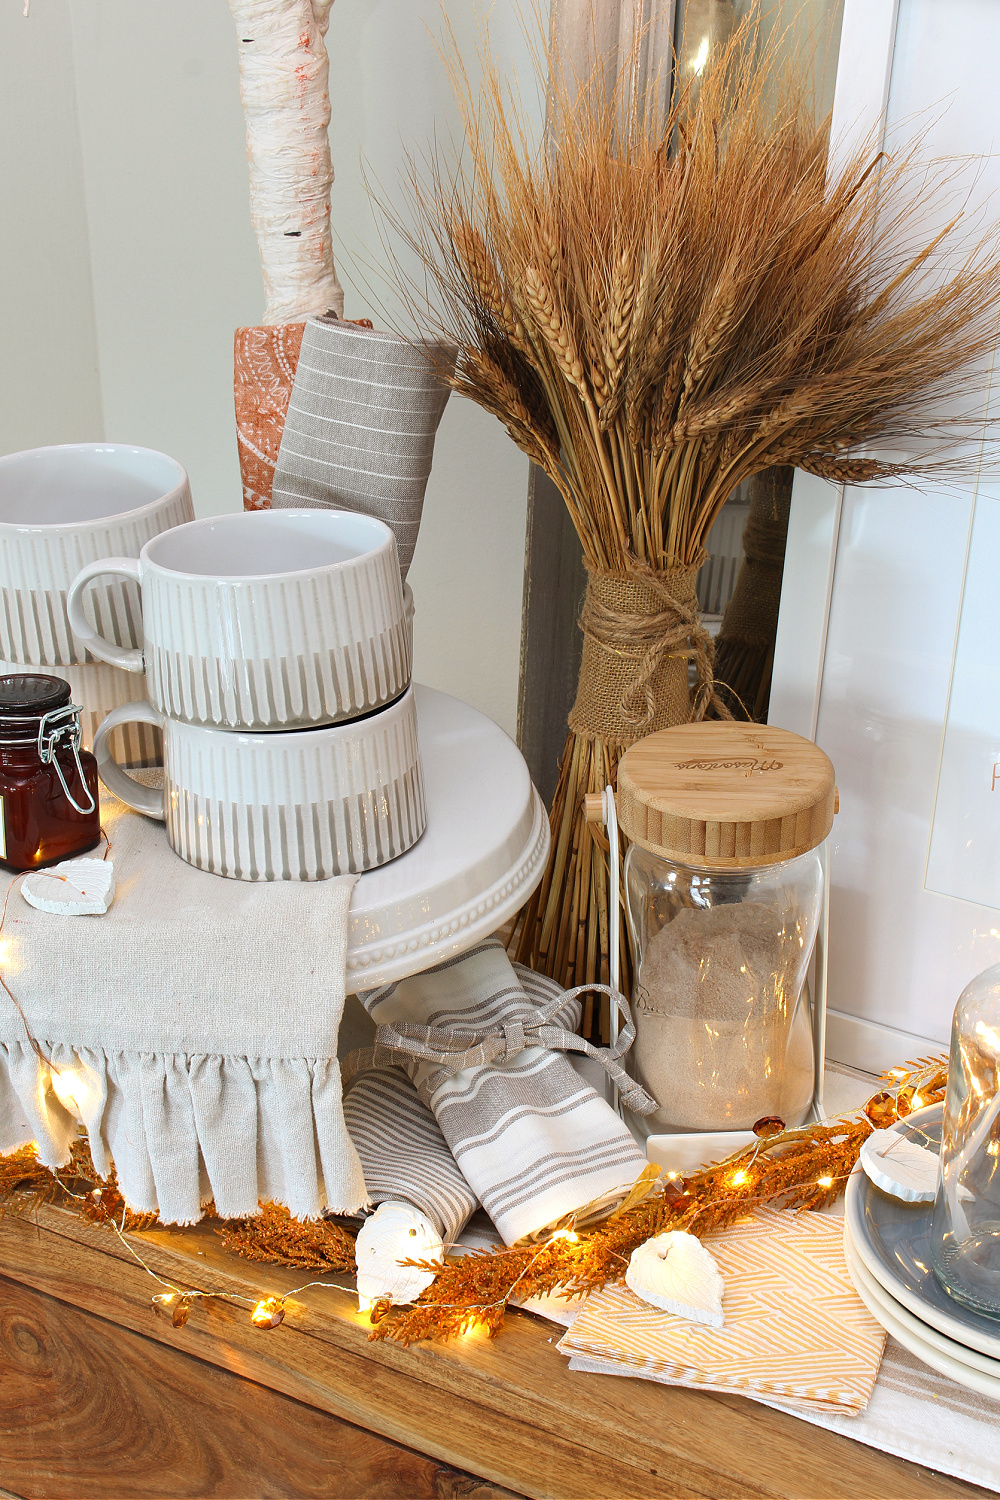
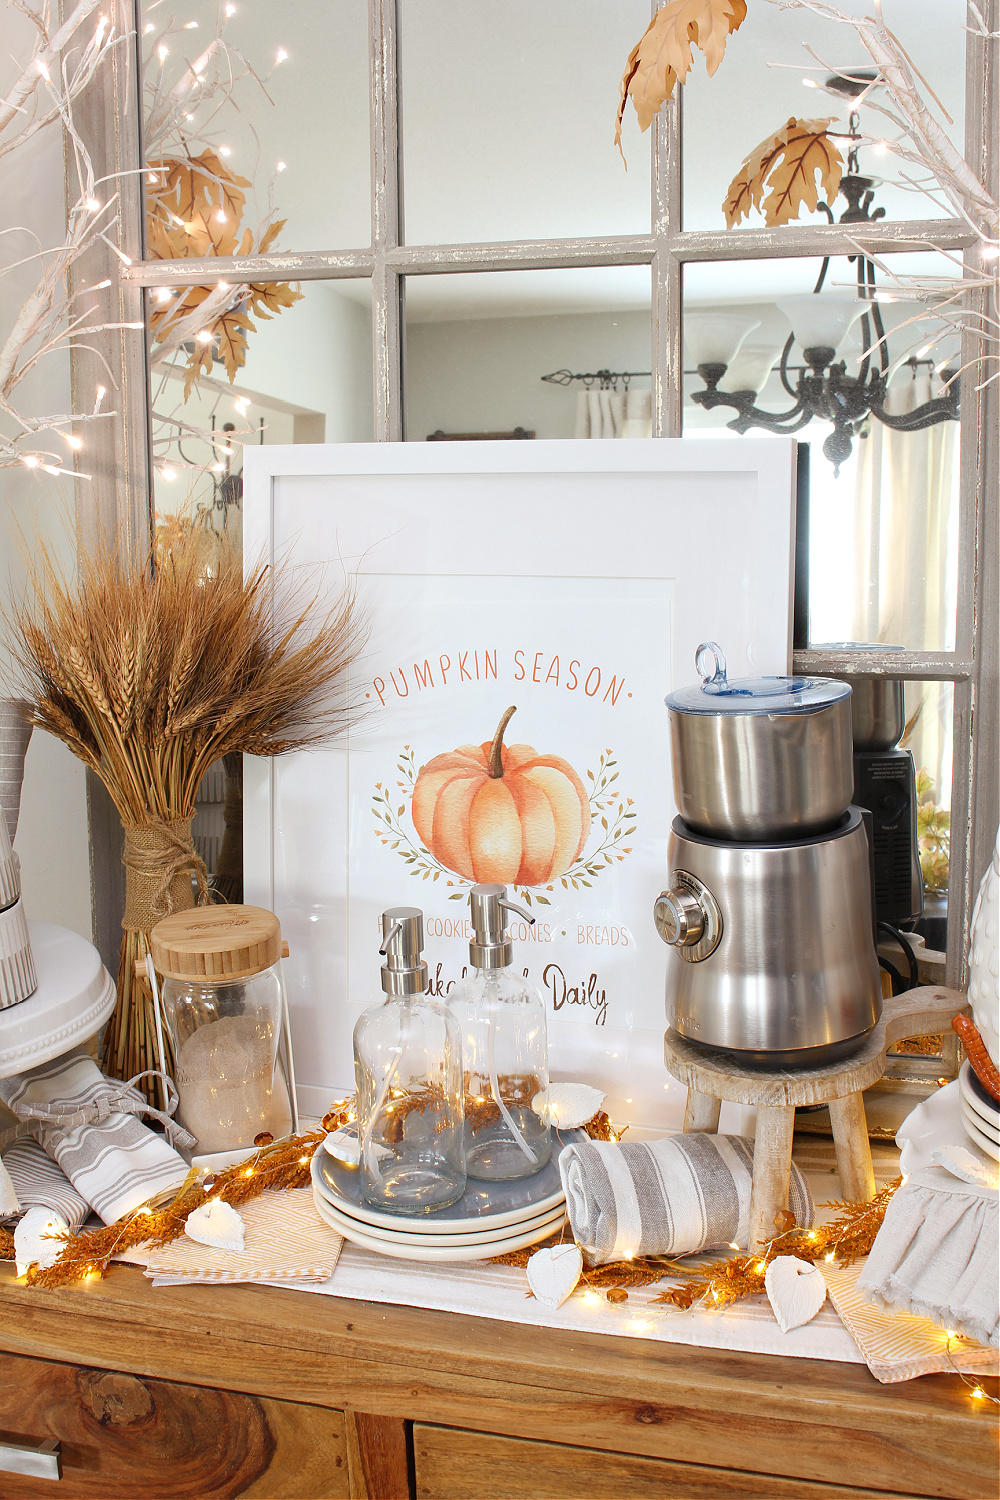
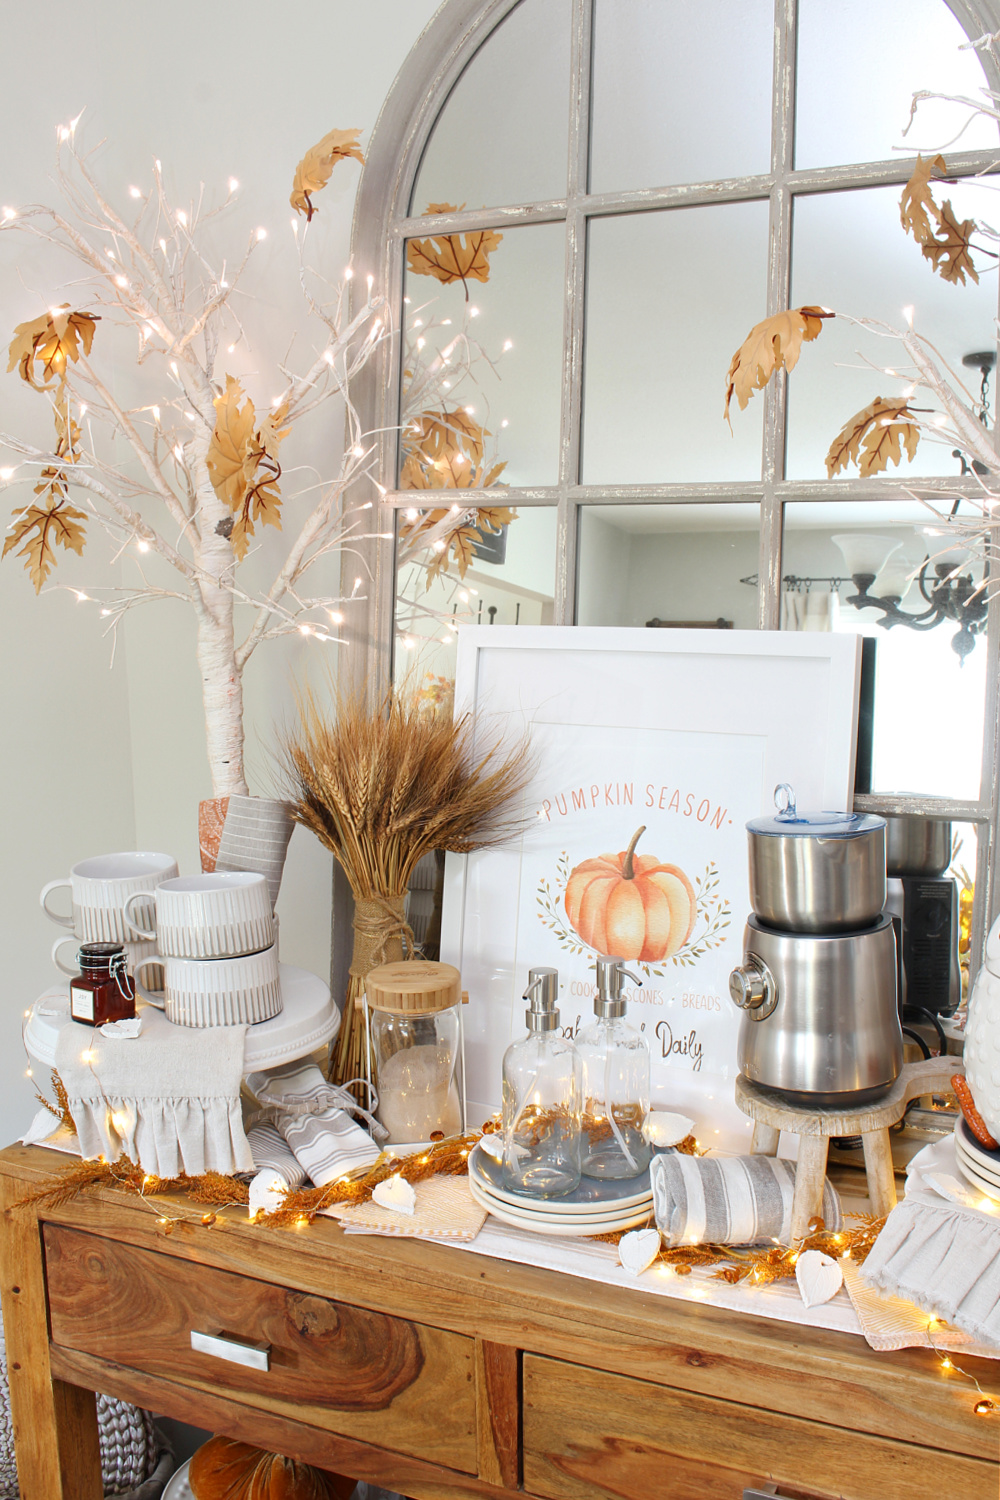
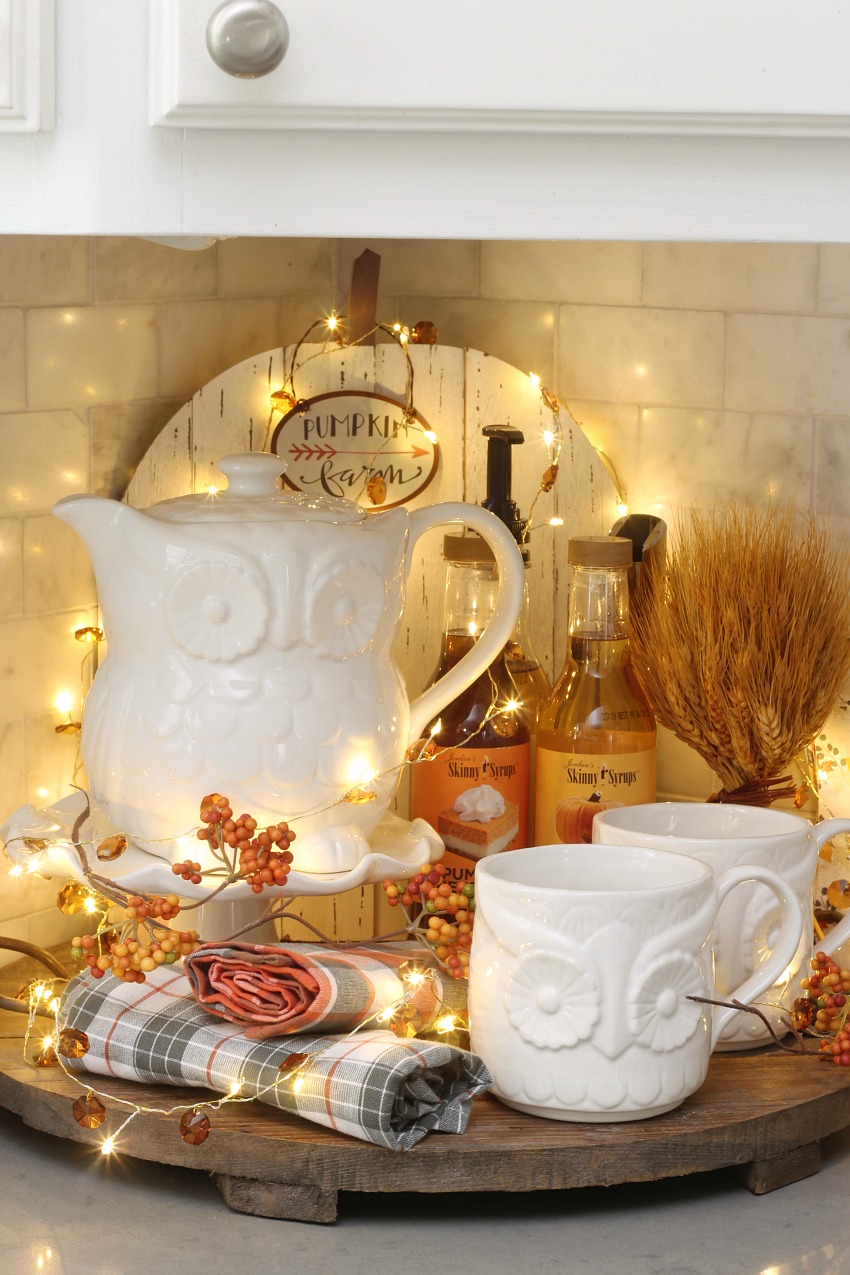
I made some air dry clay stars last Christmas and wanted to do a fall version. They were lots of fun to make and add that little extra touch to your fall decor. I used them in our fall beverage bar in the dining room and love the extra detail.
DIY Air Dry Clay Leaves
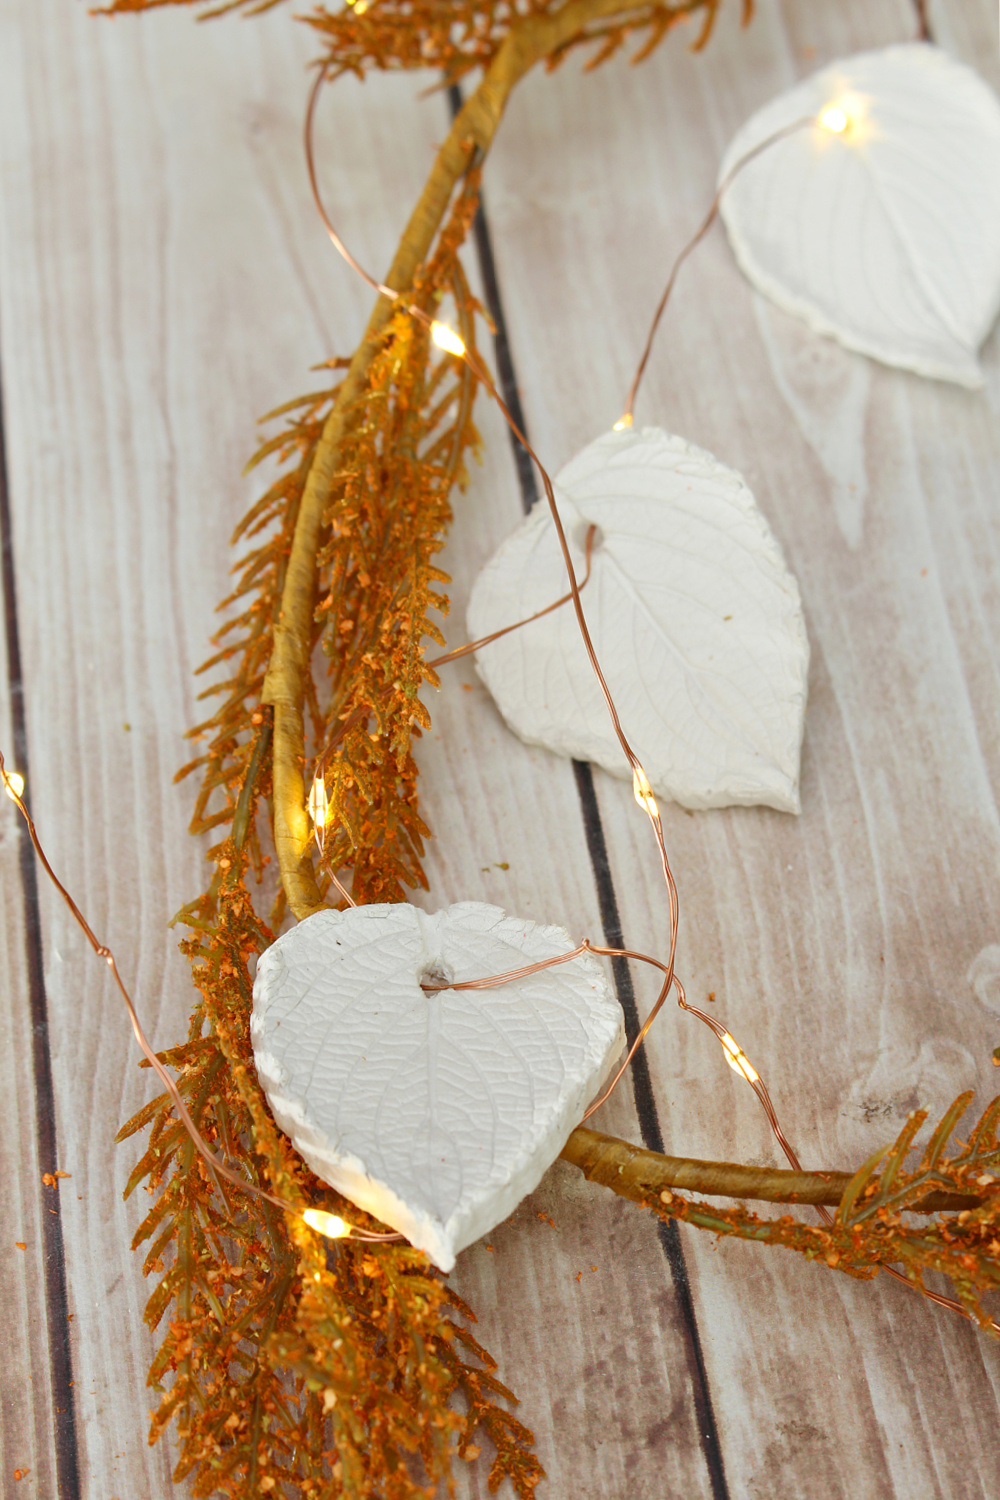
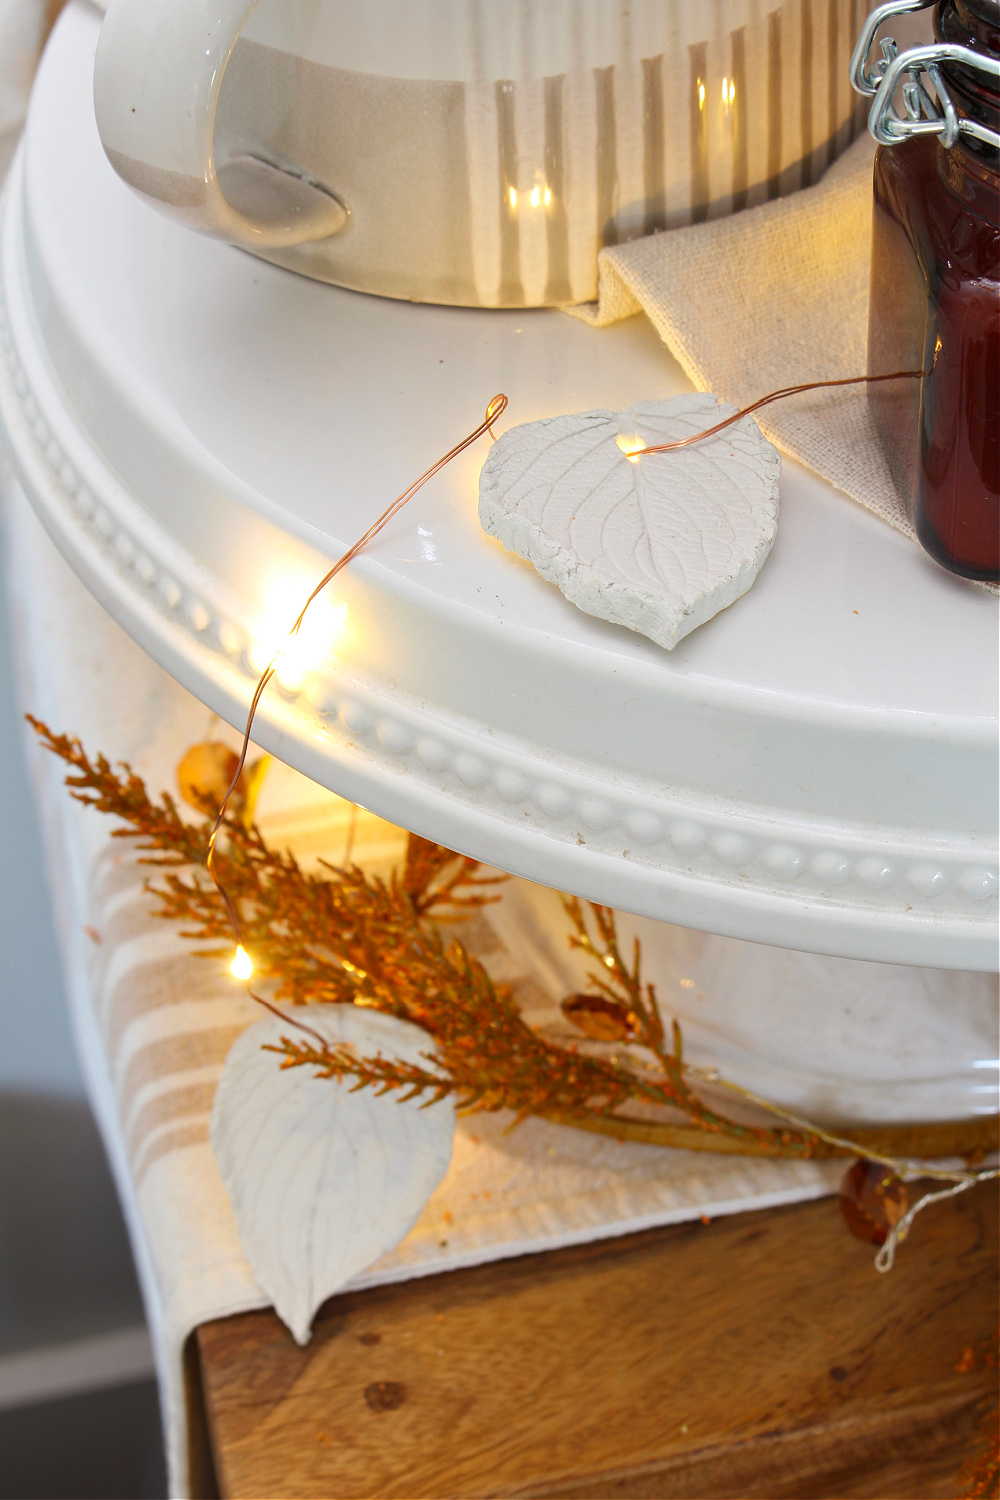
These air dry clay leaves are super simple to make but can be used in so many creative ways for your fall decor. I used mine for some pretty fall twinkle lights but check out some other uses for them at the end of the post.
Materials
- air dry clay. I purchased my clay to keep it simple but you can always make your own DIY air dry clay if you’d like. I made 25 two inch stars from about 1 lb. of clay {although this will vary depending on how thick you make yours}.
- leaf of your choice
- exacto knife
- rolling pin
- wood skewer or other small tool to poke a hole
- twinkle lights. I always look for lights that have an automatic on/off so they come on {and go off} each night without me having to remember!
Directions
- Roll out air dry clay on parchment paper or other non-stick surface. I made mine a little less than about 1/4 inch thick. Just try to get it as uniform as possible.
- Place your leaf over the clay with the underside of the leaf down on the clay.
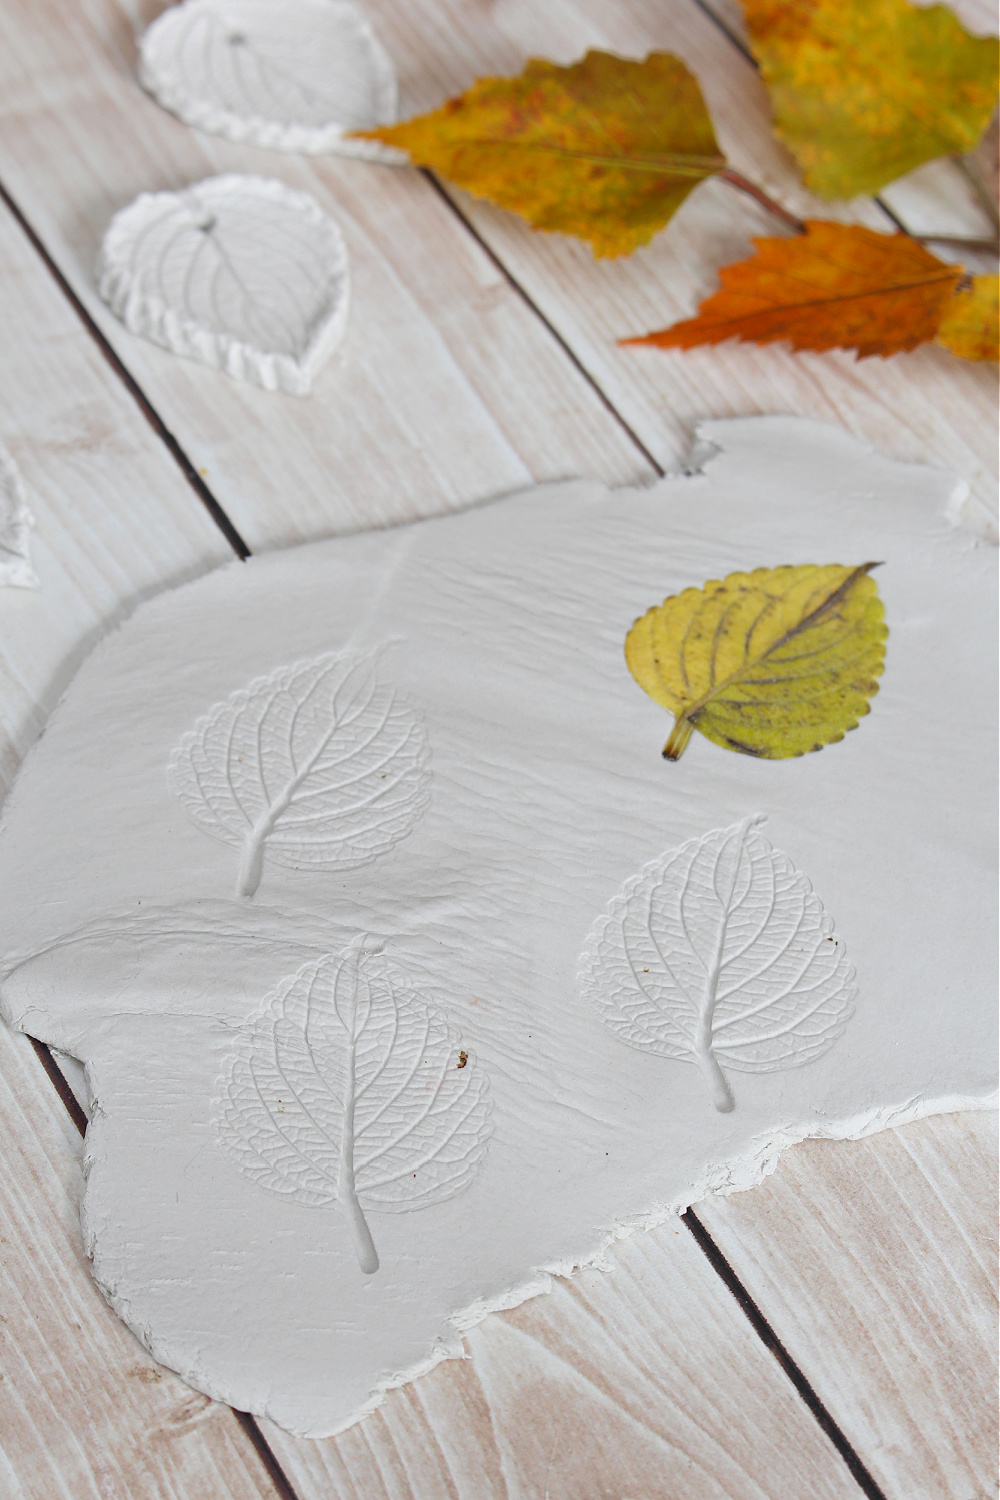
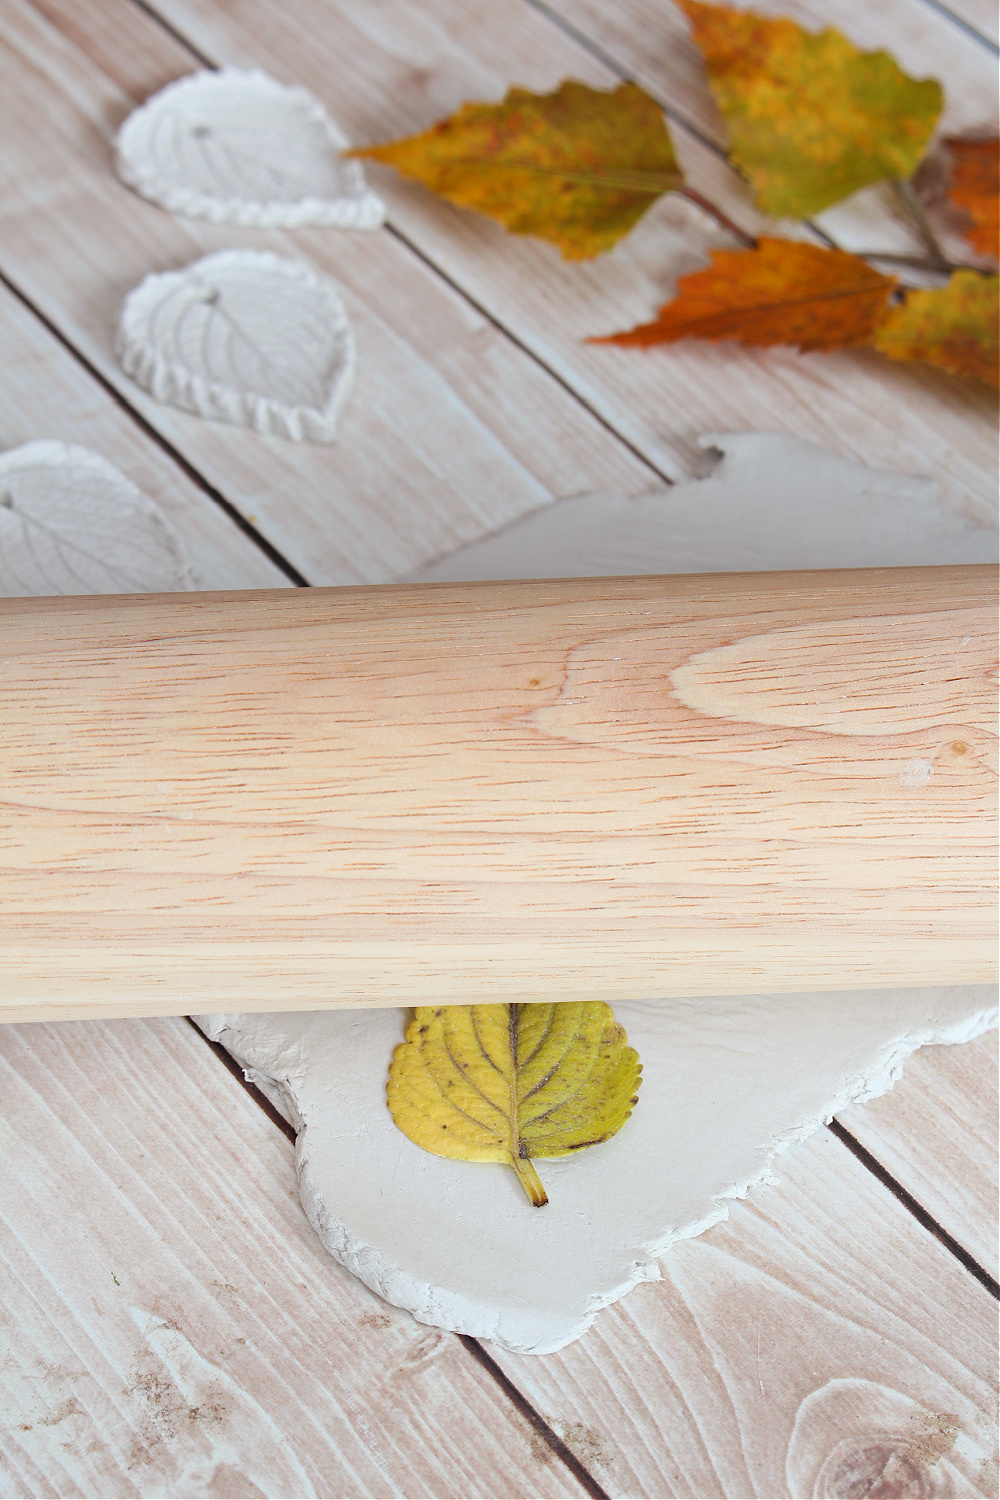
- Using the rolling pin, roll firmly over the leaf. It’s best to do it in one roll as the leaf can move if you roll back and forth.
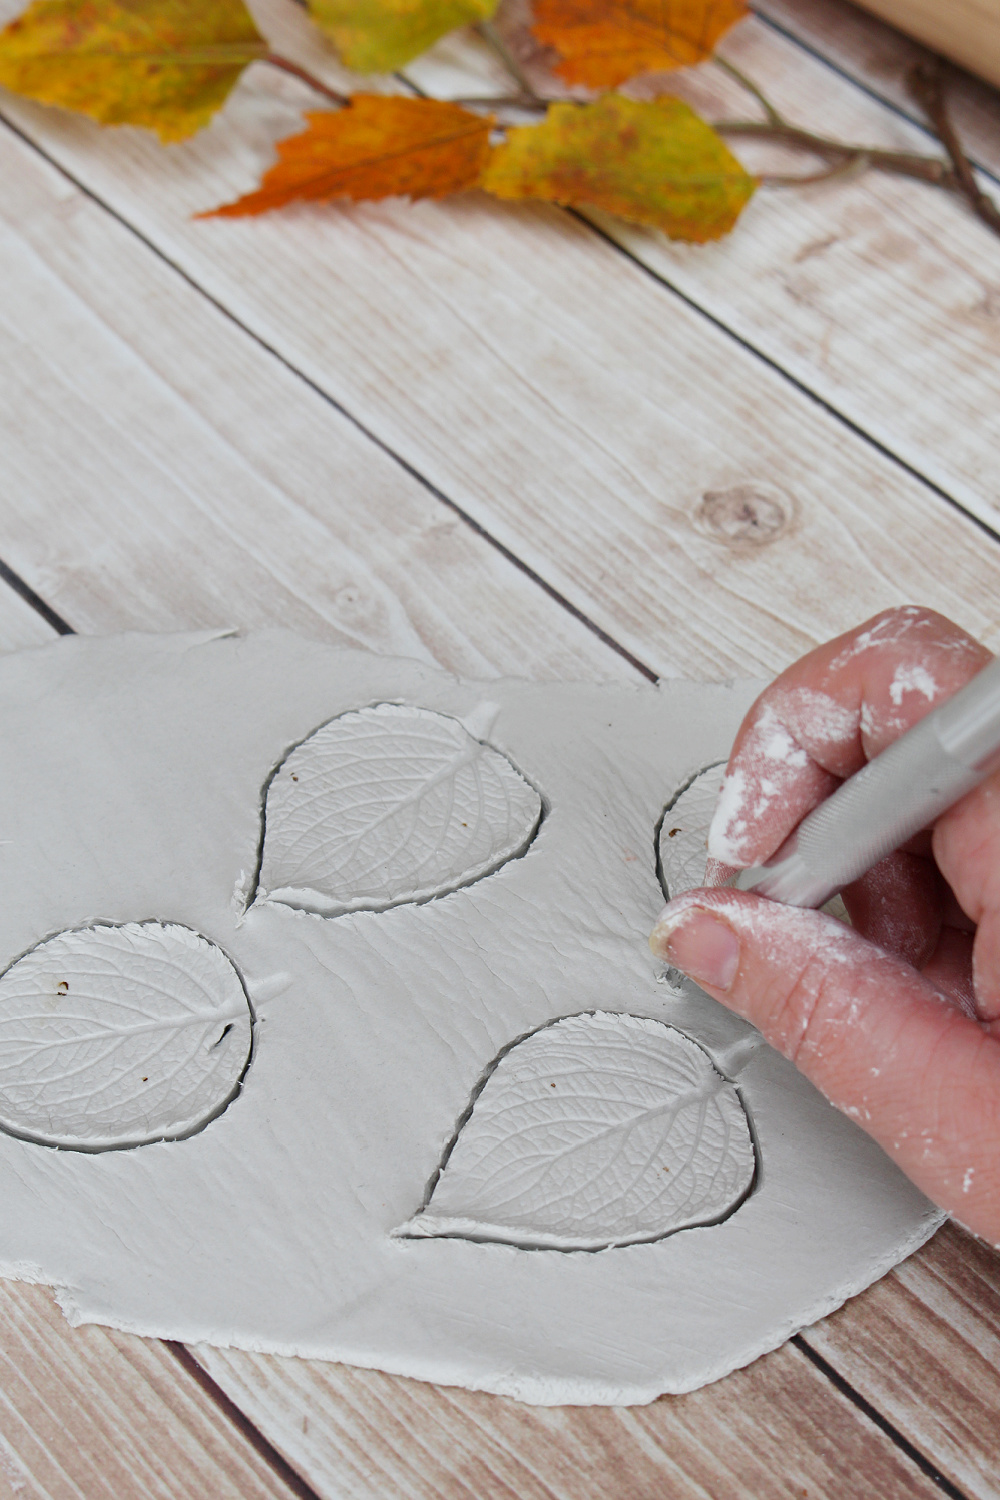
- Cut out the leaf shape with the exacto knife. I cut off the stem for mine but you could leave it on if you would like.
- Remove the excess clay.
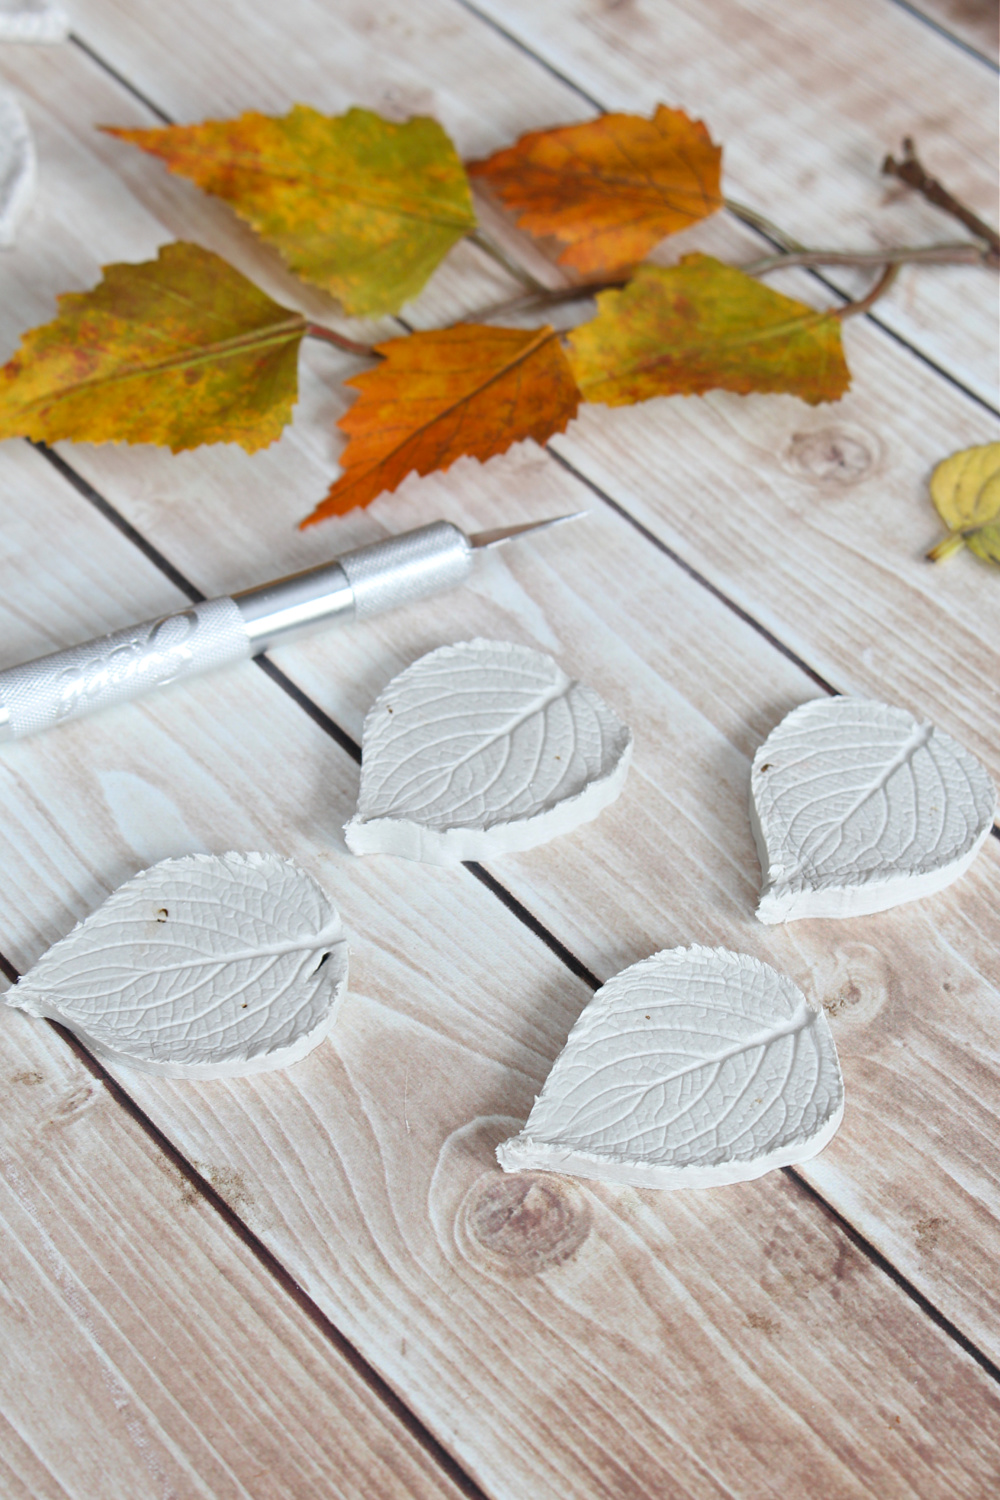
- Using a wood skewer, I smoothed out the sides and added some slight folds to the leaves by pressing in lightly with the skewer.
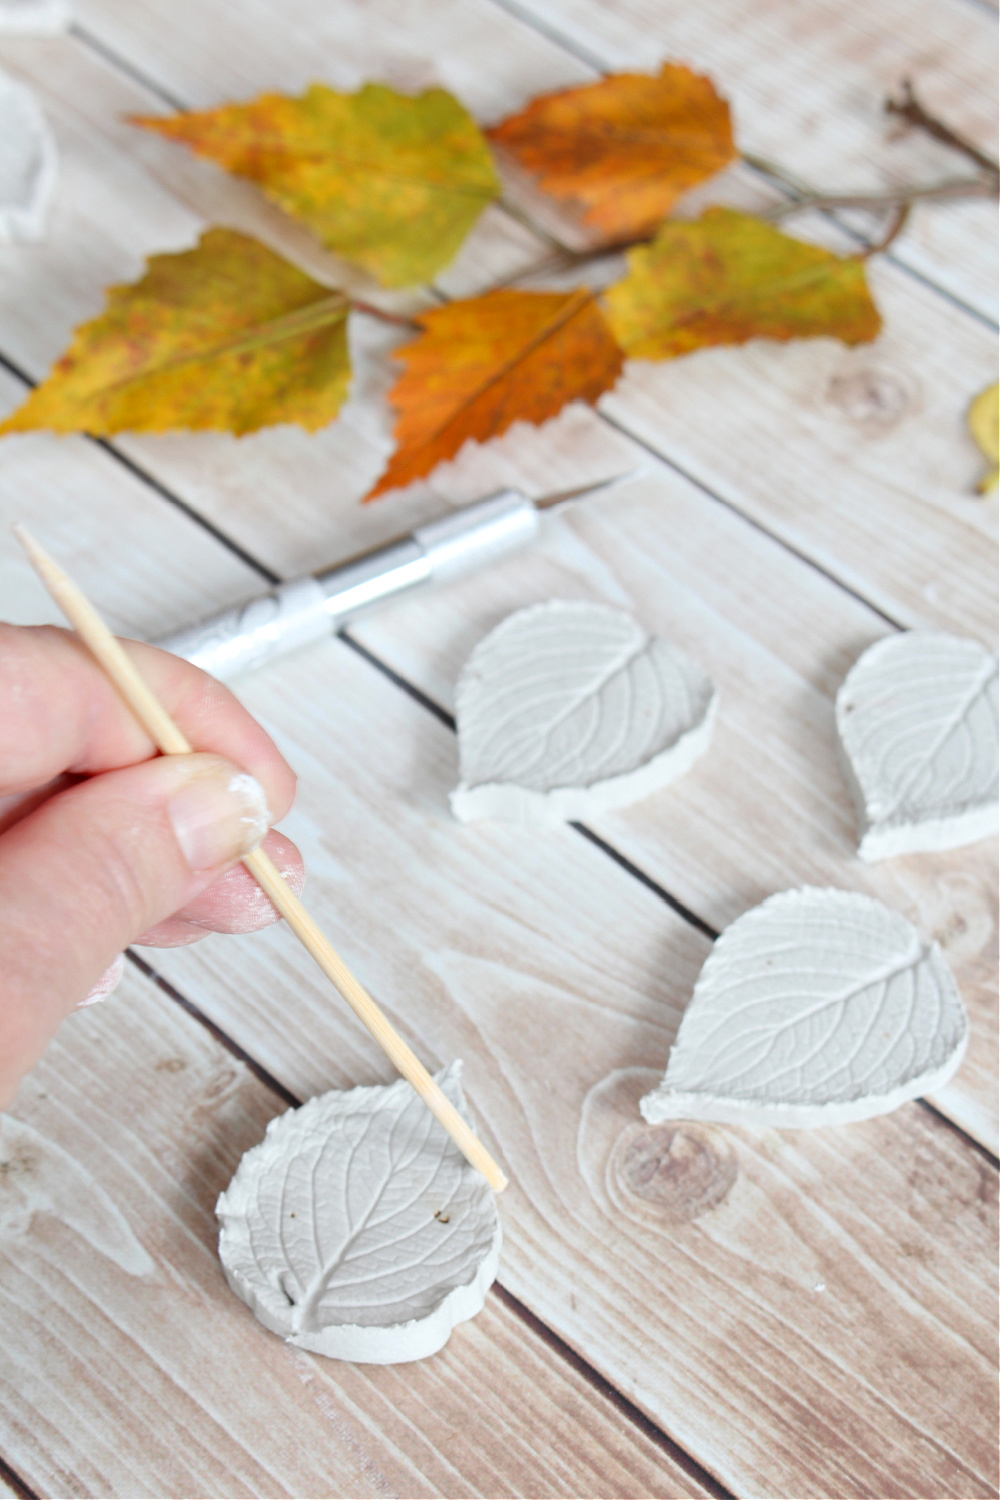
- If you’re going to be hanging them or using them for twinkle lights, use a wood skewer or other small tool to place a hole in the leaf. Just check to make sure it’s big enough to fit through your twinkle light strand!
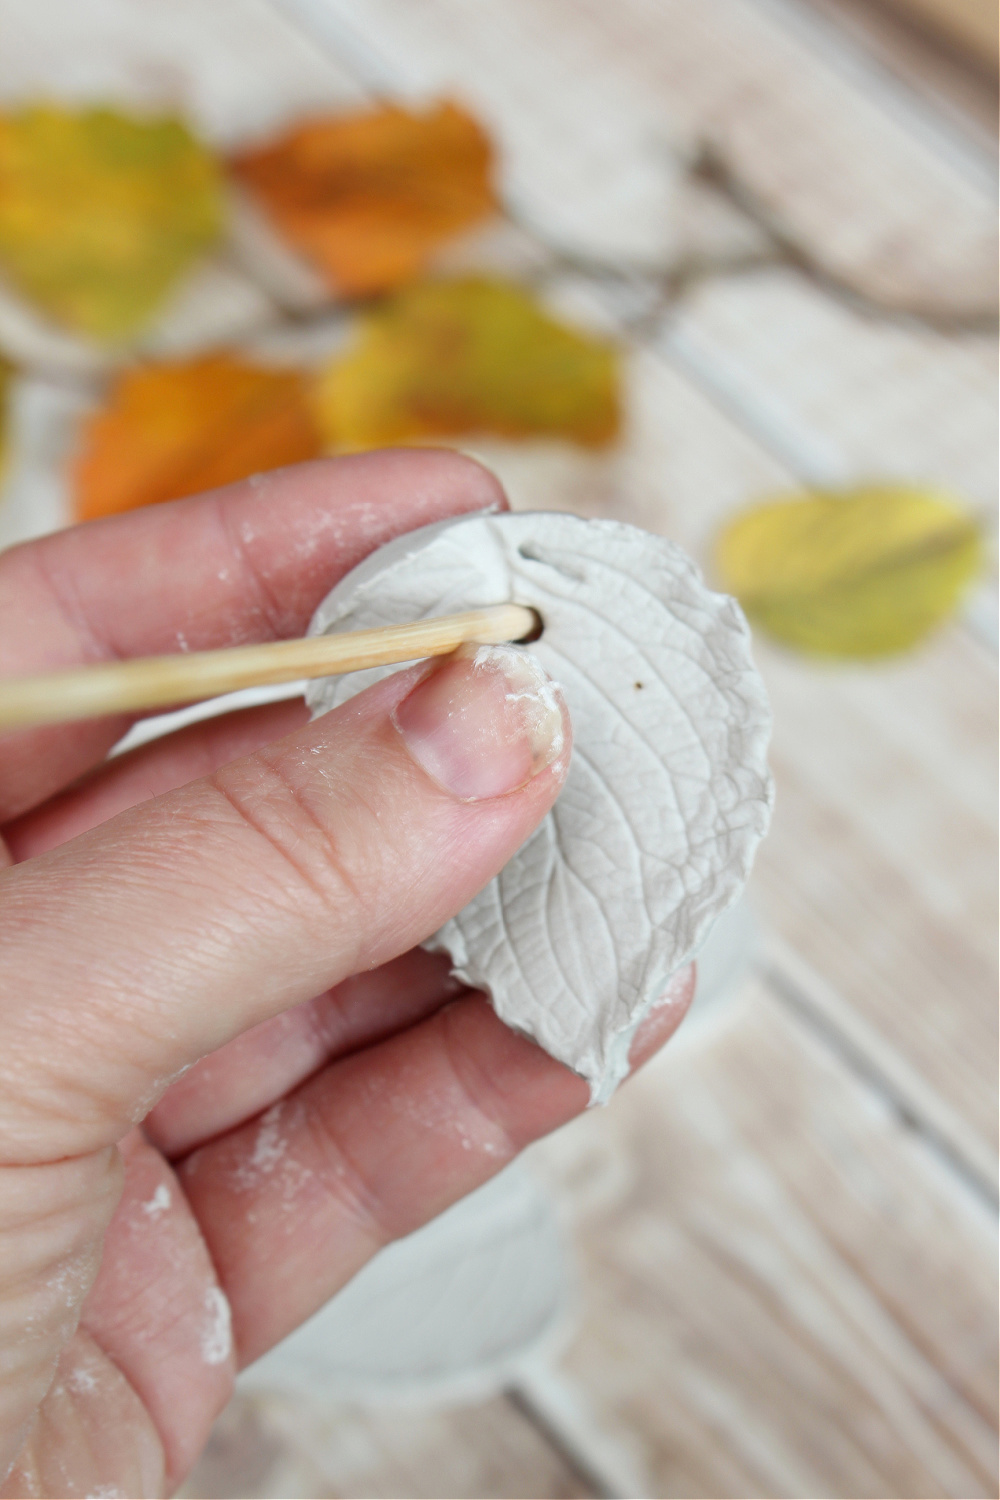
- Let your leaves dry for 36-48 hours until completely dry. If there are any rough edges you can lightly sand them down with fine grit sand paper. If you’d like you can even add some paint to your leaves with acrylic paint and/or seal them with Mod Podge for a more polished look.
- String the leaves through your twinkle lights and display.
What can I use the air dry clay leaves for?
One of the reasons that I love this project, is that there are so many different ways you can use them. Here are a few other ideas for the air dry clay leaves…
- layer them on a fall garland (they’d look great with wood beads!}
- hang them with fishing wire, baker’s twine, or ribbon
- place them in a bowl with ornaments
- decorate a wreath
- paint them. Just let them fully dry and add your favorite fall paints colors.
I hope you enjoy this project as much as I did. It’s a great project to do with your kiddos too! Happy fall crafting!
More Fall Crafts
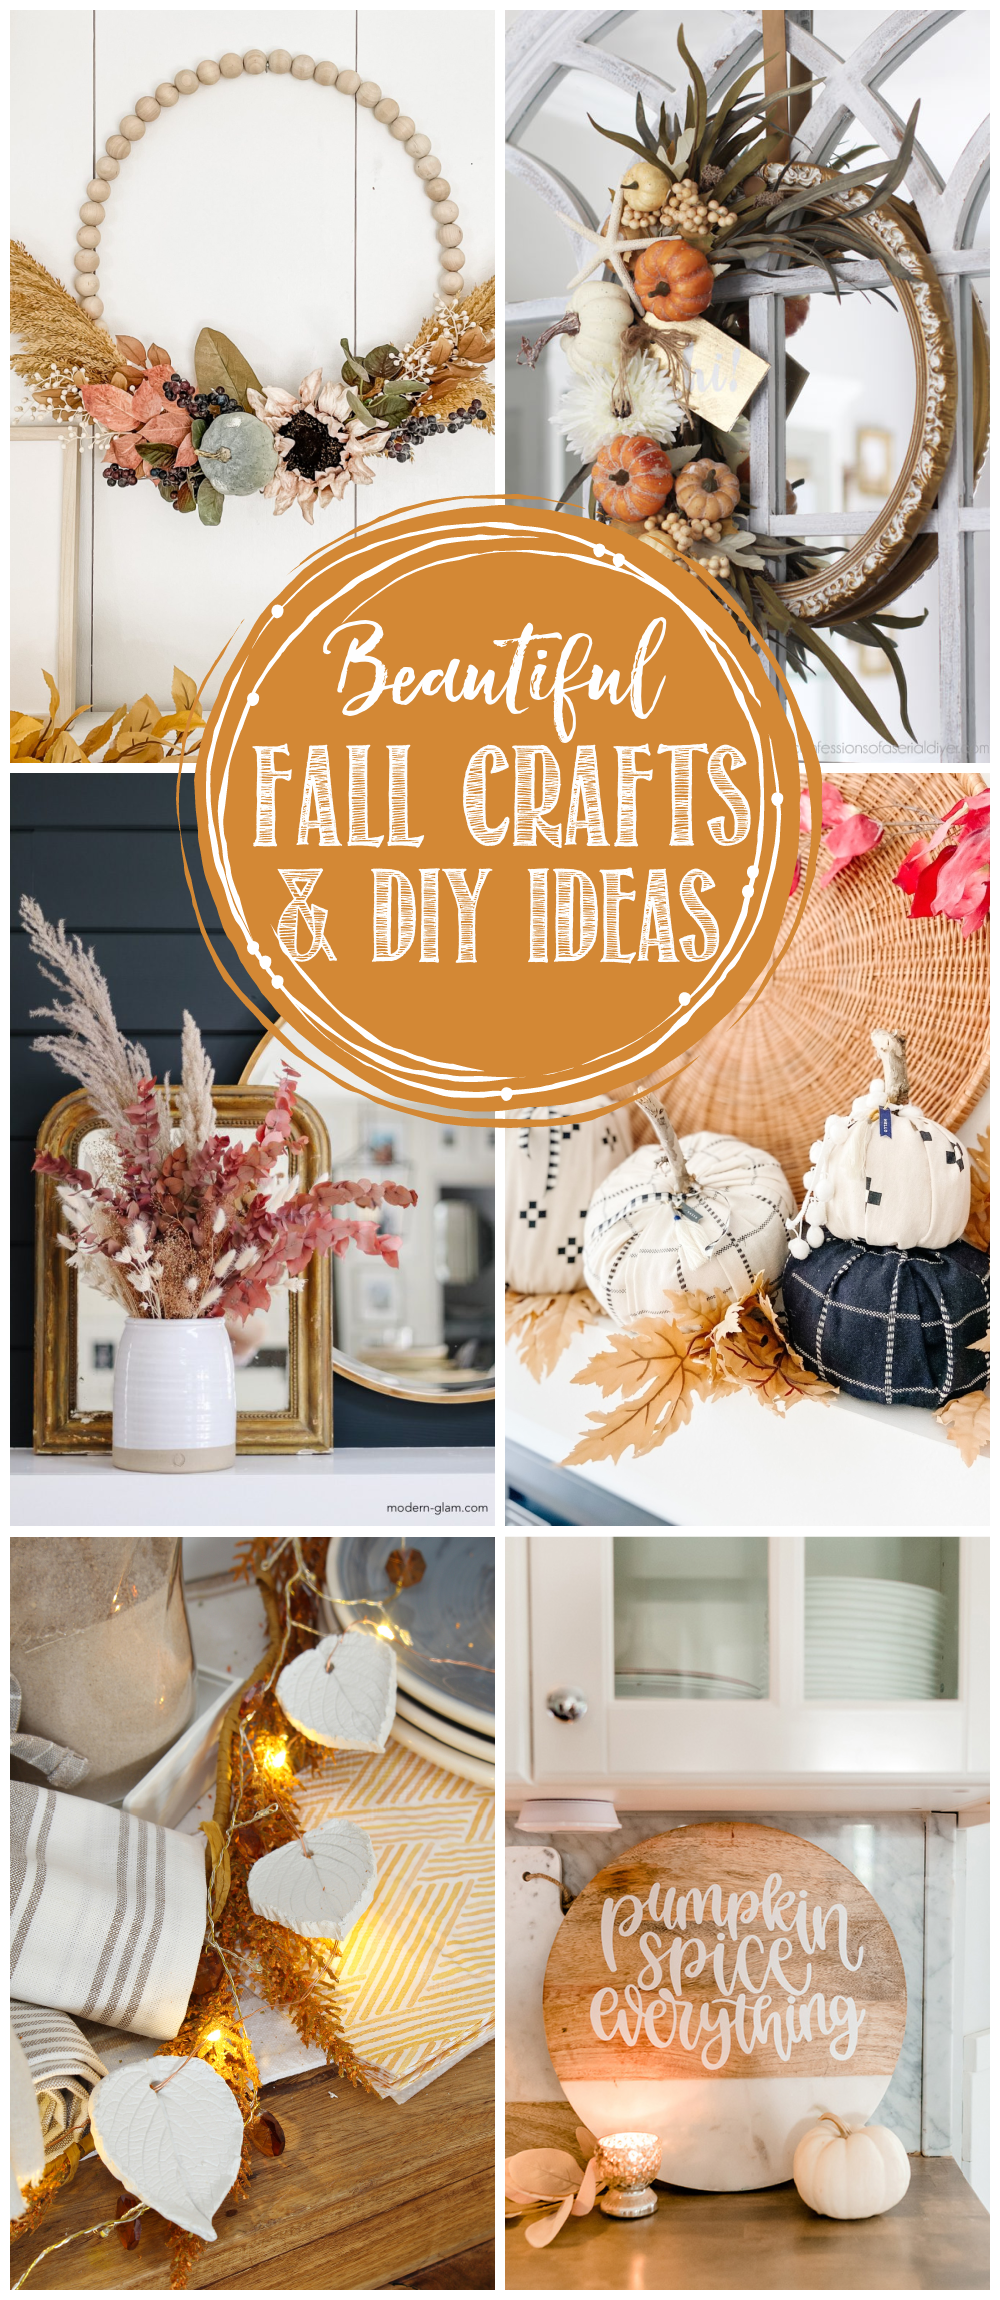
For more fall crafts and DIY projects, check out some of these beautiful ideas from my blogging friends. Just click the links for the full tutorials.

DIY Textured Vase at The Happy Housie
DIY Fall Frame Wreath at Confessions of a Serial DIYer
Dried Floral Cloche at Deeply Southern Home
Fall Wreath How-to at Hallstrom Home

Fall Dried Flower Arrangement at Modern Glam
Elevated Toilet Paper Pumpkins Free Craft at Tatertots and Jello
DIY Inexpensive Fall Wreath at The Happy Happy Nester
How to Make a Fall Wreath at A Pretty Life

Air Dry Clay Leaf Twinkle Lights at Clean & Scentsible
Embroidery Insects at Life is a Party
Dried Florals for Fall at Lemon Thistle
DIY Feather Wreath at Dans le Lakehouse

DIY Fall Wreath Tutorial at She Gave it a Go
How to Make a Succulent Table Runner at My Sweet Savannah
DIY Fall Harvest Nut Wreath at Sincerely, Marie Designs
DIY Fall Cutting Board with a Cricut at The DIY Mommy
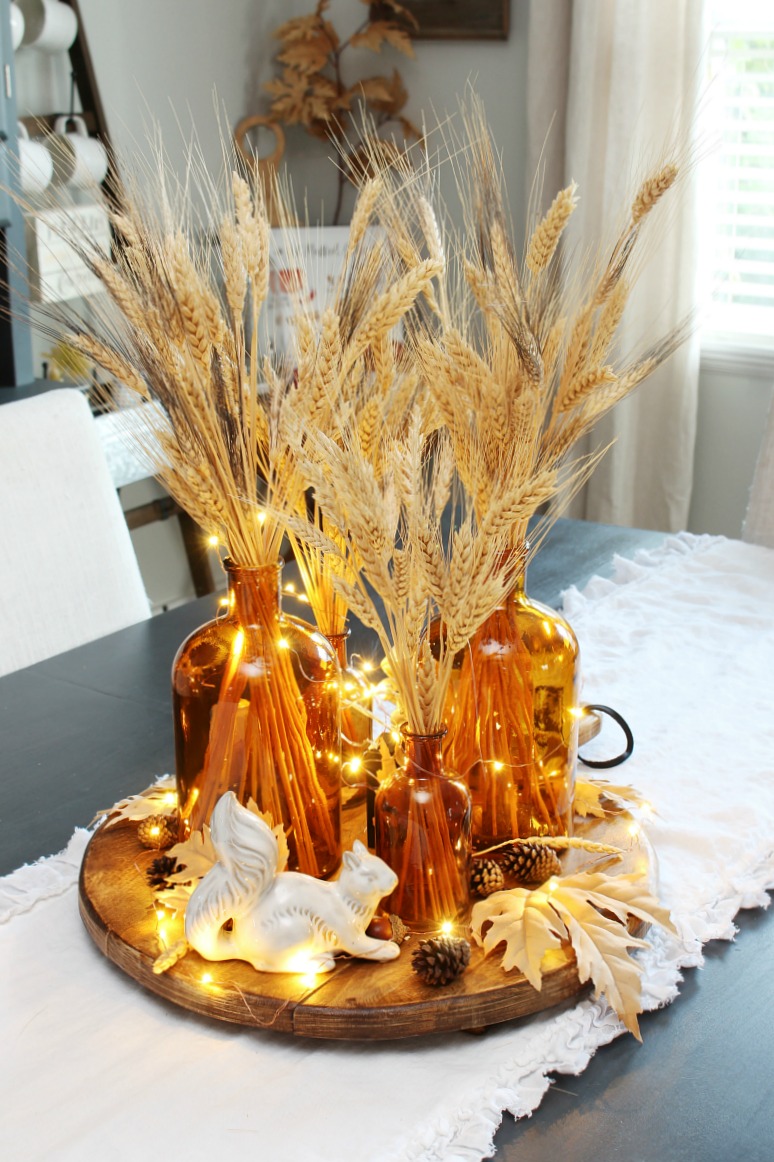
Nature Inspired Fall Centerpiece
What a great way to use clay, these lights are awesome Jenn! I too love twinkly lights all year round!
This is my favorite DIY yet! I love this idea
I love these so much, Jenn! They are just beautiful with the lights threaded through them…now I want to find me some twinkle lights! XOXO
This is an excellent idea! Thanks for sharing.
Thank you for sharing. This is a great idea to amp up twinkle lights.