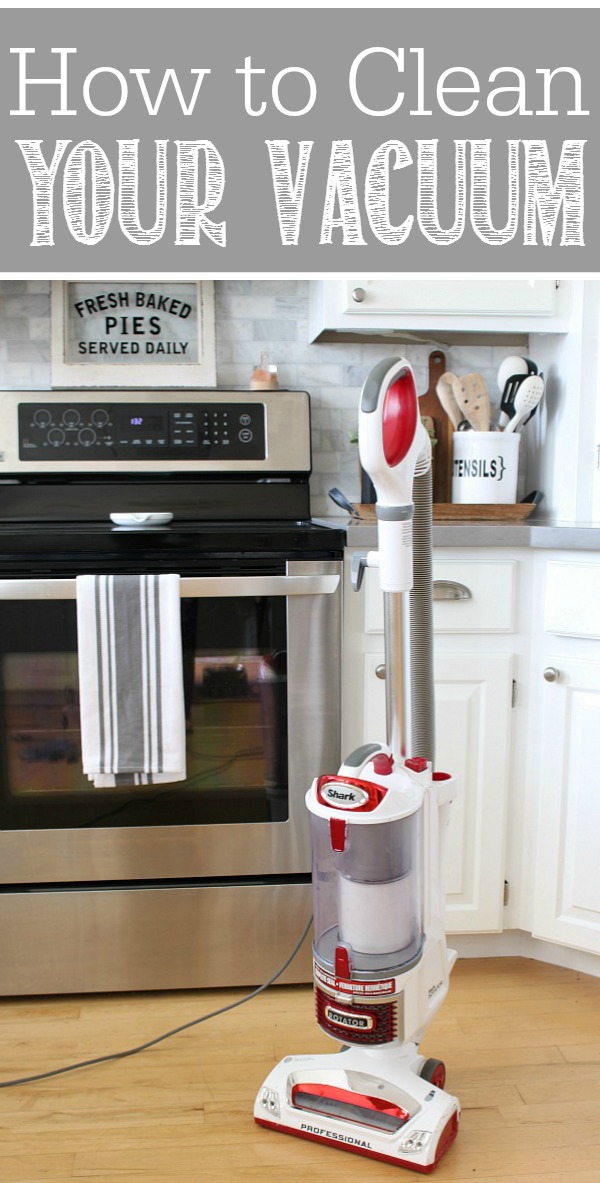
With spring cleaning here, your vacuum is likely working overtime. While vacuums do not generally need a whole lot of TLC, some basic cleaning and maintenance will go a long way in prolonging the life of your vacuum and will ensure that it is running as efficiently and as effectively as possible. If your vacuum seems to be losing suction or not performing up to par, causing any kind of odor, overheating, or is starting to make some strange sounds, it is likely overdue for a cleaning. Take a few minutes to run down the following tasks and you might be amazed at what you find! 😉
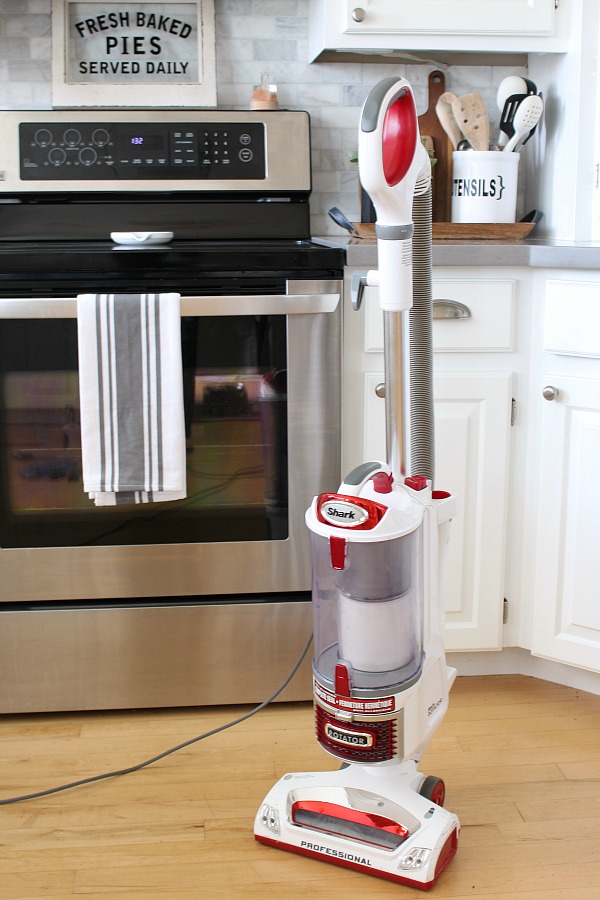
Obviously all vacuums are going to be a little different in terms of cleaning, but I wanted to share the basic steps of how to clean your vacuum here. For specific maintenance and cleaning needs for your own model, check over your owner’s manual {or find it online}. And, of course, make sure that your vacuum is UNPLUGGED before performing these cleaning tasks.
CLEAN THE FILTER{S}
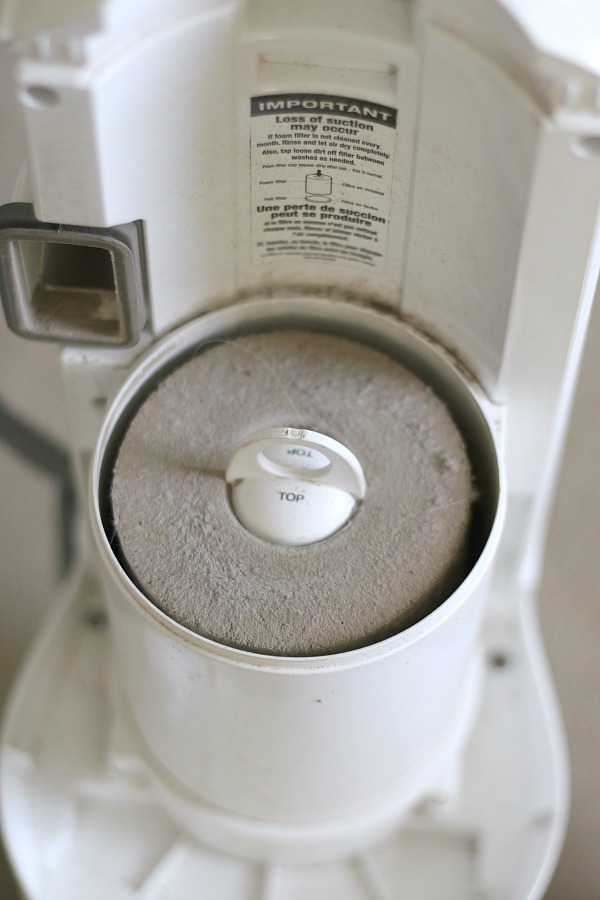
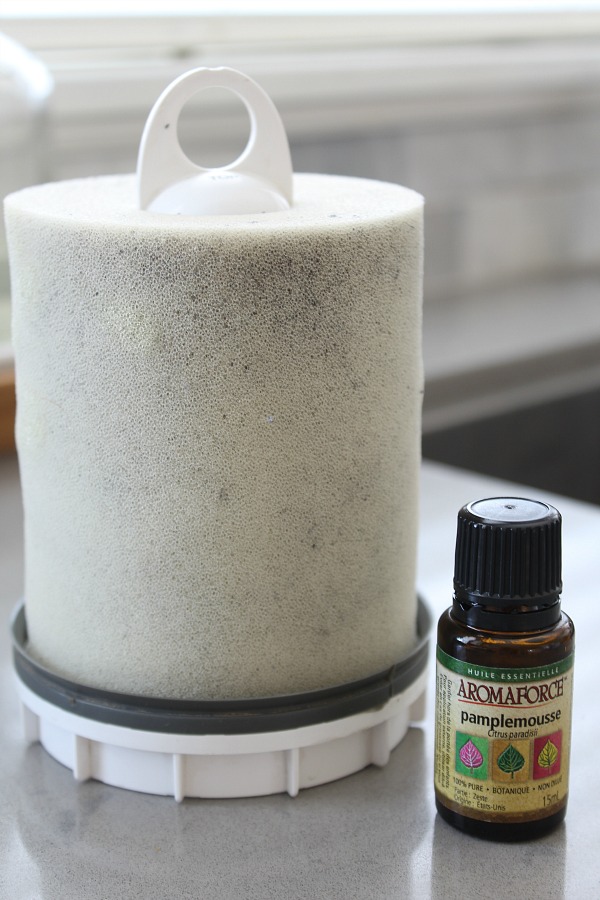
Washable filters should be cleaned about once per month. Our vacuum has a foam filter that just pops out and can be cleaned in warm water with a little dish soap. It may not have a perfectly white appearance again once it is washed, but as long as it is not torn or disintegrated, it is fine to use again. We’ve had our vacuum for a few years now and it is still not showing any signs of wear. These can get very dirty, so be sure to be right by your garbage/sink when you take it out. This is what you would call caked on dirt – yuck!!
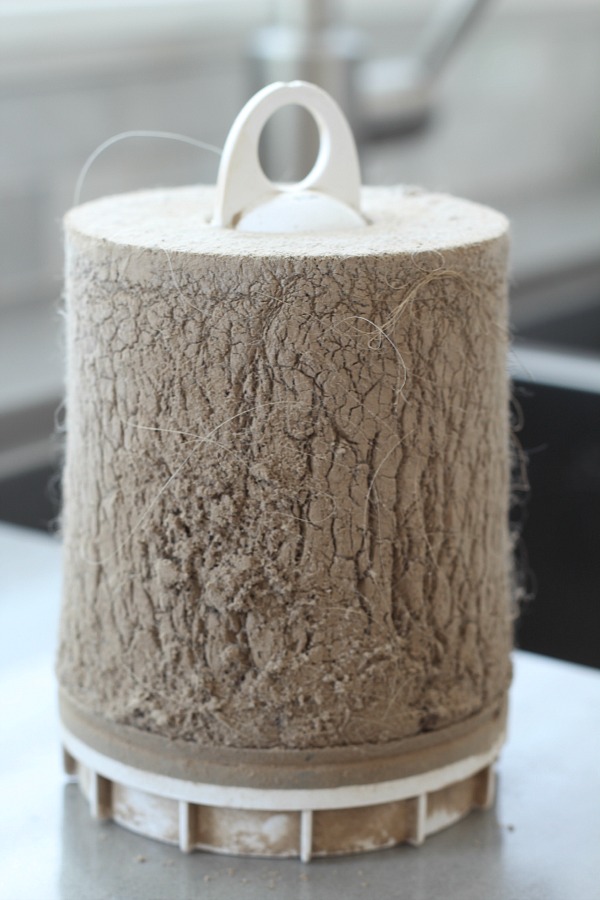
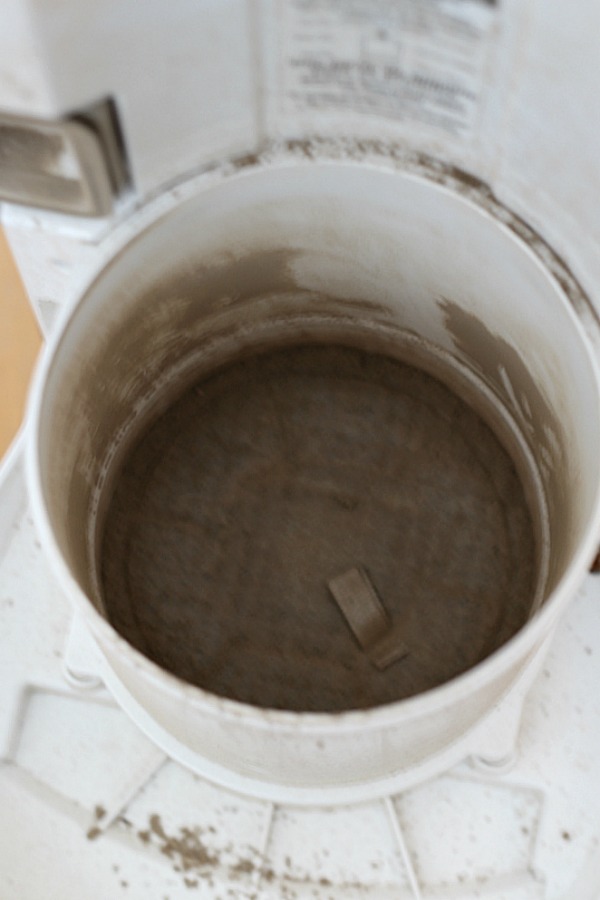
I generally pull the loose surface dirt off into the garbage before washing it and then let it soak in the soapy water while I continue on with the cleaning. The plastic part that it sits on can also be washed. Underneath the filter, there is also a felt filter in our model. This is technically not supposed to be washed in water, but I always do and it has been fine. Just make sure that you allow it to completely dry before placing it back in the vaccum {this goes for the foam filter as well}. If you don’t want to wet it, shake it out outside or use a small, hand held vaccuum to clean up any loose dirt. You can allow these parts to dry outside in the sun for some natural disinfecting but, again, make sure they are COMPLETELY dry before placing them back into the vacuum to avoid any mold or mildew.
Our vacuum also has a HEPA filter. This one can’t be submerged in water but still needs a good cleaning! Many of the regular filters will also be made of paper of fabric similar to this so you can follow the cleaning instructions below for those as well.
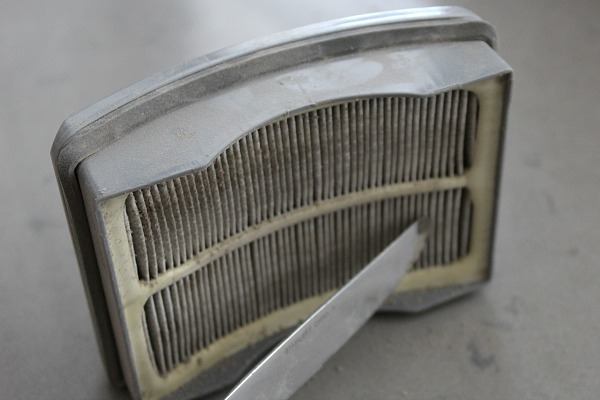
To remove all of the dust and dirt from between the filters, I like to run the tip of a regular kitchen knife {one with the rounded top} quickly back and forth over the filter folds. This will produce a huge amount of dust so make sure you do this OUTSIDE! You can also try just tapping the filter against an object to dislodge all of the dust or use a blower on a low setting to power it out.
CLEAN THE BRUSH ROLLER
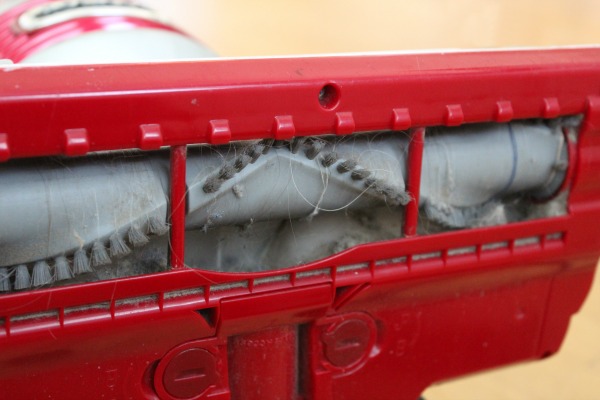
String, lint, hair and thread can often get caught in this roll and slow down its motion. This puts more stress on the belt and engine and can make them wear out more quickly. Use scissors or a seam ripper to take away any threads or hairs that are caught up. I also take a damp microfiber cloth and wipe down the inside to get rid of any built up dirt and grime. Just spin the head slowly so you can get into all of those little places. While you are down there, check the wheels too for any hair or other debris that may have wrapped around the wheels restricting their movements. This could lead to scratches on hard surfaces such as wood flooring or tile. {NOTE: For our model of vacuum, the brush roller is just cleaned in place without having to take it apart. For other models, the brush roller will actually pop off of the vacuuum}.
CANISTER
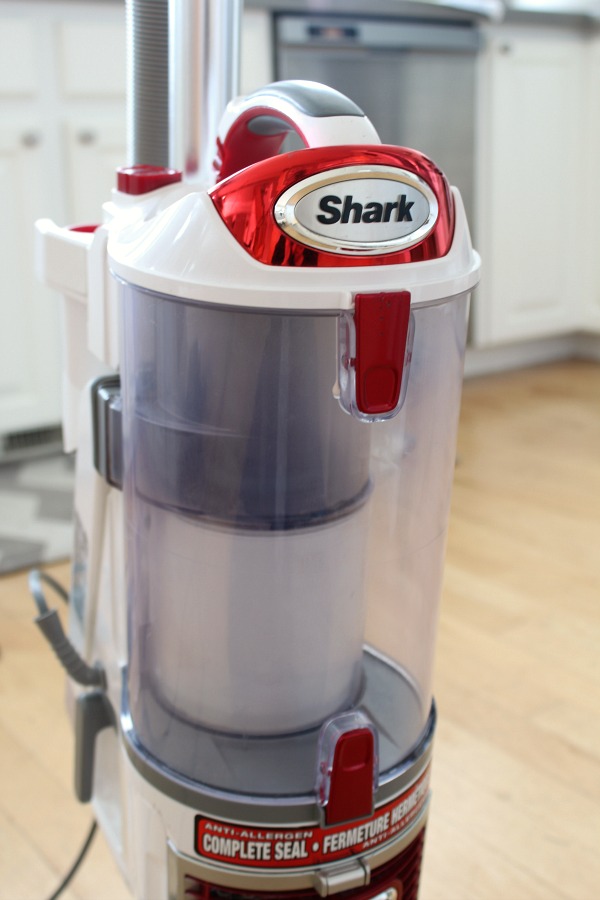
The canister should be emptied when it is about 1/2 full for optimal performance and rinsed out at least once per month. Our canister does not have any sealed sections or electrical components so it can be completely submerged in soapy water to clean. If you have any sections on your canister that are sealed {or have electrical parts} wipe down with a damp cloth only so water does not get trapped in the sealed sections. You can use a long handled scrub brush or toothbrush to get into those hard to reach areas. Open both ends of the canister to get a more thorough clean and make sure you dry it down completely before hooking it back up to the vacuum.
VACUUM HOSE
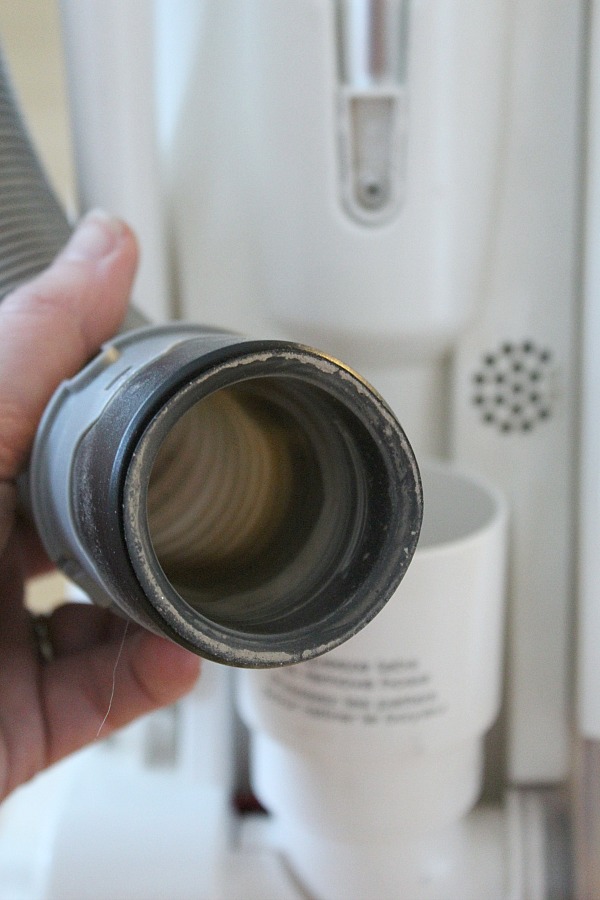
Detach the vacuum hose from the base and remove any clogged debris. You can use a wire hanger to dislodge any plugs if needed, just be gentle to avoid puncturing the vacuum hose. Check down the base as well to make sure there are no plugs.
Maintenance Tips
1. Do not overfill the vacuum bag or canister. The vacuum cleaner bag or canister should be emptied when it is approximately 1/3 to 1/2 full. This allows your vacuum to run more efficiently and will provide a better clean. Check your bag frequently especially if you notice that your vacuum is not cleaning as well as typical. If you do have vacuum bags can be re-used at least a few times – just empty and re-attach! For models with canisters, clean with warm water and some dish soap regularly.
2. Replace or clean filters regularly. These days, there are a variety of filter types available depending on your vacuum model; however, the basic purpose is the same – to collect the dust that passes through the suction nozzle from the flooring and prevent it from being spread around the room. If these dust particles are not filtered out, they can impact air flow and make their way into your vacuum motor causing overheating. Filters should be cleaned monthly {if washable} or replaced approximately every three months depending on use {HEPA filters are generally good for 6-12 months}.
3. Check the brush attachments. Inspect all attachments for wear and tear and remove any debris which may be blocking air flow through the attachment. Check for hair or thread which may be caught in the bristles. If the bristles are extra dirty, these pieces can generally be cleaned with warm water and dish soap as well. Wipe down or rinse off any food residue or other sticky substances which can cause odors and affect the attachment performance. Use a cotton pad with rubbing alcohol if you need to disinfect.
4. Check the belt. Periodically check the belt on the bottom of the vacuum to ensure that it is on correctly and not showing any significant signs of wear. It should be replaced if it is loose, has worn spots, or any tears.
5. Be careful of the power cord. The power cord is one of the weakest areas of your vacuum and can be easily damaged over time. Keep the cord untangled at all times and make sure that you are not getting it caught up on furniture or other obstacles. Remember to pull directly on the plug (rather than the cord) when disconnecting your vacuum from the outlet. Avoid running over the cord with the roller brush. Inspect your cord periodically for any signs of breakage and repair or replace if needed. DO NOT continue to use your vacuum if you can see wire through the outer rubber covering.
6. Inspect the vacuum hose regularly. Check for any cracks and air leaks. Although you may be temporarily repair the damage with duct tape, your hose should ideally be replaced for optimum efficiency. Check the interior of your hose and remove any obstacles which may be impeding air flow and reducing suction.
If you like a nice, fresh scent while you are vacuuming, you can try adding some drops of essential oils to your foam filter {I haven’t tried this with the fabric or paper filters}. You can read more about the best essential oils for cleaning here.
Well there you go! Your vacuum will thank-you and you will be much happier with the performance of your vacuum. Just one more reminder to let everything dry completely before putting it all back together – you don’t want to be creating more problems than you started with!
Happy Cleaning!
For more cleaning tips, check out these posts…
How to Clean your Washing Machine
How to Clean Burned Food off Pots and Pans

The Best Way to Clean Stainless Steel
I took my vacuum completely apart once to clean everything and it was disgusting, but when I put it all back together it worked better than before!
Yes – a good cleaning goes a long way! 🙂
Great post. I think you explained how to clean a vacuum really well, and I think it is something everyone should know how to do. I learned during my job as a janitor in college. It is amazing how dirty vacuums can get, and how easy it is to get them clogged. Picking up after your kids before vacuuming is essential if you want to avoid major clogs. Believe it or not, but the worst clog I ever had was from a pen stuck in the vacuum hose. The clog nearly destroyed the vacuum and after it was cleaned out it had to be repaired because it had overheated. So, cleaning your vacuum will keep your home clean, and save you money.
I had no idea that filters needed to be replaced so often. I think growing up, we only replaced filters every couple of years. It makes sense that changing them would make your vacuum run longer though, so I guess I should look into it. As we’re getting ready for spring cleaning, I appreciated all your advice! Thanks for sharing.
Really good guide. I just learnt my mum purchased a new vacuum cleaner because her old one lost suction. Upon looking at it the HEPA filter was THICK with dust and grime. If you have a filter, it needs to be cleaned!
Great post! I will keep this in mind when i clean my HYLA vacuum, it works wonders for me, i can imagine after i clean it maybe it’ll work even better! Some people do not realize or do not know that all appliances need some TLC every one in a while.