I was happy to partner up with Graphic Stock for this post. As always, all opinions are 100% my own.
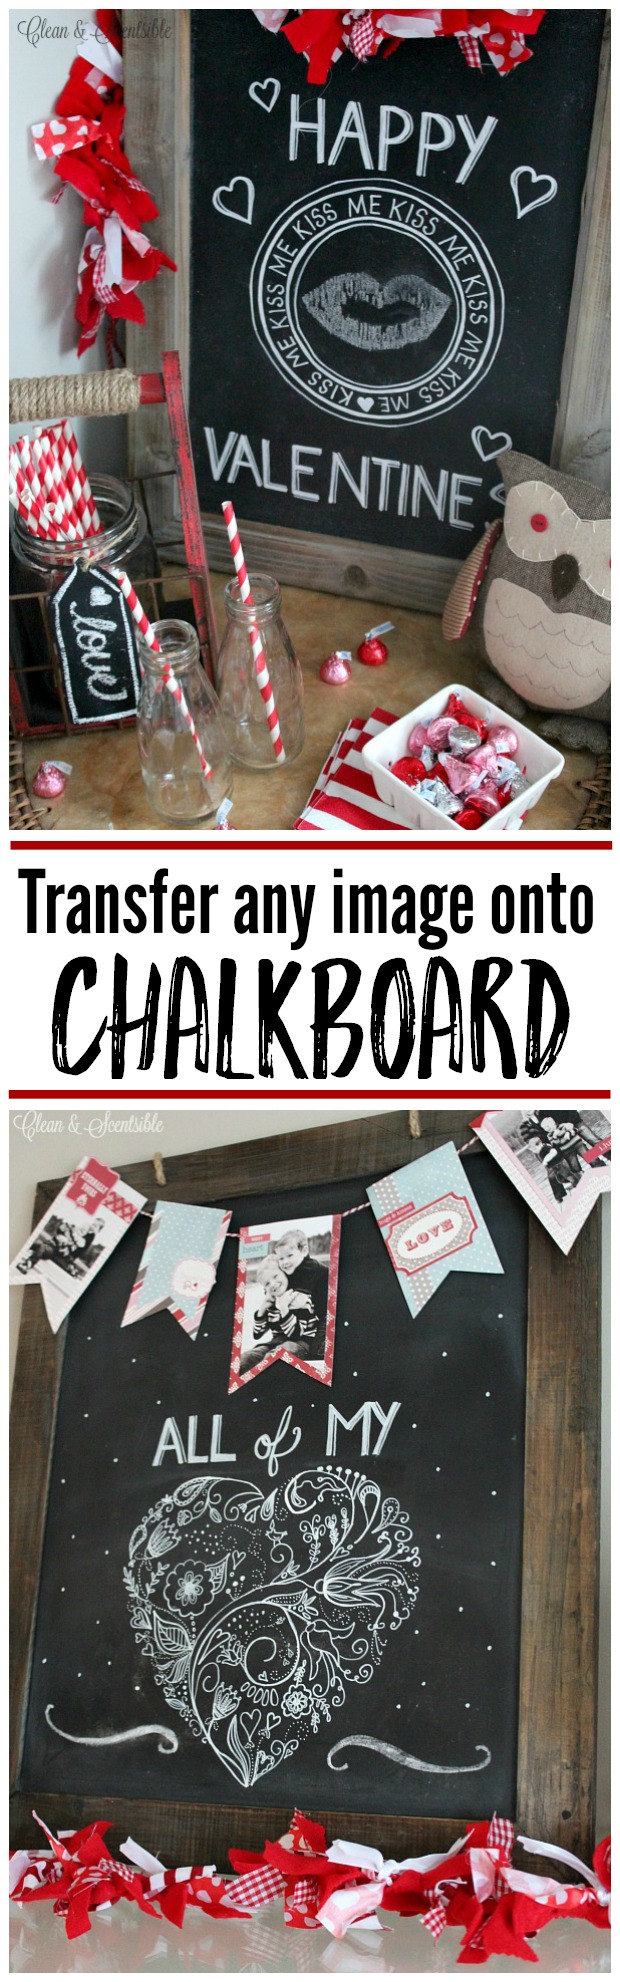
The other day I shared my basic chalkboard 101 tips. I know not all of you are comfortable free handing a design onto chalkboard, so today I wanted to show you how you can easily transfer an image onto chalkboard for professional looking results!
This is literally something that anyone can do and your design possibilites are endless!
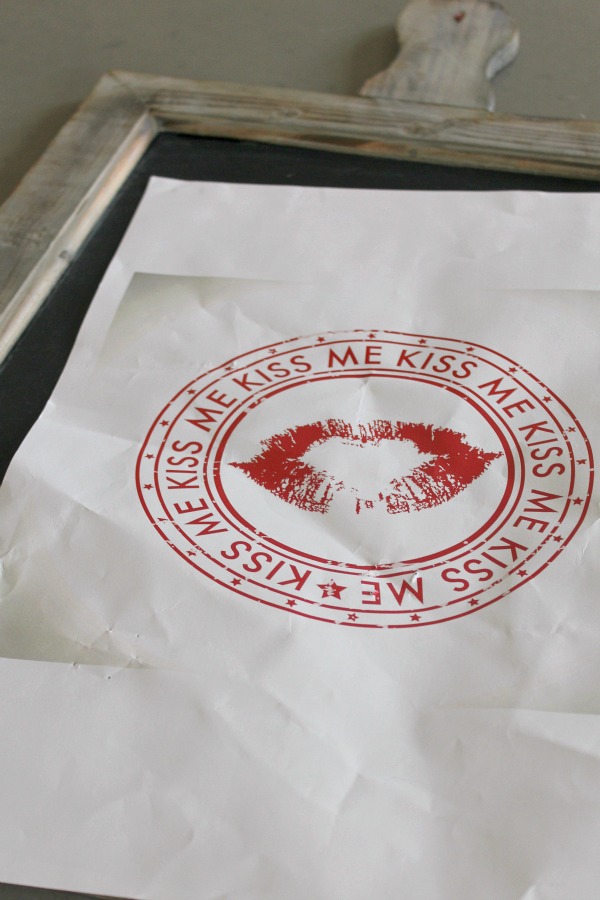
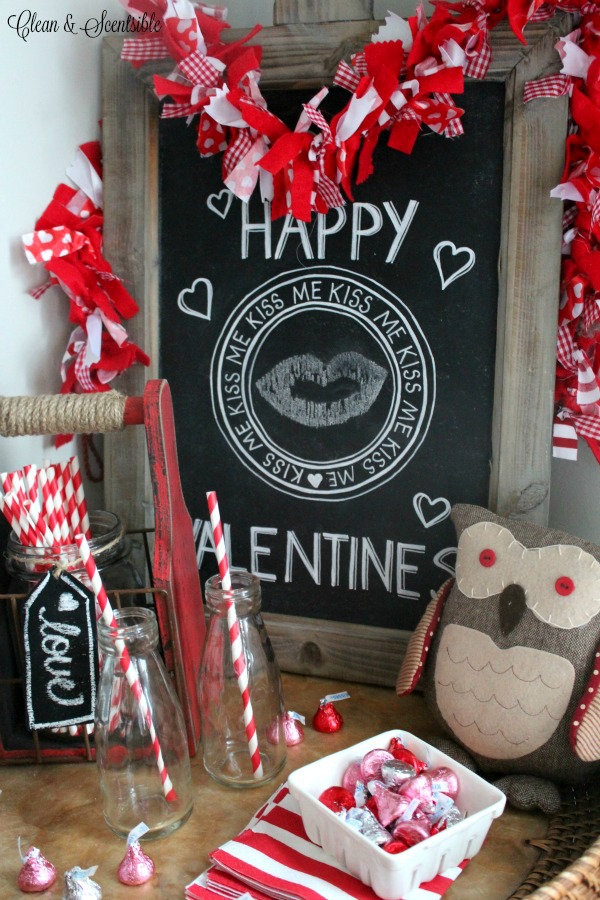
First you need to pick an image that you would like on your chalkboard. If you are looking for designs, Graphic Stock has over 300,000 beautiful images to choose from – the hardest part is just choosing which one you want! To get started you just need to head over HERE for your 7 day free trial and you can download as many images as you would like. I have been a member for over a year and especially love it for all of the seasonal designs. If you do not wish to continue with Graphic Stock after that time, be sure to remember to cancel within the 7 days as you will be billed automatically after that time. For my chalkboard projects, I chose a swirly heart and a rubber stamp “Kiss Me” design. I also downloaded this one for a future project.
Now that you have chosen your image, download it as a JPEG and print it out onto plain ol’ white paper. If you would like a larger size of the image, just put it on a USB stick and take it down to any printing store to have it enlarged and printed onto engineer paper It only costs a few dollars even for really large sizes. My kitten got a hold of mine after I had it printed out, but even all crumpled it still worked. 😉
Next you need to turn the image over. Using the side of a piece of chalk, completely cover the entire area where the image is.
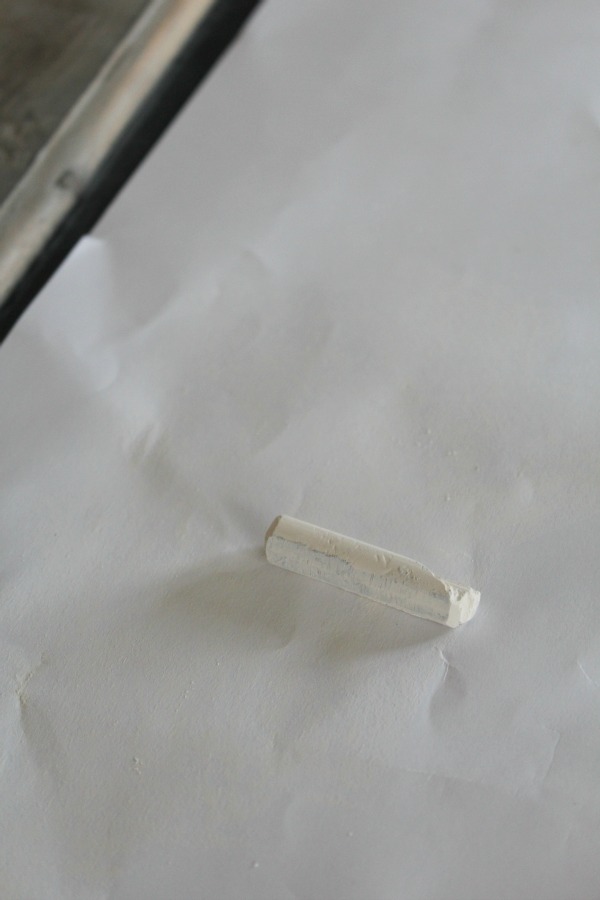
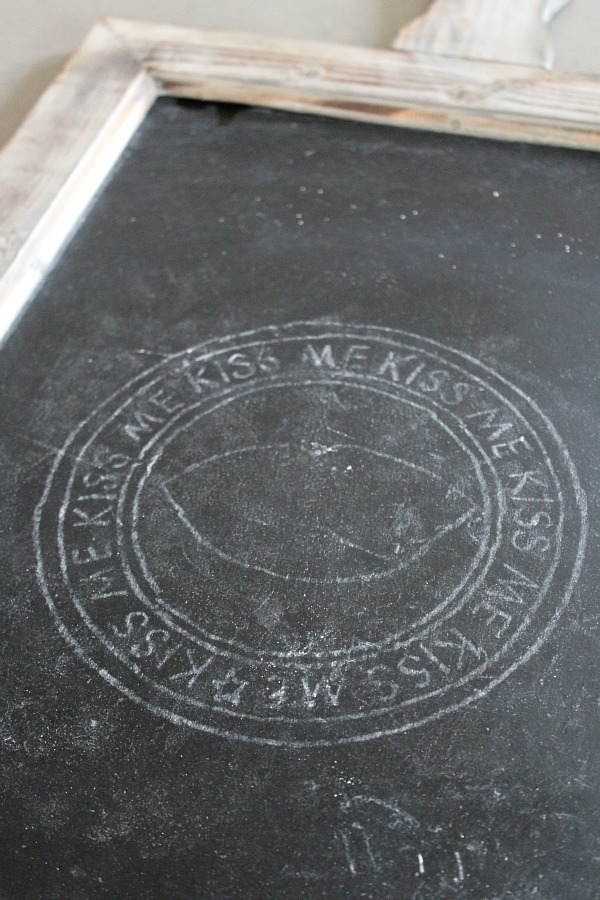
Turn the image back over and place where you would like it to be on your chalkboard. If you have a larger piece of paper, you may want to tape the corners down so it doesn’t move. Take a thick pencil or pencil crayon and trace over the image that you want to transfer, pressing fairly firmly. Once you are done, remove your paper and the outline of the image will be left on the chalkboard.
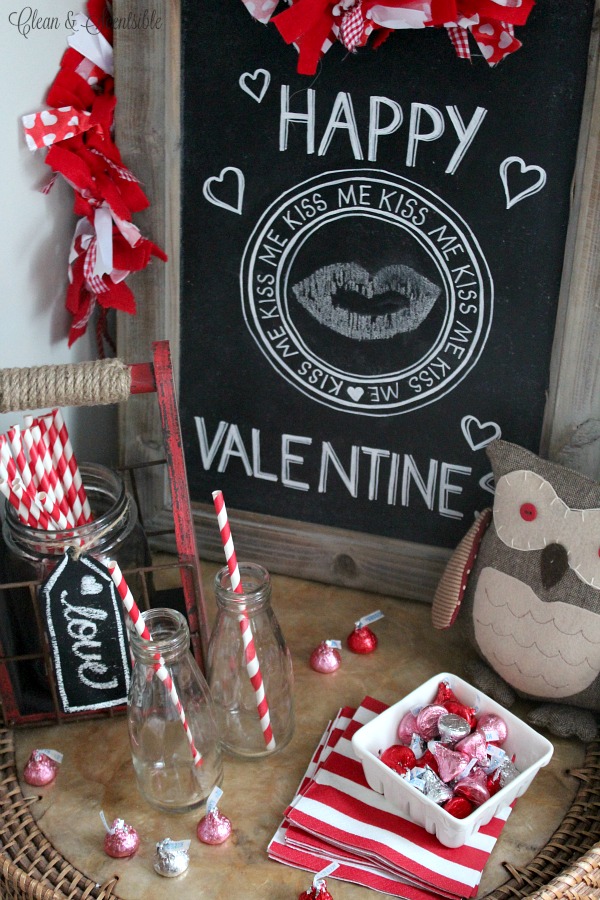
Take a chalk pen and go over your image. You may want to use some regular chalk as well to shade in areas and give it a more authentic chalkboard feel. Once you are done, you can use a soft cloth or cotton swab to remove any excess chalk. I added some wording to mine and a few more embellishments but you could always add these prior to the printing of the design if you didn’t want to free hand anything.
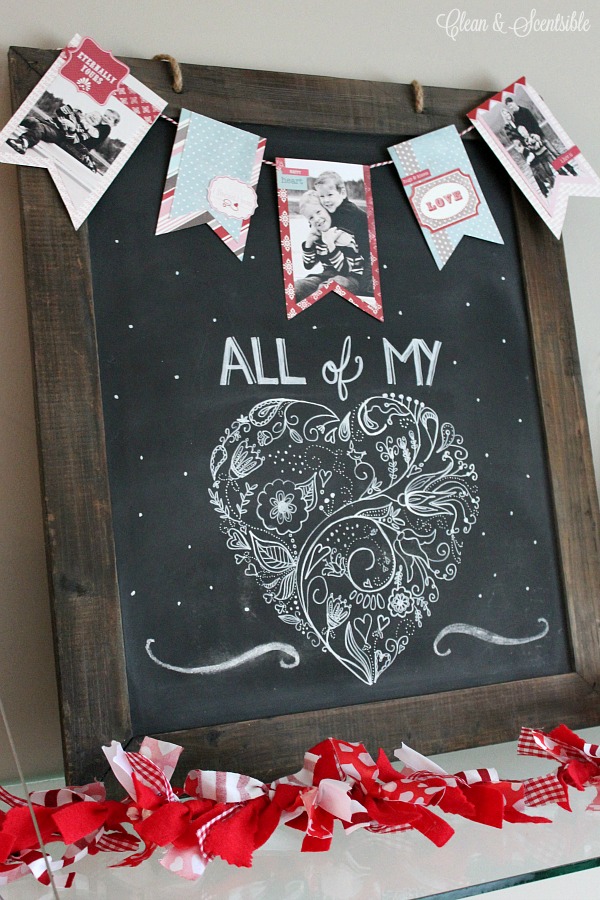
It even worked great for intricate designs. Just outline what you need to and fill in the rest on your own.
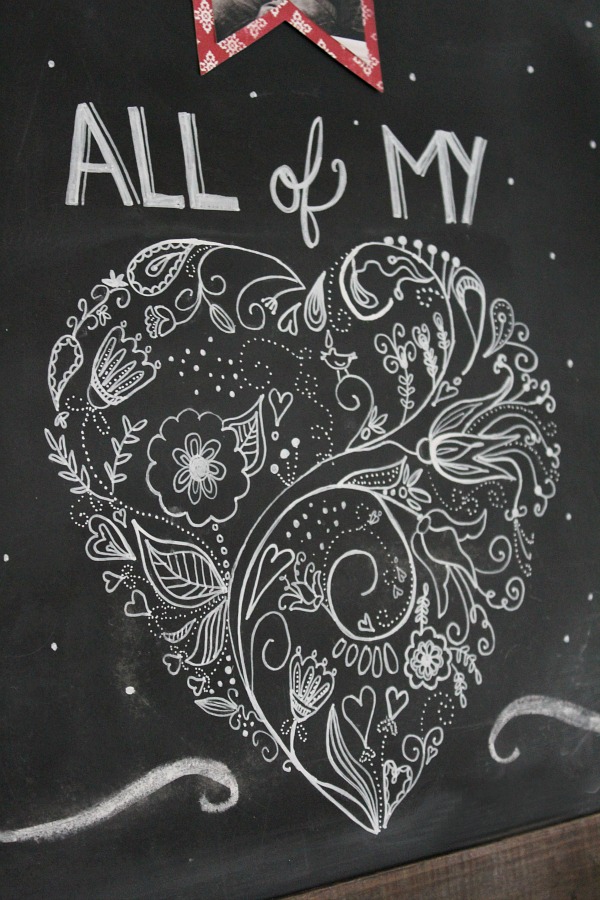
This was the perfect design to add my photo banner to!

So head on over to Graphic Stock to get started on your FREE 7 Day Trial! I’d love to see what you create!

For more Valentine’s Day ideas, check out these posts…
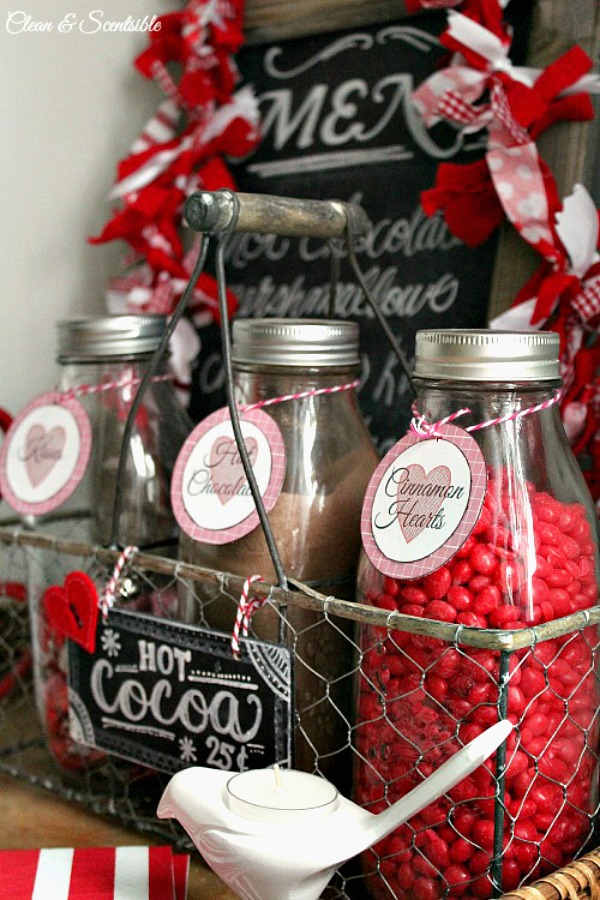
Valentine’s Day Hot Chocolate Bar
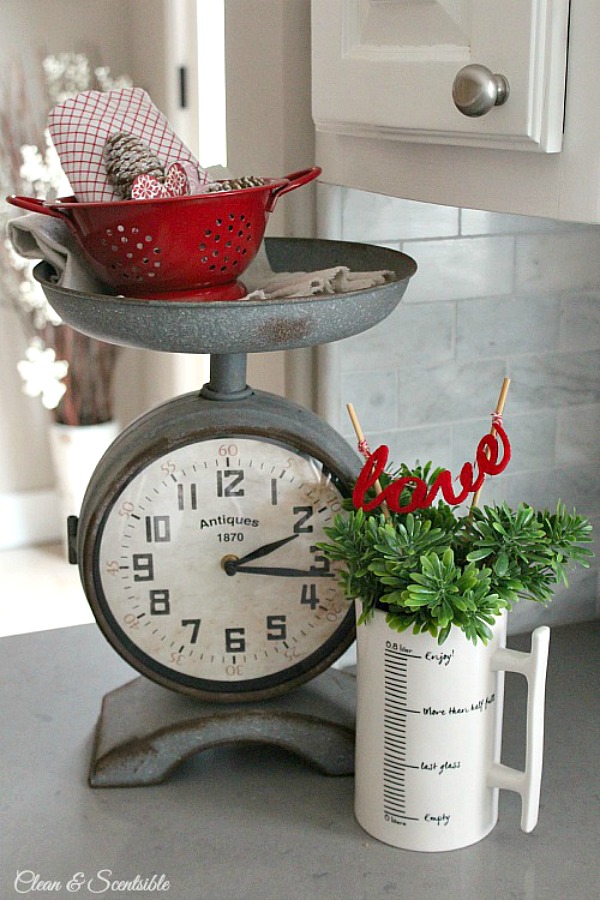
Simple Valentine’s Day Decor Ideas

Never thought about this, or even heard of a chalk pen, so thanks for the enlightenment, and for sharing on craft schooling Sunday!
Thank you for this tutorial, I had no idea you could do this!
If you have time, I would love for you to come and share this post over at the Really Crafty link party that is live right now!
Thank-you so much for sharing this tutorial! This is so helpful! 🙂
Glad you liked it!
This is so simple, it’s brilliant!! Your pictures are beautiful too! Thank you for the great tutorial. Love it! Popping over from this is how we roll!
Thanks Heather!
Wow so clever!! totally saving this!
Hope you get to try it!
I love this idea Jenn! I usually freehand everything but have always wondered how people get such pretty art work on their chalkboards! I especially love the frilly, lacy heart… so pretty! Thanks so much for linking this up to the Bewitchin’ Projects Block Party… I always love seeing what you are working on 🙂 Hugs. Lisa
Thanks for hosting Lisa!
Loved it! Thank you for sharing at Wonderful Wednesday!!Your post will be featured at this weeks party, so please stop by to see it and share another with us:) The party goes live at Mustlovehome.com every Tuesday at 4PM. Hugs – Christine
Thanks so much for the feature! I appreciate you hosting!
I am so glad I went through to the last page of links on The Scoop…which I rarely do, because I found this! I have pinned this great idea and I have scheduled this to share over on FB and Twitter. This is wonderful and I am so in need of this right now! I would love it if you would stop by and share this at Celebrate and Decorate! Our Celebrate Your Story Link Party is live right now!
Thanks so much for sharing!
simple, yet adorable result. Thank you for sharing it..I love the valentine’s corner idea and sincerely hope I can try it at home 🙂
I hope you get a chance to try it! Thanks for reading1
When you turn your image over to chalk it on the board doesn’t the phrase come out showing backwards?
You just apply the chalk to the back of the paper and then turn it back over. You are then tracing over the image {right side up} and the chalk from the back of the paper transfers to the chalkboard. So you’re not actually placing the image on the chalkboard right side down {in which case, you’re right, it would be transferred backwards}. Hope that makes sense!
I love this! Thanks for sharing xx
This Beautiful Life of Ours.
Thanks so much Naimah!
Hello
Super tutorial thank you
I have a question though please – are the chalk pens permanent? I wanted to create a reward chart with a permanent chalk/paint on blackboard template?
Tia
There may be some brands that are permanent but all of the brands that I’ve used come off fairly easily. I know for the Chalk Ink brand they have 2 formulas – one comes off easily with just water and the other one I think is called “permanent” but it still comes off if you scrub it. It’s just meant to be more water proof for those that have their chalkboards outside. For more stubborn chalk stains, a Mr. Clean magic eraser and a microfiber cloth work wonders!
Thank you! I tried it but didn’t transfer, wondering what engineers paper is please?
Thank you