Learn how to clean the fridge with this simple step by step plan. Easy tips to get your fridge deep cleaned, fresh, and organized.
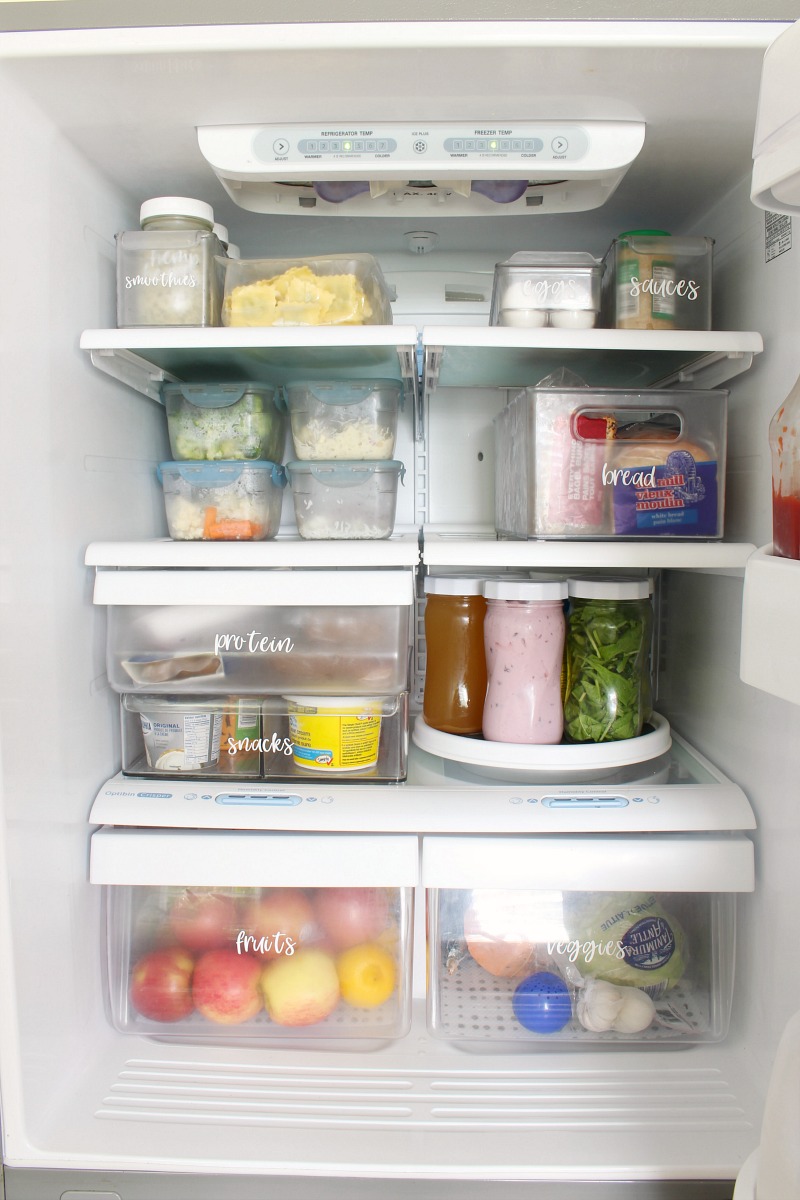
Fridge Deep Cleaning
If your fridge has seen better days {or better smells!}, it’s time for a good deep cleaning! Even if you try to keep up with regular maintenance, the fridge should really be deep cleaned about once every three months. No matter how clean I think it is, there always seems to be at least one “surprise” that pops up!
In addition to the obvious benefit of having a clean fridge, cleaning your fridge regularly will help you to cut down on food waste and save money on those food bills. It will also help your fridge run more efficiently and save you time looking for items that you need. Let’s get cleaning!
This post contains affiliate links. This means that I may make a small commission from items purchased directly through the links at no cost to you. Thanks so much for your support!
Fridge Cleaning Supplies
You’ll want to gather up all of your cleaning supplies before you get started. This allows you to clean the fridge quicker and will minimize the amount of time that food products need to stay out of the fridge.
- fridge cleaner. If you do not have a steam machine dissolve 1 tbsp of baking soda {this will help to absorb odors} in approximately 2 cups of water to use as your cleaner or use some non-scented dish soap. You do not want to use any chemical cleaning products inside the fridge itself as the residue can lead to food contamination or the scents of the cleaners can be absorbed by your food.
- steam cleaner {optional but works really well!}
- microfiber cloths
- microfiber polishing cloth {I use Norwex}
- spray bottle with 50:50 water/vinegar mixture
- essential oils {optional}
- cleaning toothbrush
- garbage bags
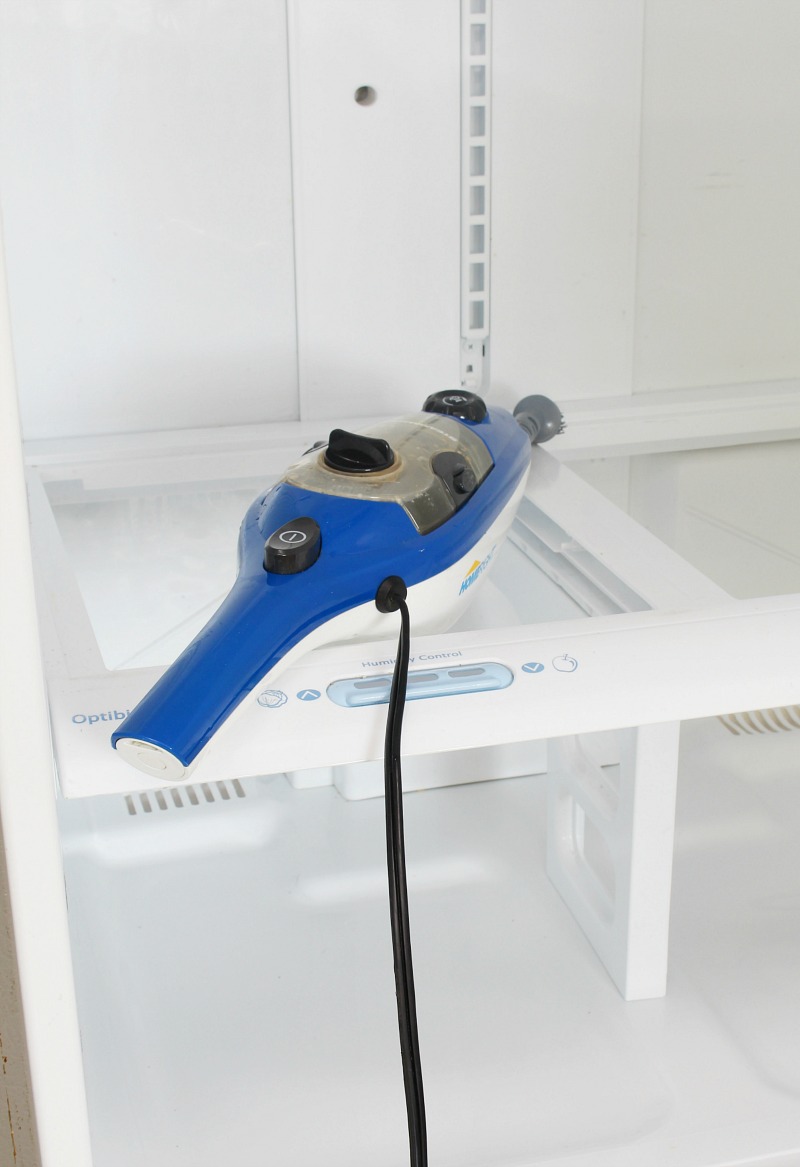
A steam cleaner is one of the quickest and easiest ways to clean the fridge. The high temperature, high pressurized steam easily loosens and dissolves spills, grime and food particles that settle in the fridge. It also kills 99.9% of all germs and bacteria without the use of any chemicals. While this is important in any cleaning, chemical-free cleaning is especially important when you’re cleaning the fridge due to the close contact with food and confined space of the fridge.
How to Clean the Fridge
Empty everything out.
Before you get started with the cleaning, it’s best to remove all of the contents out of the fridge. It’s really the only way to examine everything that’s in there and do a thorough deep cleaning. If you’re concerned about perishables being out on the counter, you can place them in a cooler {especially if you’re in warmer climates}. As a rough rule of thumb, avoid leaving food out for more than an hour.
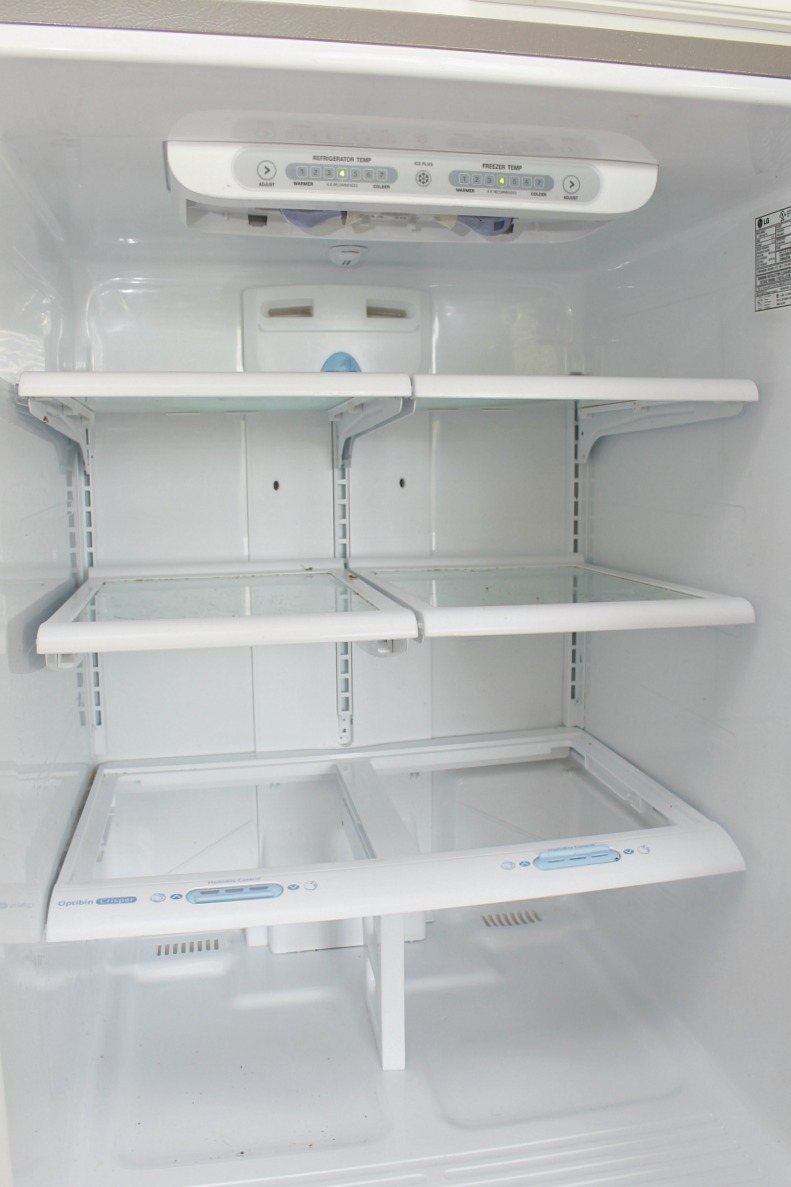
If your fridge requires a lot of scrubbing and you’ll need to leave the door open for a while, it’s best to unplug the fridge or turn off the circuit breaker to save energy.
Take out any removeable components.
Fill your sink with warm, soapy water and remove any drawers, compartments, and shelving from the fridge. Soak the bins while you’re cleaning the rest of the fridge.
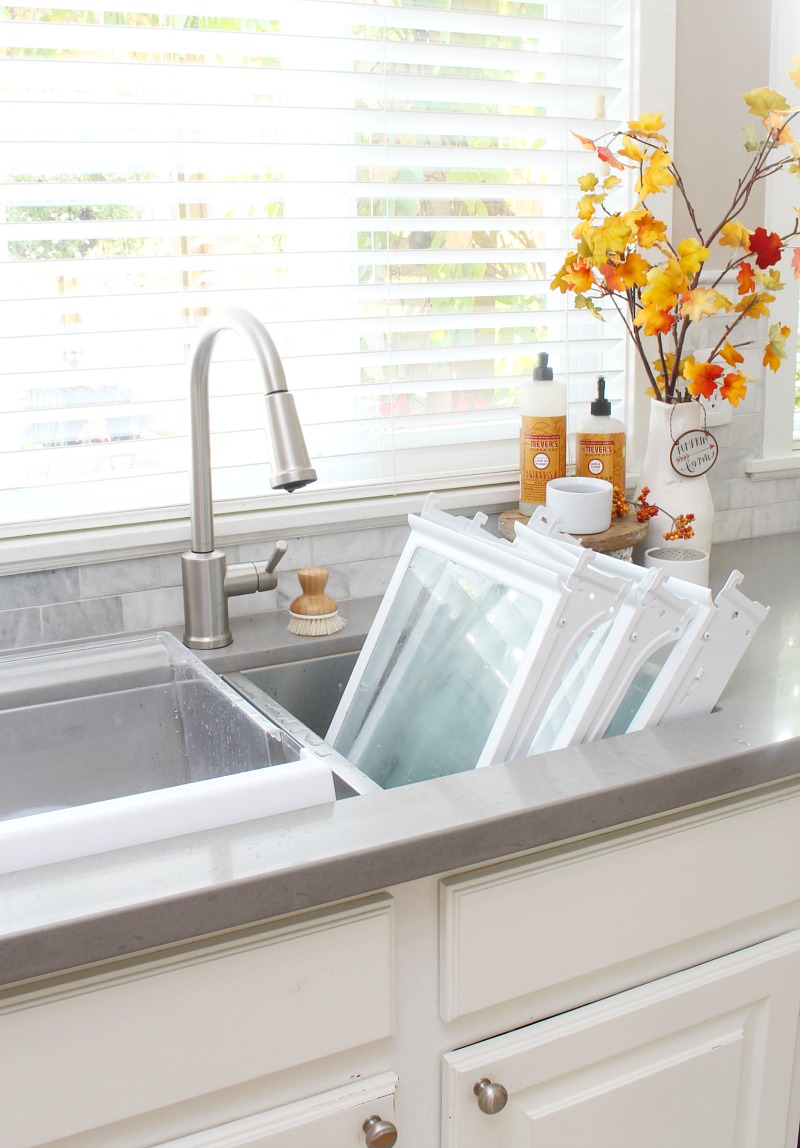
TIP: Make sure you check any inserts where spills can get trapped underneath. Here’s the section of the fridge underneath the glass insert on the bottom shelf. With the glass in, it looked fairly clean, but when I removed it…
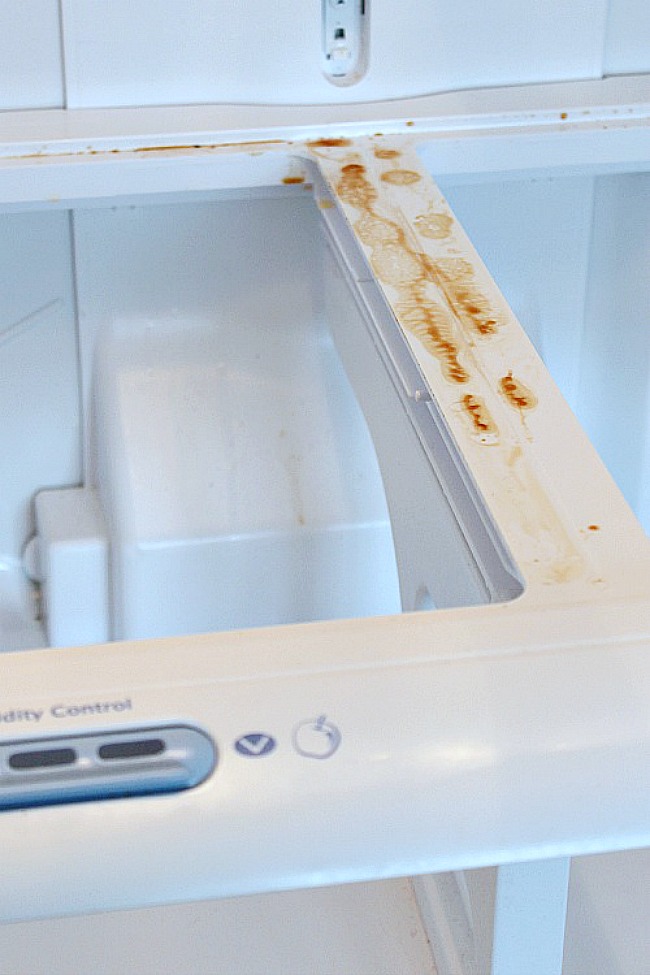
Yuck! Obviously something had spilled {maybe BBQ sauce?} and someone hadn’t cleaned it up properly. The glass has an opaque section that goes over that cross bar, so until that glass was actually removed, the mess could not be seen. There always seem to be surprises when it comes to cleaning the fridge!
Clean the inside of the fridge {steamer method}.
Using a slightly damp microfiber cloth {I just spritz mine with the 50:50 water/vinegar spray}, quickly wipe down the fridge to remove any loose debris and food particles. When you’re cleaning, always work from top to bottom, so you don’t have to go back over areas that you have already cleaned if messes drip down from the top.

Once the loose debris is removed, you’re ready to get steaming! Starting at the top of the fridge, use your steamer to clean the sides of the fridge and any remaining shelving. Use a small scrub brush attachment or a narrow nozzle to get into all of the little corners and grooves. The sticky messes generally come off without any scrubbing and it leaves a nice, clean finish. Follow with a polishing cloth {or dry microfiber cloth} to make everything shine and soak up any remaining water.
Clean the inside of the fridge {no steam cleaner}.
If you don’t have a steam machine, you can use some unscented dish soap and a couple of microfiber cloths to clean. For extra scrubbing power on stains or extra grimy spots, make a paste with baking soda and water. You may also want to use a toothbrush to get into the smaller spaces and corners. Dip the cloth into your cleaning solution and scrub as needed. Be sure to rinse thoroughly with clean water to remove any residue. Again, always work from top to bottom and one side of the fridge to the other.
Clean the bins and shelving.
Clean the bins and shelving in the sink as you would clean your dishes. Use dish soap and a dish cloth or sponge to clean off any messes. Rinse thoroughly with clean water and dry completely. If you have a steamer, you can use this to clean the shelves instead or use the steamer to give them a final rinse.
One of the places that grime can often hide is on the underside of the shelving where the glass and the plastic meet. This has always driven me crazy with this fridge as there is no way to remove the glass from the plastic to clean under that little lip and it was pretty much impossible to get all of that yuckiness out.
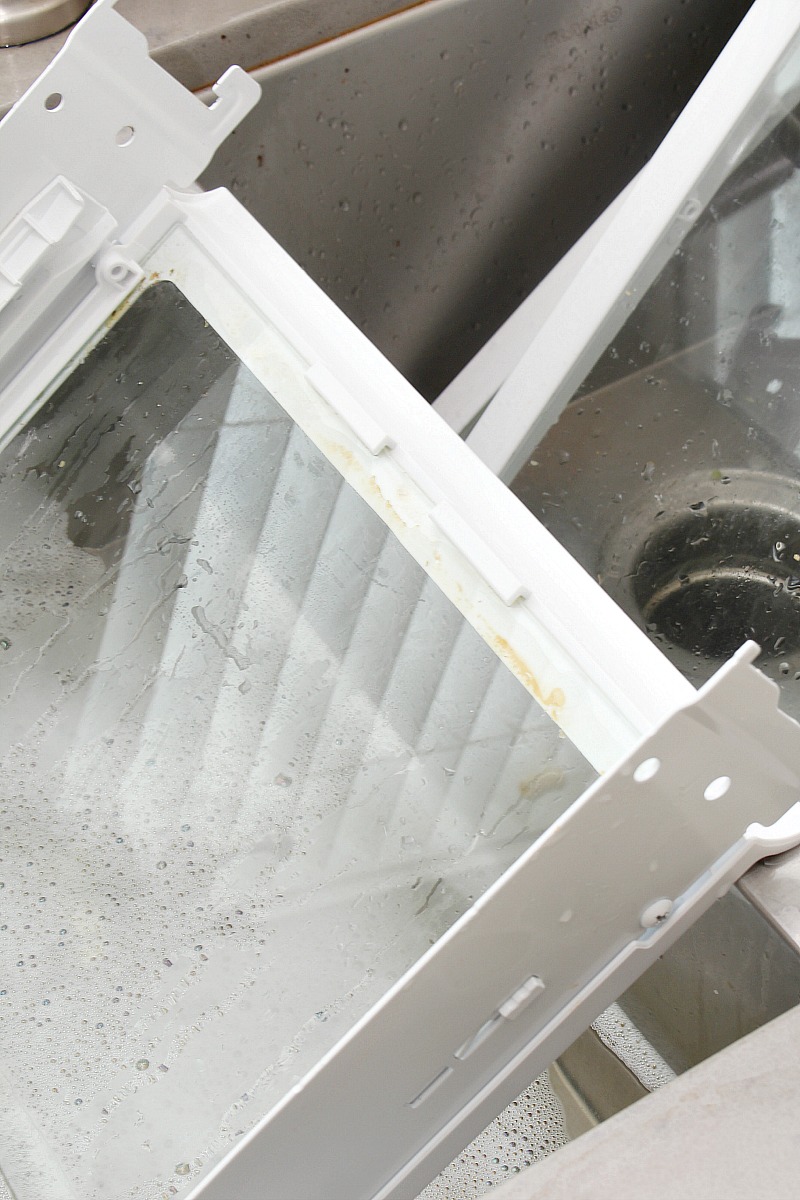
Using a steam machine is really the only way I have found that cleans this. Gently pull the plastic away from the glass so there’s a slight gap and then blast with the steam cleaner. It took a few minutes and a few repetitions to get it all out but it was worth the extra time!
Consider using fridge liners.
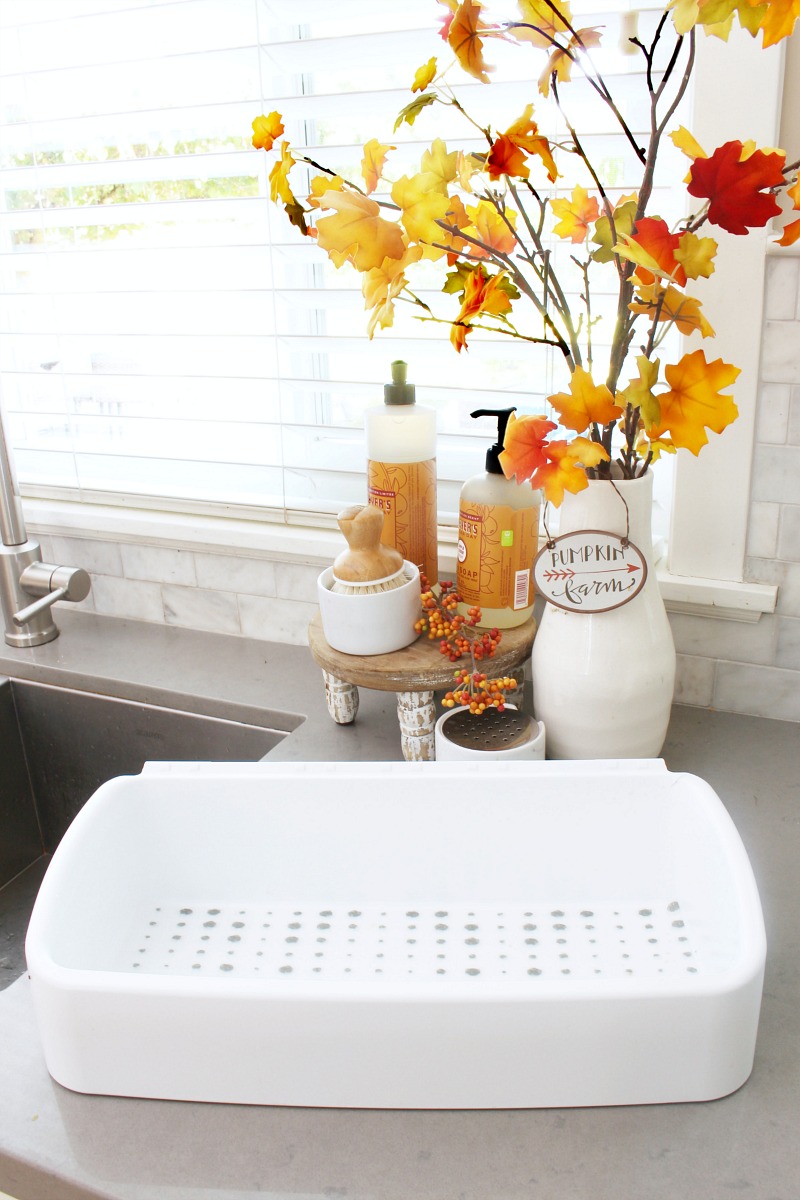
Fridge liners can be used on bins or shelving to help protect against spills and stains and will help to reduce the frequency of deep cleanings. When any spills occur, the liners can easily be removed and washed down rather than having to take out the entire bin or shelf. Look for waterproof liners with an antibacterial finish. The fridge liners can be cut down to fit any shelf size or bin space. You can find clear liners or add some personality to your fridge with colored or patterned liners.
Put items back.
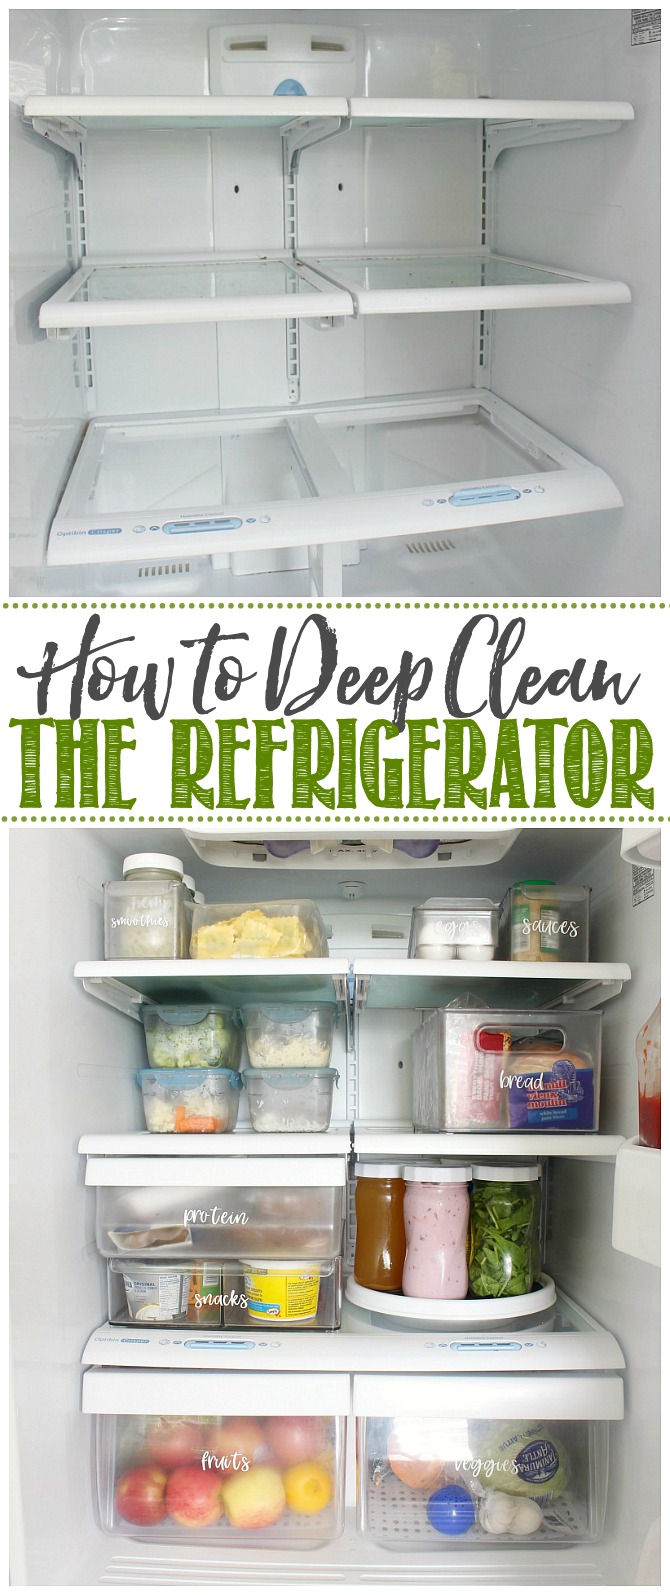
Before placing items back in the fridge, take an inventory of what you have and check expiry dates. Throw out any old leftovers, expired foods, and items that you won’t use. Compost any old produce and recycle containers whenever possible.
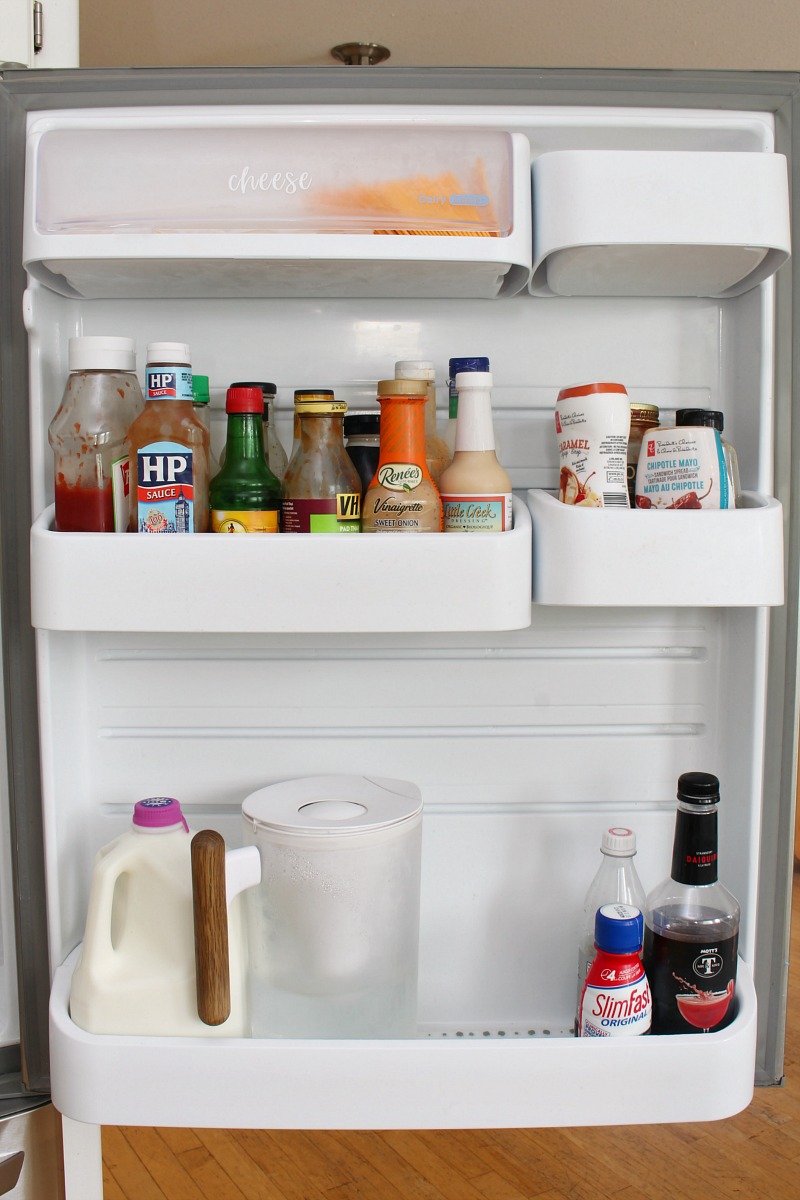
Spray a microfiber cloth with a 50/50 mixture of water and vinegar and wipe down the outside of all bottles and small bins as you put them back into the fridge. Organize your food items by categories so it will be easier to find what you are looking for.
Create a fridge organization system.
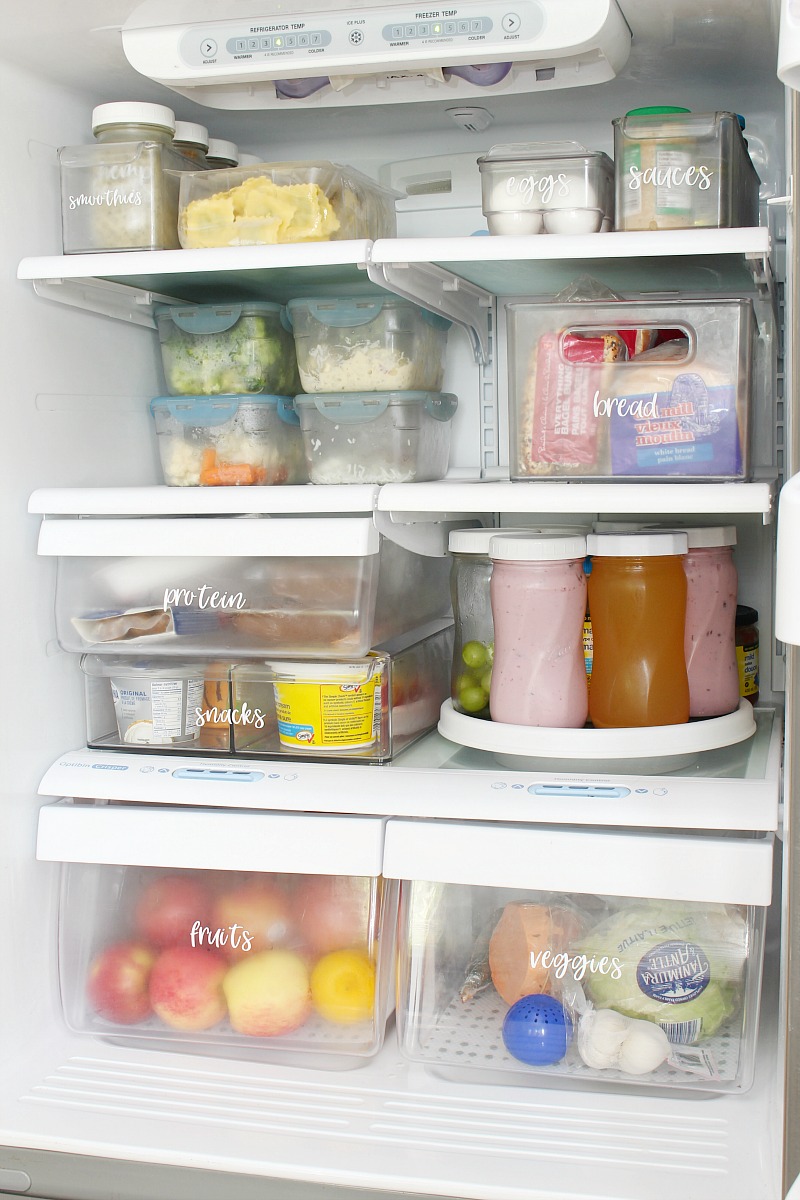
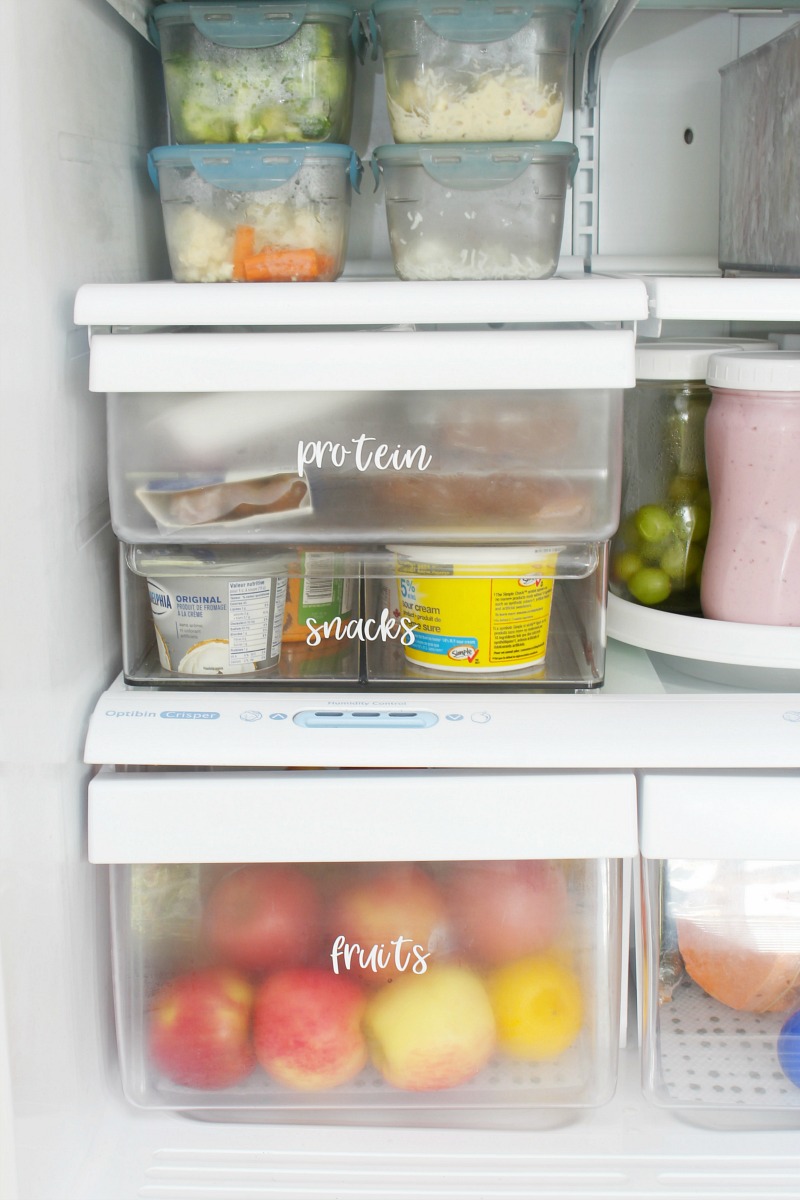
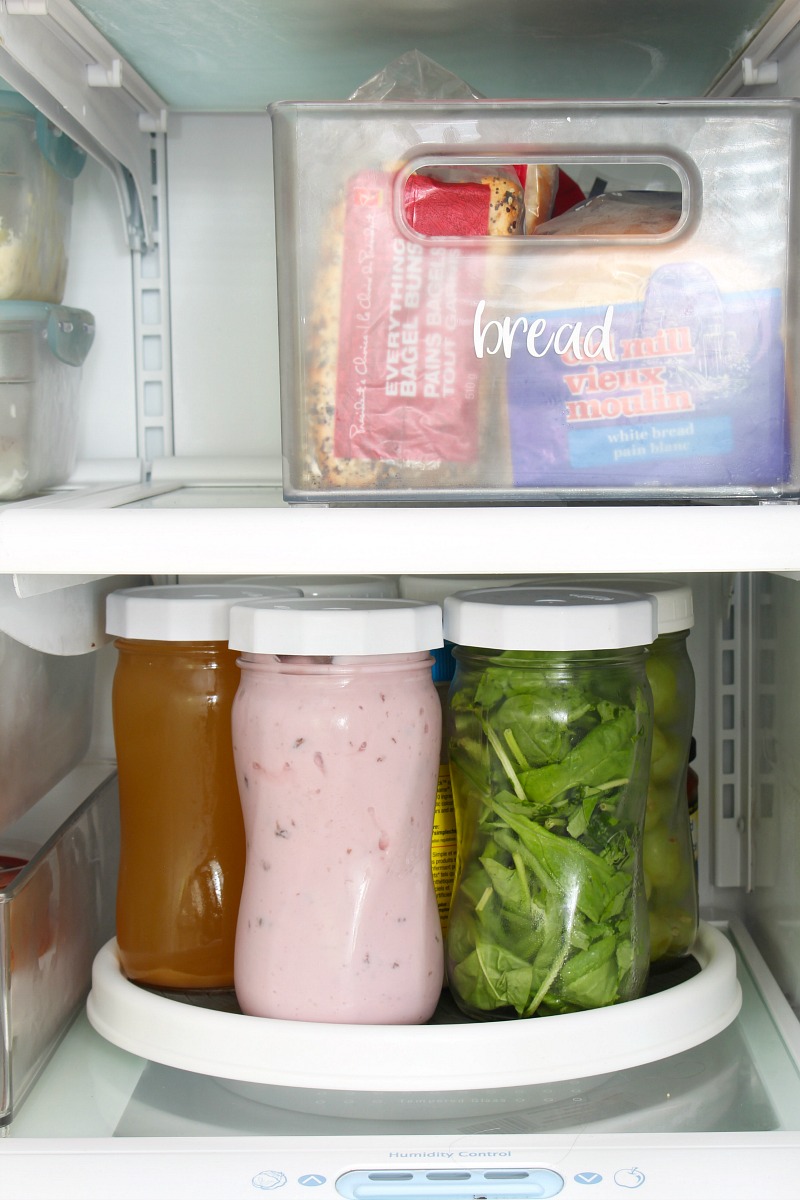
Use bins, baskets, and/or a lazy susan in the fridge to make it easier to reach those items in the back of the fridge. You can find lots of fridge organization tips and products here to help get you started. The bins also help to contain any little messes that may spill out of containers to the bin itself rather than getting all over the fridge. Bins can be labeled wit a vinyl cutter, paint pens, or these free printable fridge labels.
Clean the outside of the fridge.
If possible, pull out the fridge from the wall, and clean underneath. Wipe down all sides of the fridge and clean with an appropriate cleaner for the finish of your fridge. For the best way to clean stainless steel, check out this post.
How often should I clean the fridge?
The fridge should get a good deep cleaning at least once every three months. To keep it looking its best on a regular basis, be sure to clean up any spills immediately and get in the habit of doing a regular light cleaning. I find it easiest to clean right before I go grocery shopping when there’s less in the fridge.
How do I remove odors from the fridge?
If you still have concerns with smell despite thoroughly cleaning the fridge, you can try using a deodorizer. A box or jar of baking soda tends to be the most common natural deodorizer but you could also use a tray of fresh coffee rounds or some deactivated charcoal.
If these still don’t seem to help after a couple of days, you may need to empty your fridge {storing items in a cooler or other cold environment} and leave the door open overnight. You can then make a paste of baking soda and water to scrub down the fridge and then rinse thoroughly with water. Mixing in some lemon essential oils or lemon juice into the paste can also help leave a nice, light scent.
Fridge Maintenance and Cleaning Hacks
To help keep your fridge running efficiently, make your food last longer, and keep your fridge looking fresh and clean, give some of these tips a go…
- Try not to overfill your fridge. Air will not circulate as well through the space making your fridge less efficient at keeping the cooler temperatures. Plus, it makes it harder to find what you’re looking for and see any messes that might happen.
- Get in the habit of quickly going through items in your fridge before grocery shopping. This will keep spoiled food to a minimum and help you avoid buying items you don’t need.
- Keep your fridge organized. In addition to actually looking better, an organized fridge with allow for better temperature control, avoid food waste, and let you easily find what you’re looking for.
- Wipe down bottles before they go back into the fridge. Ketchup, salad dressings, and other sauce and condiment jars often have little drips and sticky residue that can be transferred to your fridge.
- This is probably pretty obvious, but clean up spills and stains as soon as possible. The longer they sit, the harder they’ll be to clean!
- Use an odor absorber such as an open box of baking soda or a package of deactivated charcoal to get rid of any smells that may be lingering in your fridge. Change every 30-60 days or according to package directions.
- Place a crumpled piece of brown paper in the crisper compartments to help absorb odors.
- Line your crisper drawers with a paper towel to absorb any excess moisture and keep your fruits and vegetables fresh for longer.
- Try these blu apple produce savers in your crisper drawers to help absorb the ethylene gas emitted by fruits and vegetables. It just needs to be changed every few months and will make your fruits and veggies last longer.
- When thawing items {especially meat!}, place them on a rimmed plate or baking sheet to contain any spills or leaks.

Now enjoy your clean fridge! 🙂
More Cleaning Tips
For more cleaning tips and tricks, check out these posts…
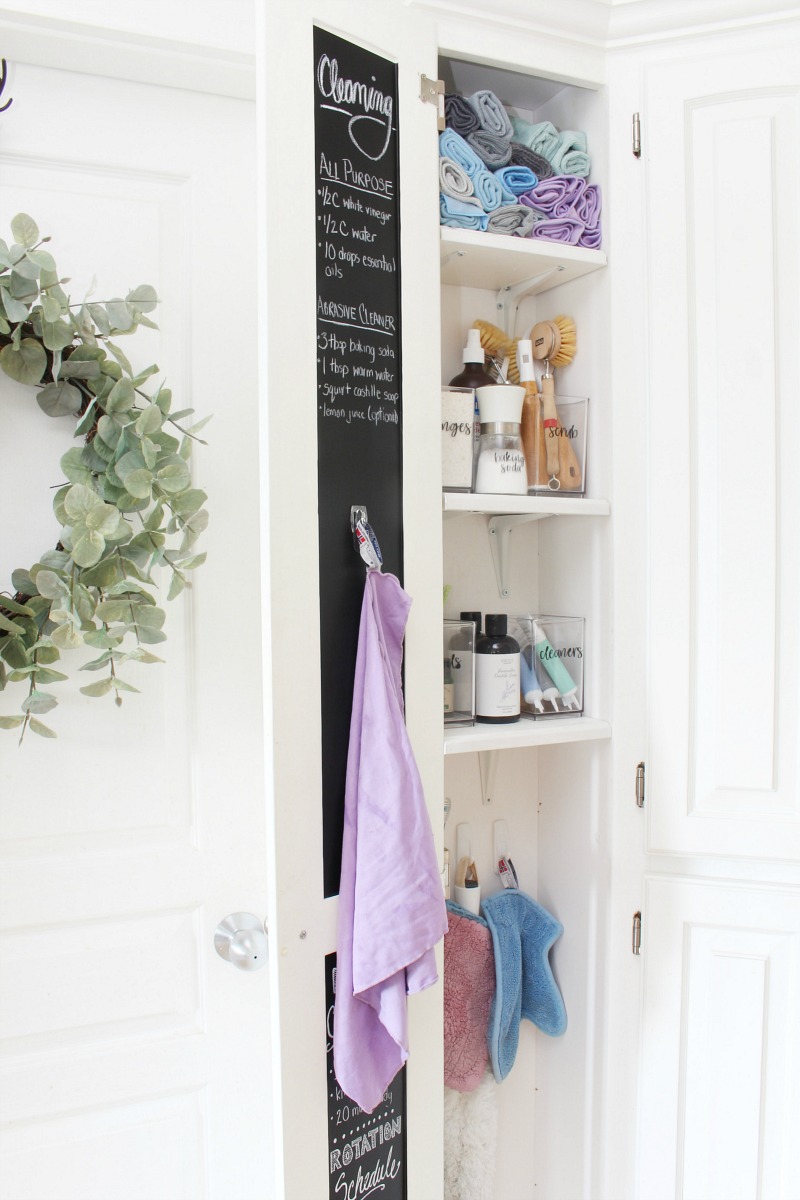
Seasonal Kitchen Deep Cleaning Checklist

Free Printable Cleaning Labels
I CAN’T WAIT TO GO CLEAN MY FRIDGE AFTER READING THIS POST!! (NEVER IN A MILLION YEARS DID I THINK I WOULD SAY THAT) THANK YOU FOR THE INSPIRATION! AND ALL THE LITTLE TIPS 🙂
Nice hubby!!!