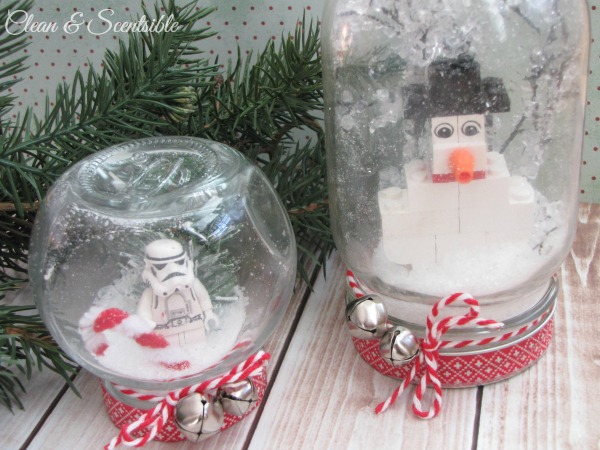
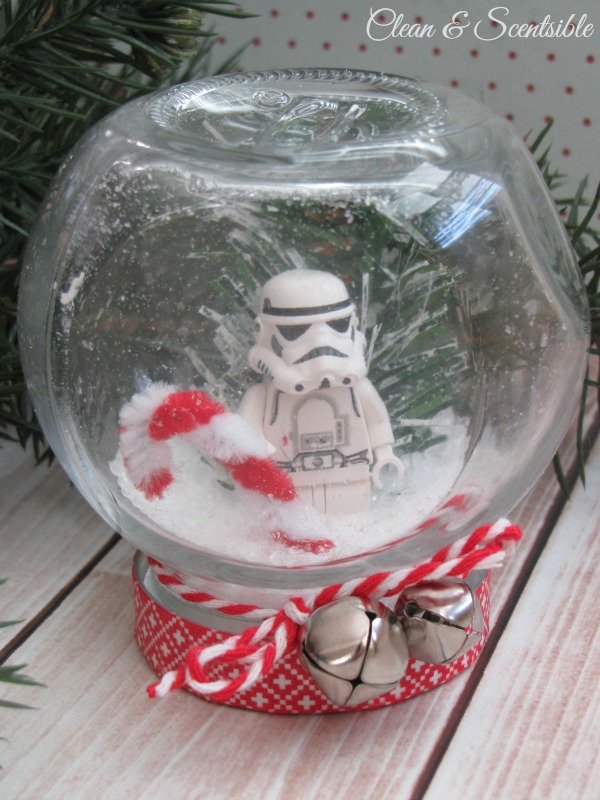
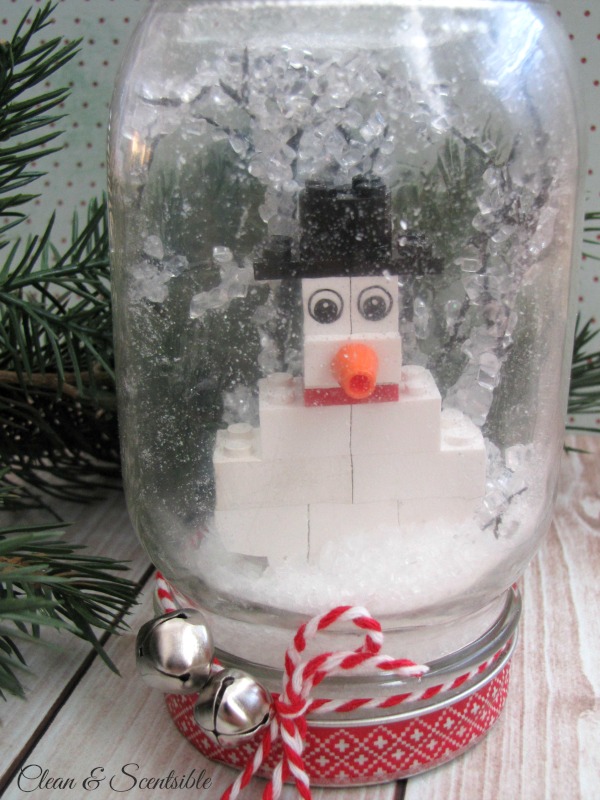
I always like to get my kids involved in at least a few Christmas projects throughout the Christmas season but I have found that I have been having to get a little more creative to keep their attention as they get older. My boys are now 6 and 9 and they are often much more interested in playing Lego than doing a craft project with their Mom. So….I decided to combine the two and came up with these Lego snow globes for us to make.
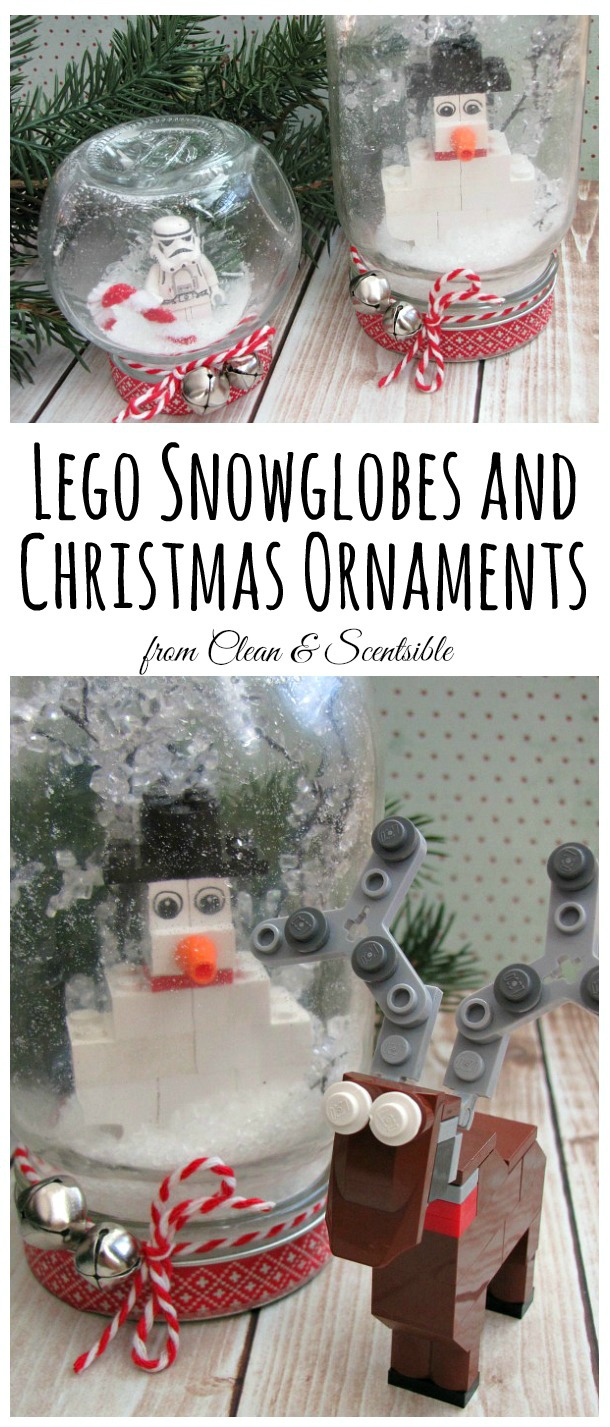
I originally shared these globes over at Design Dazzle for Toni’s Christmas Wonderful series but wanted to share them here as well for those of you that missed it. There were tons of amazing kid-friendly projects, so don’t forget to visit over there if you are looking for some fun ideas to do with your own kiddos!
 Now back to the Lego snowglobes… 🙂
- transparent glass jars
- Lego figurines {or build your own Lego Christmas creations for older children}
- red and white pipe cleaners
- washi tape
- baker’s twine
- jingle bells
- decorative Christmas garland {you can find these at the dollar store or other craft stores}
- white paint
- glue {I like Quick Grip} or hot glue
- epsom salts
To Do
For Small Jar
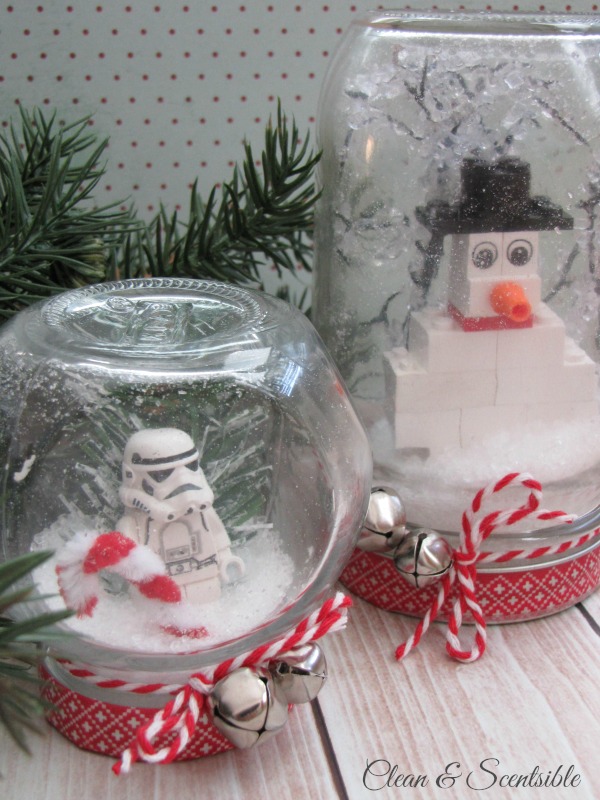
- Place a Lego figurine on a 2×2 brick to give it some added height. {This will also allow you to easily remove the figure when you are done with the snow globe}
- Twist red and white pipe cleaners together and form into a candy cane. Place it in the figures hand.
- To form the tree, snip a small piece off of a Christmas garland so that it is just slightly smaller than the height of your jar. using a toothpick or small paint brush, splatter the branches with white acrylic paint {us a dabbing motion to apply the paint}. Glue to the back of the 2×2 brick.
- Glue the 2×2 brick to the lid of the jar and allow to dry.
- Add Epsom salts to the jar so that they will completely cover the 2×2 and extend slightly up your figurine.
- Once the glue is dry, screw on the lid.
- Wrap the outside of the jar lid with washi tape.
- Tie baker’s twine and a couple of jingle bells around the neck of the jar to finish.
For larger jar
- Build your own Christmas Lego figure. It can definitely be a creative challenge when you only have certain pieces to work with but it was kind of fun working together and digging through our Lego stash to find the right pieces. If you are looking for a good starting point, there are lots of other Christmas Lego ideas here.
- Add 1 or 2 2×2 Lego pieces to the bottom of your figure to add height. {We used 2 on ours}
- Glue the 2×2 to the jar lid and allow to dry.
- Add any other embellishments that you would like. We used a little “snow covered branch” that had fallen off one of our wreaths. If you would like to make your own, spray a twig with adhesive spray and sprinkle with epsom salts.
- Add enough Espom salts to the jar to completely cover your 2×2 base.
- Screw on lid once Glue has dried.
- Finish the jar lid with the washi tape and baker’s twine as above
Just have fun creating and you will come up with something great! 🙂 We also ended up making this little reindeer but his antlers were too big for the jar.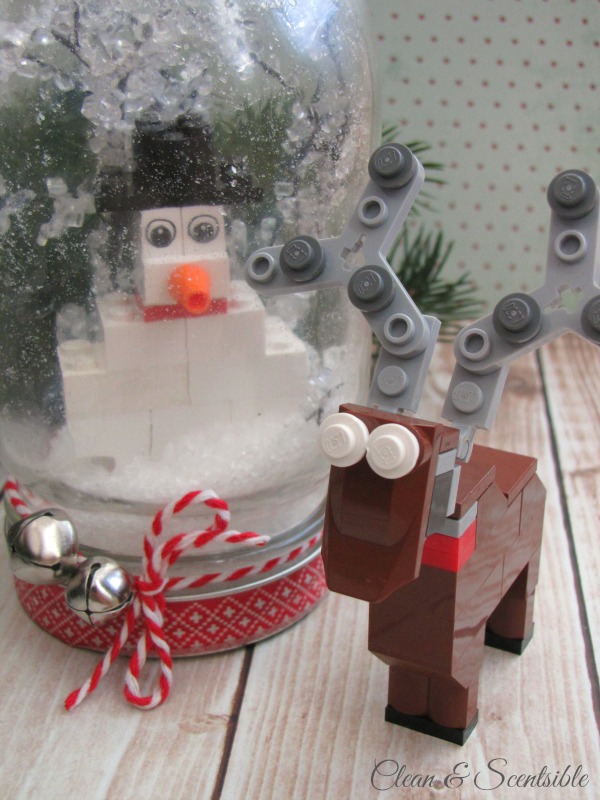 He’ll end up making a cute ornament though for the tree!
If you are like us, and have a TON of Legos in your home, check out how we keep all of our Legos organized!!
Wishing you all a wonderful holiday season filled with love, joy and creativity!
So cute Jenn!! My nephew is a total lego nut and I want to make him one!! Pinning it:)
Looks like so much fun