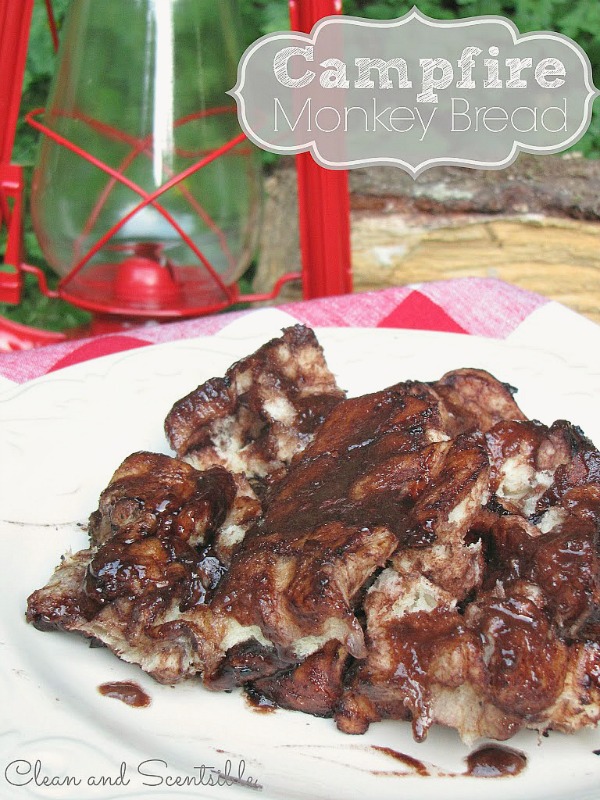
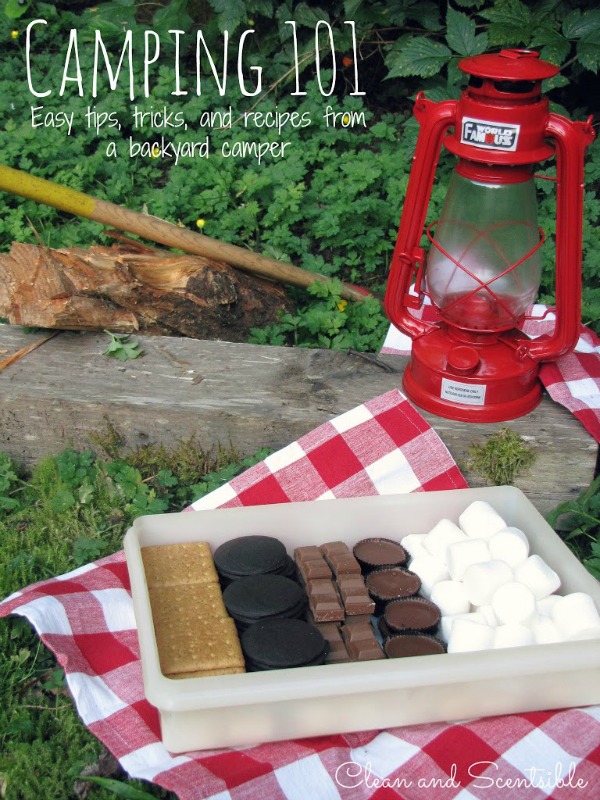
For those of you that missed the first post, I have started a summer-long camping series designed to provide you with easy tips, tricks, and recipes for a stress-free camping adventure! Today were are going to be continuing on with some camping recipes and making some ooey-gooey campfire monkey bread…


This tasty treat is easy to prepare and is always lots of fun for the kids to help prepare {of course very close supervision around the fire is required}. I always stick the dry ingredients in a ziploc prior to heading out camping so prep time is quite minimal.

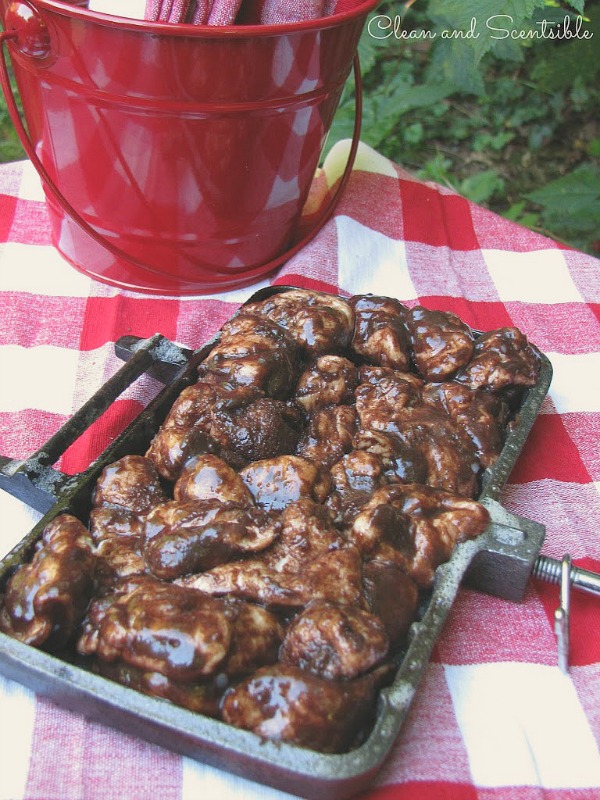
Part of the fun with camping, is cooking over the fire and pie irons provide such an endless amount of recipe options. I must say that this chocolate monkey breads is one of my favorites though.
All you need is about 10 minutes of cooking time and you are ready to enjoy!
Campfire Chocolate Monkey Bread
Author: Jenn
Recipe type: Dessert
Prep time:
Cook time:
Total time:
Serves: 8
This ooey, gooey chocolate monkey bread can be made right over the campfire!
Ingredients
- 2 packages of Pillsbury refrigerated biscuits
- ½ cup brown sugar
- 1 package chocolate cook and serve pudding mix {NOT instant pudding}
- ¼ cup sugar
- ½ cup butter
- cooking spray
Instructions
- Prior to camping, place the brown sugar, pudding mix, and sugar into a large Ziploc bag.
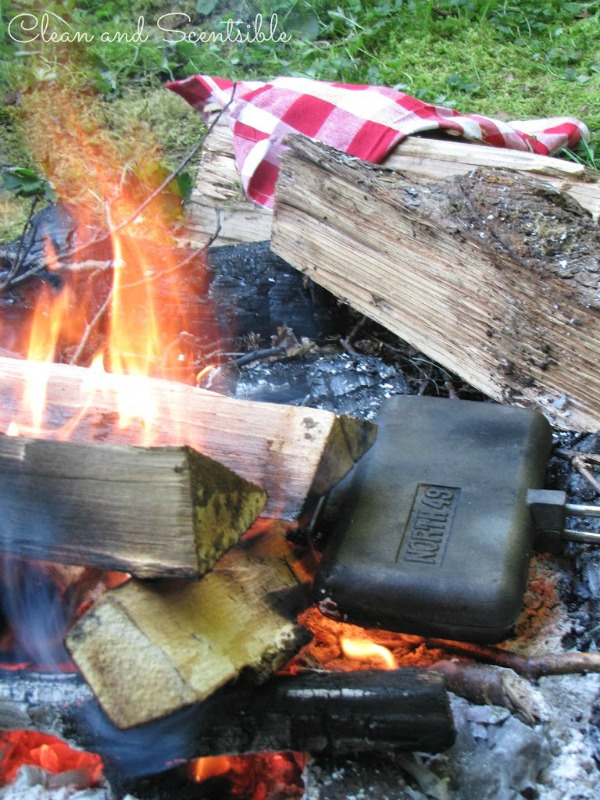
- At the campsite, prepare the campfire and allow to burn for at least 30-60 minutes to create hot coals.
- Cut up the biscuits into quarters. Drop into the Ziploc bag and completely cover.
- Melt the butter and pour over the biscuits. Seal the bag and shake again. The biscuits should appear very gooey. The pie iron will tend to dry them out so you want them well covered.
- Spray both sides of the pie iron well with cooking spray. This recipe will fill 2 double sized pie irons.
- Place the biscuits on the pie iron and spoon any remaining mixture over top to coat further {make sure you save some for the second batch!} You can also try adding this half way through cooking if you like it a little more sticky.
- Close the pie iron and place in the hot coals for approximately 10-12 minutes turning and rotating frequently. {We found that it worked best if we flipped the pie iron over as well as rotating it around the coals so the front of the pie iron was not always facing the same direction}

This post is part of my summer long Camping 101 Series.
You can find more pie iron recipes HERE and be sure to follow along so you don’t miss out on the rest of the series! You can connect with me here…
Hope you are having a wonderful week!


Wow, Jenn… this looks incredible. My boys would definitely have to run off their sugar high before bed!! They would love it:)
That sounds like the perfect breakfast while camping! I love monkey bread in general, & would love to give it a try 🙂 thanks for sharing! I saw you at Savvy Southern Style 🙂
Blessings,
Nicole
http://coleyscraftingcorner.blogspot.com/2013/07/diy-headboard.html
I would love for you to share and link up at my weekly TGIF Link Party if you haven’t already this week. Your favorite posts, most popular, recent or new! The party is open every Thursday night and closes Tuesday’s at midnight. Followed by (Not SO) Wordless Wednesday! http://apeekintomyparadise.blogspot.com/.
I would be honored if you join us and follow to stay connected Have a wonderful week!
Hugs, Cathy
Chocolate is good but you just kicked it up another notch with this recipe. I think this is the best use of biscuits since gravy was invented!
Can I come camping with you? This looks incredible! Thank you so much for sharing at Monday Funday this week! Have a good one!
Take care,
Trish
YUM! I’d love to try this!
I don’t camp…..do you happen to have directions to bake this such as size of the pan to use, temperature and length of time for baking. I would LOVE to try this
I haven’t done it in the oven but I would use an angel food cake pan and just follow the temperature/baking time on the package directions for the dough. Let me know if it works out!