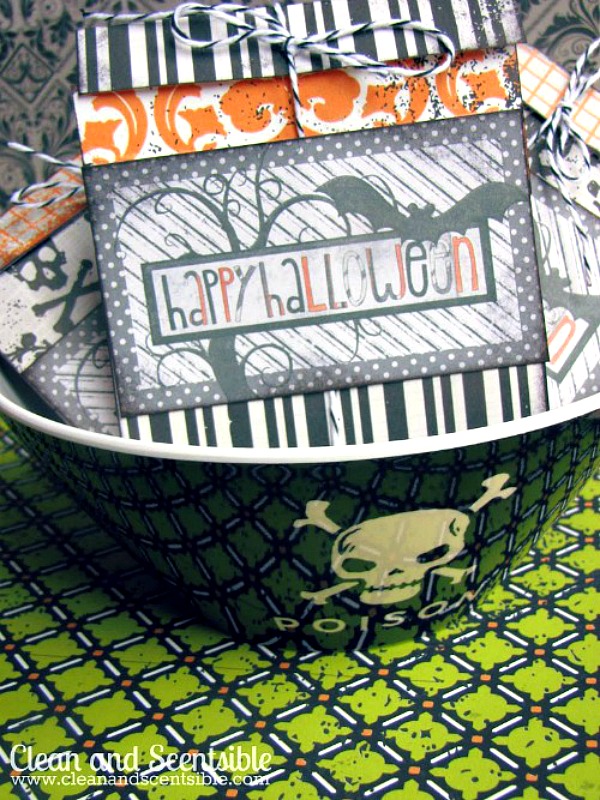
I always like to send a little school treat with the kids on the holidays. Last year I made up these Frankenstein Treat Holders for Matthew to take on Halloween. Now that I have two kiddos in school, however, the project time has doubled so I wanted to come up with a quicker treat idea. These Halloween tags are a fun way to add a little customization to your Halloween treats and can be done in no time.
Halloween Tags – Free Printable Download
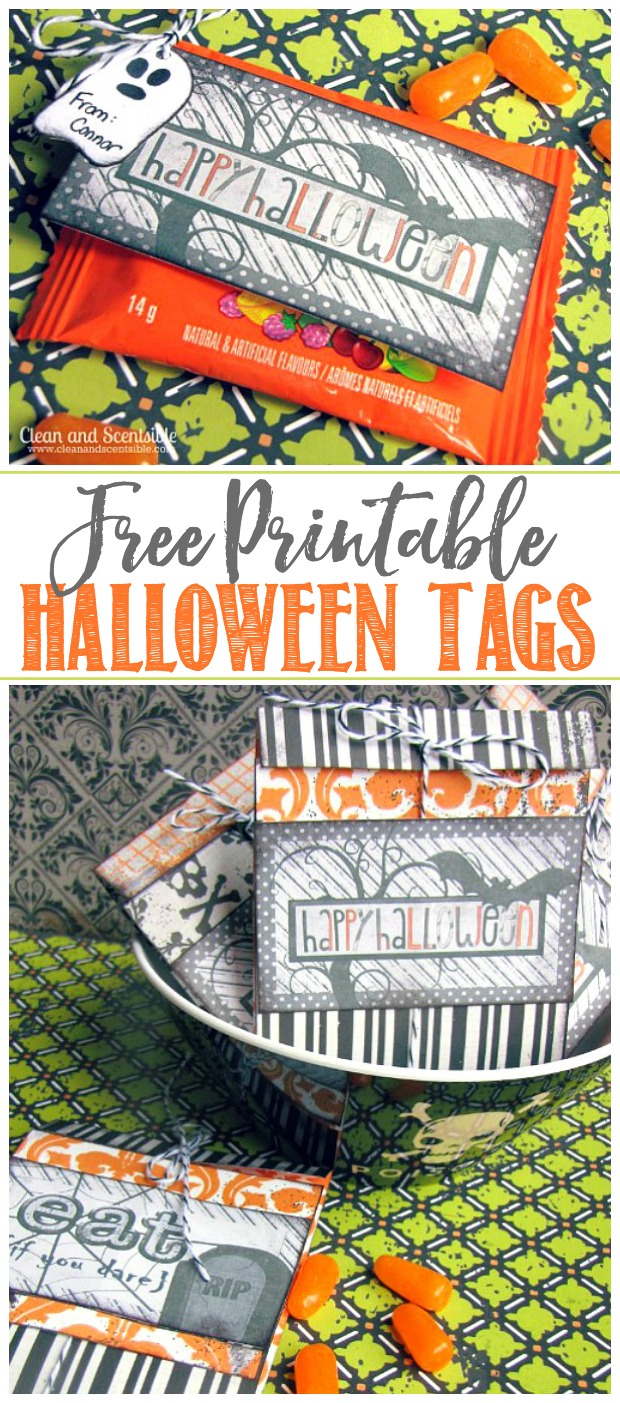
I designed two different Halloween tags for you to choose from as well as a couple of different ideas for how to use them. You just need to download and print! Thicker paper or cardstock works best for these – especially if you’re going to be writing on the back. You can download the printables here…
EAT IF YOU DARE TAG HERE
HAPPY HALLOWEEN TAG HERE
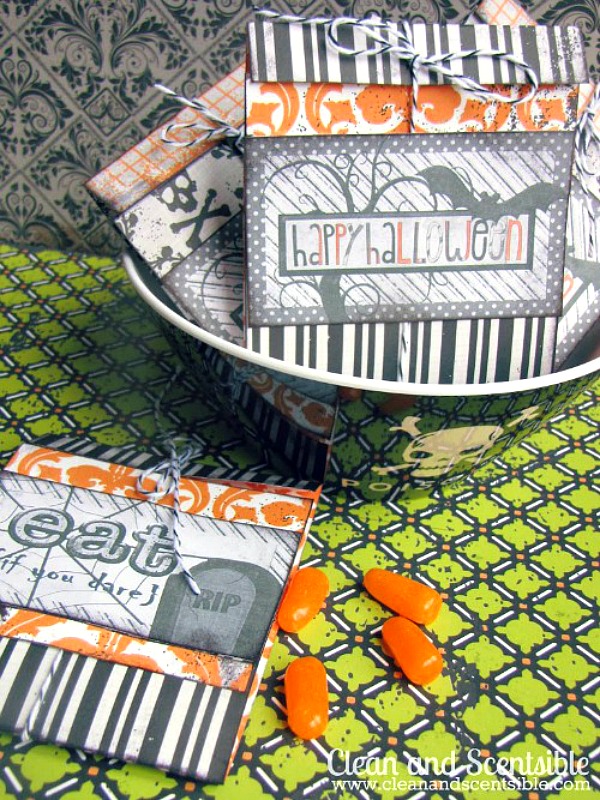
Halloween Treats – Option 1
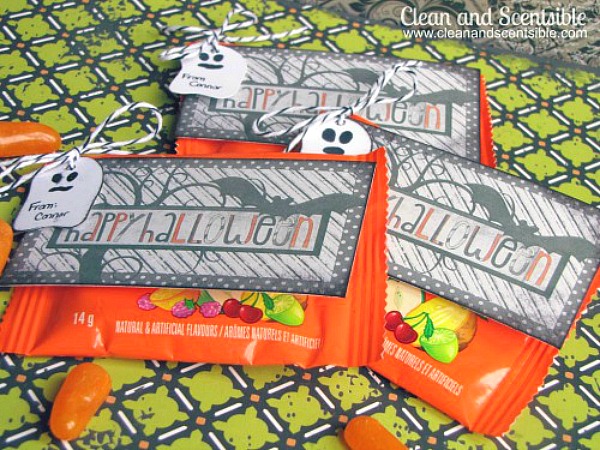
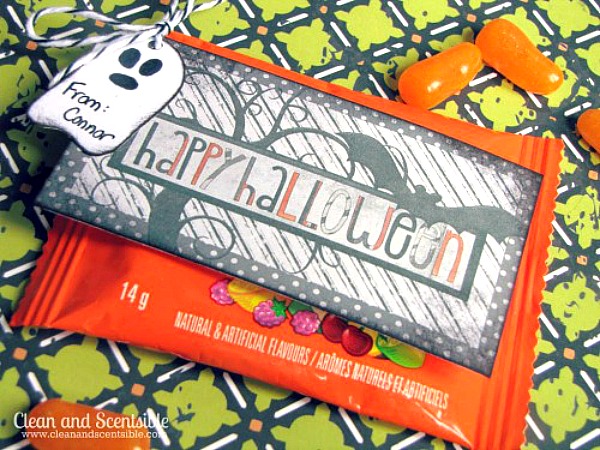
This first option to use the Halloween tags is the quickest. All you need to do is print and cut out the tags, ink the edges with black ink, and cut out a little ghost from the left over scraps. Then just punch a hole and tie it all together with some backer’s twine or ribbon. The kids can easily help with this and it makes a fun little project to do together. They work great for class treats and your child can always write a little message on the back if you don’t want to add the ghost.
Halloween Treats – Option 2

MATERIALS
- double sided cardstock in Halloween colors or patterns
- paper cutter with scorer
- black ink {optional}
- baker’s twine
- stapler
- glue
HOW TO
- Cut double sided cardstock into strips 10 inch x 3.5 inch strips. {It is actually just under 3.5 inches wide if you want the tags to be flush with the edges}.
- Score the strip at the 3/4 inch, 5 inch, and 8 3/4 inch marks. {You can also just fold the strip in half and eye ball the measurements once you have done 1 or 2 to make it faster}.
- Fold the paper strip in half and then fold down the front along the score line {this should be the one done at the 8 3/4 inch mark} Ink the edges with black ink making sure to ink the inside of the flaps as well. Glue the front fold down.
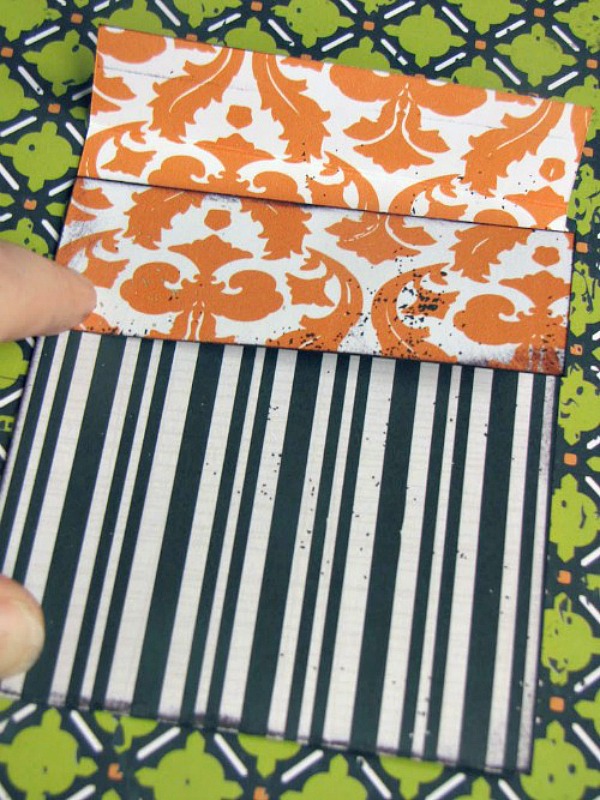
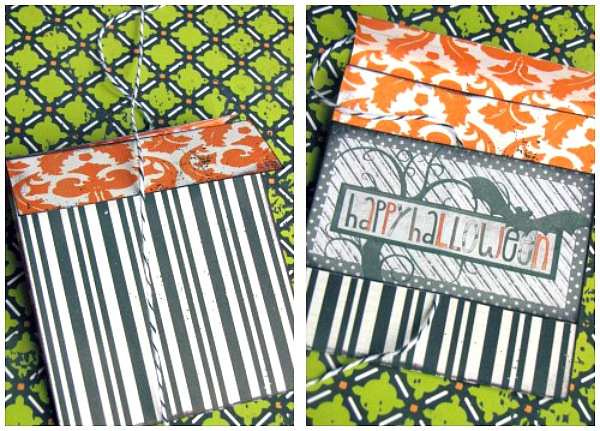
- Cut your bakers twine so that it will wrap around the back and front of the card with extra length left at the top to tie it {mine was approximately 16.5 inches long. You will be using the tag to secure the twine in place.
- Cut out your tag and ink the edges. Using glue, adhere the tag over the bakers twine to hold in place.
- Staple some treats to the inside of the pocket.
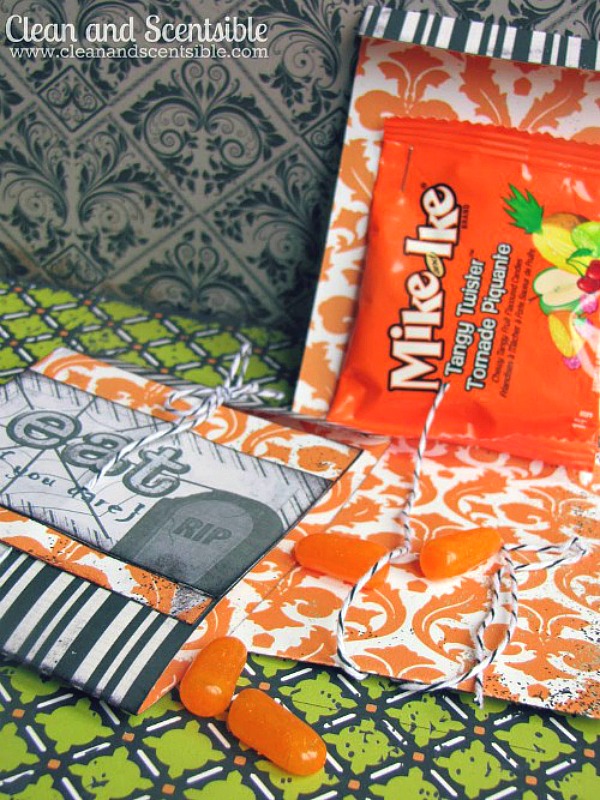
- Fold down the flap on the back of the pocket and tie together.

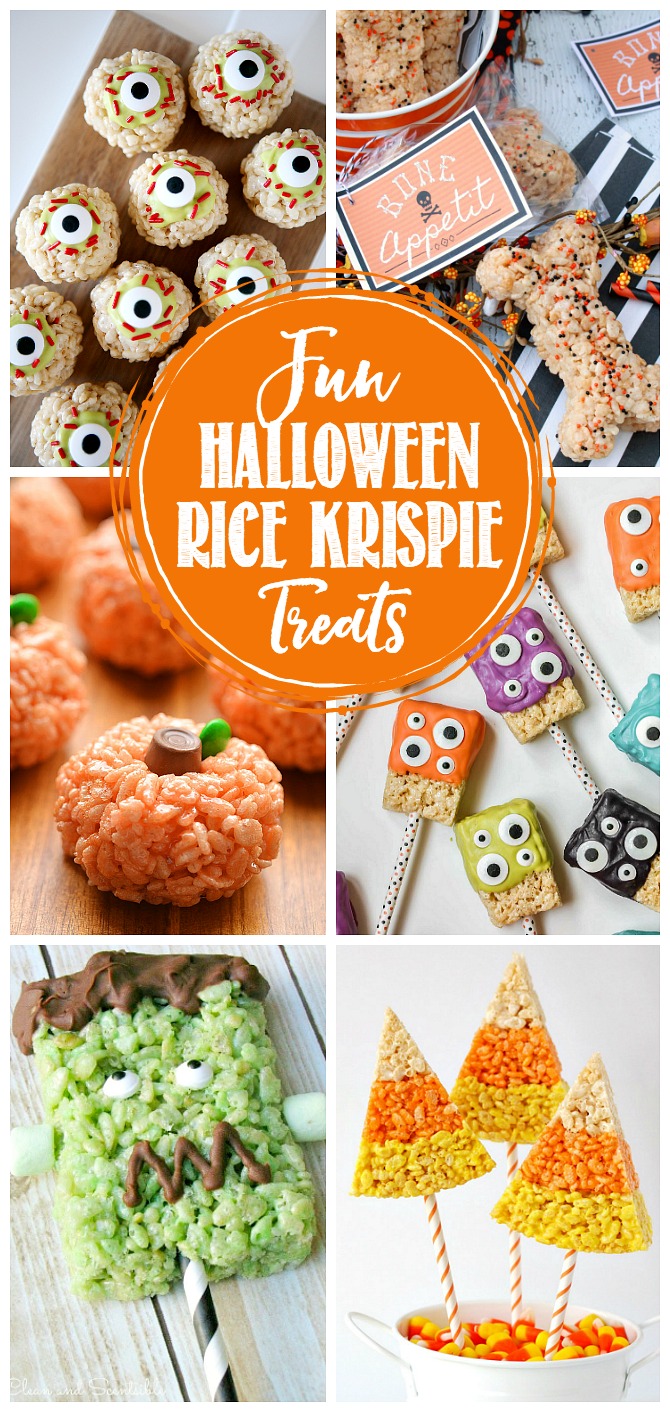
More Halloween Ideas
Comments
Trackbacks
-
[…] Halloween Treat PrintablesFun Halloween Dinner IdeasHalloween home TourYou can also visit me with here: FACEBOOK / PINTEREST / INSTAGRAM / TWITTER […]
Very cute projects! I especially like the simple tags for attaching to a candy.