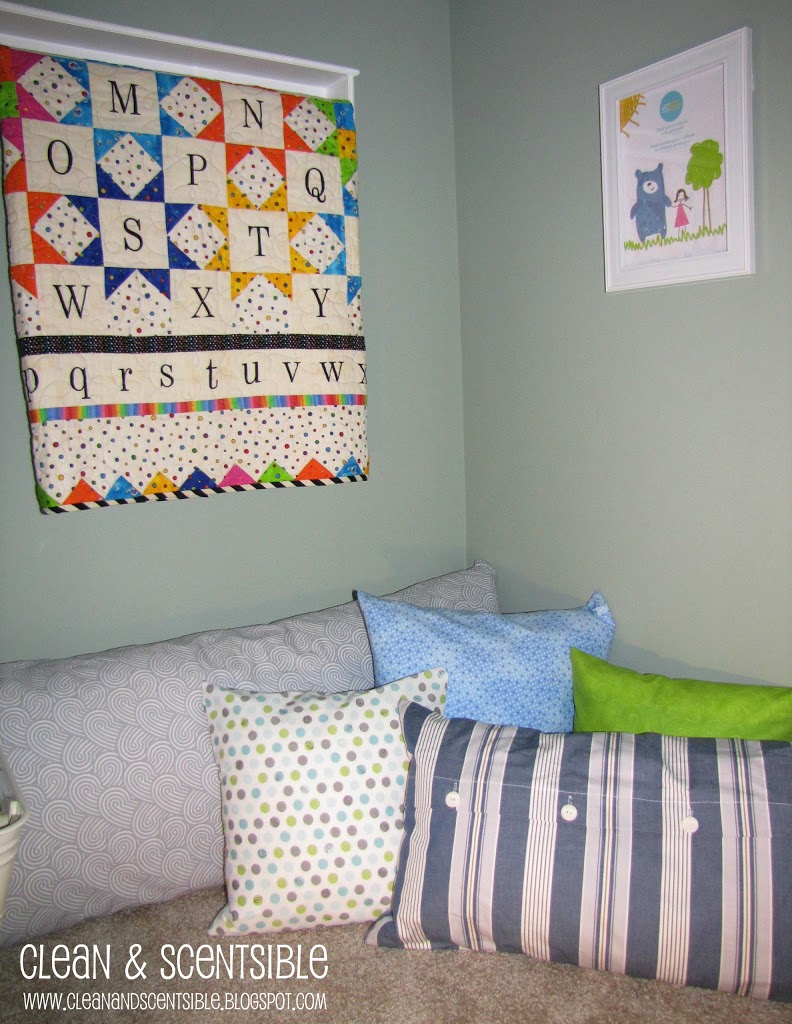
And what did I get?
A great big fat C+. My lowest mark out of my entire academic career. So, as easy peasy as making envelope pillows is for most of you, this was a big deal for me!
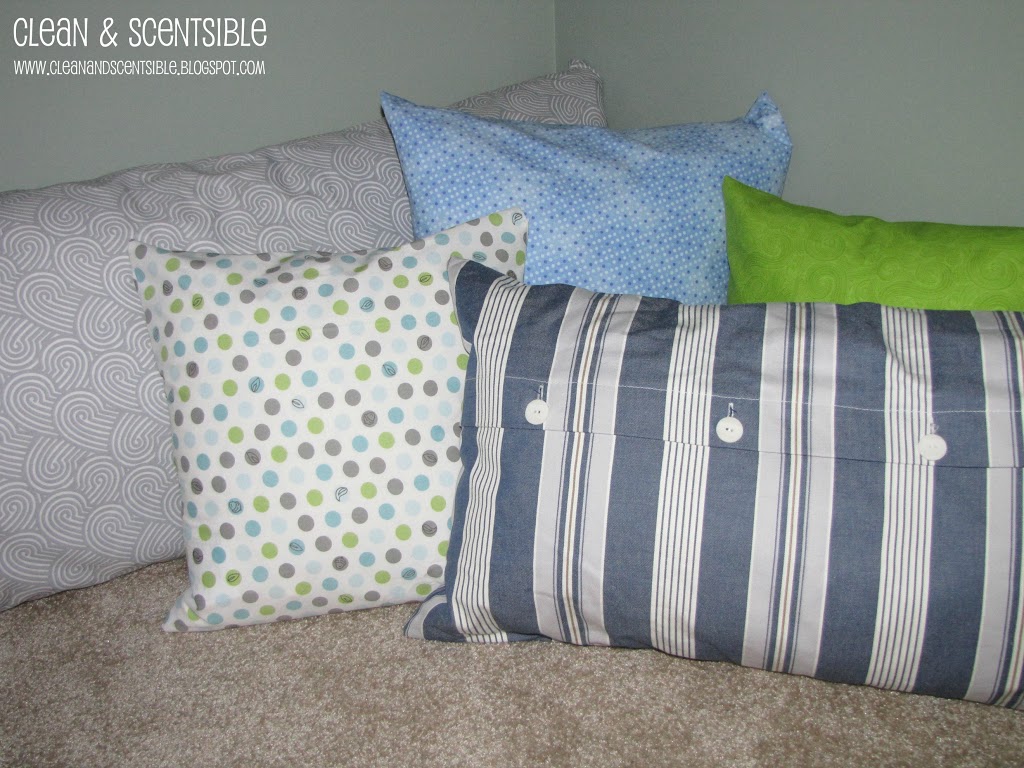
So in the end, I finished 7 pillows – two 20 inch pillows, four 17 inch pillows, and a great big body pillow {the striped one in front is actually from Ikea}. Seriously, if I can make one of these, anybody can.
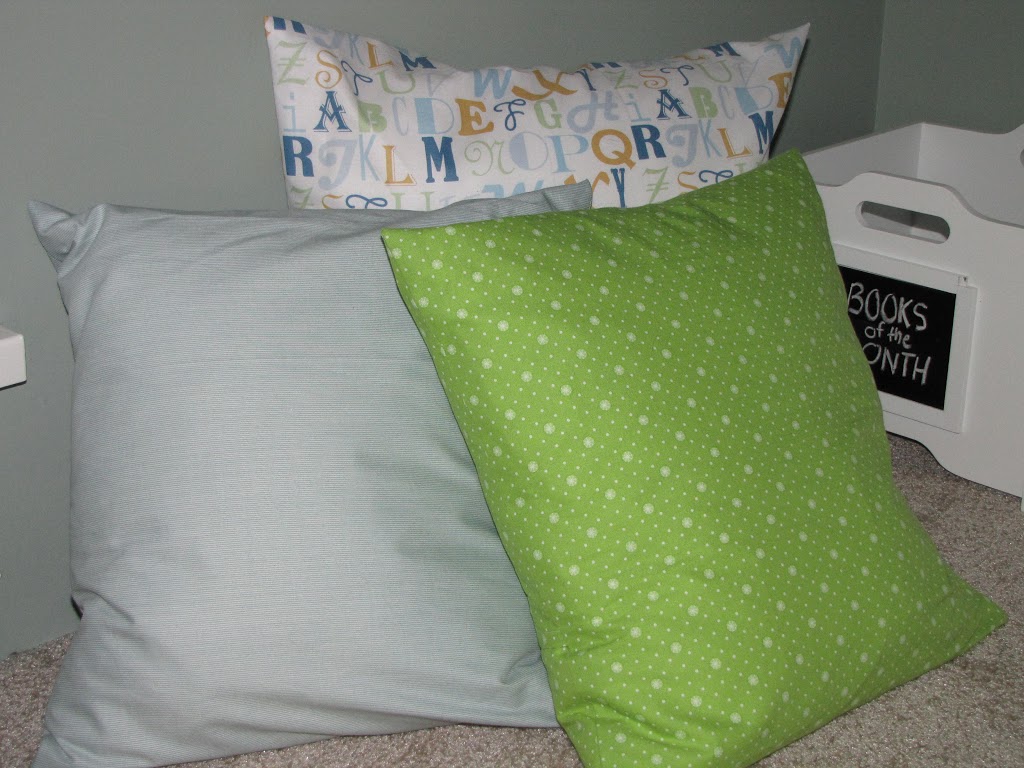
EASY ENVELOPE PILLOW TUTORIAL
I have posted a little tutorial here but please keep in mind that I AM NOT A SEWER! My terms may not be technically correct and there may be a better way to make them. However, if you are looking for an easy to do, non-technical tutorial, hopefully this will help you out! {I used this tutorial and as well as this one as my guidelines}.
- Before you get started, wash and iron your fabric. This way you will not have any surprises if you have to throw your pillow case cover in the wash!
- Cut your fabric. Once you have determined the size of your pillow, the width of the fabric will be the same as the width of the pillow, and the length of the fabric will be the (length of your pillow x 2) + 4 inches. So… for a 20 x 20 inch pillow, the fabric will be cut to 20 inches x 44 inches. {This formula also works for non-square pillows such as the body pillow}
- Pin and hem the two shorter edges of your material.
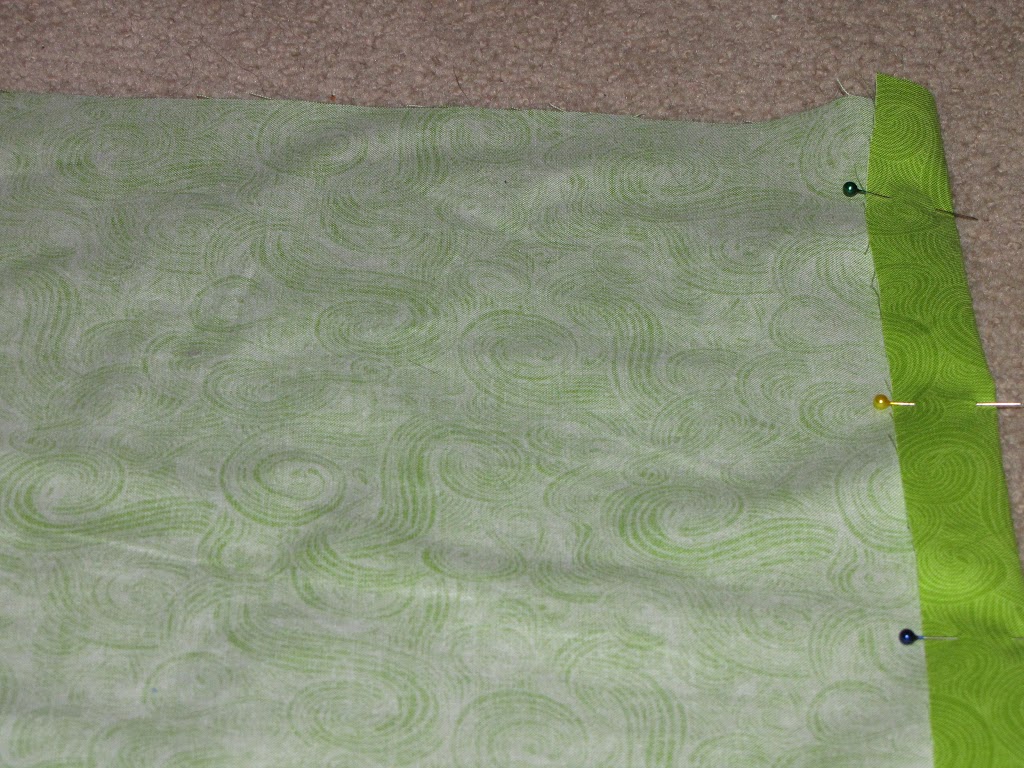
- Place your fabric on the floor with the right side of the fabric facing upwards. Fold the fabric in on both ends so that there is a square the size of your pillow in the middle. So, if your material for a 20 inch pillow is now around 43 inches long, measure in 11.5 inches on each side (11.5 + 11.5 + 20 = 43 inches) If you would like the envelope fold to be more towards the top of the pillow, you can always measure in slightly longer on one end compared to the other as long as the total measurement inwards equals 23 inches (i.e 10.5 inches on one side and 12.5 inches on the other side). Either way, there should be a couple of inches of overlap. **Note: the side that you fold in first will be the flap showing when the pillow is turned to the proper side out.**
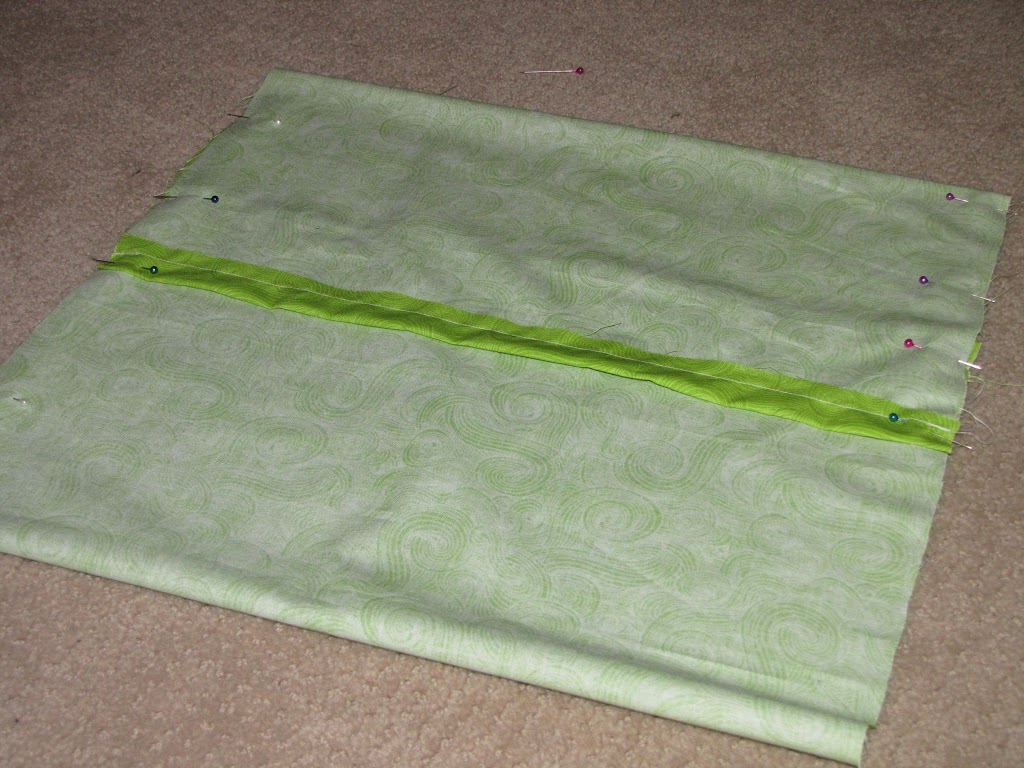
- Pin in place and sew along the edges.
- Turn the pillow case to the right side facing out and fill with your pillow!
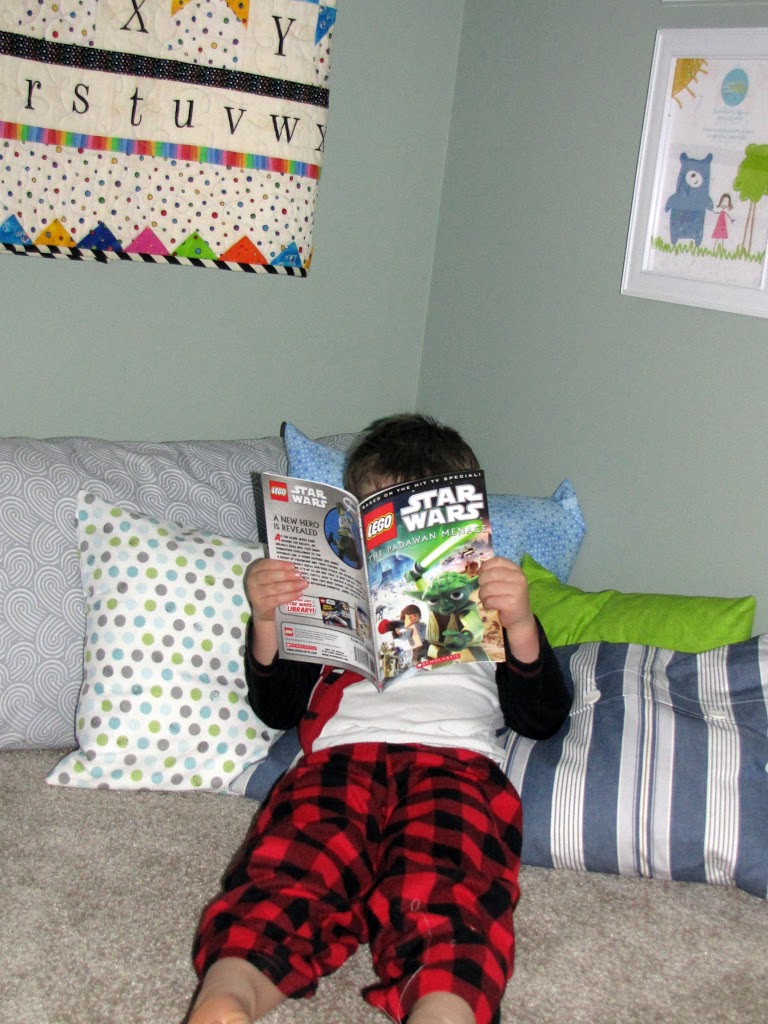
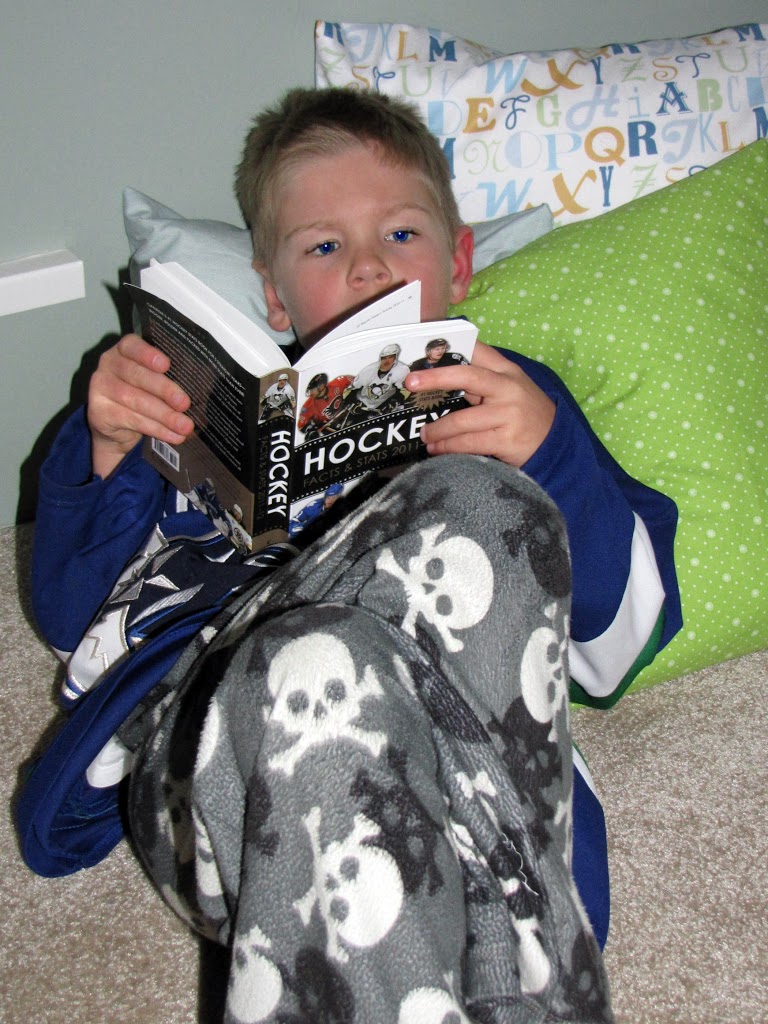

Oh My gosh- can I eat up your lil boys! Jenn they are so so cute!!! Your pillows- LOVE them! You did a great job you little sewer you! A+ in my grade book! Thanks for sharing this fun little nook, it really is the perfect cozy corner for some good reading!
I love it! It’s turning out great Congrats on the sewing – I’ll give you an A!!! 🙂 I love that quilt on the wall too!
Brie @ BreezyPinkDaisies
so sweet Jenn! great job on the pillows! I have a Star Wars obsessed boy too, and instead of hockey stats {we have no teams here!} it is football!! have a great night! Bonnie 🙂
So cute! I really wanna do this when we move!
I love your reading nook Jen! It looks so cozy and comfortable! I have always wanted a reading nook somewhere in our house or in the screened porch…if we had a screened porch! HA! Great job on the pillows! Love the fabrics! Hope your week is going great! Angie xo
Great pillows! Thanks for the tutorial. I would love for you to share with my readers on Blog Stalking Thursday! http://thecraftyblogstalker.blogspot.com/2012/03/blog-stalking-thursday-31_07.html
I love making pillow covers like this. So super easy. Your little nook looks so cute with all those pillows.
SEVEN! Impressive. And those do look easy to pull off.
Great tute!
I love the colors/patterns you chose too!
And I would LOVE IT if you’d share this at Feature Friday FREE-FOR-ALL going on right now!
http://www.fivedaysfiveways.com/2012/03/feature-friday-free-for-all-10-my.html
Hope to see you soon!
P.S. I’m a new follower. : )
~Abbie
Super cute reading nook! And I love me a good [EASY] tutorial! Thank you! And new follower!
http://www.everydaywiththejays.blogspot.com
Your pillows look fabulous!!! I especially like the one with letters. I think it’s fabulous that you are encouraging your kids to read by making a comfy reading corner. Great tutorial, too! I would love for you to share this at our ongoing themed link party that’s just for Pillows and Cushions…
http://threadingmyway.blogspot.com/2012/01/threading-your-way-pillows-and-cushions.html
Thanks for sharing! I love that quilt!!! Where did you find it?
I wish I could have a nook for reading, it looks soo cozy!
http://www.newlifeovernight.blogspot.com
These turned out great! My daughter has a reading nook. I should add some pillows. I would love for you to share this at Fabulous Friday!
http://www.herecomesthesun-kelly.blogspot.com/2012/03/fabulous-friday-17.html
Thank you for such an easy tutorial with great pictures! I think even I can try this! (My 8th grade sewing project was an 8 paneled skirt and I sewed every other one inside out!!!)