Remember the half finished art center for the kids that I posted about a couple of weeks ago? Well, I am finally getting around to finishing my last couple of projects. First up is the new art display wall.
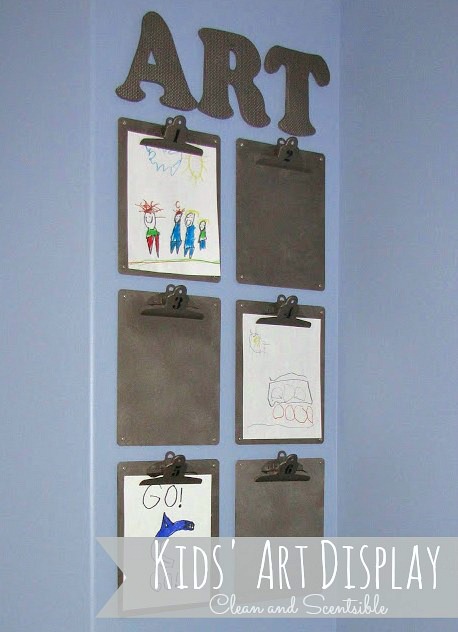
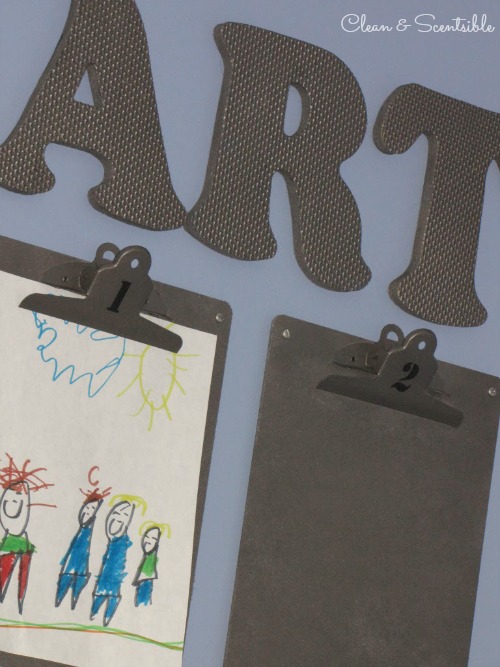
I wanted to create something that could be easily changed and I was going for an industrial-type look {think Restoration Hardware}. I bought some clipboards from the dollar store and spray painted them a dark silver metallic color {sorry – it didn’t actually have a color name on the spray can} It was kind of hard to get a picture that truly shows the color but it really does have a true metal look.
I wanted to create something that could be easily changed and I was going for an industrial-type look {think Restoration Hardware}. I bought some clipboards from the dollar store and spray painted them a dark silver metallic color {sorry – it didn’t actually have a color name on the spray can} It was kind of hard to get a picture that truly shows the color but it really does have a true metal look.
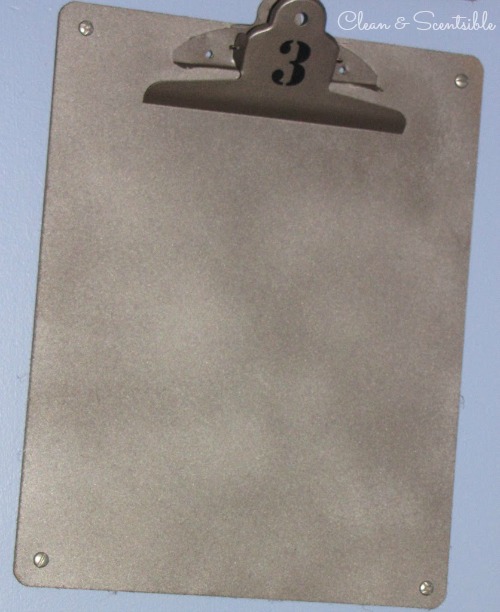
Using my fabulous, punch through anything, Crop-O-Dile, I punched a hole in each corner and added some screw brads {I have had these forever but I have seen them fairly recently at Michaels} You really can not tell them apart from real screws.
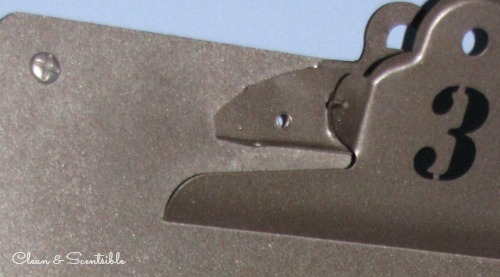
The numbers are vinyl cut on the Silhouette.
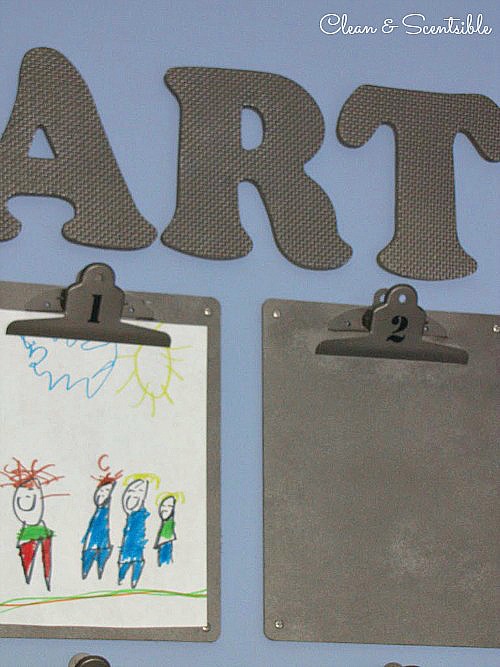
For the letters I used some old styrofoam alphabet mats that we have had hanging around for about 6 years now. Look familiar?
For the letters I used some old styrofoam alphabet mats that we have had hanging around for about 6 years now. Look familiar?

A little spray paint magically transforms them! I really like the texture with the metallic paint.
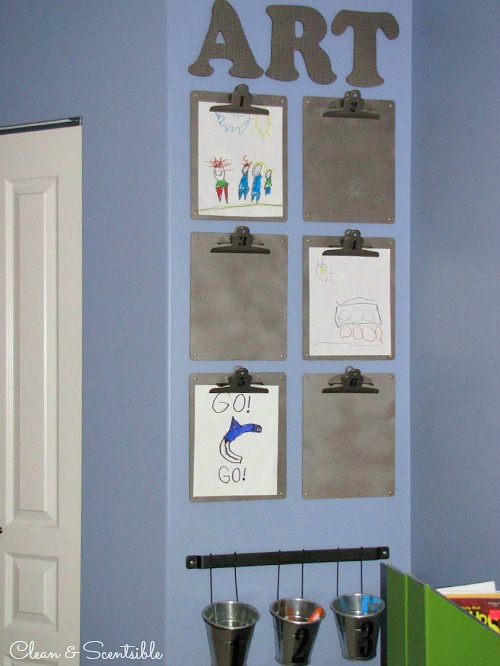
And there is my easy art display. The art work can quickly be changed up and the kids are trying really hard to make some art projects that are good enough to make it to the wall! And everything was attached to the wall with Command strips – I hate holes in my walls!
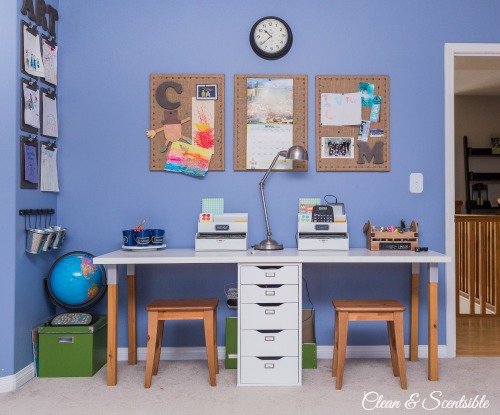
If you are looking for more ideas, you can find our updated homework station here.
Have a great rest of the week!
good idea with the foam letters! looks really cute:D
LOVE this idea! Definitely want to do this in my home… now I just have to find the perfect wall for it! Thank you for the inspiration!
Looks very cute. I love the Art letters.
That is just a great idea! My kids are always leaving their art everywhere! Can I blame them, so do I! Anyway this is so great I would love for you to share it at my linky party Simply Creative over at 365 days to Simplicity!
Angela
http://365days2simplicity.blogspot.com/2011/06/in-celebration-of-almost-hitting-100.html
This comment has been removed by the author.
I absolutely adore this idea! I’m “logging” it in my brain for when my little guy gets a tad older! thanks for sharing! 🙂
http://www.livelaughlove-mel.blogspot.com
A great idea for a space that otherwise would have been wasted. Fantastic!
Very cute! Love to see you over on Monday at our Link Party! http://www.dimpleprints.com
Love this! Found it on Pinterest and I have to share on my FB! Great idea!
I’m always looking for cute ways to display art! this is a fantastic idea! Very clean! Thanks for sharing!!
This is such a great idea! i’ll be featuring it today. Hope you don’t mind
http://www.crystalscraftspot.blogspot.com
Love this idea, I might steal it!
I am sad, too, that Vancouver behaved in such a way. My husband says he was not surprised, but I thought that we Canadians would certainly behave better.
I am your newest follower – great looking blog so far!
Great idea! I’ve been planning to do something similar for my daughter’s desk area. I really like the industrial look of the screw head brads and the metallic paint.
So cute! I love the way that whole thing looks, but the ART sign is amazing. Oh, and I don’t know if you posted about them, but I love the hanging buckets to hold all the art supplies. Such a great little corner!
This is such a great area. I love the ART sign and the clipboards is genius.
Great idea! I just did a blog post about what to do with all the kids’ artwork. I never thought of clipboards. Very clever!
http://eastcoastmommyblog.blogspot.com/2011/05/artwork-storage-solutions.html
Really cute! I LOVE that you recycled your old foam pieces! I’m pretty sure I sent ours to Goodwill a few years ago, but now I’m wishing I hadn’t!
What a cool idea! I love the clipboard concept and the letters are the perfect touch.
Laura @ Come Together Kids
I love this idea!
I really LOVE this idea. I just finished putting together new chairs for my kids’ art/computer center and was thinking of ways to display their art. I’ve now found it! I love the industrial look and it will totally work with my style. I’ll try and blog a finished product post this week and I’ll be sure to give you all the credit for this fab. idea!
-Monica
http://www.realhousewivesofbc.blogspot.com
What a great idea using these clipboards. Looks so much nicer than magnets on the fridge, which is what I do.
Nice visiting with you.
That’s a neat idea! So fun!
You did such a great job with this…I especially love the painted foam letters!!!
I featured it on my blog today…thanks for linking up! 🙂
http://christinasadventures2010.blogspot.com/2011/06/sunday-features-25.html
Jenn! This is so cute-I love it. We always need more places to display masterpieces around here. And spray painting those letters was genius!!!I used clipboards to hold fun airplane images in my son’s bedroom
http://kim-toomuchtimeonmyhands.blogspot.com/2011/04/vintage-airplane-bedroom-part-2.html
That’s a great idea. I let my kids have any art work pinned on their walls, but I’m always running out of pins or having to make them wait until I have a minute to do it. If I put these clipboards low, they could have a space to do it themselves!
I love it, what a great idea!
Thanks for sharing at the Weekend Warrior Link Party.
Anna
http://www.askannamoseley.com
Love this! 🙂 Following you from MMM. Would love to have you link this up to my {wow me} wednesday link up party going on over on my blog right now. The most viewed link will win a set of fancy rectangle chalkboard labels. This week I’m co-hosting with Reasons to Skip the Housework…so links will show up on both blogs! How fun!
Ginger
gingersnapcrafts.blogspot.com
very cool project and great way to organize art with that little bit of edge
Hi there — This is such a wonderful idea! Thanks for sharing it. I found you through Tip Me Tuesday at Tip Junkie and wanted to share your wonderful idea with my readers — I have it included in today’s post and I hope you check it out when you can and I hope you grab the Featured Me button for your blog.
Have a super day and thanks again for sharing! 🙂
Tracy
CraftJunkieToo
http://www.craftjunkietoo.com/2011/06/summer-fun-ideas-for-kiddos.html
You’re a genius! I love how it looks and that you repurposed the foam letters and used something as common and simple as clip boards! Pinned it!
What a great idea! 🙂 I’ve featured this post on Craft Gossip here:
http://homeandgarden.craftgossip.com/childrens-art-display-wall/
If you would like a “featured by” button, you can grab one here:
http://homeandgarden.craftgossip.com/grab-a-craft-gossip-button/
Great tip, I love it and placed it on my blog:
http://craftchaos4kidz.blogspot.com/2011/06/kids-art-display.html
I LOVE LOVE LOVE this idea!!!!
This is a wonderful idea! Loved how you used the foam letters…to bad I just got rid of mine.
This is fantastic! Would be so cute in in a classroom too!
love this. can you post about those cute buckets?
I cannot put into words how much I love this! Just linked to you on my About.com Budget Decorating FB page (facebook.com/About.comBudgetDecorating), and I’ll be following you! Keep up the good work!
Tonya Lee
About.com Guide to Budget Decorating
About.com is a New York Times Company
Such a cute idea, definately a must when my little one is a bit older!
This is a great idea! My husband & I were just wondering what we might want to do for all the art projects that have come home from school. And, like you, we have those alphabet mats sitting in a bag in our garage. Now, I just need to buy the cheapie clip boards. Awesome thanks!
You’ve taken an ordinary corner and made it look extraordinary…fantastic. And the kids will love it also.
thank you very much, this was great idea!
Cherubs
Oh my goodness! How easy and adorable!
Thanks for the inspiration. I just did this in my kitchen (just a little differently) and I LOVE it! It displays my childrens’ art, promotes and encourages creativity, and keeps my refrigerator clutter free!
I love this idea and used it as the inspiration for my son’s room. Check it out at http://littlebluesroom.blogspot.com/2011/08/art-center.html
Thanks for the wonderful and crafty idea!
I have been searching for ways to have TODO board at my studio and this is finally a solution that would work for me. Thank you for sharing this.
This is wonderful! I shared this on my blog over at http://airforcefamilyadventures.blogspot.com/2011/09/favorites-of-week.html
Have a great week
Stephanie
I featured this on my Inspiration Friday Post…
http://www.laniejandco.com/2011/09/inspiration-friday-9911.html
I LOVE this idea! I am always looking for new ideas on how I can display my kids art work. I am also going to feature this in my latest newsletter and link to your blog.
You made some clear points there. I looked on the internet for the issue and found most individuals will approve with your website.
Tyr Solid Ringback Work Out Bikini Female
I love it! What a wonderful idea! 🙂
Love this!!!
This is just a lovely simple project that really gives life to any boring wall. Your idea of using old Styrofoam letters is amazing. In addition, the left out parts can also be used with other designs. Thank you for this post. Those who are thinking of remodeling their homes as well as home builders Missouri will find this post inspiring. This is really an inspiration for many to come up with amazing simple yet beautiful works of art.
I have several clipboards, different sizes and I’ve been wanting to either hang one of them in the garage, over the work bench, and I’ve been wondering how to spray paint it or decopodge it. How do you hold the clip part open while you spray paint the board part? Or do you just spray paint it all at once? Would using mod podge be easier, using cardboard stock or gift wrapping paper? I’m not very crafty or creative, so I’m looking for the most simple way to do this, yet want it to look nice.
BRILLIANT!!!!!
I love all of them however I just want to mention what we do at our house. I put up two 3M hooks and tied a piece of string from one to the other and now we just peg up the artworks with cute little wooden pegs. Washing line style 😉
Cute idea!