I decided that I needed a little break from all of the Halloween crafting and thought I would give a cupcake liner topiary a try. I had seen this one over at Craft-O-Maniac and really liked it.
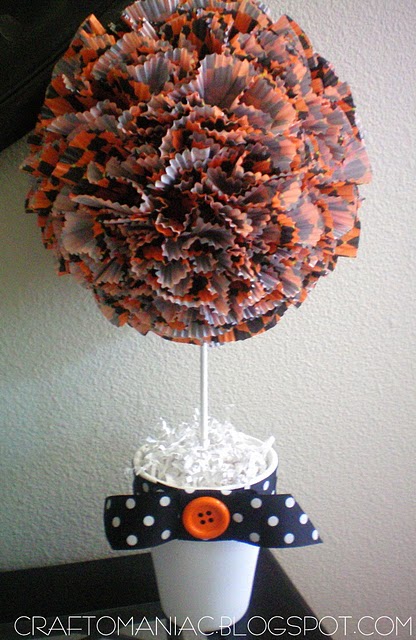
MATERIALS
- ceramic pot
- spray paint
- cupcake liners (I used 375!!!)
- glue gun or greenery pins
- styrofoam ball and a styrofoam block to put in the pot
- stick or dowel
- ribbon
INSTRUCTIONS
Overall, this was a very simple project BUT it was extremely time consuming! This lovely topiary took me much longer than expected and 2 extra trips to Michaels to purchase additional cupcake liners. I started out with 150 liners, had to go back to get another 150 (which happened to be the last ones in the store), and then had to hunt down another store for my last 75. So…here are the instructions with a few tips to cut down on the time factor! 🙂
- Start by folding up a cupcake liner and pinching it in on the bottom/center of the liner. Attach it to the styrofoam ball. I used greenery pins (placed down the center of the liner) to attach mine but, if I had realized how many I would be needing, I probably would have stuck with hot glue!
- Repeat number 1 over and over and over again! I started out placing my liners really close together because I really loved the look. Again, if I had realized how long it was going to take me, I probably would have spaced them out a bit more. Remember you can always add more later!
- When you get tired of sticking cupcake liners to your ball, take a break and paint your pot.
- Return (reluctantly) to repeating number 1 until your ball is almost completed. Insert the stick (I got mine from the backyard) or dowel into the ball and then fill in the rest of the space around it with the last of the cupcake liners.
- Depending on how heavy your ball ends up being (mine was very heavy!), you might want to weigh down your pot with some small rocks. Then add the foam block and push the stick through. I secured mine with some good ol’ duck tape just to be sure it wasn’t going anywhere.
- Fill up the pot with spanish moss or whatever topper you would like. Add a ribbon and you are FINALLY done! (sorry about the bad lighting!)


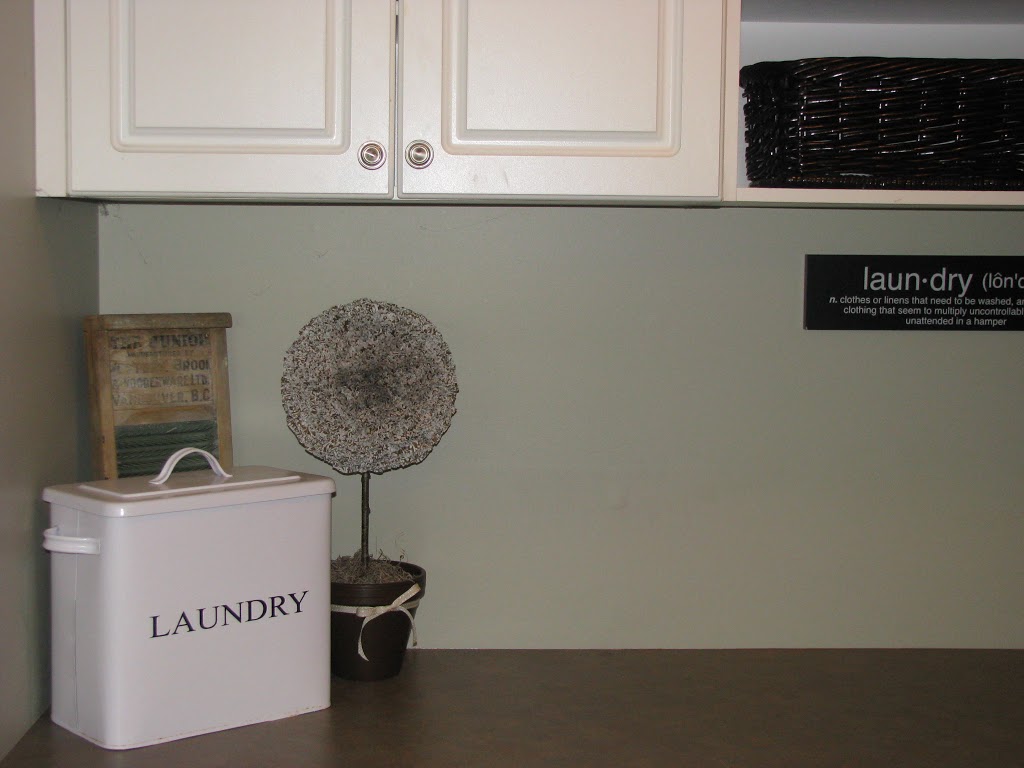
I hope I haven’t scared you all away. Really, it wasn’t that bad. I had 2 episodes of Grey’s Anatomy and an episode of Survivor on the PVR to keep me company. As for my topiary, she is now happily living in my laundry room.
I have linked up with Paisley Passions, It’s Fun To Craft, Chic on a Shoestring, A Few of My Favorite Things, Fingerprints on the Fridge, A Little Lovely, Tatertots and Jello, What Allie’s Making Now, Under the Table and Dreaming, Along for the Ride, While He Was Napping, I Heart Naptime, Craft-O-Maniac, and House of Hepworths.
Have a great weekend!


This is soo super adorable! I will be attempting this! I would love to do 2 and put one on each side (of something)!! Soo cute!
jen! you are very crafty!!!!
Very cute!
Melissa
http://www.burstsofcreativity.blogspot.com/
What a great idea! Thanks for stopping by Dragonfly Designs!
great blog. new follower. http://www.lilyslaundryboutique.blogspot.com
Hi there! i am your newest follower from the weekend linky!!! I love finding new blogs and yours is lovely!! You can find me at http://www.bouffeebambini.blogspot.com
I am really loving this! Thanks for linking up with While He Was Napping! Hope to see you again next weekend!
Krista
Well, that’s absoultely cool! Genius with the cupcake liners!
Thanks for linking up to Making It With Allie!
I hope to see you next week!
AllieMakes.Blogspot.com
darling! would love for you to link up at a crafty soiree– every thursday at http://www.yesterdayontuesday.com
ps i’m your newest follower… would love for you to consider following me too (-:
Very cute LOVE IT! great color too! I want to make another one for year round. Thanks for linking back to me! cute blog too. Jen
Turned out so cute!! I saw this over at Craftomaniac before, and now after seeing yours, I think I’m going to have to try it! 🙂
This turned out very nicely, but I do not have the patience. Maybe I should make something teeny tiny. 🙂
great idea. I will try it someday, maybe soon. Feel free to each other on the blog. You can translate it into English
I love it… I have been toying with making something with cupcake liners but haven’t got to it. Glad to know what I’m in for! Looks great!
How big was the foam ball you used?
This is a really old post but I think a 5 or 6 inch ball?