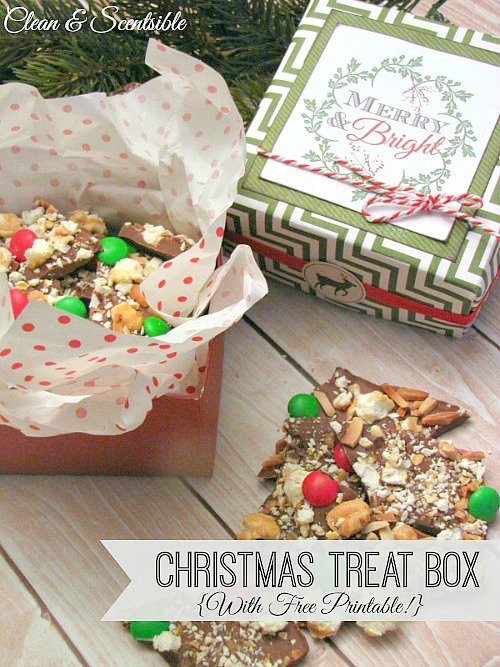
The holidays are here and it is time to start thinking about some of that holiday wrapping! I am always on the lookout for creative wrapping ideas that don’t break the bank and this DIY Christmas treat box definitely fits the bill! All you need is a couple of sheets of scrapbook paper and a few embellishments. I even have a free printable for you!
Materials
- 2 pieces of coordinating 12 x 12 scrapbook cardstock {mine are from Echo Park}. Trim one of the pieces to 11 3/8 x 11 3/8. You will also need another piece of paper for the top of the box.
- Christmas tag {download HERE}
- baker’s twine
- black ink
- ribbon {optional}
- glue
- double sided tape {if using ribbon}
Instructions
Your 12 x 12 piece of cardstock will be the lid and the 11 3/8 inch cardstock will be the bottom of the box. They are both made using the following folding pattern. Make sure your lines are as crisp as possible!
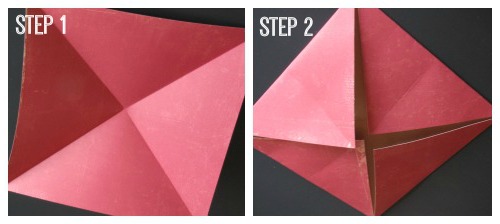 STEP 1- Put your paper down with the pattern you want on the outside of the box facing up. {For this example, the outside of the box is red and the inside of the box is beige} Fold the paper in half on a diagonal. Open up the paper back up and fold it on a diagonal again {so your creases form an ‘X’}.
 STEP 2 – Flip your paper over so that the pattern that you want on the inside of the box is facing up. Fold each corner into the center of your paper {where the center of your ‘X'” is}.
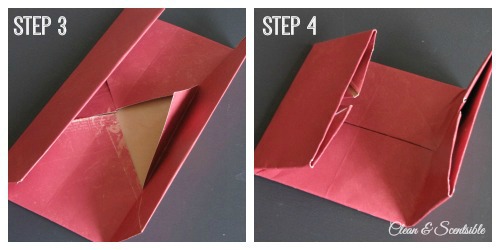 STEP 3 – Keeping your paper folded as above, fold in two of the opposite edges to the center so you have a rectangle.
STEP 4 – Now fold in the other two opposite edges to the center. You should now have a square.
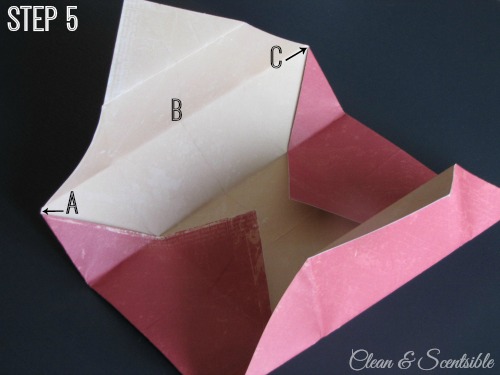 STEP 5 – Undo the top and bottom folds and then the left and right folds. Undo the top and bottom flaps. Fold in point A to touch point B and then fold in point C to touch point B.
 STEP 5 – Undo the top and bottom folds and then the left and right folds. Undo the top and bottom flaps. Fold in point A to touch point B and then fold in point C to touch point B.
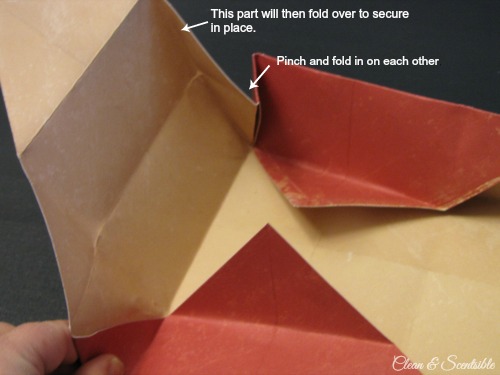
STEP 6 – Okay, here is where it gets a little tricky to explain. You basically need to pinch the corners and then fold inwards so the two edges of the box meet up. Once this is repeated on each side, fold over the top flap to secure the corners in place. Once you get it the first time, it’s easy! Glue the flaps down to secure.


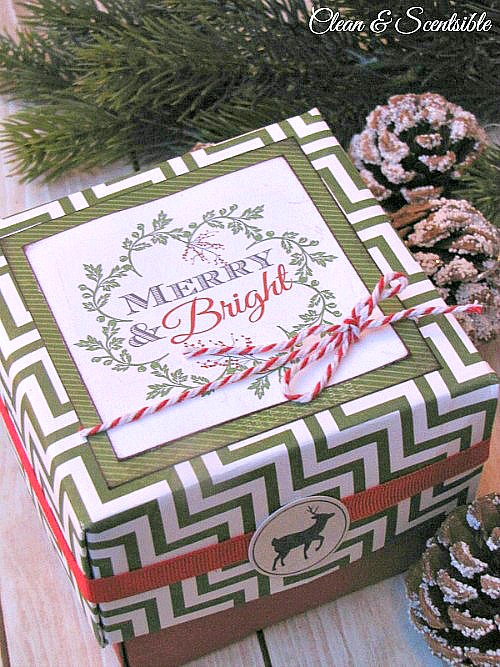
STEP 7 – Download the printable HERE and cut it out into a square. Ink the edges with some black ink and mount it to another sheet of cardstock that is cut slightly larger. Wrap with baker’s twine and glue onto the top of the box.
STEP 8 – Embellish as you would like. I added some ribbon {that I attached with double sided tape} and a small reindeer sticker.
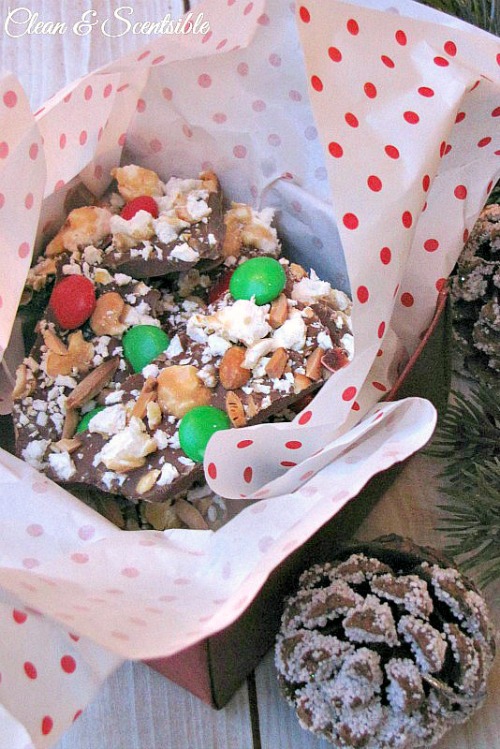
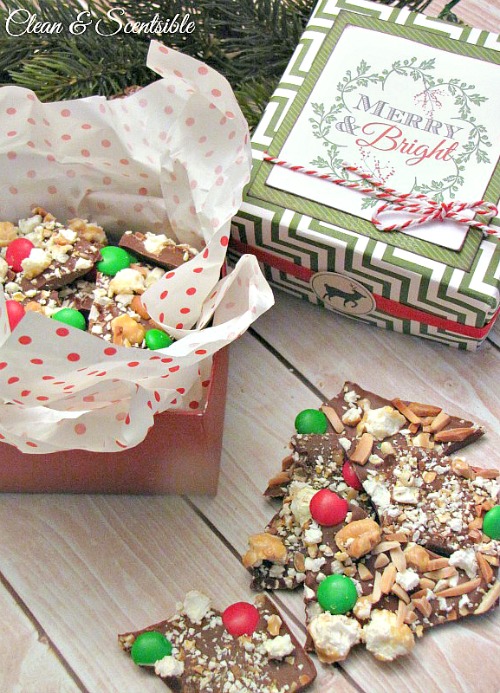
I wish I could share some of the caramel popcorn chocolate bark with you! It’s SO good!! Head on over HERE to get the recipe!
Leave a Reply